Tag Archives: nut butter

Chocolate Chip Seed Balls

IMG_0237

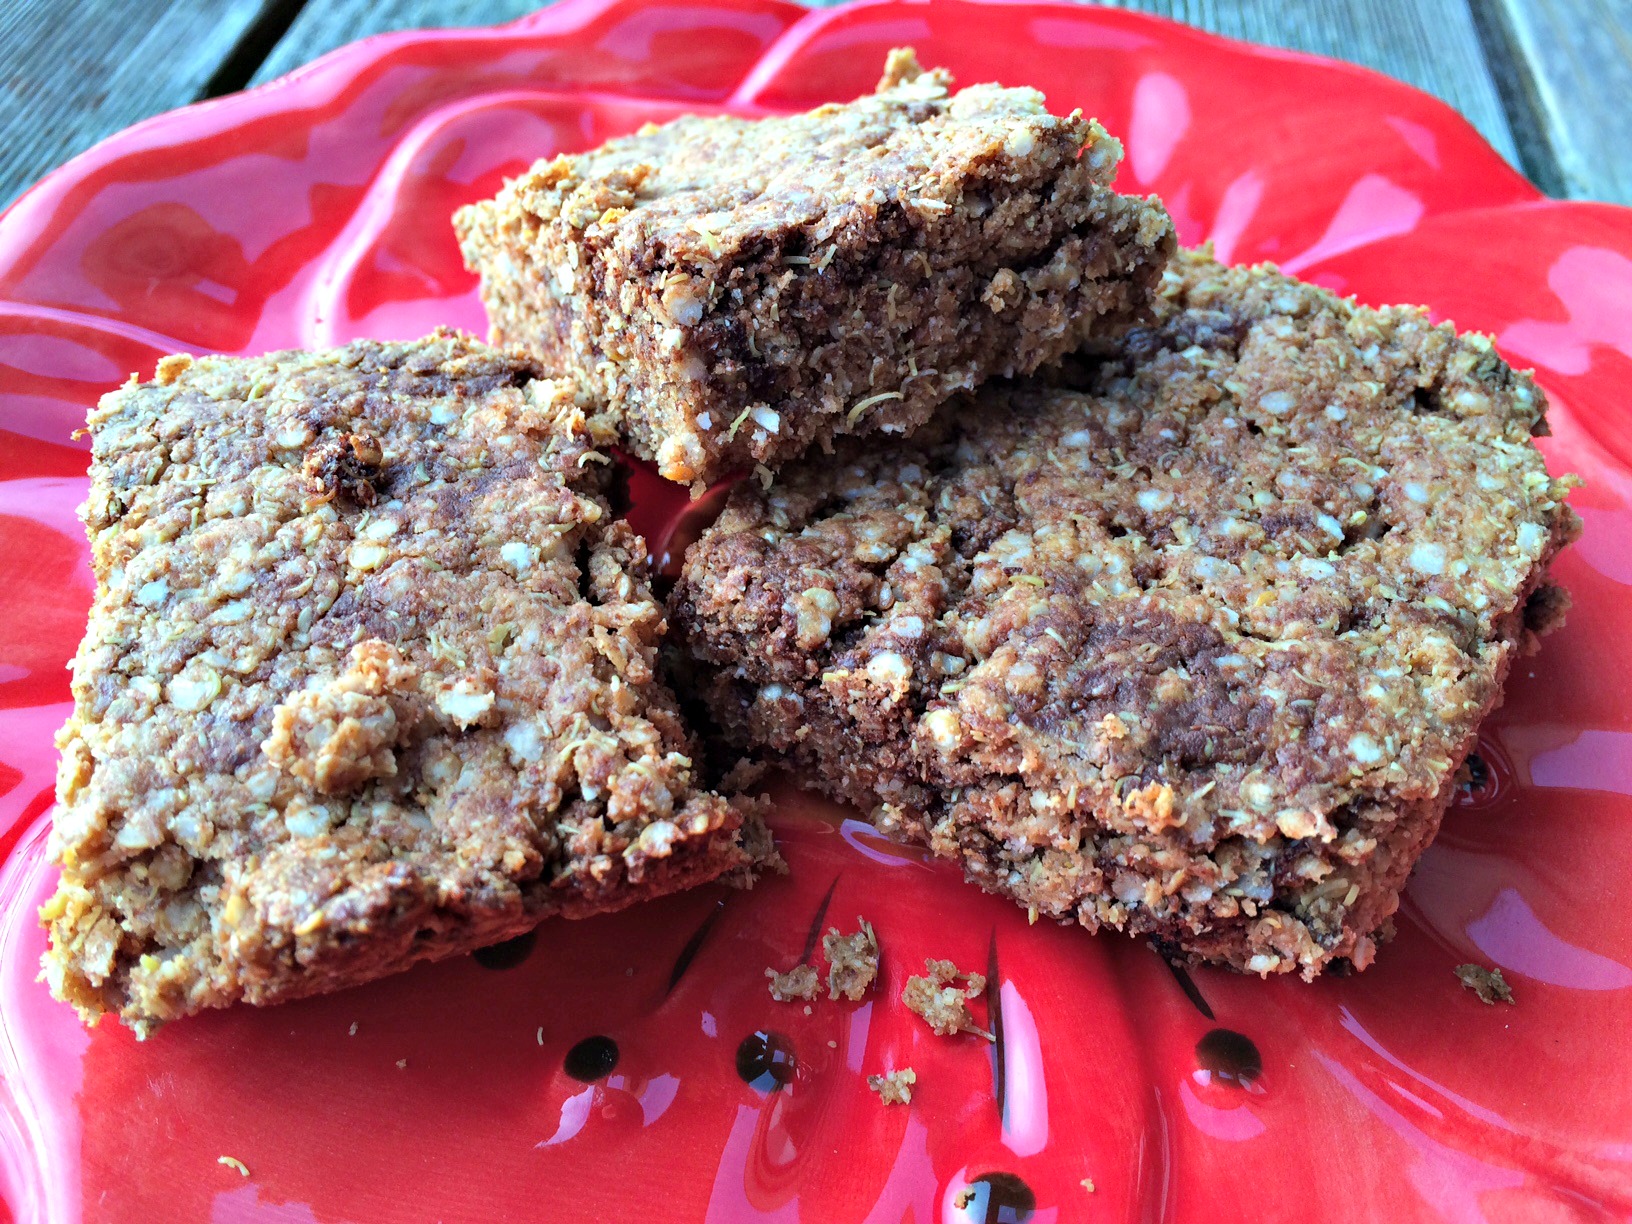
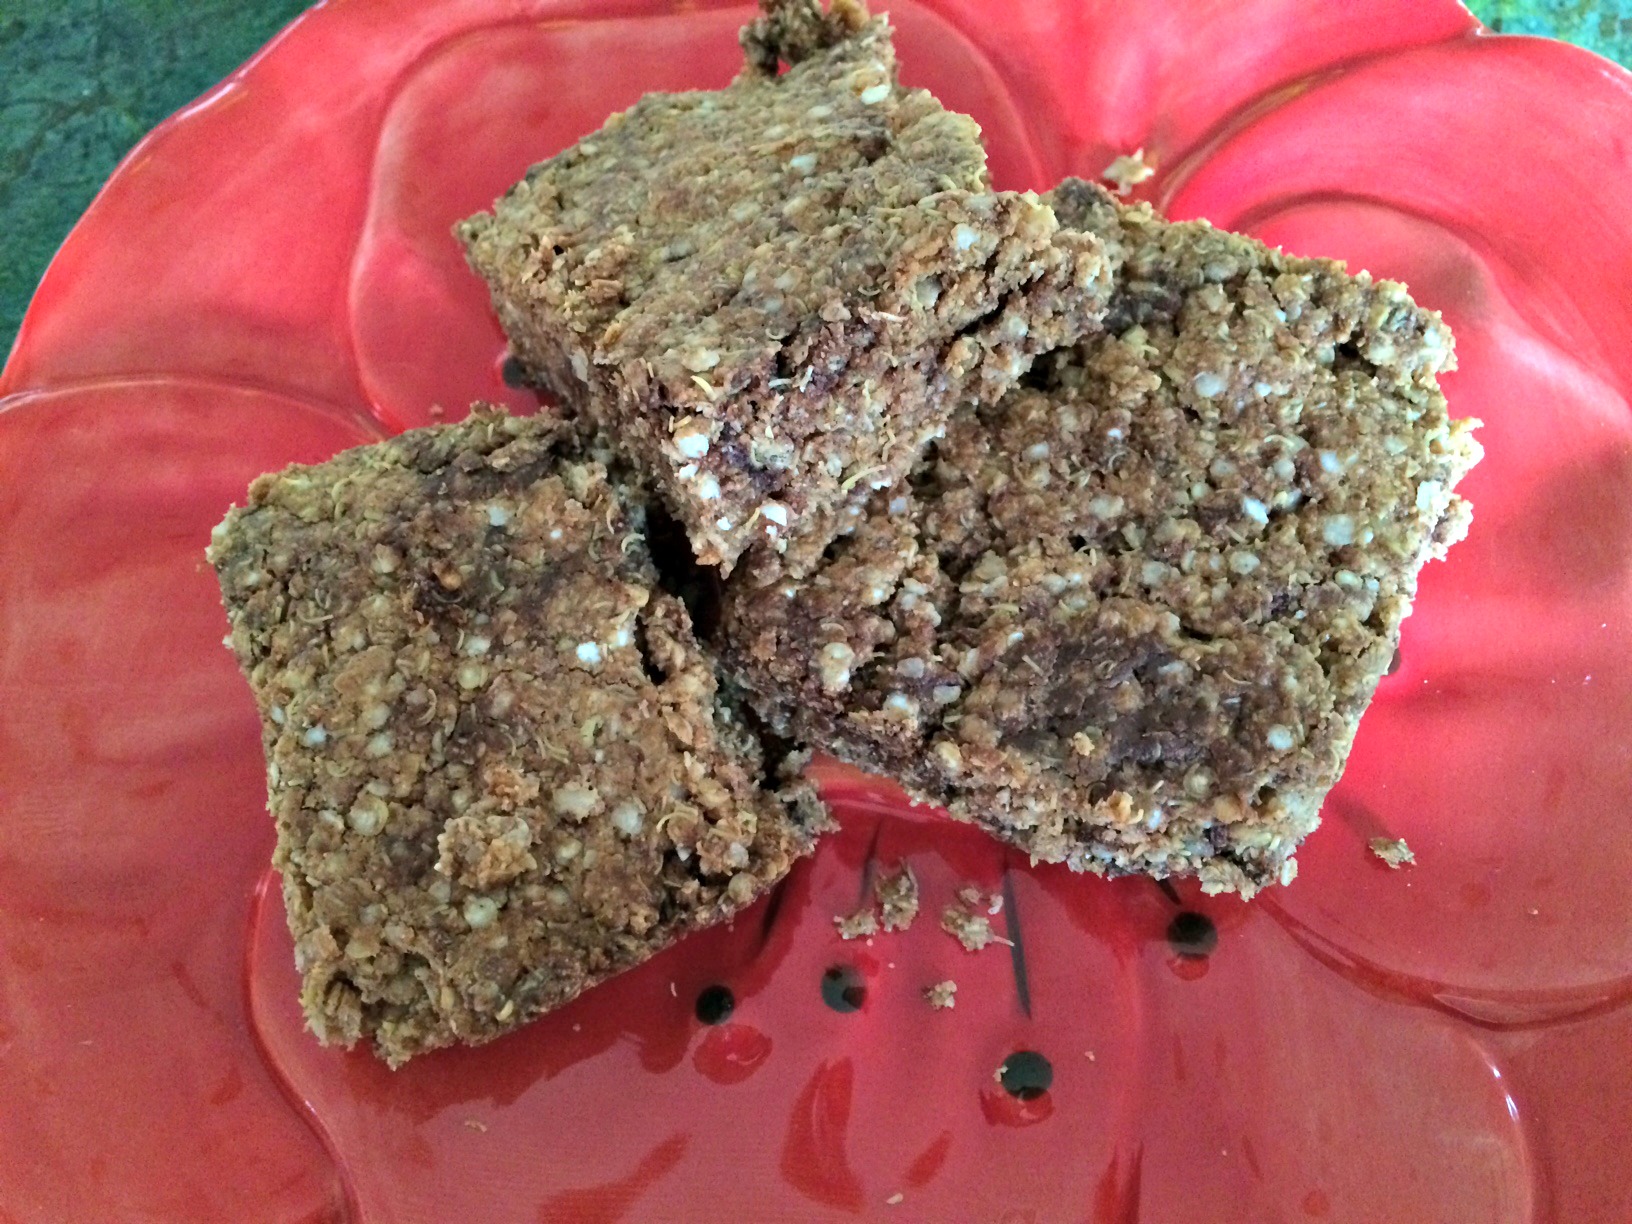
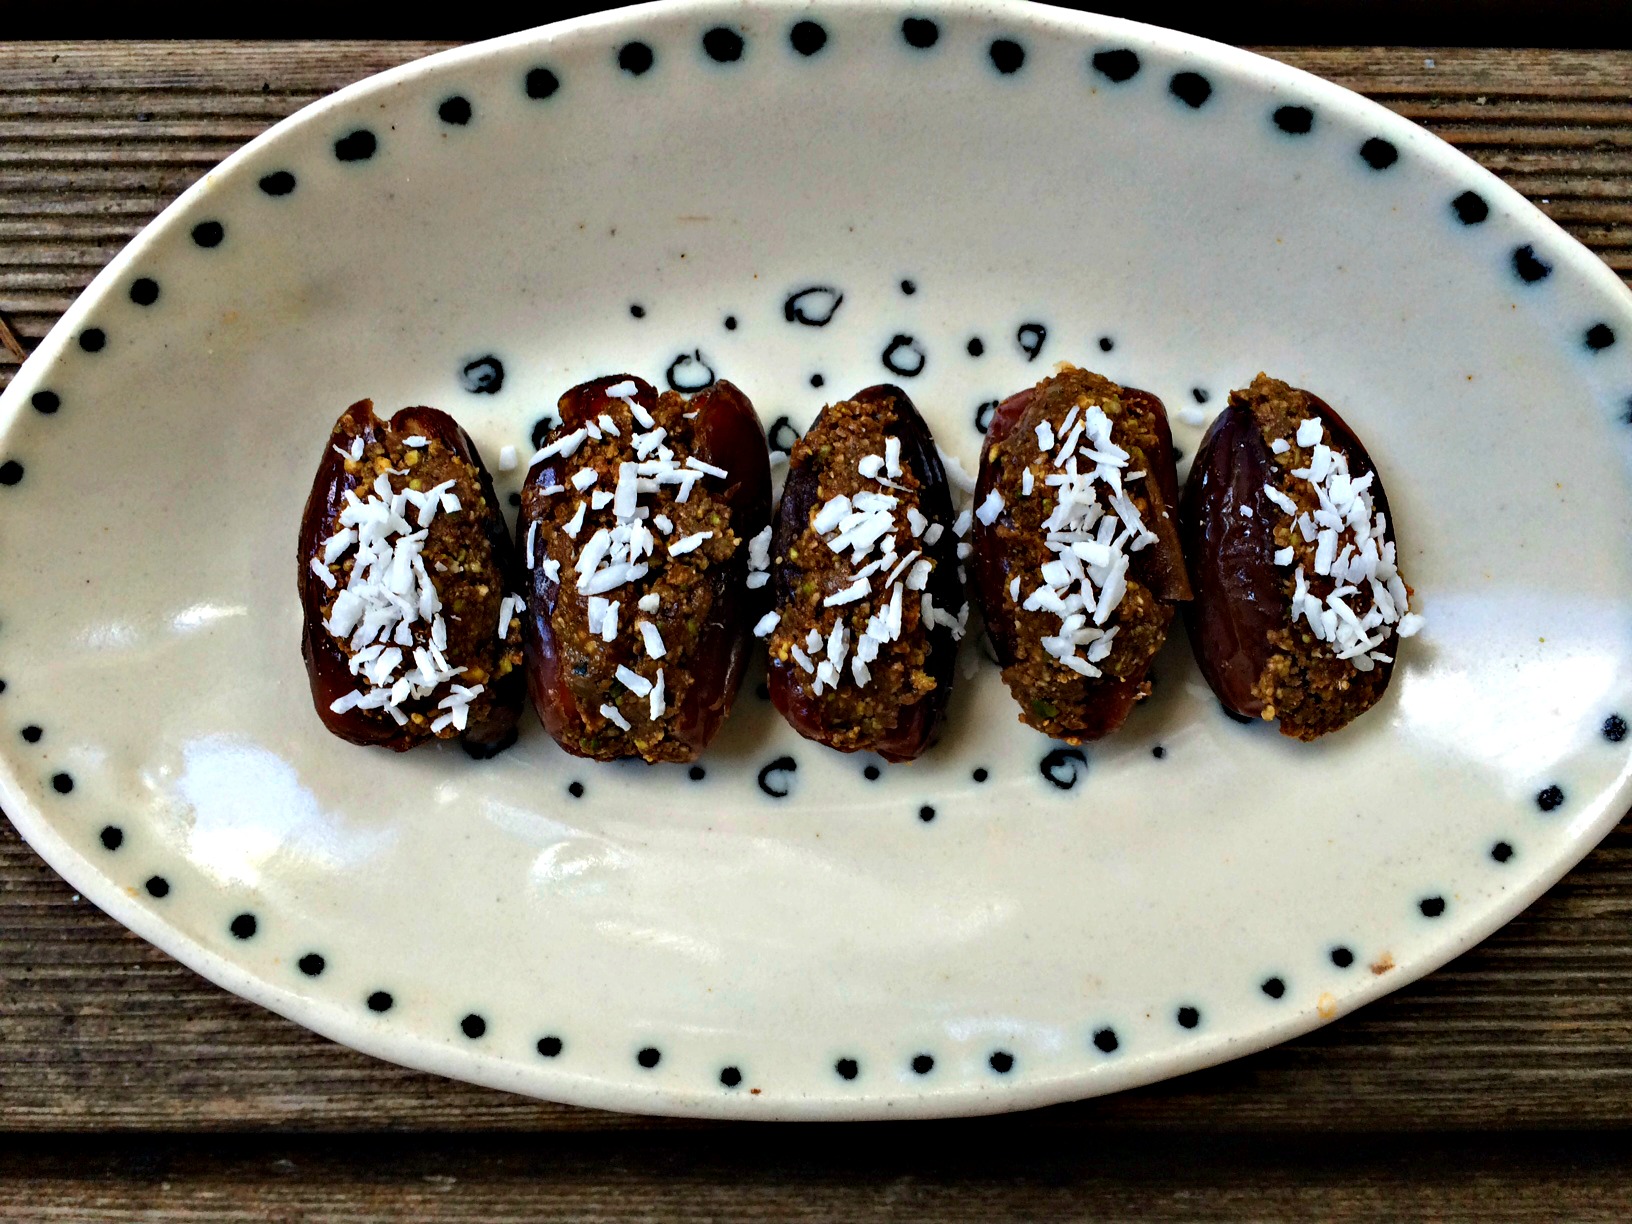
In my hunt for more snack foods, I have always been intrigued by all the ball recipes I see on the web.  I have posted a few of my own recipes over the last year. ( Check these balls out and these are super yummy too.)  I like to try to make all my balls bursting with flavor while still including lots of amazing, energy producing ingredients.  My latest ball incantation meets all these requirements.

IMG_1188
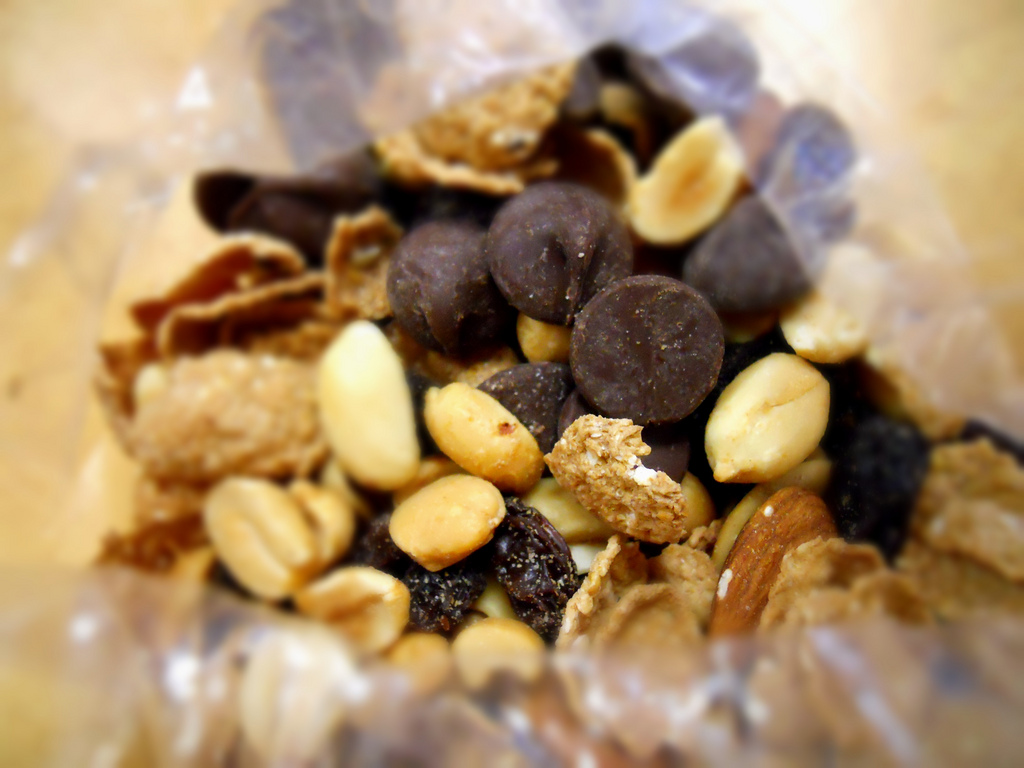
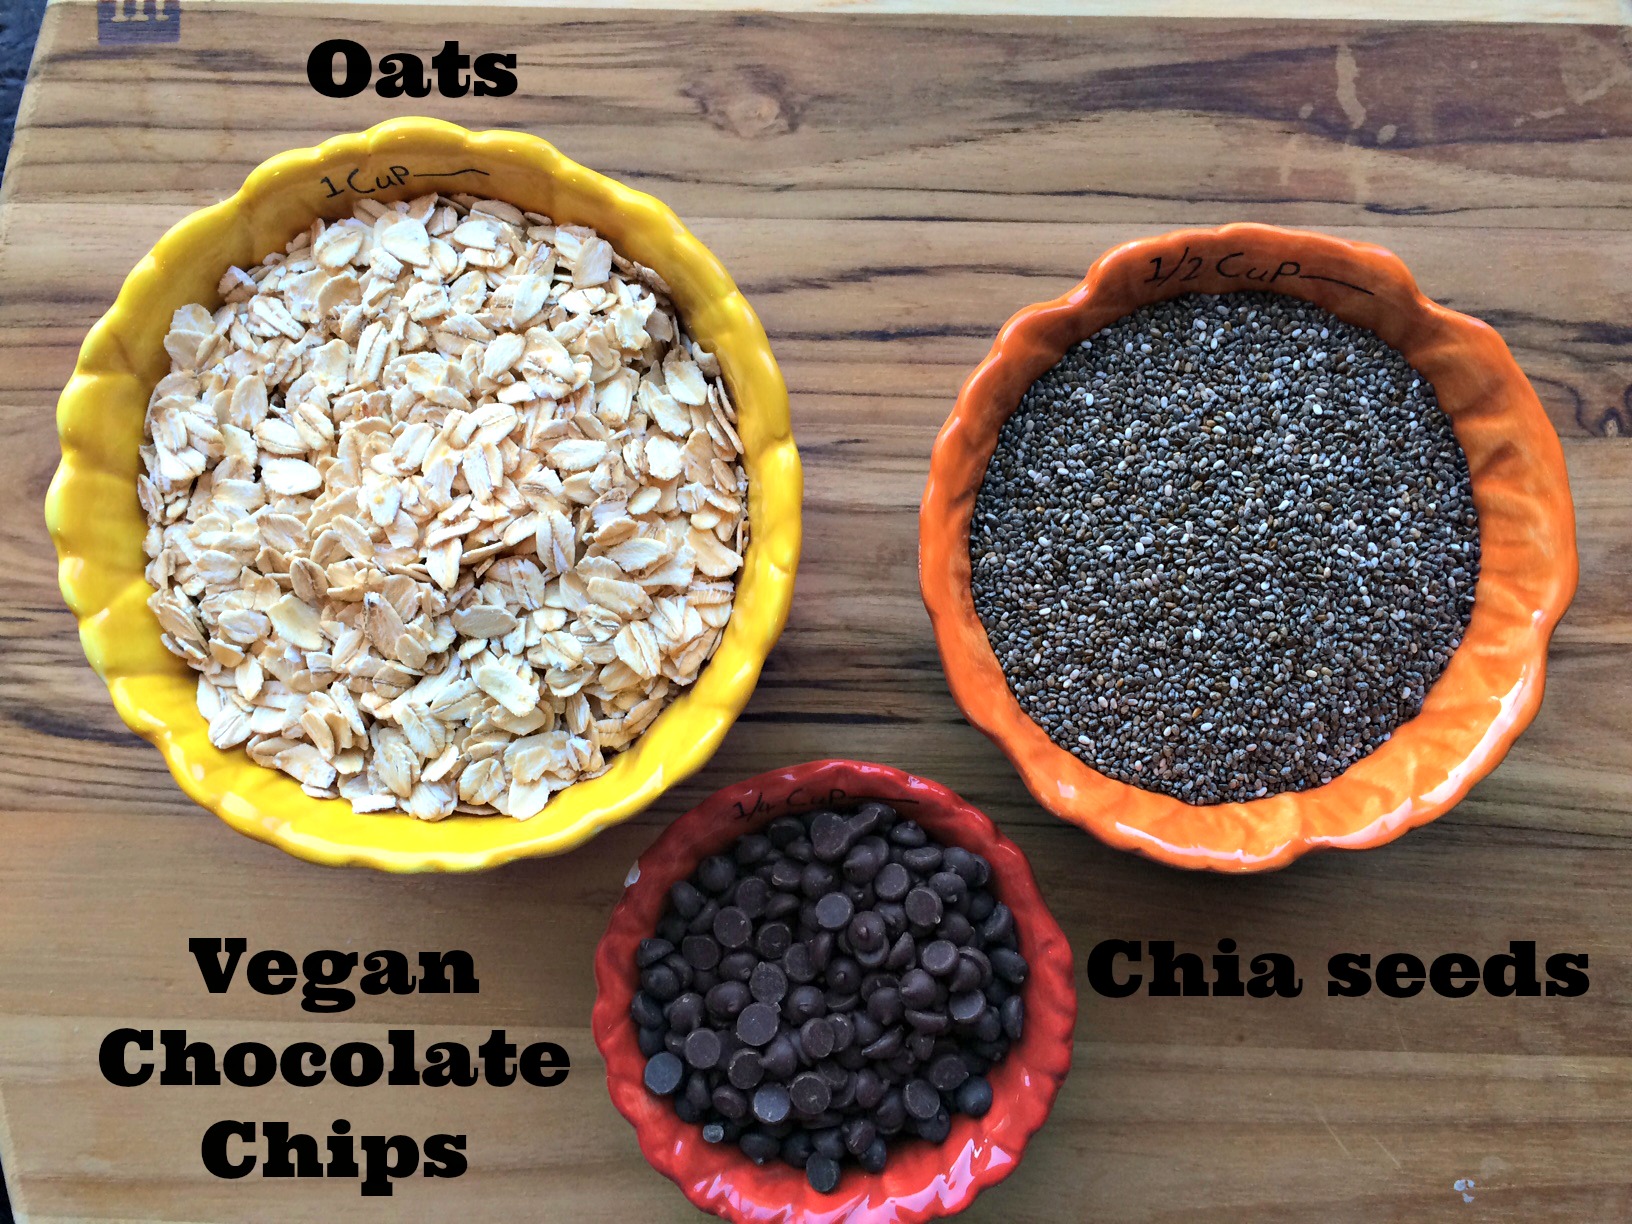
I love that these balls include energy producing, fiber filled Bob’s Red Mill Oats , Omega-3 rich Raw Chia Seeds and Hemp Hearts  and Enjoy Life Semi-Sweet Chocolate Mini Chips- so much goodness in such a small little bite!   These are such a great, quick snack to have on hand for a burst of energy any time.  They can even be used as a quick grab and go breakfast.

IMG_1187

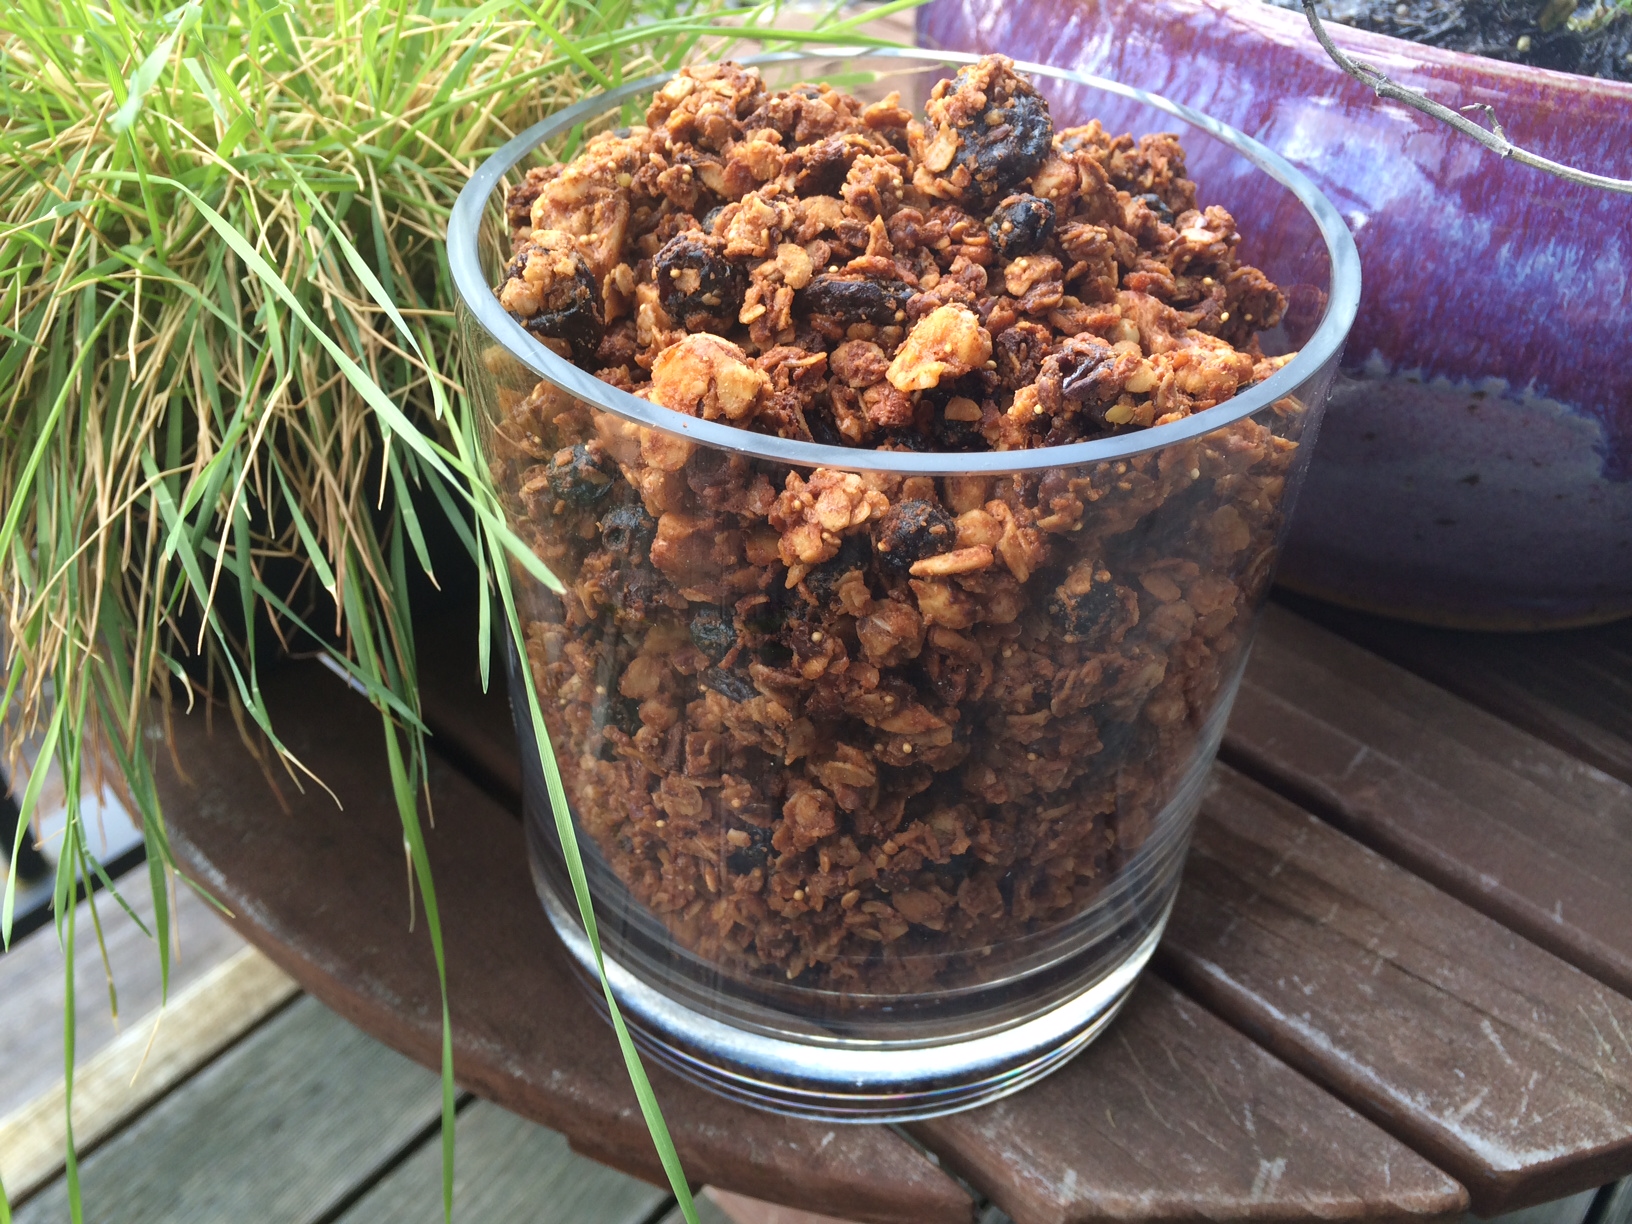
Here are all the healthy ingredients mixed up and ready to head into the fridge to help them stick together.  Putting them in the fridge for about 30 minutes is key to helping them hold together.  I definitely advised making sure you don’t skip this step!!

IMG_0238 
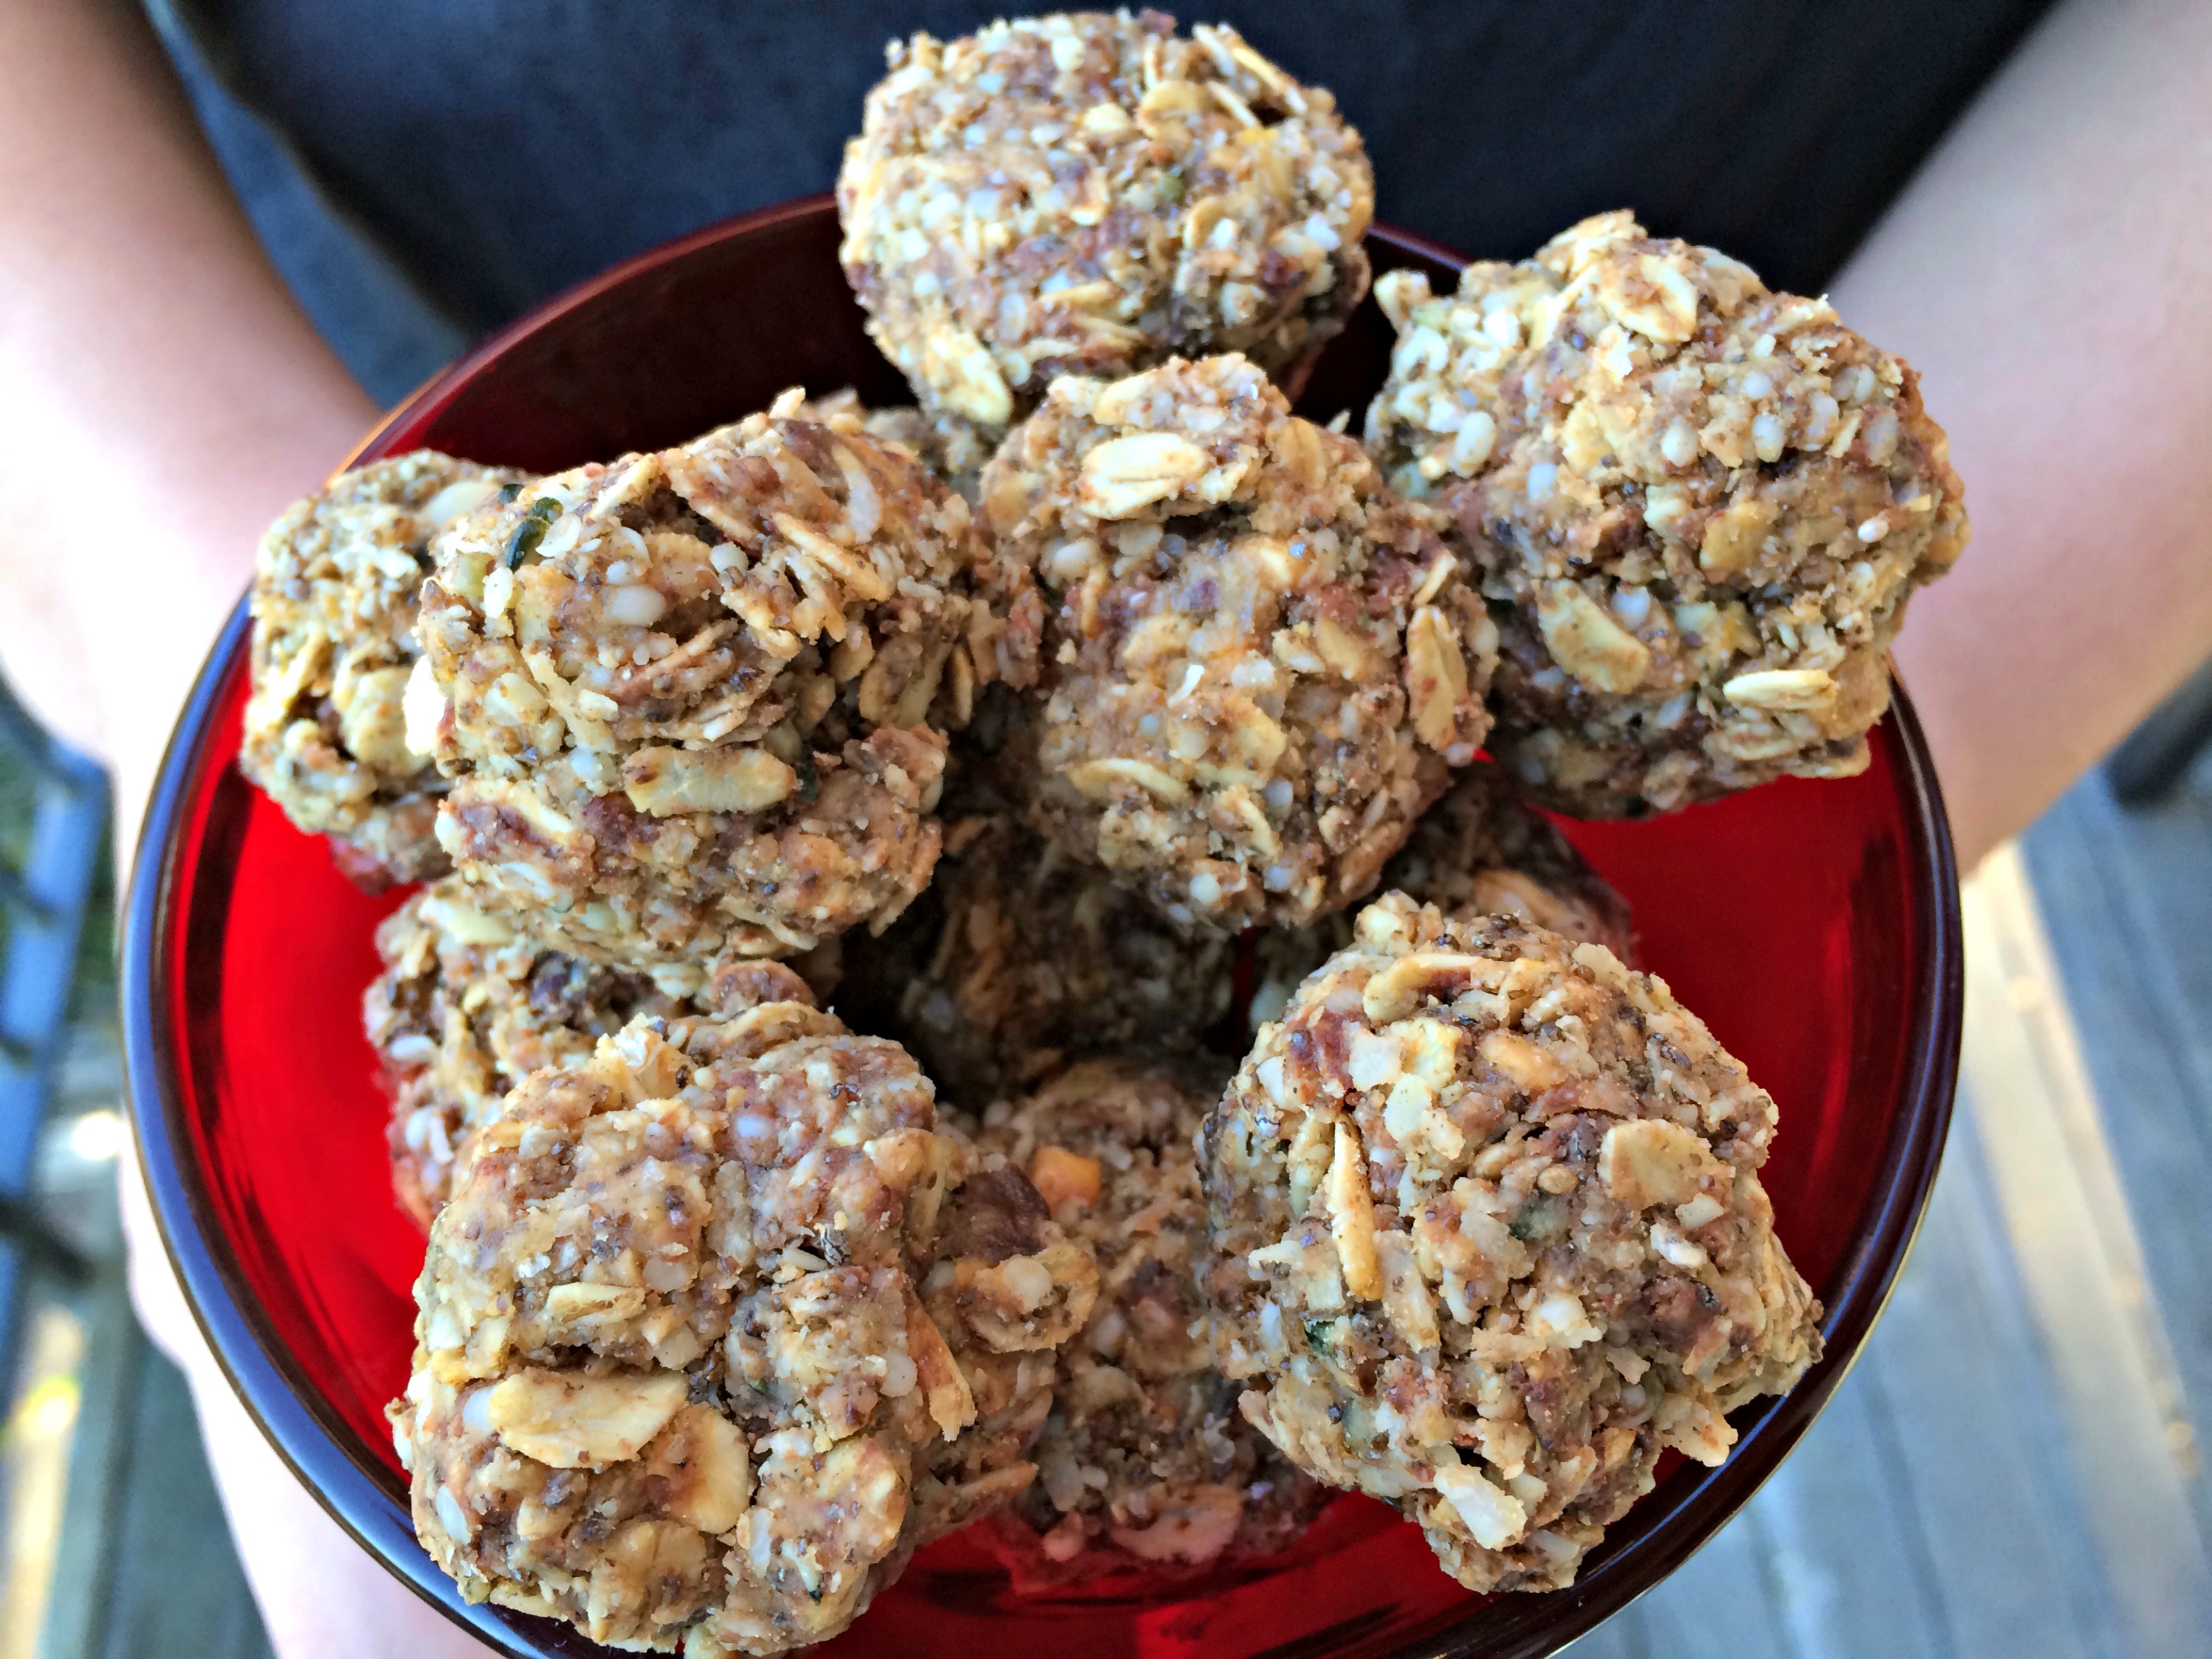
I found it was easiest to squeeze the dough into balls instead of trying to roll them.  They don’t look too pretty but they sure taste good.

Chocolate Chip Seed Balls

Ingredients

  • 1 cup of dry oatmeal
  • 1/2 cup coconut flakes, unsweetened
  • 1/2 cup of hemp seeds
  • 1/4 cup of chocolate chips
  • 1/2 cup of peanut butter or other nut butter of choice
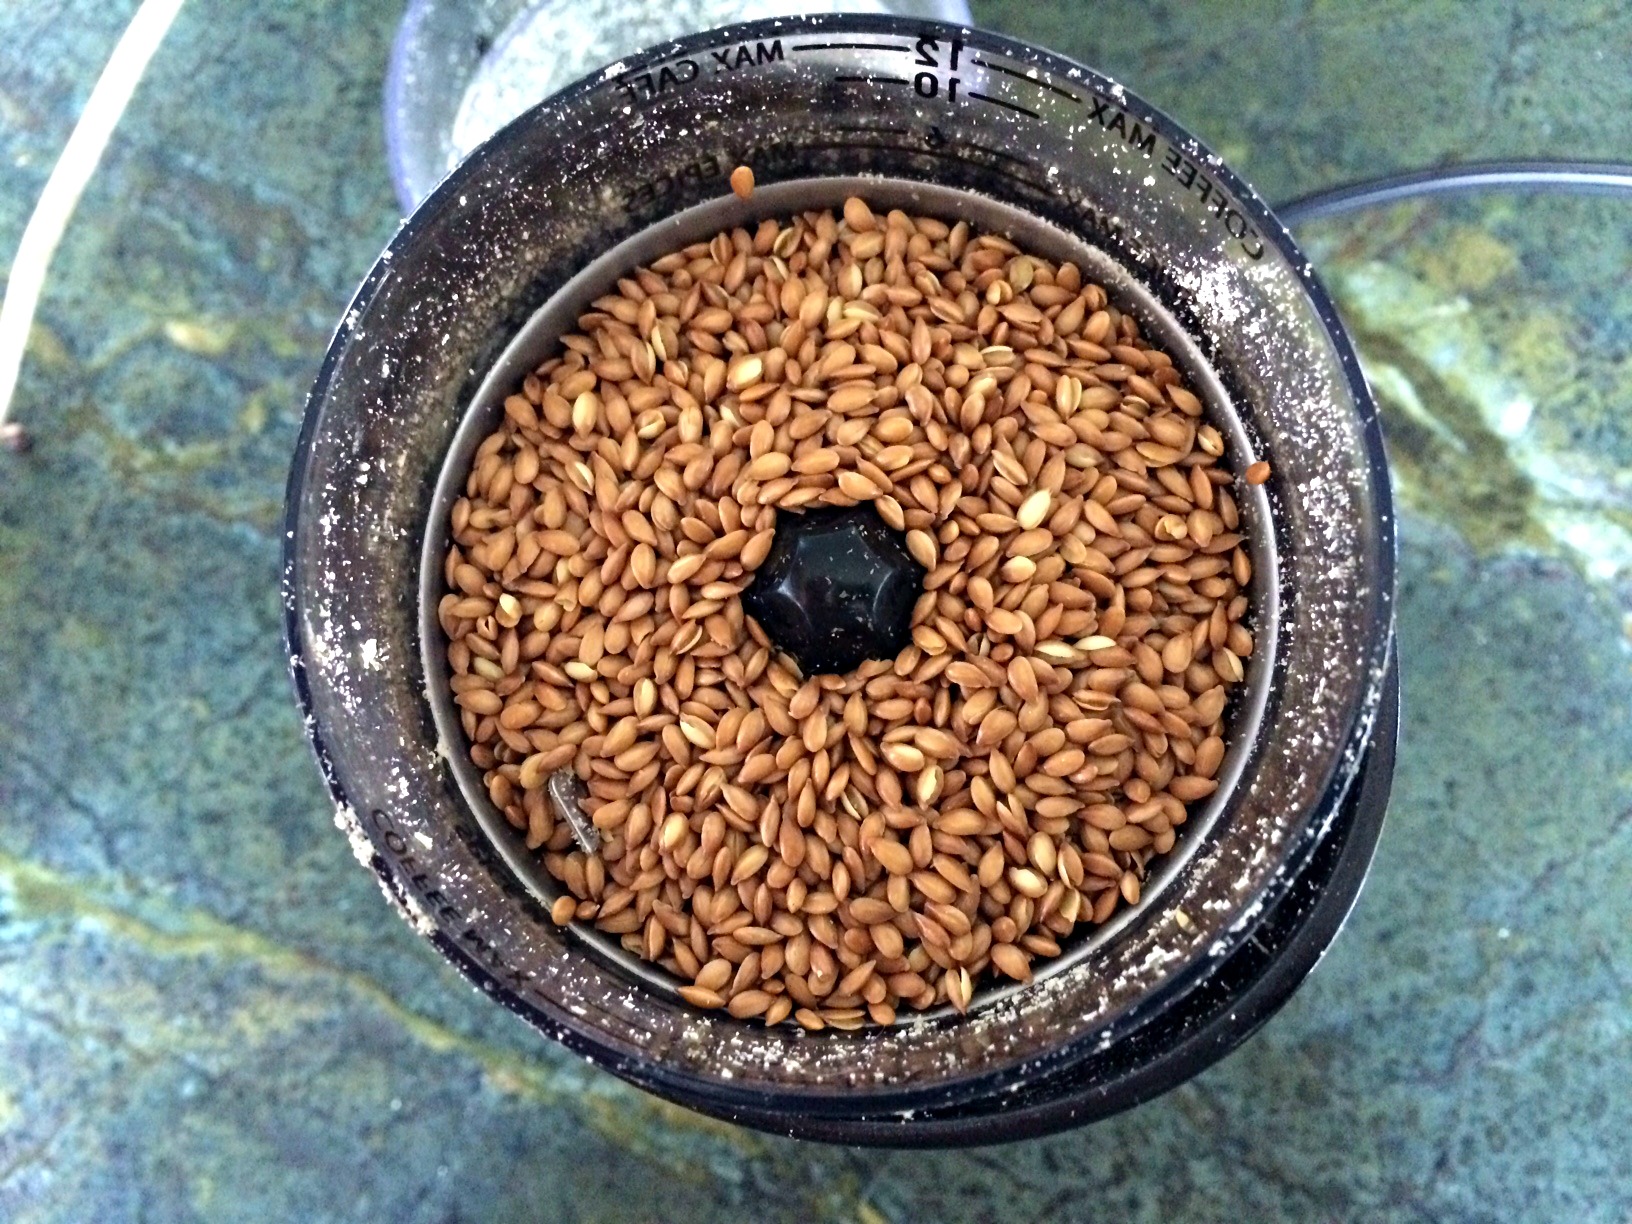
  • 1/2 cup of ground chia seeds
  • 1/3 cup of maple syrup
  • 1 tsp of vanilla
  • 1-3 tsp of almond milk

Instructions

  1. Put peanut butter and maple syrup in a small pot on the stove.
  2. Slowly heat, stirring to combine .
  3. While peanut butter heating on stove, add oats,coconut, seeds, chocolate chips and vanilla to a large bowl.
  4. When peanut butter and syrup combined, add to dry mixture.
  5. Stir to combine.
  6. Add almond milk as need to make sure dough is wet enough to stick together.
  7. Once well combined, chill in the fridge for 30 minutes.
  8. After 30 minutes, remove from fridge and roll into balls.
  9. Enjoy!
  10. Store leftovers in airtight container in the fridge.
http://www.nourishedrootspdx.com/blog/chocolate-chip-seed-balls/

This post contains affiliate links.

Chocolate Chip Quinoa Snack Bars

IMG_1143In my never ending quest for new snack options for my boys, I have tried some strange combinations.  It can be so hard to find something they like that is not loaded with sugar or additives.  Making my own snacks can be a good option but I don’t always have the time for complicated recipes.  I was so happy when I saw this recipe for Quinoa Bars from My Whole Foods Life .  It was easy and had very few but yummy ingredients.  I love quinoa- every cup has 8 grams of protein, 5 grams of fiber and is a good source of manganese, magnesium, folate, phosphorous and B vitamins.  It is a gluten free seed with some serious nutrition!  I had never tried quinoa flakes before so was curious to see what they were like.  I bought Ancient Harvest Quinoa Flakes.  They were so nutty and yummy that I used them again this am in some chia seed pudding.  I could see a lot of uses for them!

I wanted to make a few tweaks to the recipe but pretty much left it as it was designed.  I decided to add some chocolate chips to these bars to entice my boys to eat them.  I really like Enjoy Life Semi-Sweet Chocolate Chips because they taste like regular chocolate chips but are gluten, soy and dairy free- so yummy!  Finally, I had a weird assortment of nut butters that I cobbled together because I didn’t have much of any particular type.  I used  Mara Natha All Natural Roasted Almond Butter, Maranatha Cashew Butter and a tiny bit of a local pumpkin seed butter.

The recipe from My Whole Foods Life was for raw bars but I wanted to try to bake them to see if I could get them to hold together better.  (I often find my raw bars tend to be crumbly.)  I wasn’t sure if it would help but decided to give it a shot.

IMG_1142

Chocolate Chip Quinoa Snack Bars

Ingredients

  • 2 1/2 cups quinoa flakes
  • 1 heaping cup almond butter (I used a combination of almond, cashew and pumpkin)
  • 1/3 cup maple syrup (you could substitute honey)
  • 1/4 cup coconut oil
  • 2 tsp cinnamon
  • 1 tsp vanilla
  • 1/4 cup of chocolate chips
  • 1/2 tsp sea salt

Instructions

  1. Preheat oven to 350 degrees.
  2. Place quinoa flakes in bowl with cinnamon, and salt.
  3. Heat nut butters, syrup, coconut oil and vanilla over low fire until well combined.
  4. Stir wet ingredients into dry ingredients.
  5. Add chocolate chips. They will melt if you don't allow the dough to cool. I like them melted so didn't cool the dough.
  6. Spread dough in 8X8 parchment lined pan.
  7. Press down firmly to compress the dough.
  8. Place in oven for 20-25 minutes depending on your oven.
  9. Allow to cool and then enjoy.
http://www.nourishedrootspdx.com/blog/chocolate-chip-quinoa-snack-bars/

This post contains affiliate links.

5 Great Road Trip Snacks

Road trip picture.

Road trip picture.

Summer  has definitely hit and it seems everyone is on the move.  People are visiting family, headed to the beach or checking out the National Parks.  I can’t wait til we get to hit the road.  Beyond the hassles of packing, boarding the dog and planning the trip, one of my biggest concerns is what to bring for car snacks. I don’t want to undue all the healthy eating we have been doing at home by failing to be prepared!!  It never fails that we have barely made it out of the driveway and the kids are already asking what we have to eat.  I have been giving this a lot of thought and this year I am prepared.  Here are five snacks I will be packing.

Blueberries.

Blueberries.

Blueberries.  Blueberries are an amazing car snack.  Pick or buy them, wash them and then store them in your container of choice.  They are a tasty, healthy, sweet alternative to candy and other junk food you might be tempted to pack.  Plus they provide a shot of anti-oxidants, vitamin C and fiber.  Perfect to keep you regular when your routine is out of whack.  Read more about the benefits of eating berries here.

Nut butter stuffed Dates

Nut butter stuffed Dates

Nut Butter Stuffed Dates.  These portable little beauties offer a hint of sweetness with a little bit of salty thrown in.  There are currently so many options for different nut butters.  I often use pistachio but experiment with what is your favorite.  Here is a recipe but they are so simple to create.  Just slice the date down one side, remove the pit and then stuff with the nut butter of your choice.

Trail Mix.

Trail Mix.

Trail Mix.  The great thing about trail mix is it can be completely customized to your own individual taste.  Take the kids to  a store with bulk bins and let them choose what they would like in their own “special” trail mix.  Chocolate chips, nuts, dried fruit, sesame crackers- it is all good!  Just be aware that some dried fruits have added sugar.  Once the kids have chosen their ingredients, you can pack each kid their own bag of “special” mix.

Fermented Blueberry SodaFermented Blueberry Ginger Soda.  This snack takes a little more planning because creating the ingredients for the ginger bug takes about a week.  However, having a cool, refreshing, healthy alternative to soda while on the road is well worth it.  Plus it will provide your gut with healthy probiotics while you are traveling. Here is the recipe for Fermented Ginger Blueberry Soda.

Yum!  A whole container of granola!

Yum! A whole container of granola!

Granola.  Jane’s Chocolaty Gluten Free Granola is a great road trip food.  Portable, healthy and no refrigeration required.

These are just a few ideas!  I would love to hear about what other families take on their road trips.

Shared with REal Food Forager, Gluten Free Homemaker,  Urban NaturaleReal Food Wednesdays and Allergy Free Alaska.

Car Photo by Les Chatfield on flickr with text added by me.

Trail mix photo by Sara Milne on flickr.

Blueberry photo by Mr. TinDC on flickr.

Pistachio Nut Butter Stuffed Dates

Nut butter stuffed Dates

Nut butter stuffed Dates

I am always searching for the quick snack that is the perfect blend of salty and sweet-ready on a whim and easy to grab and go.  These pistachio nut butter stuffed dates meet those requirements.  They  are so easy to make and can be adjusted to include any nut butter you have on hand.  Don’t like pistachios?  Make yourself a walnut butter for a blast of healthy omega-3’s.  Have a jar of almond butter that has been hanging around for awhile?  Grab it, stuff it in some dates and chow down.

I find these dates a perfect snack for pre and post workout.  The nut butter provides a hit of protein for muscle recovery, while the dates give a blast of sugar to help fuel your workout.  ( Even though dates have sugar, they are considered a low GI food because they provide both some protein and fiber to slow the absorption of the sugar.  They are also a good source of  Vitamin B6 and the minerals Potassium, Copper and  Manganese.)

I happened to have pistachios on hand so I decided to make a pistachio nut butter.  However, any nut will do.  I also decided to add some ground flax seed to add some healthy omega- 3s.

Flax seeds ready for grinding.

Flax seeds ready for grinding.

I pre-ground the flax seed in a coffee grinder because I find my food processor has a difficult time grinding them finely. dates

Pistachio Nut Butter Stuffed Dates

Ingredients

  • Pitted dates
  • 1 cup of pistachios
  • 1/4 cup of ground flax seeds
  • 3 tsp cacao powder
  • 1/4 tsp of salt (taste your butter and adjust based on your taste)
  • 1 1/2 tbs of melted coconut oil (more if needed)
  • coconut for sprinkling

Instructions

  1. Grind your flax seeds.
  2. Slice dates down the middle but not all the way through. You want them to open up but not break in two pieces.
  3. Put pistachios, cacao and salt in food processor.
  4. Begin to grind nuts.
  5. Stop to scrape down sides as needed.
  6. Add oil and flax seeds.
  7. Grind some more.
  8. Nuts will gradually break down and form a crumb texture. Continue grinding until crumbs begin to stick together and a nut butter forms. This may take a few minutes.
  9. Carefully spread nut butter in the inside of the dates.
  10. Sprinkle with coconut.
  11. Enjoy!
http://www.nourishedrootspdx.com/blog/pistachio-nut-butter-stuffed-dates/

What nut butter would you like to try?

Shared with Food Renegade, Today’s Creative Blog, Six Sisters Stuff, A Southern Fairy Tale  and The Idea Room.

Related Posts Plugin for WordPress, Blogger...