In my hunt for more snack foods, I have always been intrigued by all the ball recipes I see on the web. I have posted a few of my own recipes over the last year. ( Check these balls out and these are super yummy too.) I like to try to make all my balls bursting with flavor while still including lots of amazing, energy producing ingredients. My latest ball incantation meets all these requirements.
Here are all the healthy ingredients mixed up and ready to head into the fridge to help them stick together. Putting them in the fridge for about 30 minutes is key to helping them hold together. I definitely advised making sure you don’t skip this step!!
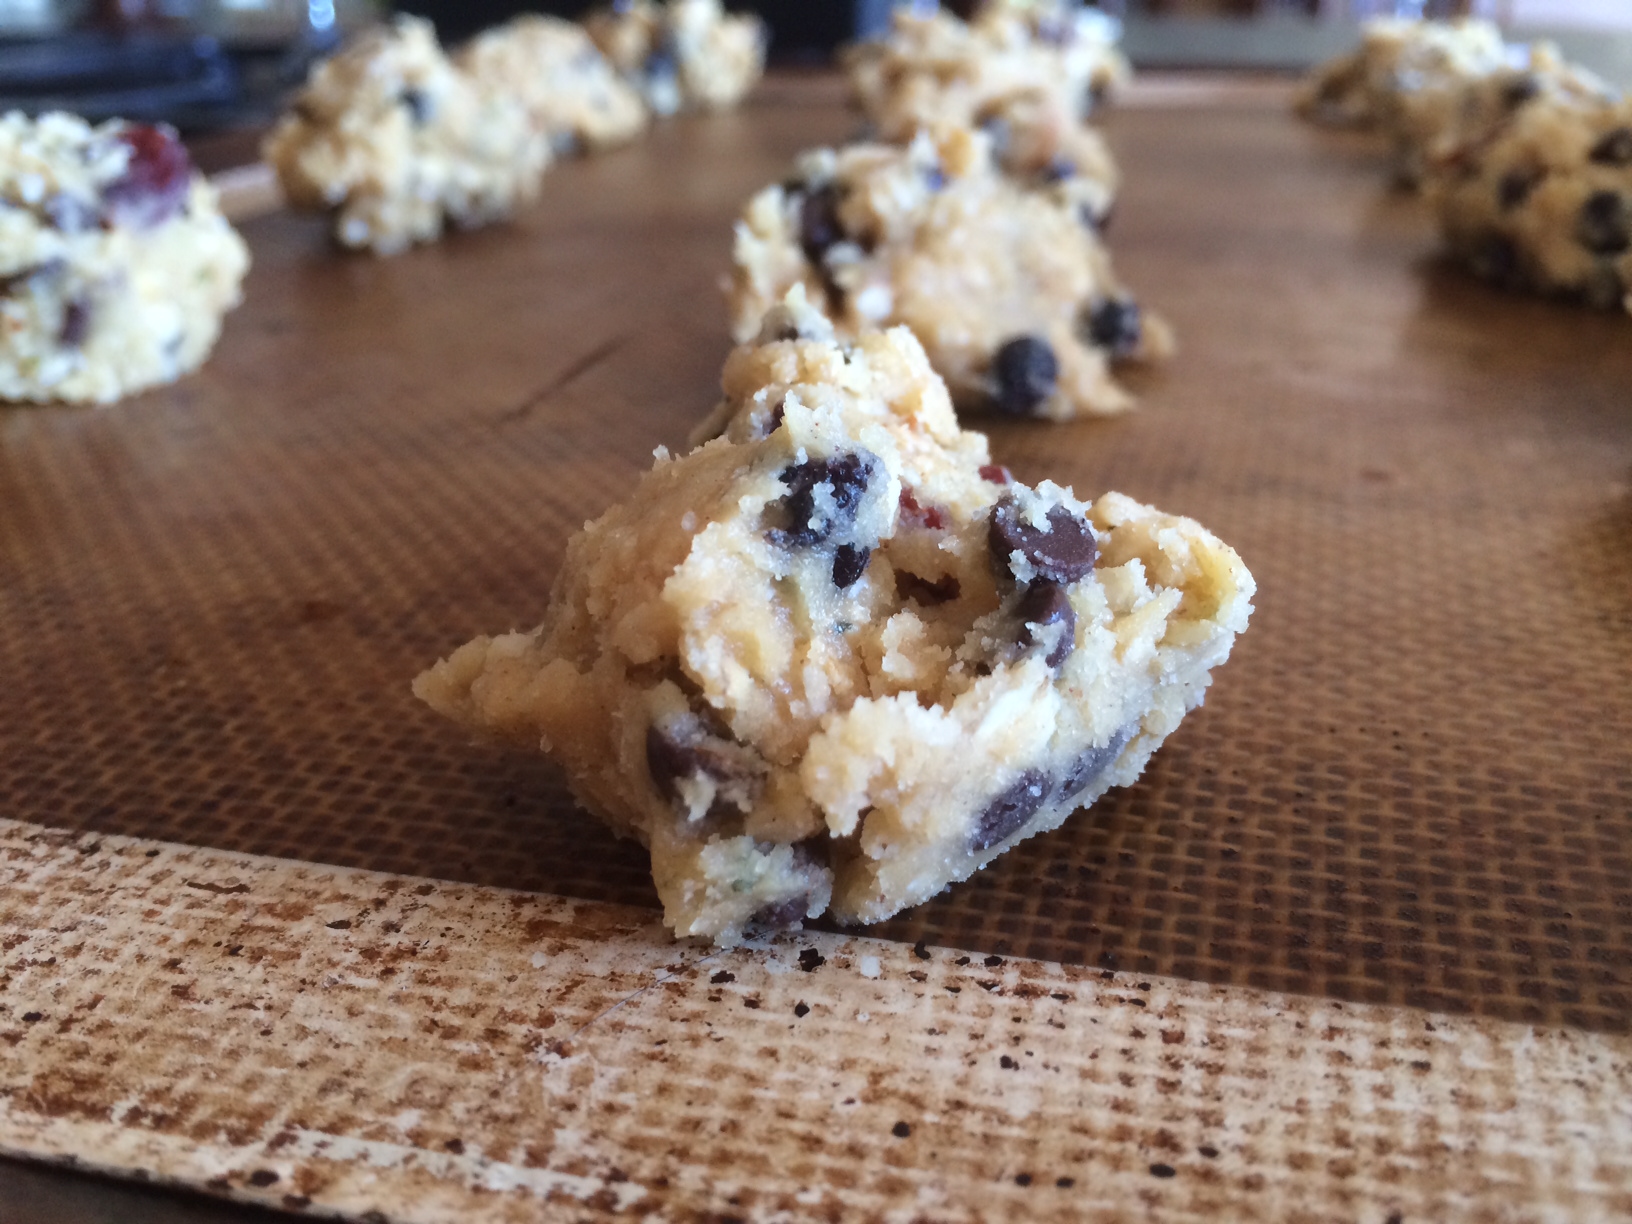
I found it was easiest to squeeze the dough into balls instead of trying to roll them. They don’t look too pretty but they sure taste good.
Finished pancakes about to be slathered with peanut butter.
I love the Fall because it signals to me that I should start eating pumpkin again. Now, I love just about any squash but there is something so yummy about pumpkin. I also really love breakfast. In fact, I think it is my most favorite meal of the day! Imagine my delight when I can combine two things I love in one sitting- breakfast and pumpkin? It doesn’t get much better than that! That is why I love this recipe for Gluten Free Pumpkin Pancakes. (I made this recipe with butter and eggs but it is really easy to convert to a vegan recipes by substituting coconut oil for the butter and flax eggs for the chicken eggs.)
These pancakes are amazing because they combine tons of different warming spices like cinnamon, cloves, ginger and nutmeg- perfect to warm and nourish the body on these cold winter days. These spices signal to me that the holidays are right around the corner!
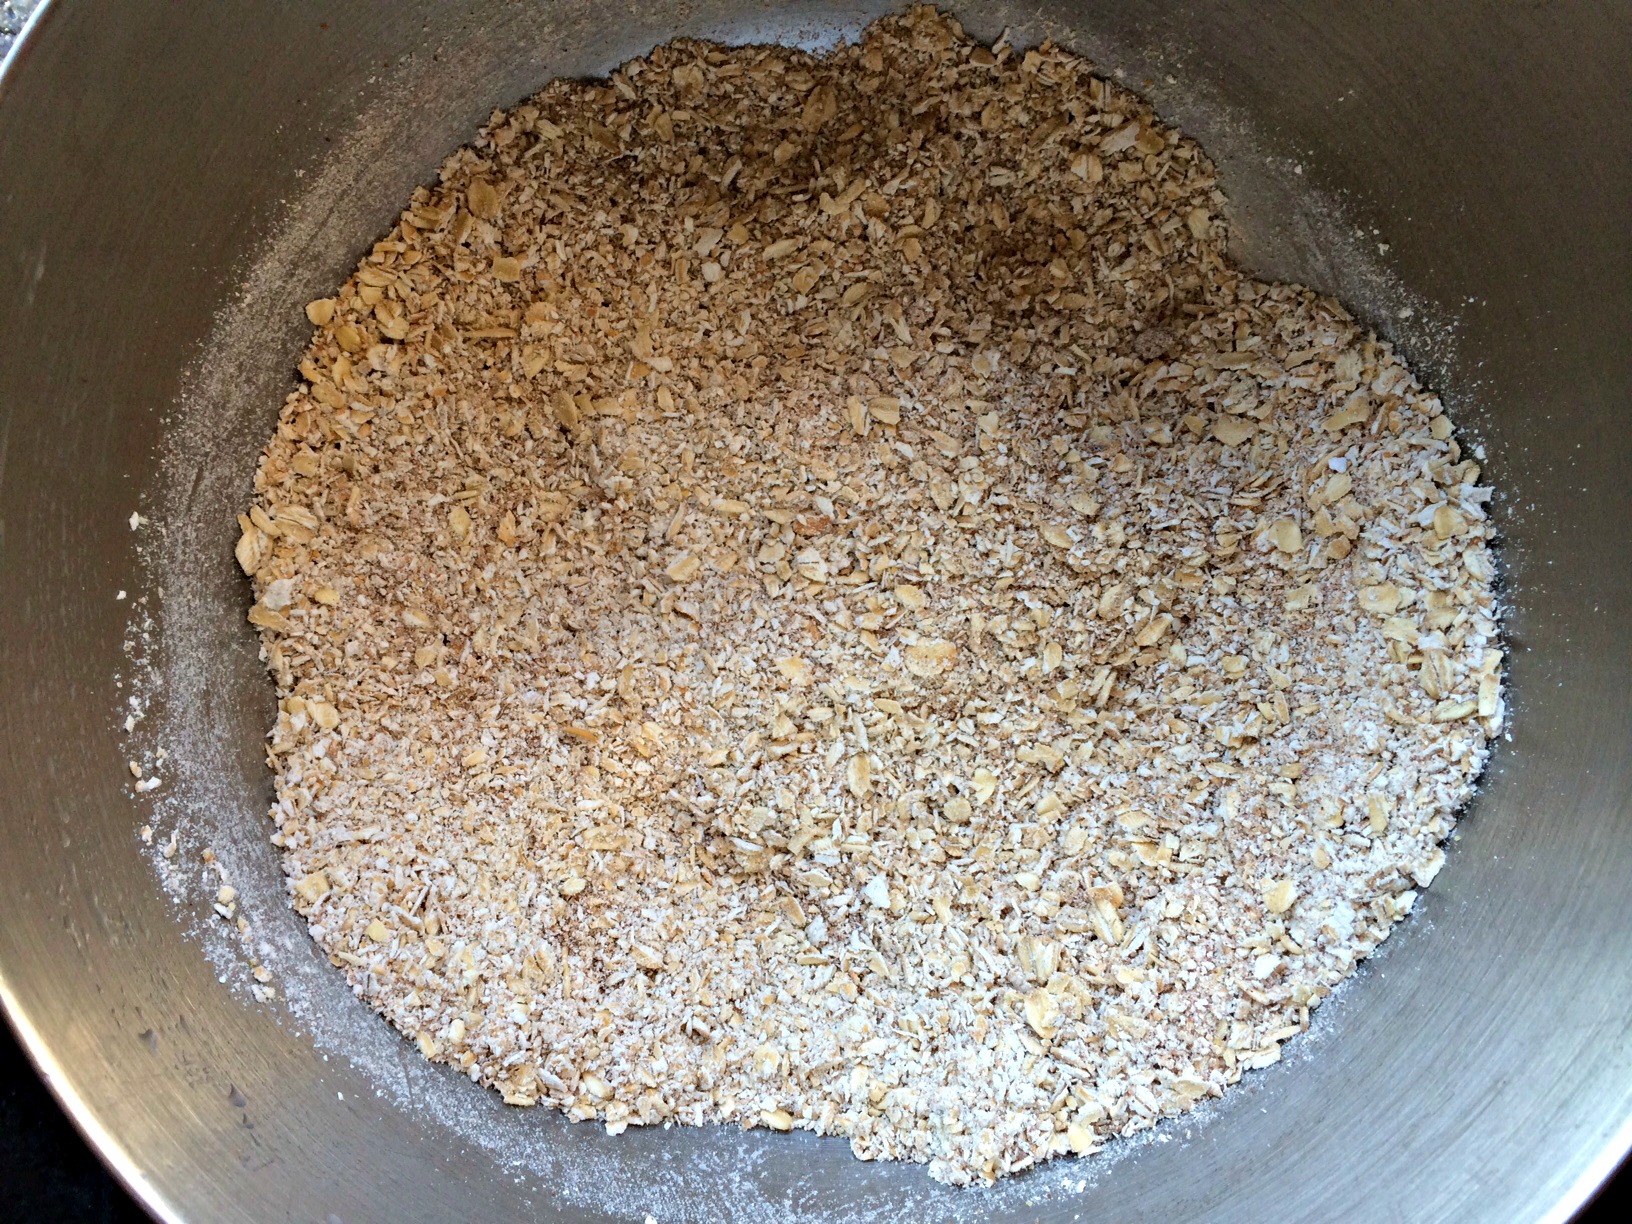
Ground oats.
I used my food processor to grind my oats to make the oat flour. As you can see they still had some oat texture to them. ( I found when I made subsequent batches that my Magic Bullet NutriBullet worked like a dream to produce really fine oat flour.) You have to decide if you want your pancakes to have more texture to them or if you prefer a more traditional finely ground flour. Also, if you have someone in your life with gluten issues, be sure your oats say gluten free on the package. Bob’s Red Mill Gluten Free Whole Grain Rolled Oats is an excellent brand.
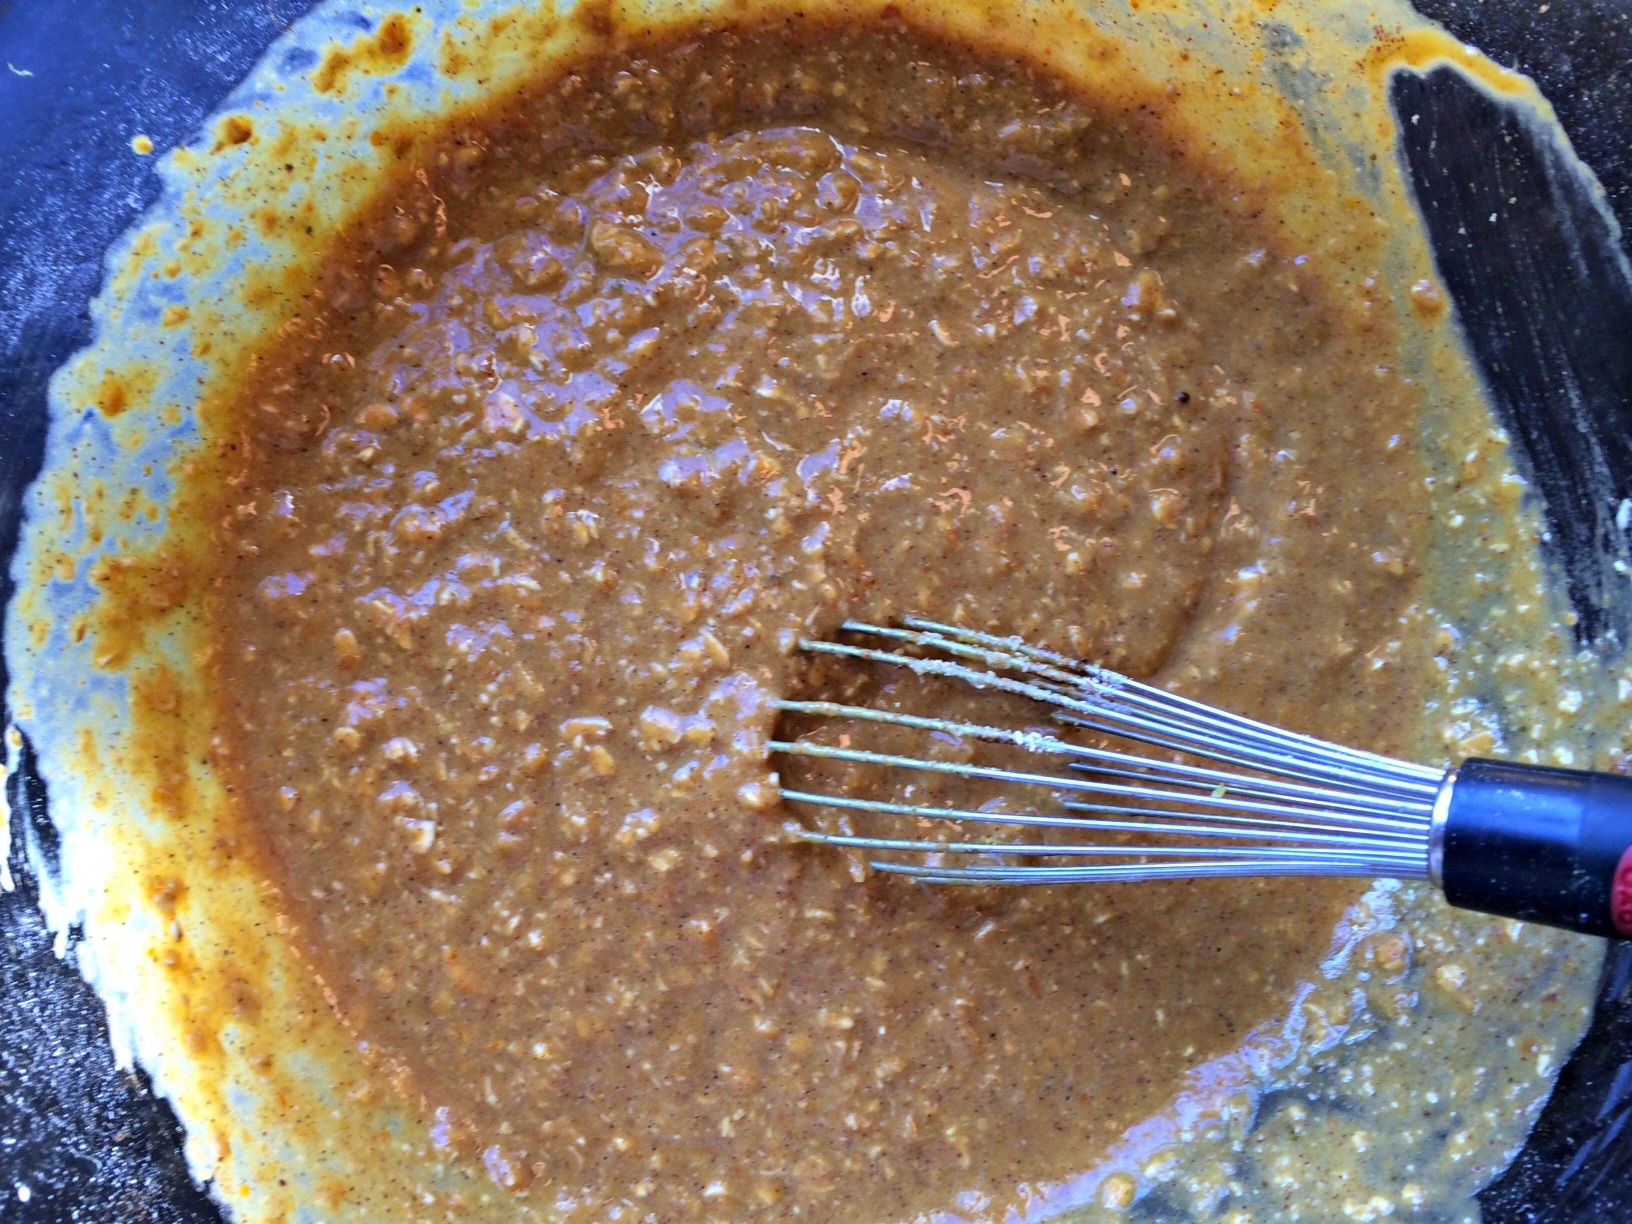
Wet Ingredients.
I love the amazingly vibrant color of the wet ingredients in this photo. You always hear about “Eating the rainbow” to maximize health. When I look at this picture, I can just imagine all the healthy beta carotene headed into my body with every bite of pancake! Extremely high in fiber and low in calories, pumpkin is loaded with disease-fighting nutrients, including potassium, pantothenic acid, magnesium, and vitamins C and E.
Your immune system is your body’s natural defense system against foreign invaders like parasites, bacteria, viruses, microbes and toxins. It is designed to differentiate the cells that make up your body and eliminate the ones that are foreign. Your body uses an army of white blood cells to defend itself. Macrophages, a type of white blood cell found in almost all cells of the body, are constantly patrolling your body, looking to destroy any germs as soon as they enter. These cells are considered your ‘natural’ or inborn immunity. However, if an infection begins to take hold, your body fights back with the more powerful, specialized T- and B-cells. These cells give you acquired immunity because they remember the germs that attacked you in the past, so that same germ can never make you as ill again. Nourishing your immune system is very important for your overall health.
Foods to Boost Immunity
Improve Your Gut Health: Your gut is an important line of defense against foreign invaders. It fights any food born bacteria or parasites. Adding fermented foods and beverages like kombucha, kefir, yogurt, sauerkraut and fermented vegetables to your diet will improve your gut health. Consider taking a daily probiotic, especially one containing lactobacillus reuteri which helps stimulate the white blood cells.
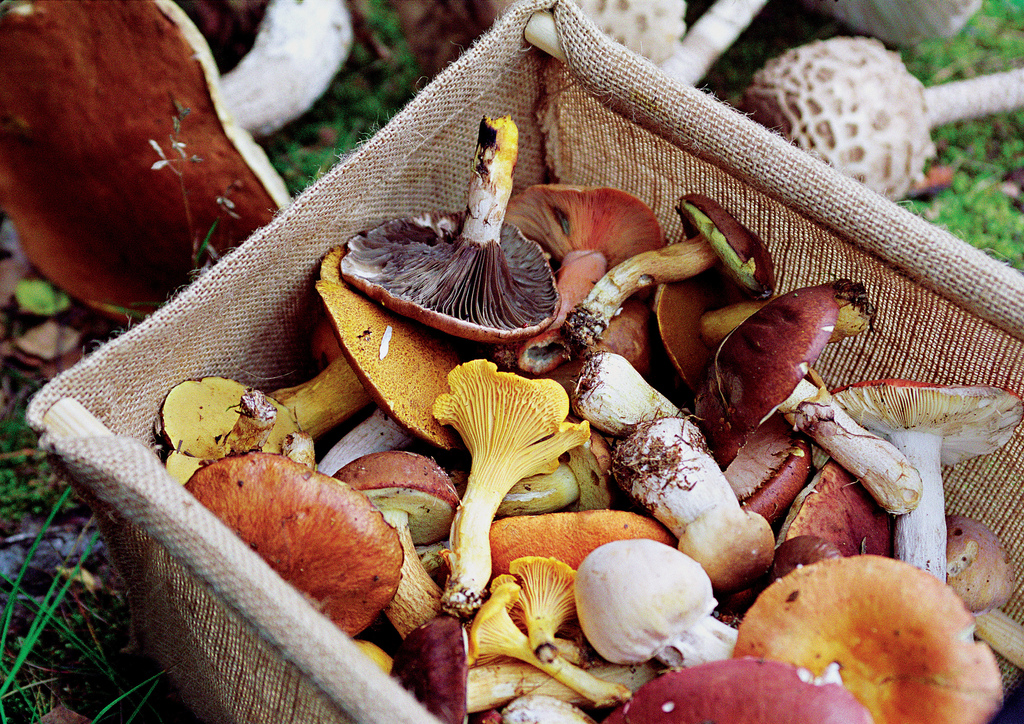
Eat mushrooms: Certain types of mushrooms such as emoki, reishi, shitake or oyster contain polysaccharides which help activate the immune system. Each mushroom species has a unique arsenal of anti-infective and immunomodulating agents so consuming a variety of mushrooms is important. Mushrooms have been studied for their cancer fighting abilities and are known to be antiviral, anti-inflammatory, antiparasitic, and anti-tumor.
Take care of your liver: Your liver is your body’s main detoxification agent. Ensure its health by eating cruciferous vegetables like kale, cabbage and broccoli. Asparagus, green tea, beets and leafy greens have also been found to promote liver health. Drinking a cup of dandelion tea will further support the liver. Limiting exposure to toxic chemicals and alcohol will minimize the stress on your liver, ensuring its optimal functioning.
Eat Oats and Barley: One serving a day of oats and/or barley can be a boost to your immune system and is even thought to help with wound healing. Beta-glucan, a fiber found in oats and barley, is anti-microbial and an anti-oxidant.
Add ginger to your diet: Ginger has traditionally been used to help treat nausea and vomiting. In Traditional Chinese Medicine, it is considered a warming spice which can contribute to sweating. German researchers have found a substance in sweat that provides protection against invading microorganisms, including bacteria such as E. coli and Staphylococcus aureus (a common cause of skin infections), and fungi, including Candida albicans. Gingerols, the main active components in ginger, has been found to inhibit the growth of human colorectal cancer cells and to kill ovarian cancer cells. Ginger tea may also be used to clear nose and throat congestion.
Add garlic and onions to your food: Both garlic and onions are members of the allium family of plants. They contain allicin which has been shown to fight bacteria and infections. Studies show that adding these plants to your diet decreases your likelihood of catching a cold. Both garlic and onions are considered warming, pungent foods in Traditional Chinese Medicine. Pungent foods promote circulation of energy and blood, sending energy out and up. They stimulate digestion and help break down mucus. Warming foods heat us up from the inside out.
Add shellfish to your diet: Oysters, lobster, crabs and clams are rich sources of selenium. Selenium has been shown to help white blood cells make cytokines, proteins that can help clear the flu. Two servings a week are recommended. Also, eating just 1-2 Brazil Nuts a day is enough to meet your selenium requirements.
Enjoy chicken soup: Chicken soup blocks the migration of inflammatory white cells from accumulating in the bronchial tubes. When chicken is cooked, it releases cysteine, an amino acid that chemically resembles actylcysteine, a bronchitis drug. Also, the garlic, onions and spices help boost immunity. The soup adds hydration to the body and the salt, steam and heat from the soup can help thin mucus, making it easier to expel. It can also soothe irritated passageways in your nose and throat.
Drink green and black tea: Researchers believe tea’s benefits come from its high content of polyphenols and phytochemicals. Not only will a warm cup of tea bring warmth into the body, it can help regulate blood sugar, aid in weight loss, fights cancer and may potentially prevent the onset or slow the progression of dementia.
Eat Berries: Berries are rich in Vitamin C and bioflavonoids, phytochemicals found in fruits and vegetables that may work as antioxidants and prevent injury to cells. Eat a variety of different colored berries because their differences of colors signal the various immune boosting chemicals within. Blueberries, with their deep, rich blue color, are considered especially potent for boosting the immune system.
Supplements to Boost Immunity
Zinc: Zinc is known to play a key role in the immune system. Research shows that zinc affects multiple aspects of the immune system, from the barrier of the skin to gene regulation within lymphocytes. Zinc can also function as an anti-oxidant and it helps form white blood cells. Good sources of zinc include beef, oysters, pork, poultry, yogurt, milk, sunflower and pumpkin seeds. Aim for 8-11 mg/day. Adults can take up to 40 mg/day from both food and supplements to fight colds but to minimize irritation to the stomach, take zinc with food. For the common cold, zinc lozenges should be started within 24 hours of the onset of cold symptoms. Continue taking the zinc lozenges every two to three hours until the symptoms are alleviated. Zinc may interact with some medicines such as birth control pills and some antibiotics so check with your health care provider.
Vitamin D: A Vitamin D deficiency has been associated with increased autoimmunity as well as an increased susceptibility to infection. Vitamin D seems to be important for activating the t-cells of the immune system. Many people, particularly in northern climates or in the winter are suspected to have a Vitamin D deficiency. A simple blood test by your doctor can determine your vitamin level. It is difficult to reach adequate levels of Vitamin D with food alone so supplementation with Vitamin D3 may be necessary. Food sources of Vitamin D include cod liver oil, salmon, sardines, milk, tuna and eggs.
Vitamin A: Vitamin A is important for maintaining healthy skin. Skin needs to be healthy to repel all the pathogens and bacteria it comes in contact with. Vitamin A also helps maintain mucosal surfaces by keeping your mucous membranes and skin properly nourished to function as a barrier against harmful viruses and bacteria. Vitamin A deficiency is associated with increased response to common gastrointestinal and lung infections and poor responses to vaccines. There is also evidence that in addition to its regulatory role, Vitamin A may help to stimulate the pro-inflammatory immune response to overcome infection. Beta carotene, the precursor of Vitamin A, may be found in orange vegetables like sweet potatoes, carrots, squash, pumpkin and cantaloupe. Men should get 3000 IU a day and women 2300 IU a day of vitamin A.
Vitamin C: The jury is still out on Vitamin C’s impact on the immune system. Many studies have looked at Vitamin C in general; unfortunately, many of them were not well designed. However, it is thought Vitamin C may work in conjunction with other micronutrients rather than providing benefits alone. Vitamin C is considered a powerful antioxidant. Meta-analysis of Vitamin C studies has shown the prophylactic intake of Vitamin C may slightly reduce the duration of the illness in healthy persons but does not affect its incidence and severity. The recommended daily amount for men is 90 mg/day and woman require 75 mg/day. If you smoke, add 35 mg a day to these amounts.
Oregano essential oil: is an anti-bacterial and anti-inflammatory oil that strengthens the immune system. It can be diluted in water and drank to combat a sore throat or added to a vaporizer and inhaled to break up mucus. It’s typically used for a short period of time (7-10 days or so) to fight illness. Not recommended during pregnancy, for infants and children or for people with high blood pressure.
Elderberries: are rich in flavonoids and vitamins A, B, and C, making them an important support for a healthy immune system. Adults take 1 tablespoon and children take 1 teaspoon. It can be taken daily as a preventive and for immune support. While sick, take the standard dosage every 2-3 hours until symptoms are gone.
Echinacea: Studies have shown Echinacea to help boost white blood cells and increase the activity level of macrophages, infection fighting white blood cells. Echinacea also appears to shorten the duration of colds if given as soon as symptoms appear. It should not be taken by people on heart or anti-fungal medication. Also, people allergic to plants in the daisy family, may experience allergic symptoms with Echinacea.
Astragalus Root: Astragalus root has a long history as a health tonic in Traditional Chinese Medicine. It is known to increase the white blood cell count, stimulate the growth of antibodies and create a resistance to both viruses and bacteria. This herb may be combined with other immune boosting herbs and is thought to be helpful as an adrenal gland fatigue treatment. Drinking the tea is a beneficial way to improve your immune function in the winter. Astragalus tea is a restorative as it boosts energy levels and improves symptoms.
Lifestyle Changes to Boost Immunity
Get Your Sleep: Be sure to get between 7-8 hours of sleep a night. Decreased sleep has been shown to decrease production of flu fighting antibodies.
Spend time with your loved ones: Make time for the people who matter in your life. The more isolated you are, the more stressed you are likely to be. Stressed people are more likely to get sick (see number 3). A recent study found that having at least 6 connections with other people raises your ability to fight an infection by 4 times.
Decrease Stress: People who experience chronic stress have increased likelihood of acquiring illness and increased signs of inflammation in the body. Cortisol, the stress hormone, increases inflammation, increases weight gain (especially around the belly) and suppresses the immune system.
Avoid sugar: Eating just 75-100 grams of sugar a day curbs immune system cells that attack bacteria. Consuming the equivalent of just two sodas reduced the ability of white blood cells to engulf bacteria by 50%, decreasing it ability to fight infection.
Laugh: Laughter has been shown to decrease stress. It also activates protective t-cells and increases antibody production.
Avoid second hand smoke: Exposure to second hand smoke can trigger asthma and allergies, increase ear infections and increase severity of flu symptoms in children.
Get exercise: Studies show inactive people take 2 times as many sick days as active people. It is unclear exactly how exercise helps immunity but theories speculate that exercise seems to stimulate the release of immune cells or helps flush bacteria out of the lungs through sweating and urine or the increased body temperature associated with exercise might prevent bacteria growth. It is also a potent stress reliever which can boost immunity. Moderate exercise seems to be best as extreme athletic training has been shown to compromise immunity.
When I was a kid, occasionally my mom would make Chocolate Chow Mein Noodle Cookies. I, of course, thought they were the bomb and gave no thought to all the processed ingredients in the noodles or conventional chocolate chips! I still often feel a nostalgia for some of the “treats” of my childhood but now I have begun to look for ways to make them healthier. This recipe came out of that nostalgia.
I knew I wanted to keep the feeling of the noodles covered with chocolate but without the unhealthy fat you get from using a fried noodle. I decided to use Bob’s Red Mill Organic Oats to take the place of the noodles. Also, I wanted to incorporate more protein and healthy omega-3’s in this snack so I added Trader Joe’s Organic Tricolor Quinoa, Navitas Naturals Organic Raw Chia Seeds, and Manitoba Harvest Hemp Hearts. I added cinnamon for its blood sugar balancing and anti-inflammatory properties and cardamom to aid in digestion. Finally, instead of using regular milk chocolate, I switched to Newman’s Own Organic Premium Chocolate Bar, 70% for all the heart healthy flavonoids that come with dark chocolate. These were VERY easy to whip up and don’t require any baking!
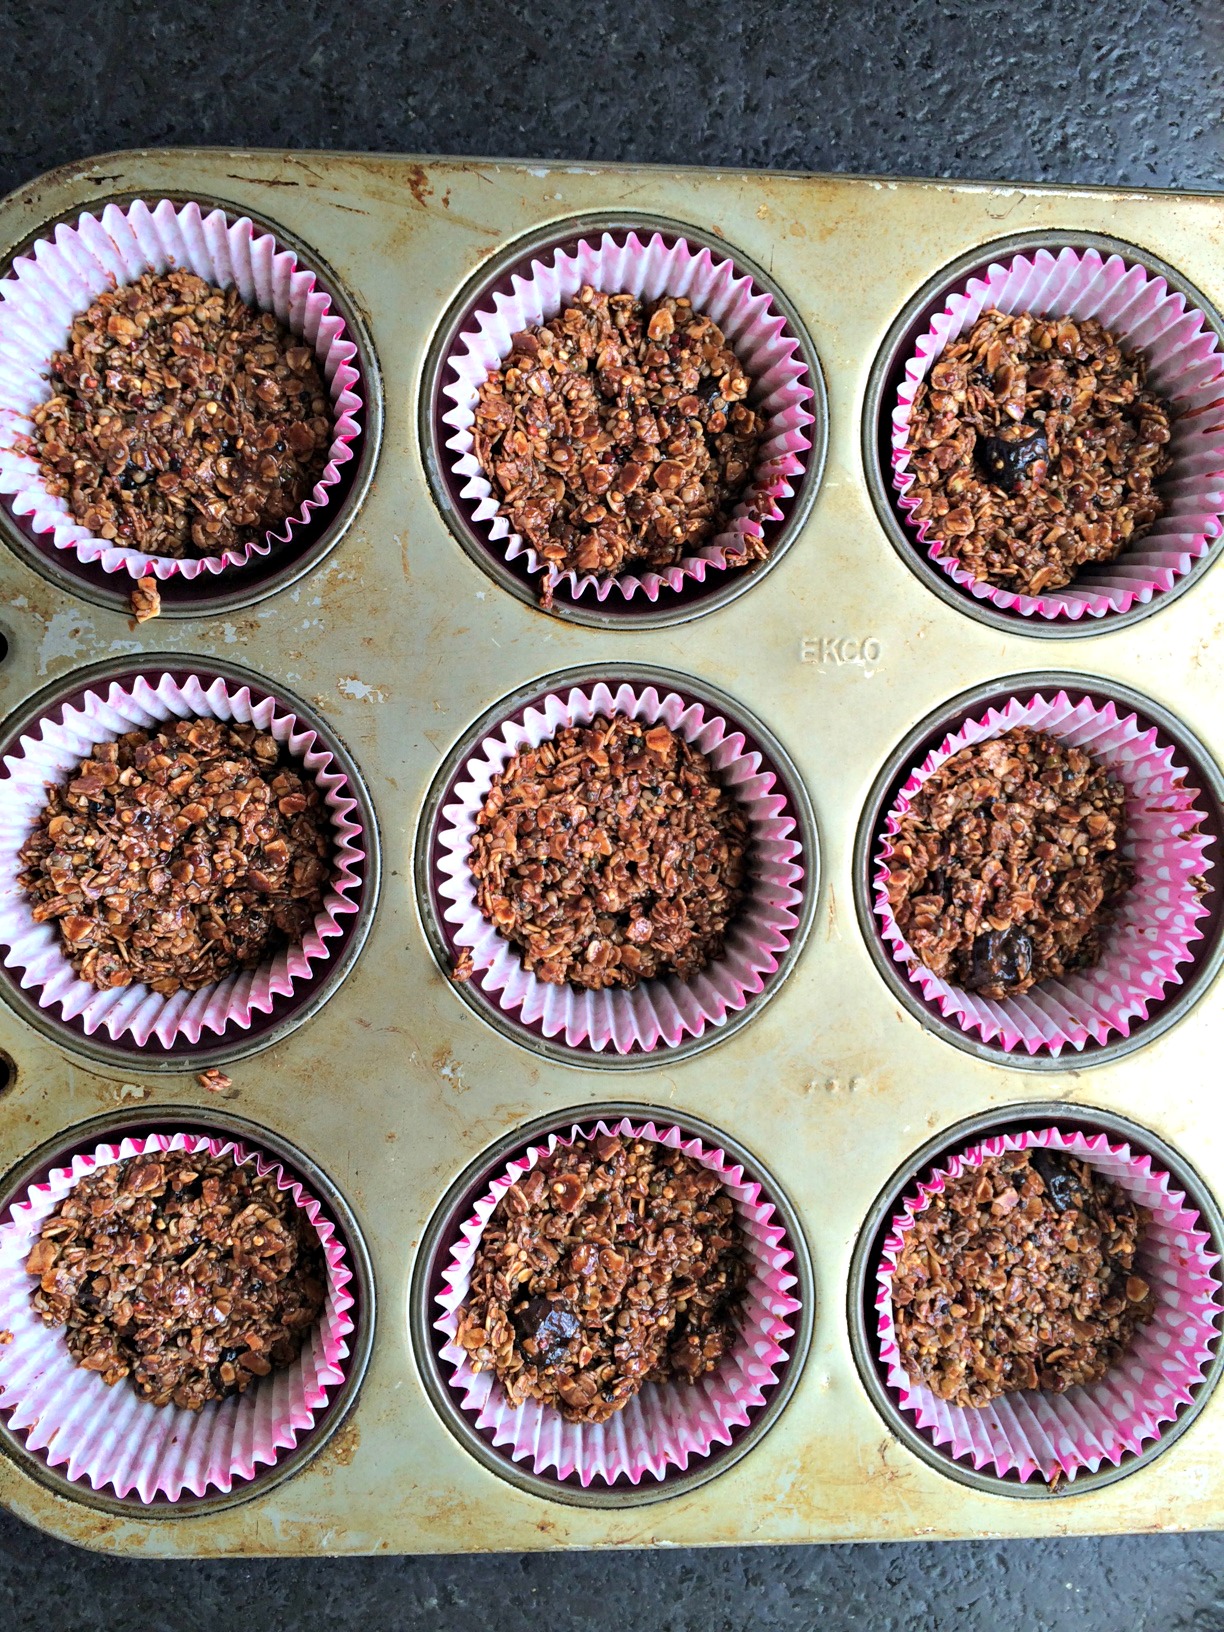
Everything all mixed up and ready to go in the muffin tins.
I made sure to press hard on the oat mixture as I added it to each tin so all the ingredients would be compressed and hold together better.
Chocolate oat mixture before it hits the fridge.
I have to admit, I wasn’t sure how these would end up. I worried the oats wouldn’t offer the same feel as the fried noodles. However, between the oats and the seeds you still got the feel of crunchy, chocolaty goodness! These turned out super yummy! Unfortunately, this recipe only produced 7 treats so the next time I make them, I am going to be sure to double the recipe! (These are best stored in the fridge because the chocolate tends to melt quickly.)
This weekend I went to visit my in-laws near Bainbridge Island, Washington. Bainbridge has an amazing little farmer’s market with talented artisans and beautiful booths filled with produce. When I was there on Saturday, one of the booths was featuring rhubarb and had a recipe for a flourless Strawberry Rhubarb Crumble. Even though I had never cooked rhubarb before and had only eaten it a few times, once I sampled the crisp, I was hooked. My son, mother-in-law and I instantly decided we needed to recreate the crisp for dessert that night.
Beautiful Rhubarb at the farmer’s market.
I loved this recipe because it did not include any gluten or dairy and is pretty light on sugar. I also liked it because it included chia seeds for added omega-3’s. The chia seeds acted as a nutty, crunchy binder in both the filling and the crumble. You can buy Chia Seeds here) The almond meal used in place of flour offered a tasty, nutty flavor I loved. Almonds are high in fiber, Vitamin E, potassium and magnesium. (You can buy Bob’s Red Mill Flour Almond Meal here.)
The strawberries offered a potent dose of Vitamin C and other antioxidants and the rhubarb is also high in fiber, Vitamin C and provides a major dose of Vitamin K, which supports healthy bone growth and can limit neuronal damage in the brain. The oats contributed an extra boost of fiber, manganese and a surprising amount of protein. (You can buy Bob’s Red Mill Oats Rolled Regular here.)
There are so many beneficial ingredients in this crumble that I think you could serve it for breakfast and feel like you have started your day off on the right nutritional foot! I love when a dessert is good and good for you!!
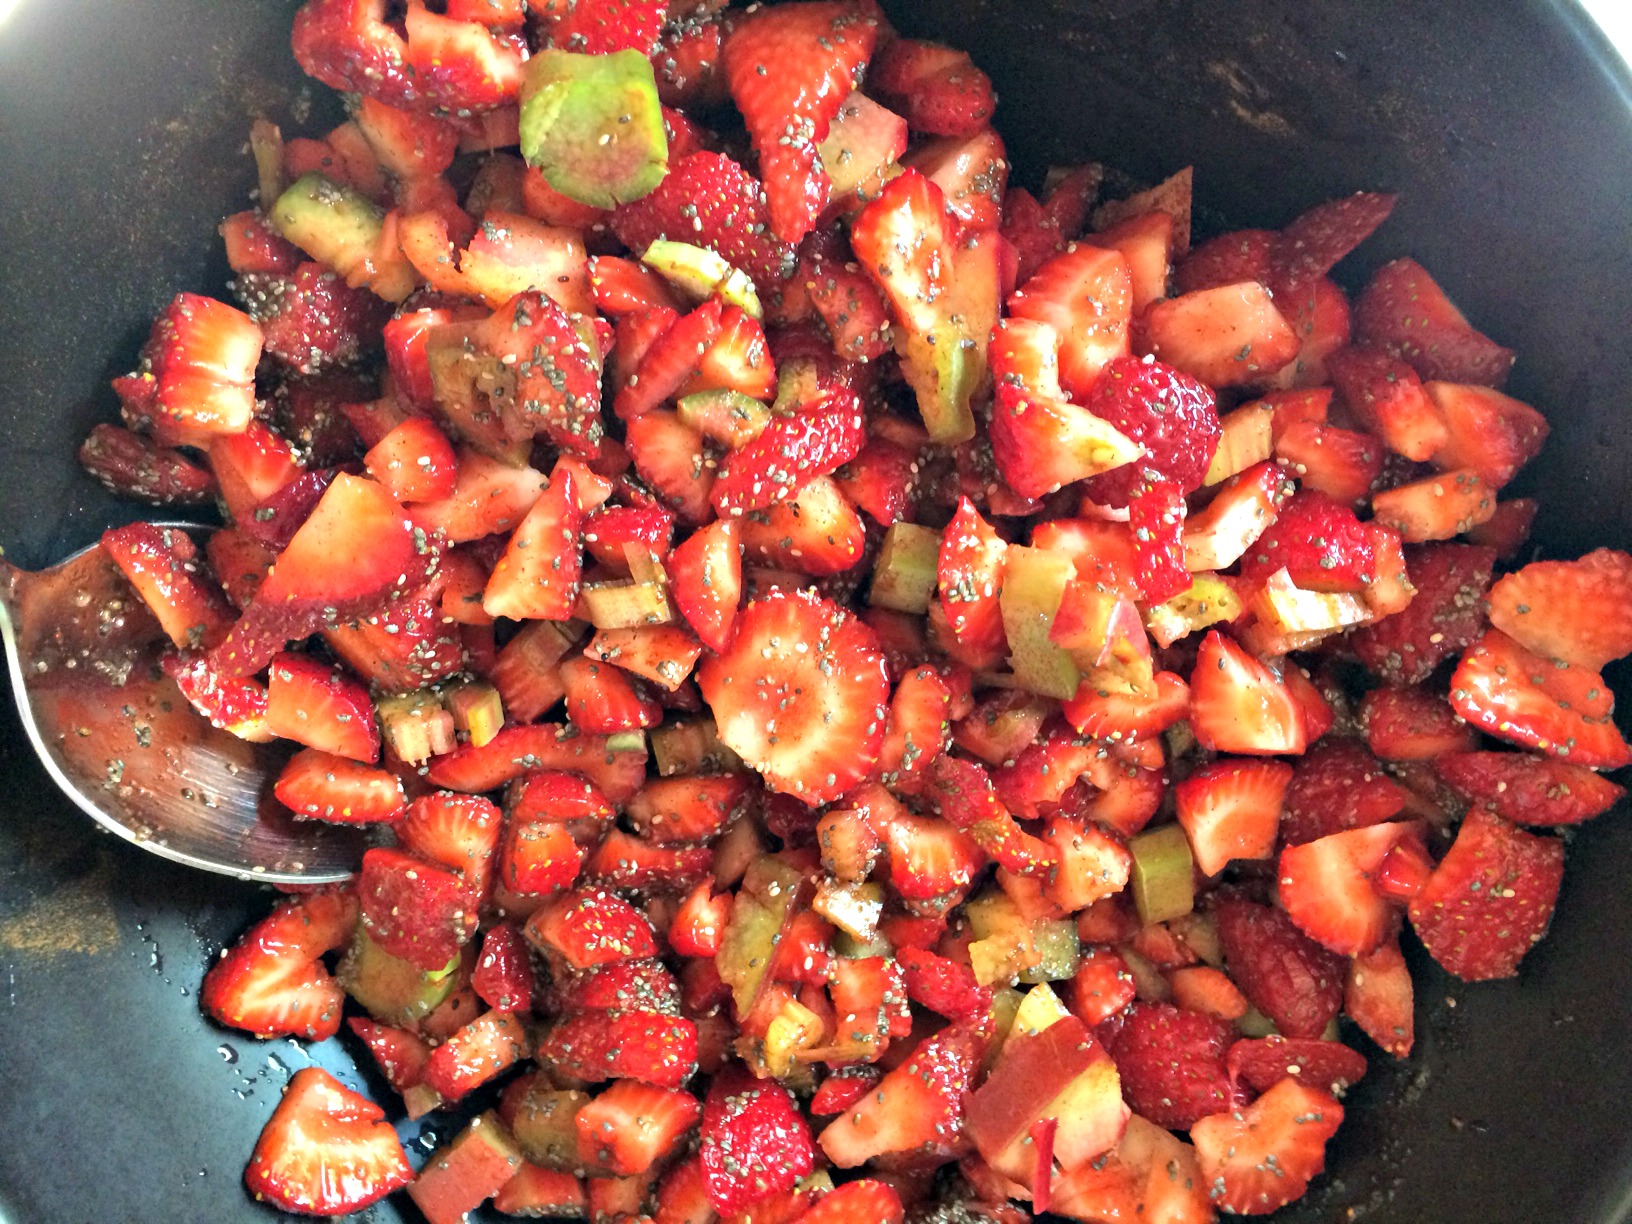
Filling waiting for the crumble topping.
I think I mentioned in a previous post how much my father-in-law loves fruit desserts so he was thrilled when my son pulled this one out of the oven.
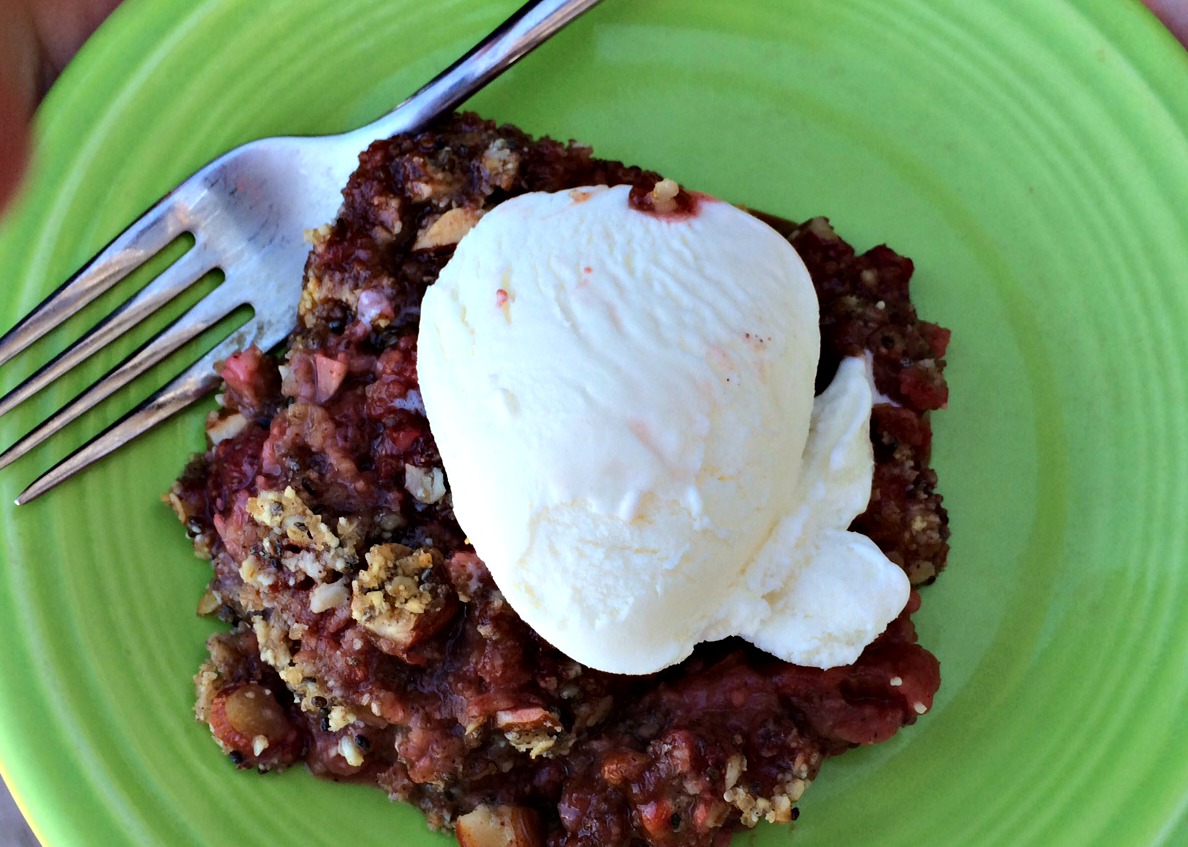
Finished crumble ready for dessert.
Some of us added ice cream to our crumble but if you are dairy free, it was just as good without it.
I have not been shy about my love for the The Oh She Glows Cookbook: Over 100 Vegan Recipes to Glow from the Inside Out cookbook. Every thing I have made from it has been absolutely delicious so when it came time for me to host book club, I knew exactly where I was going to search for a recipe to serve for dessert.
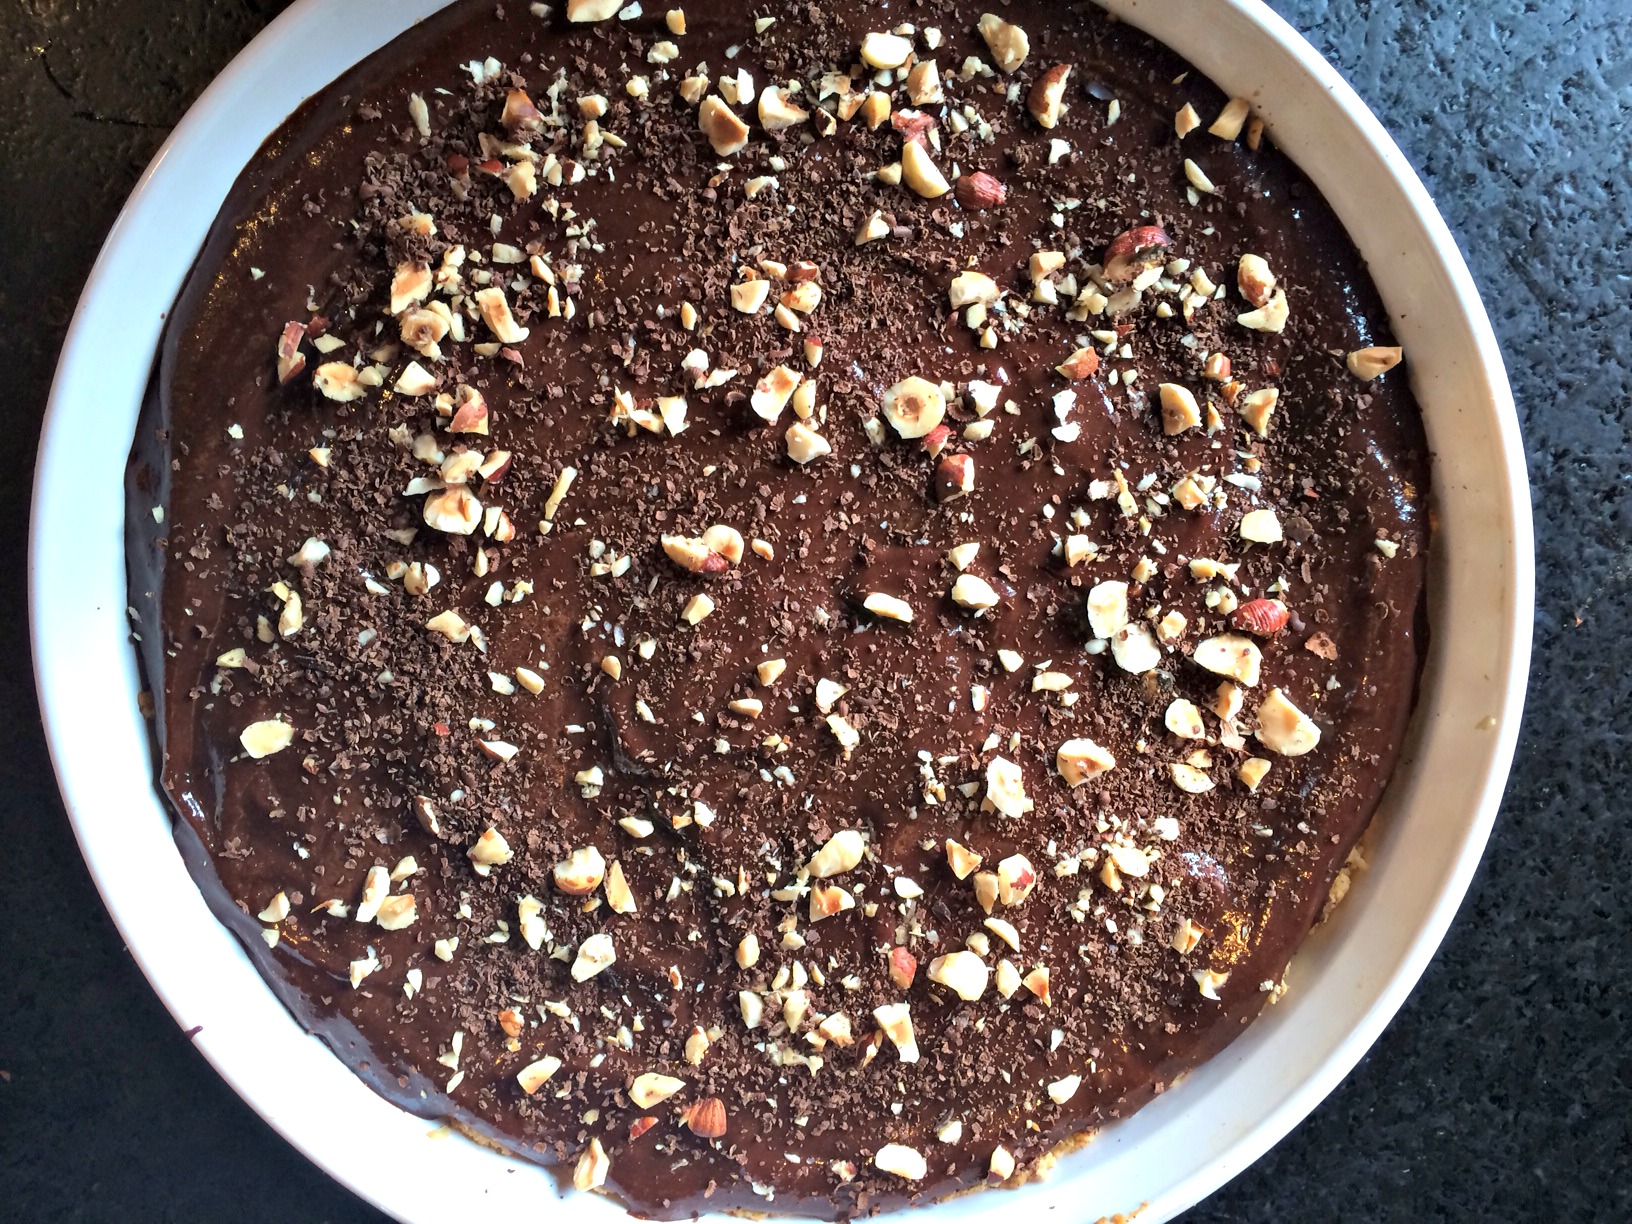
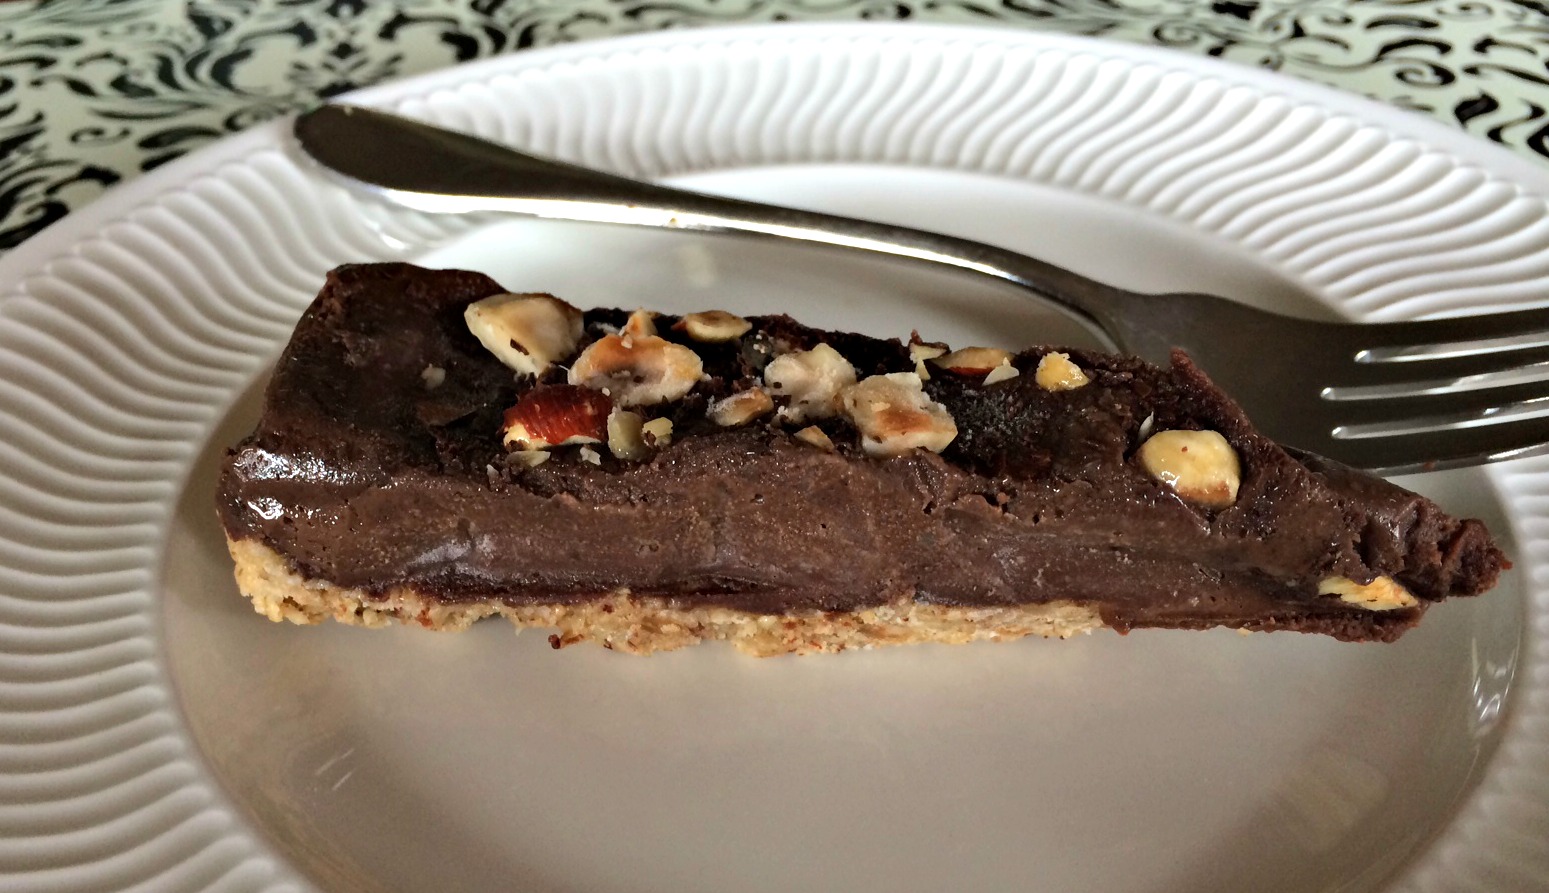
Finished pie.
Our book club is fairly simple and until the last meeting not very focused on the book. If you are the hostess, you are responsible for choosing the book and serving wine and dessert. Until the last book club, we did not spend much time actually discussing the books we had read. Most of our time was spent drinking wine and talking about what was going on in each other’s lives. However, with this meeting, we decided the hostess would be responsible for having some questions about the book to help spark discussion.
I choose Me Before You: A Novel by JoJo Moyes and printed off a list of questions from the web. This book turned out to be a great choice for our first meeting with questions. It themes were so universal that even the people who had not read the book were able to participate in the conversation. It sparked a lot of conversation about how you live your life and the choices you might make around death. I highly recommend this book.
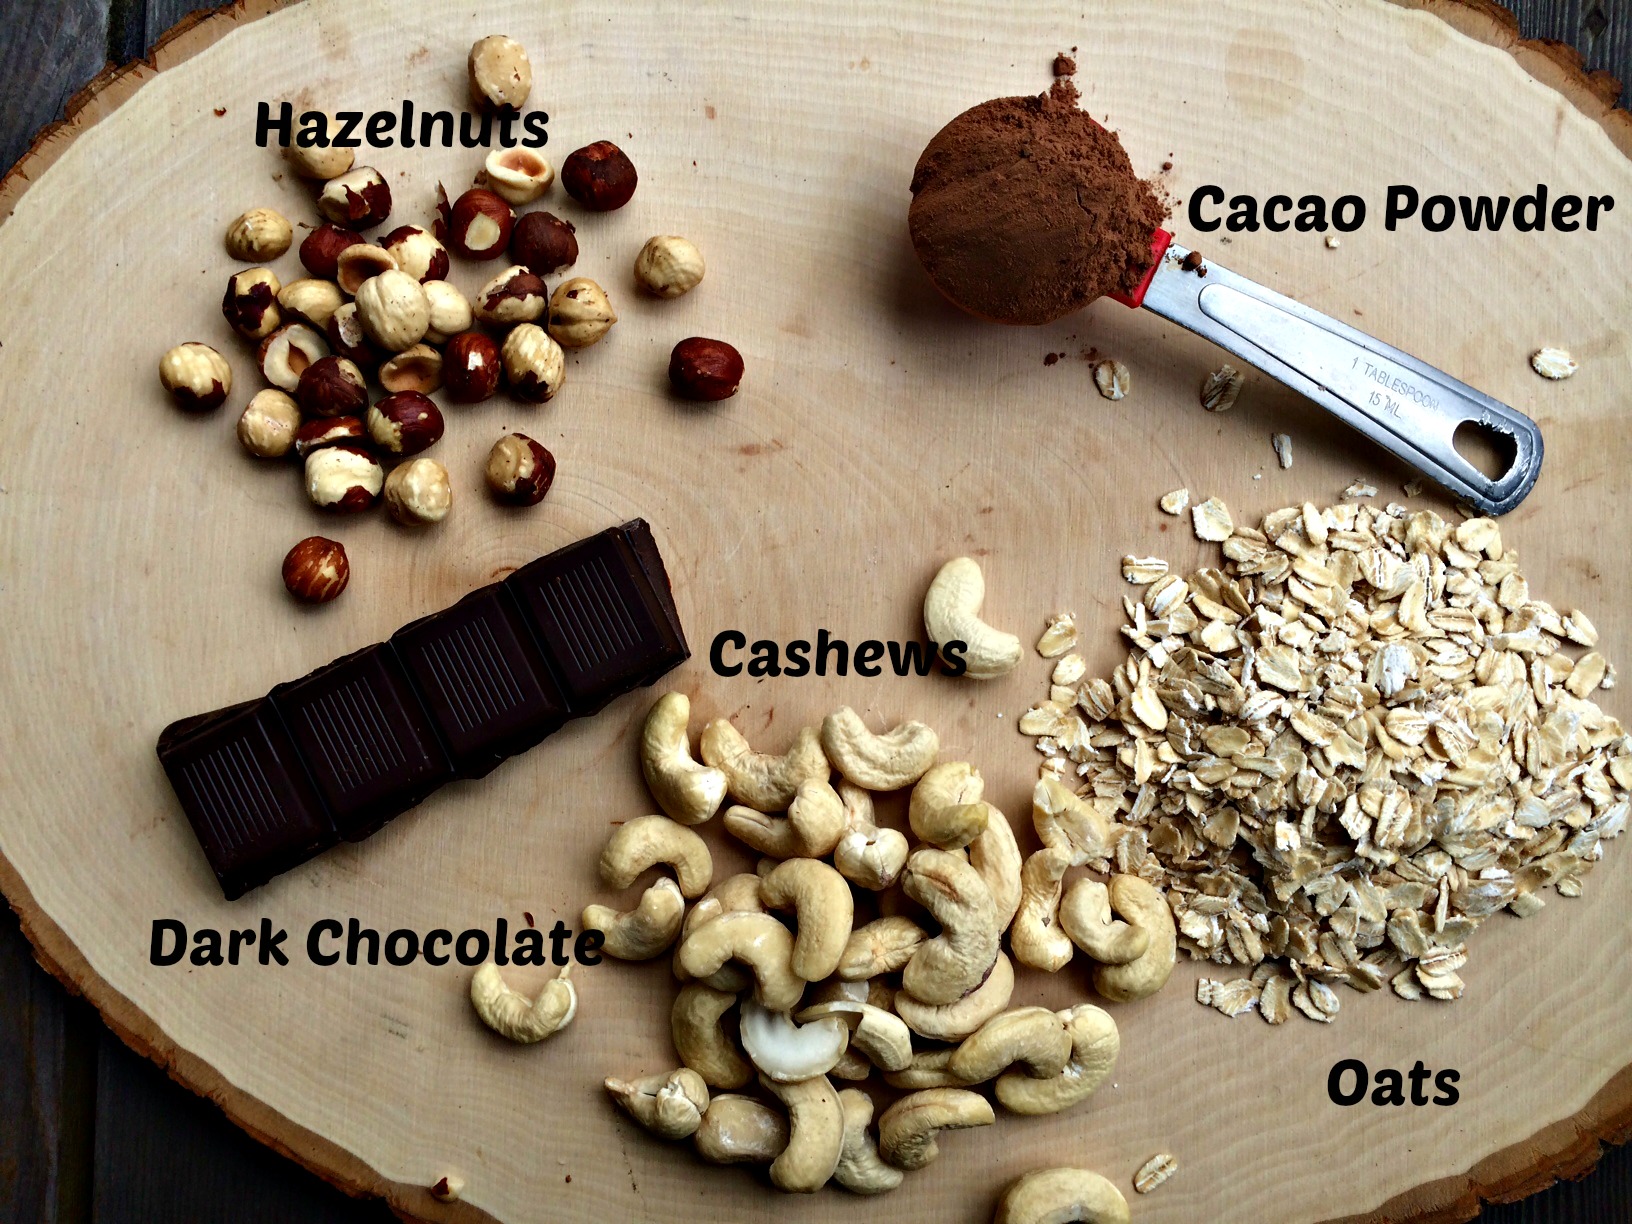
In the original The Oh She Glows Cookbook recipe, it calls for espresso powder to be used in the filling. I was out of espresso powder so I decided to omit it from the recipe. I am sure it would be super tasty with the espresso powder but I thought it was very yummy and decadent without it. Even though this dessert is dairy and gluten free, it still wowed everyone at book club. It does, however, take a bit of planning because you need to soak the cashews for at least 4 hours (and overnight is even better) before you can make the filling. This planning is well worth the end result!!
Some of the yummy ingredients that make up this torte.
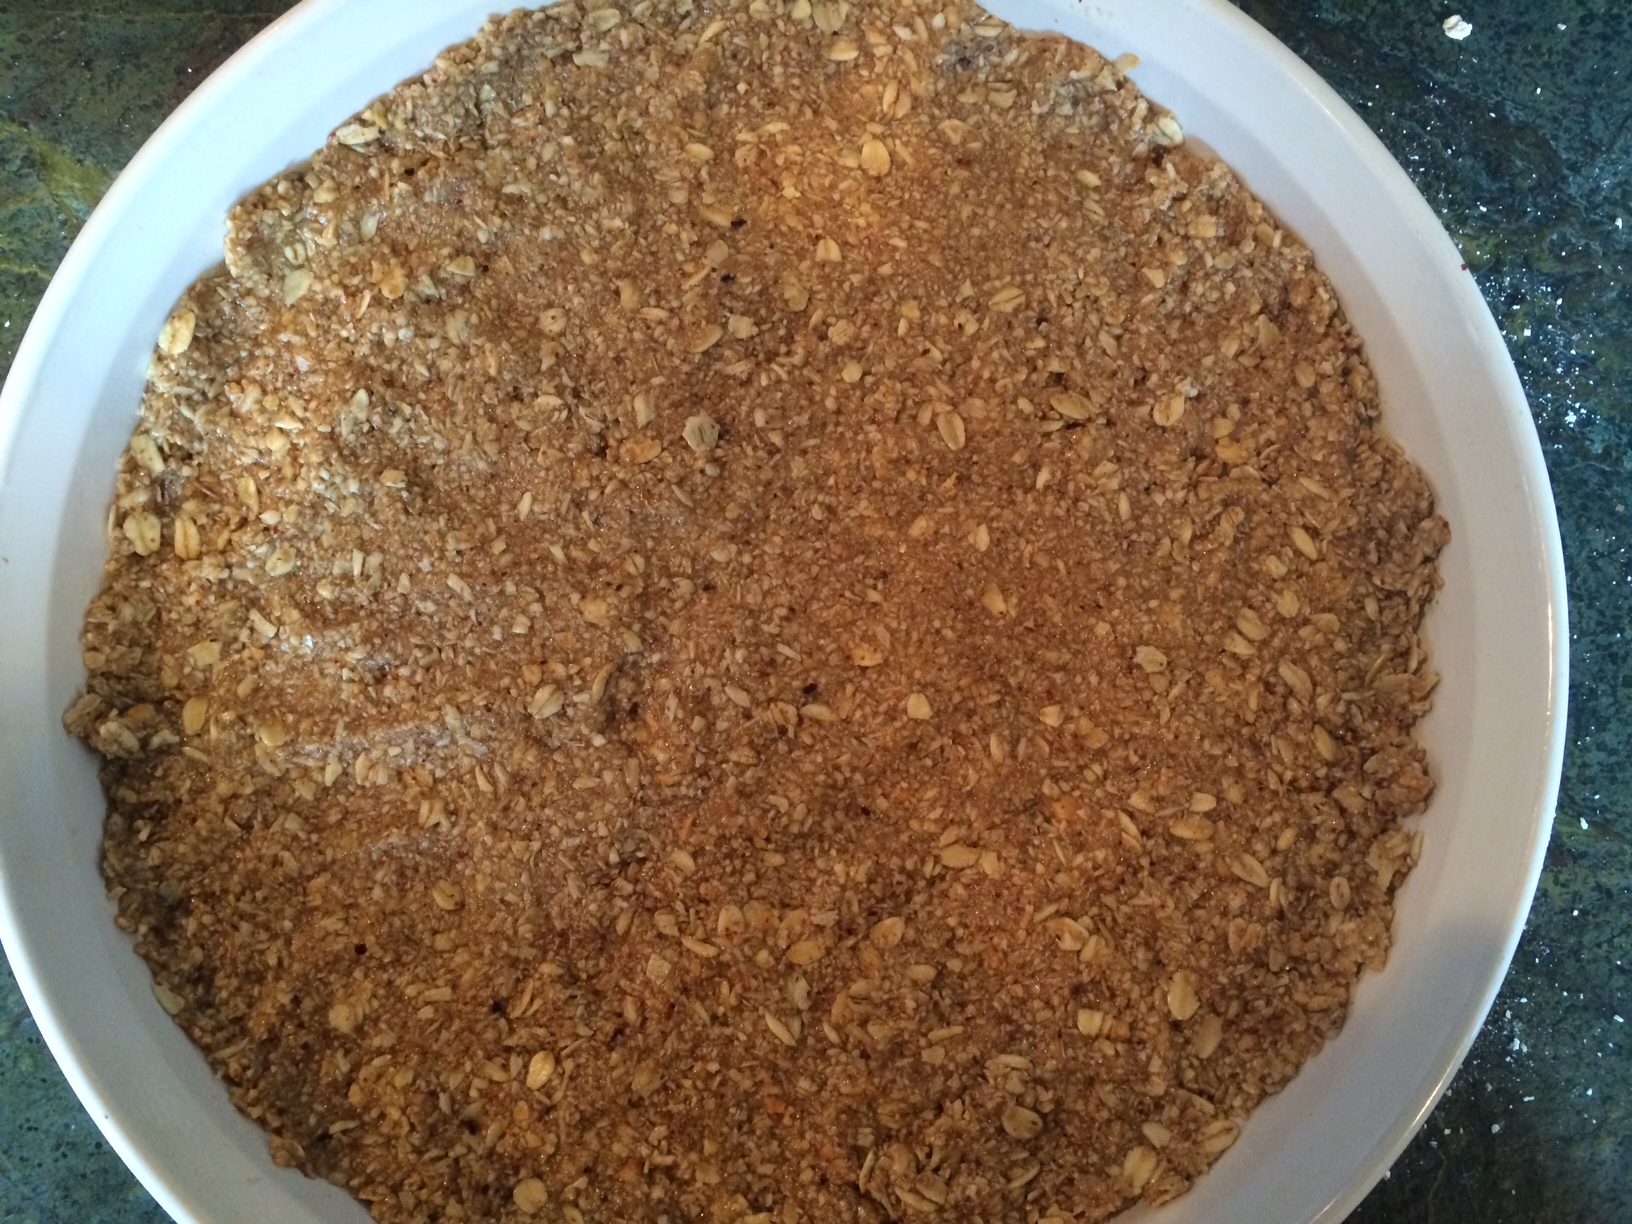
To make the crust, you combine the hazelnuts, coconut oil, oats and maple syrup in a food processor and pulse until you get a coarse crumb. This coarse crumb is then pressed into the bottom of a nine inch round pan and baked for about 10-13 minutes.
Crust before being pressed into the pan.
After removing the crust from the oven, allow it to cool before adding the filling.
Crust before baking.
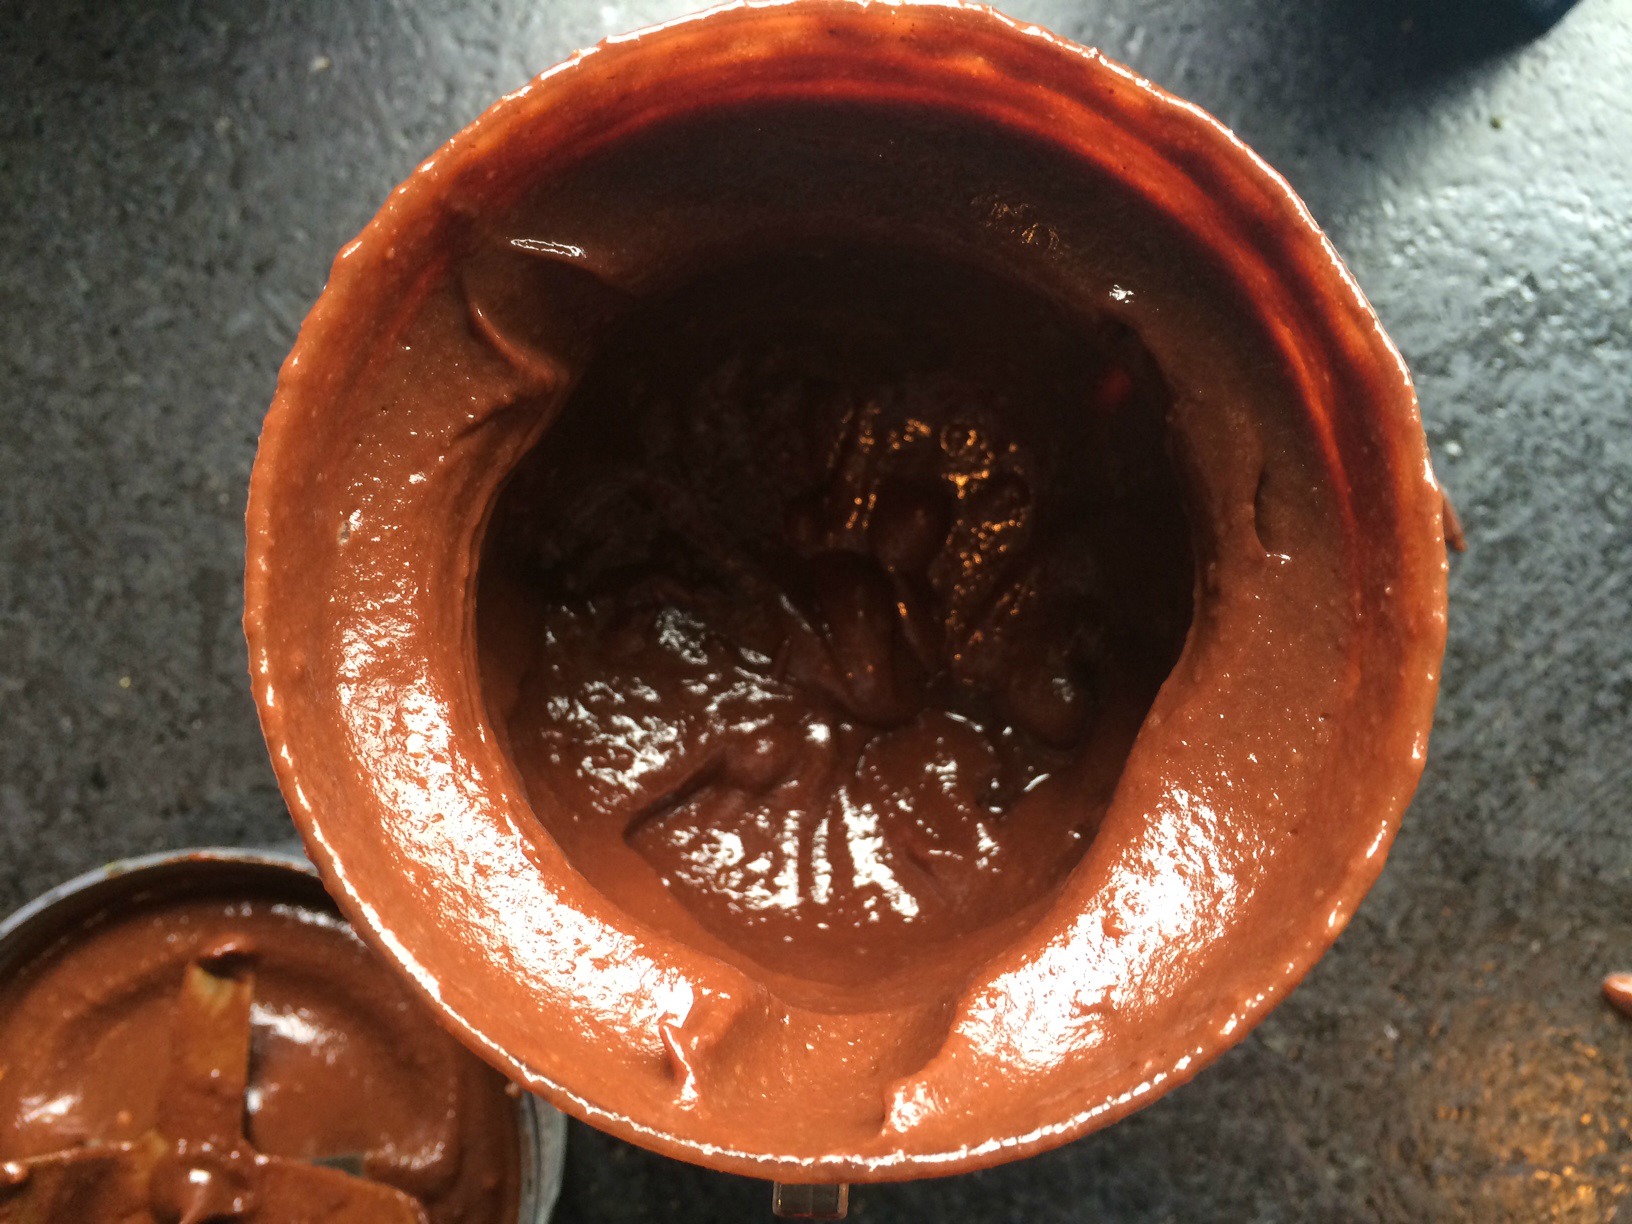
I put all the ingredients for the filling in my Nutri Bullet and gave them a whirl. I had to stop multiple times to scrap down the sides and add a little almond milk. The Nutri Bullet worked awesome to turn those nuts, chocolate and other ingredients into a smooth, creamy, yummy filling.
This pie is really very pretty sliced. (I know this pictured doesn’t do it justice.) Unfortunately, my kids got a hold of the pie before I could cut a nice slice and take a picture of it. Just one more piece of evidence about how delectable this pie is!
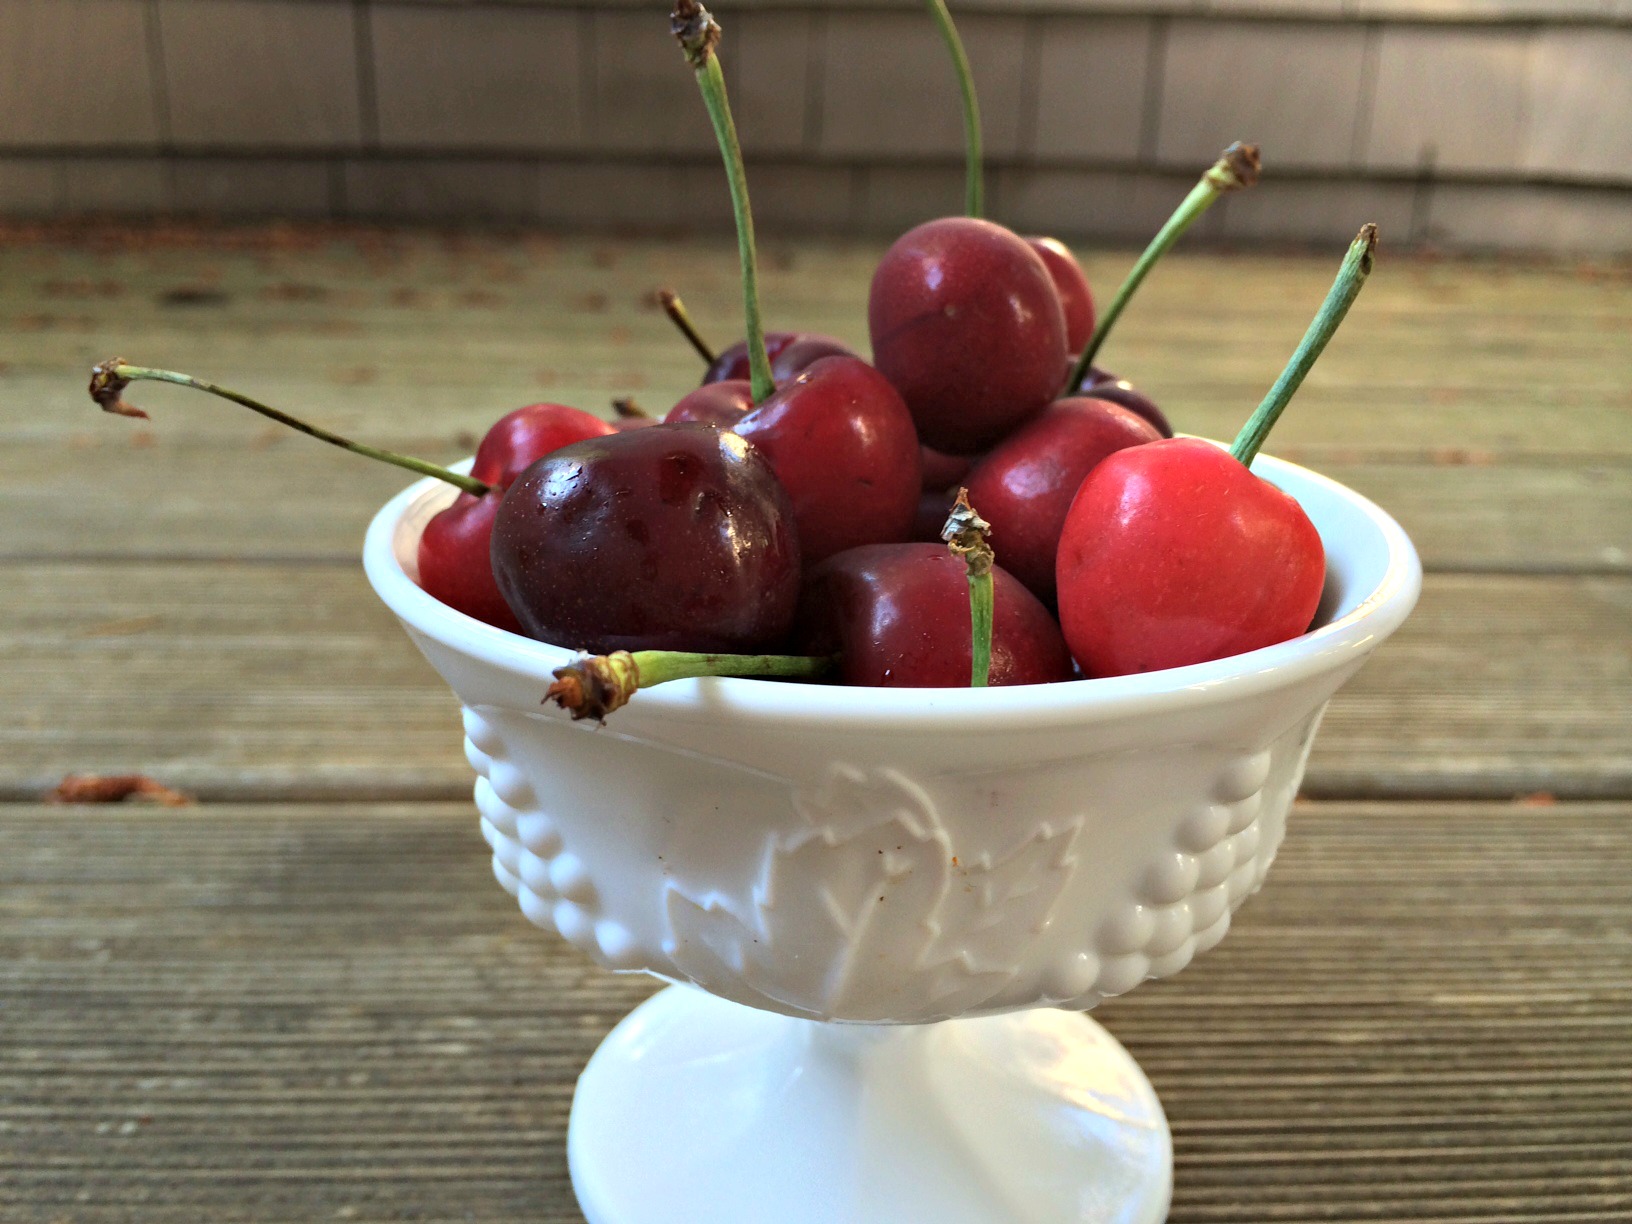
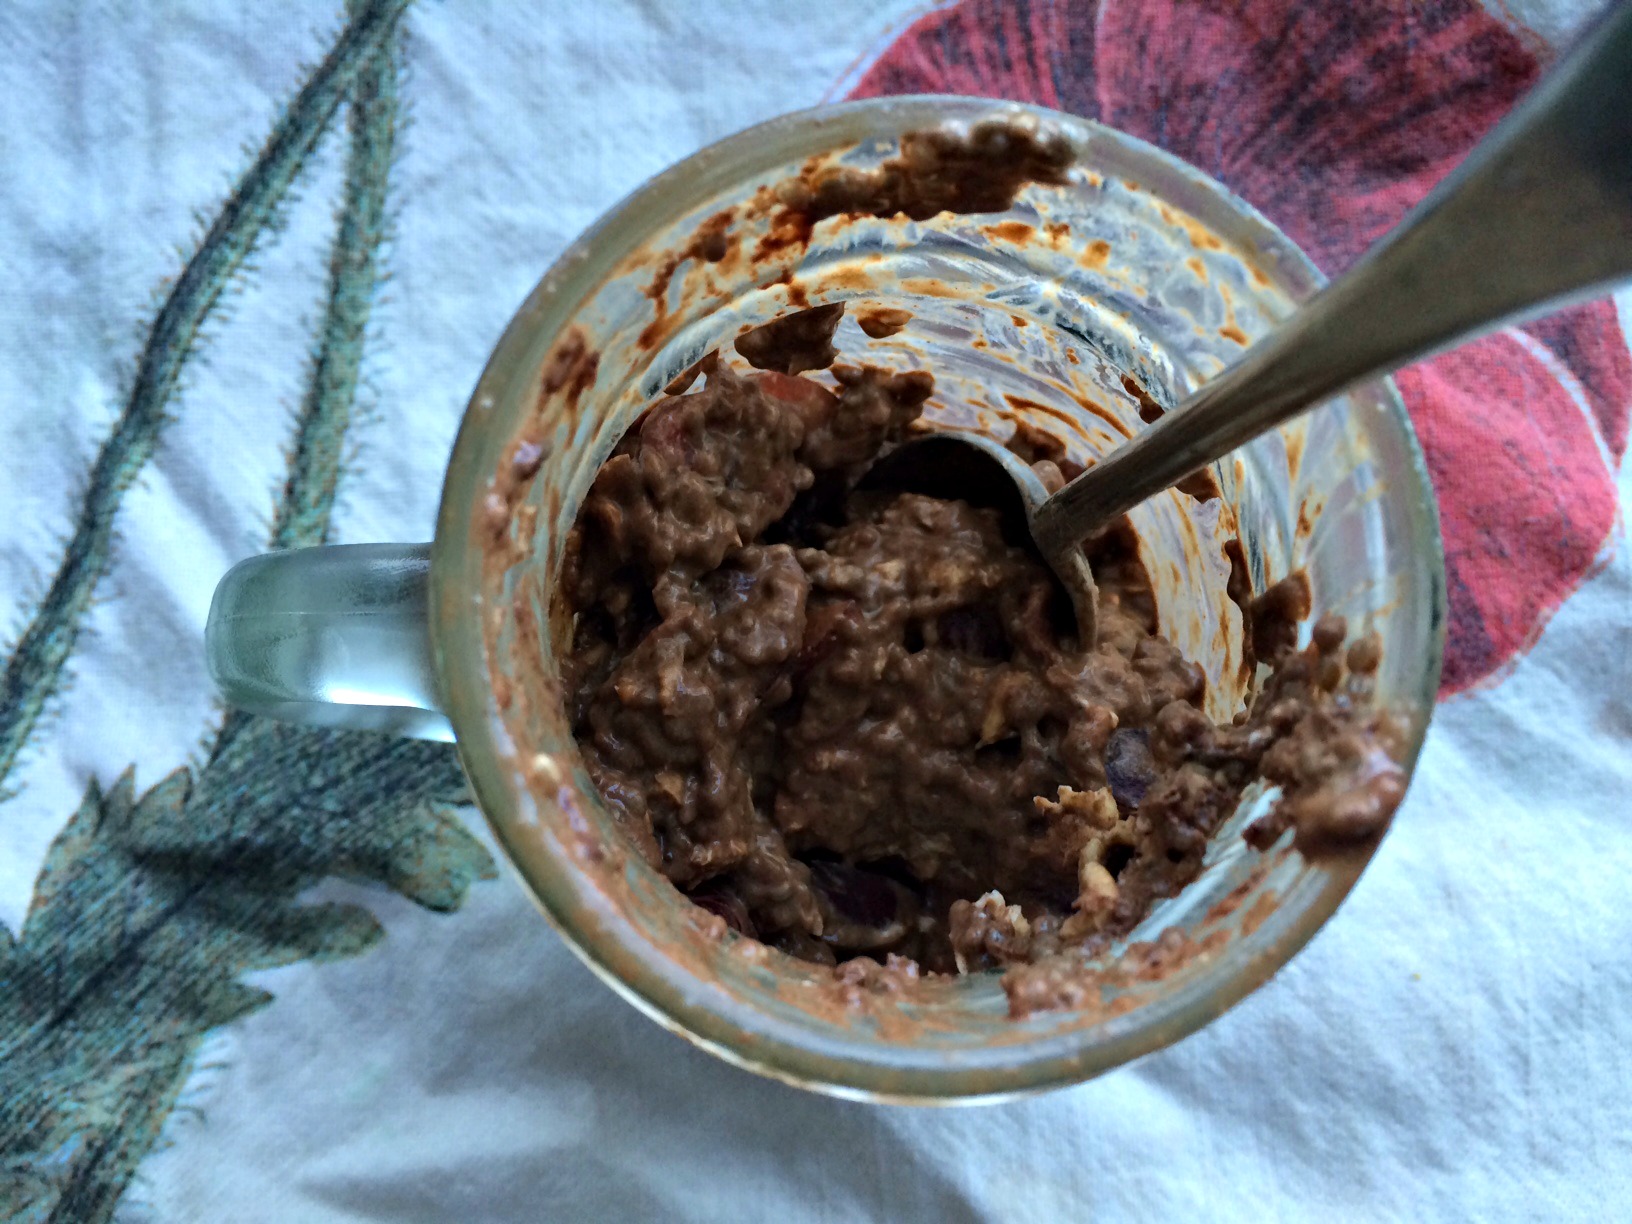
Every Friday morning, I sweat my way through an amazing boot camp class at The Refinery here in Portland. Each week features a different series of moves designed to torture us. While I am usually exhausted by the end of it, I LOVE it! It is fun, challenging and awesome to see what my body can and can’t do each week. Before each class, I have to think carefully about how I am going to fuel my body to get through the workout. I don’t want to be too weighed down but also want to be sure I have enough fuel to finish. The last few weeks, I have been relying on versions of 24 hour oats. With cherry season upon us, these Chocolate Cherry Chia Oats are my new favorite.
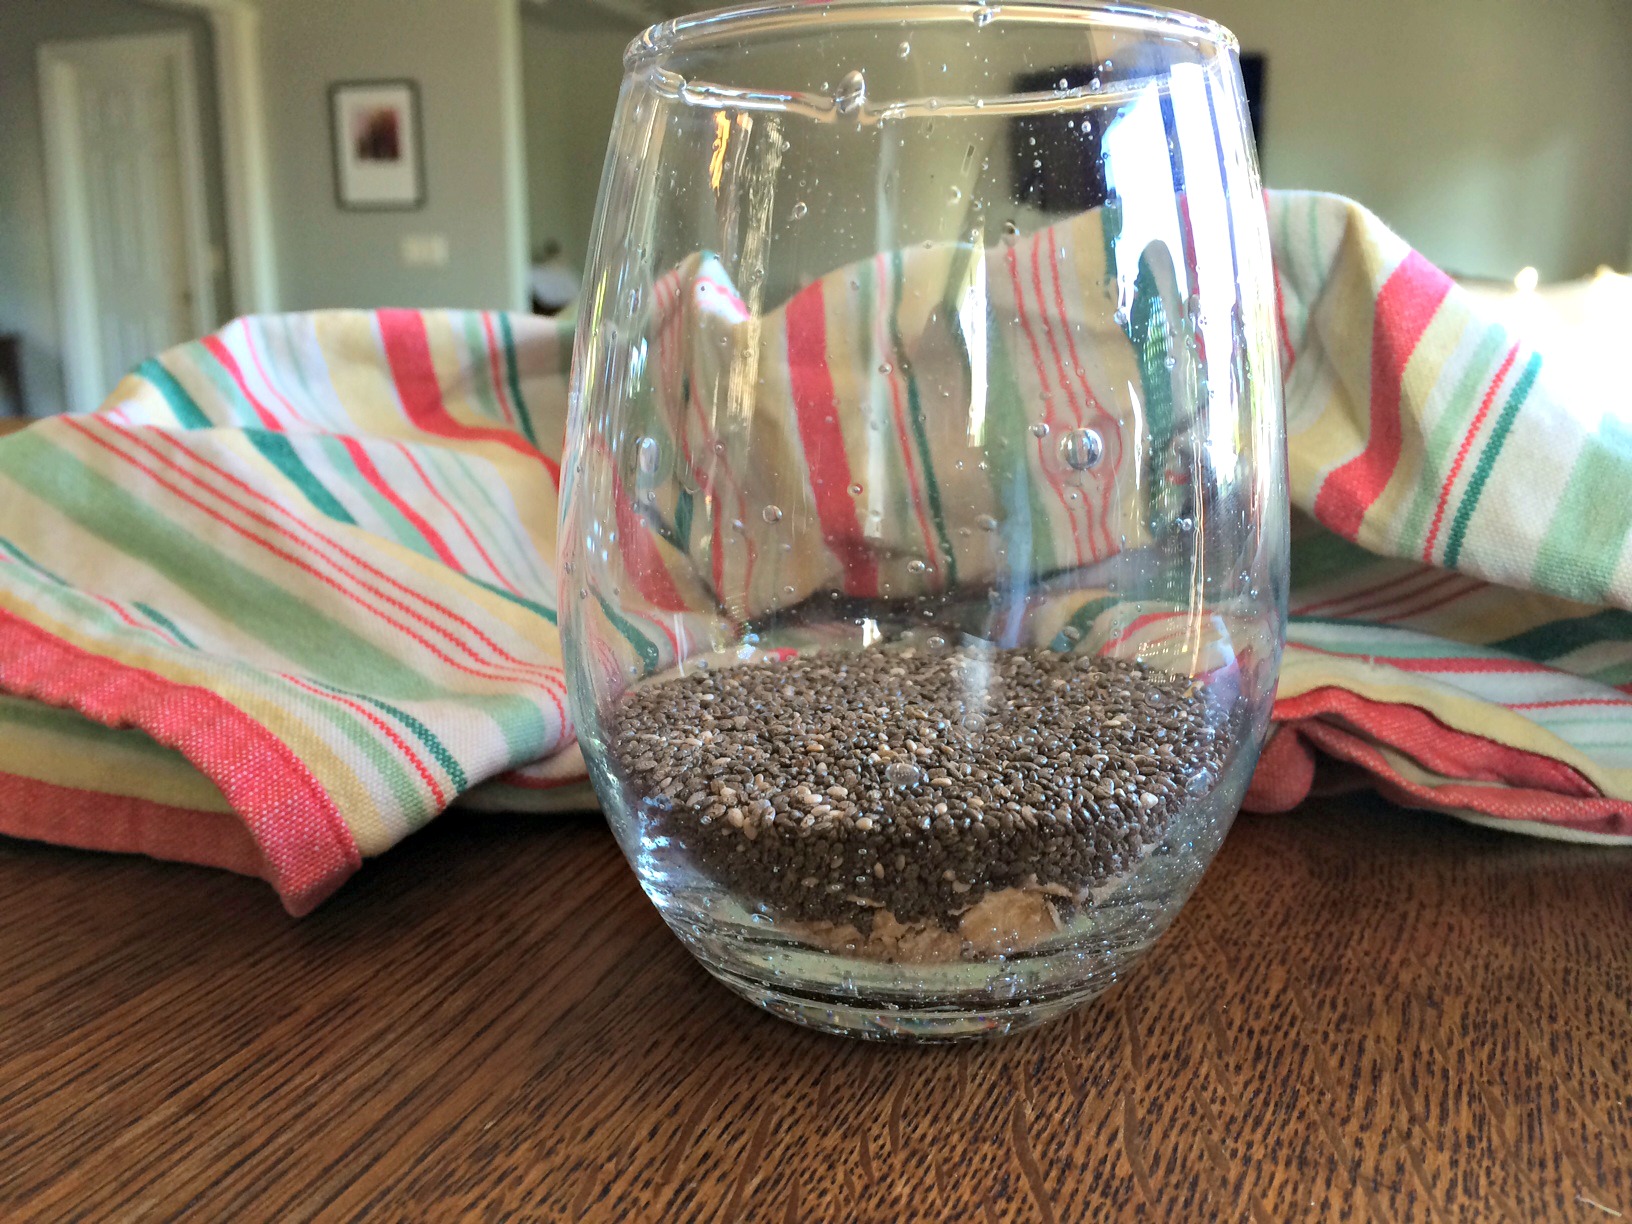
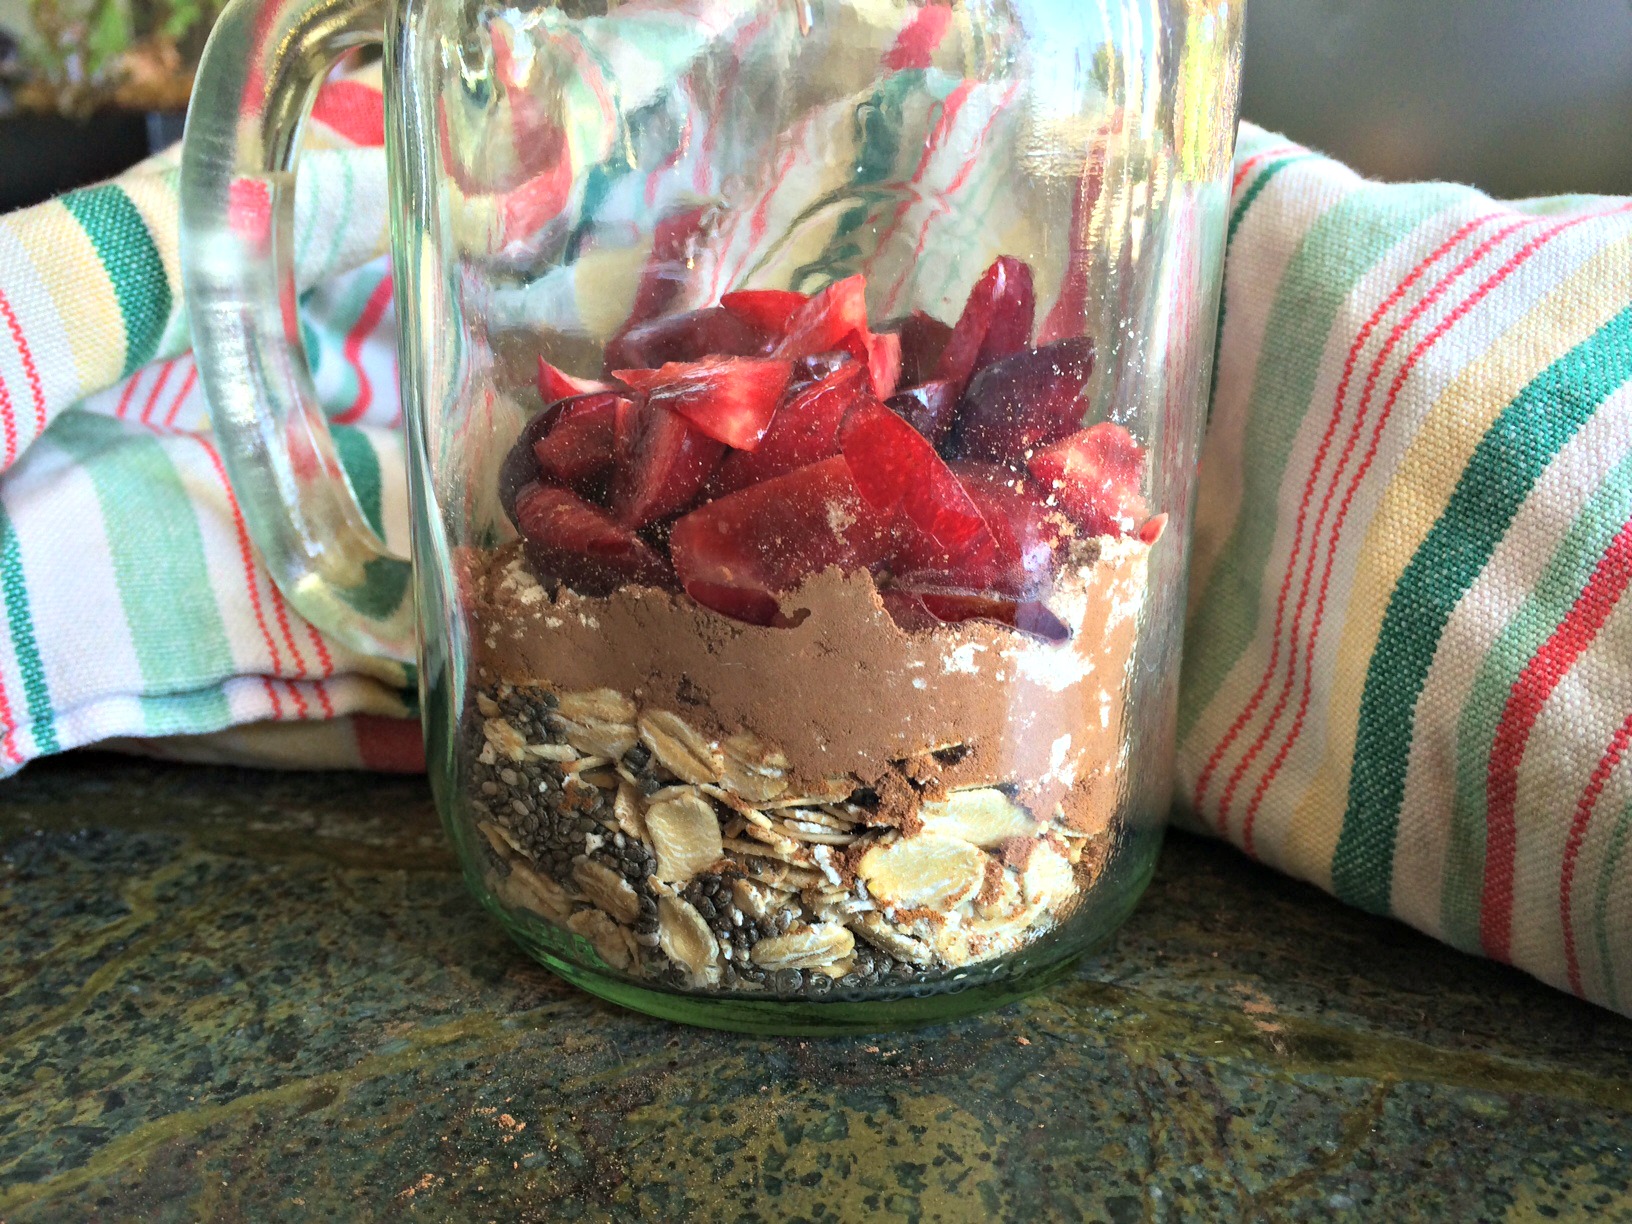
All the ingredients before adding the almond milk.
I added a scoop of vegan vanilla protein powder to my oats because I wanted the extra protein with such a hard workout but you can leave it out if you aren’t interested in extra protein.
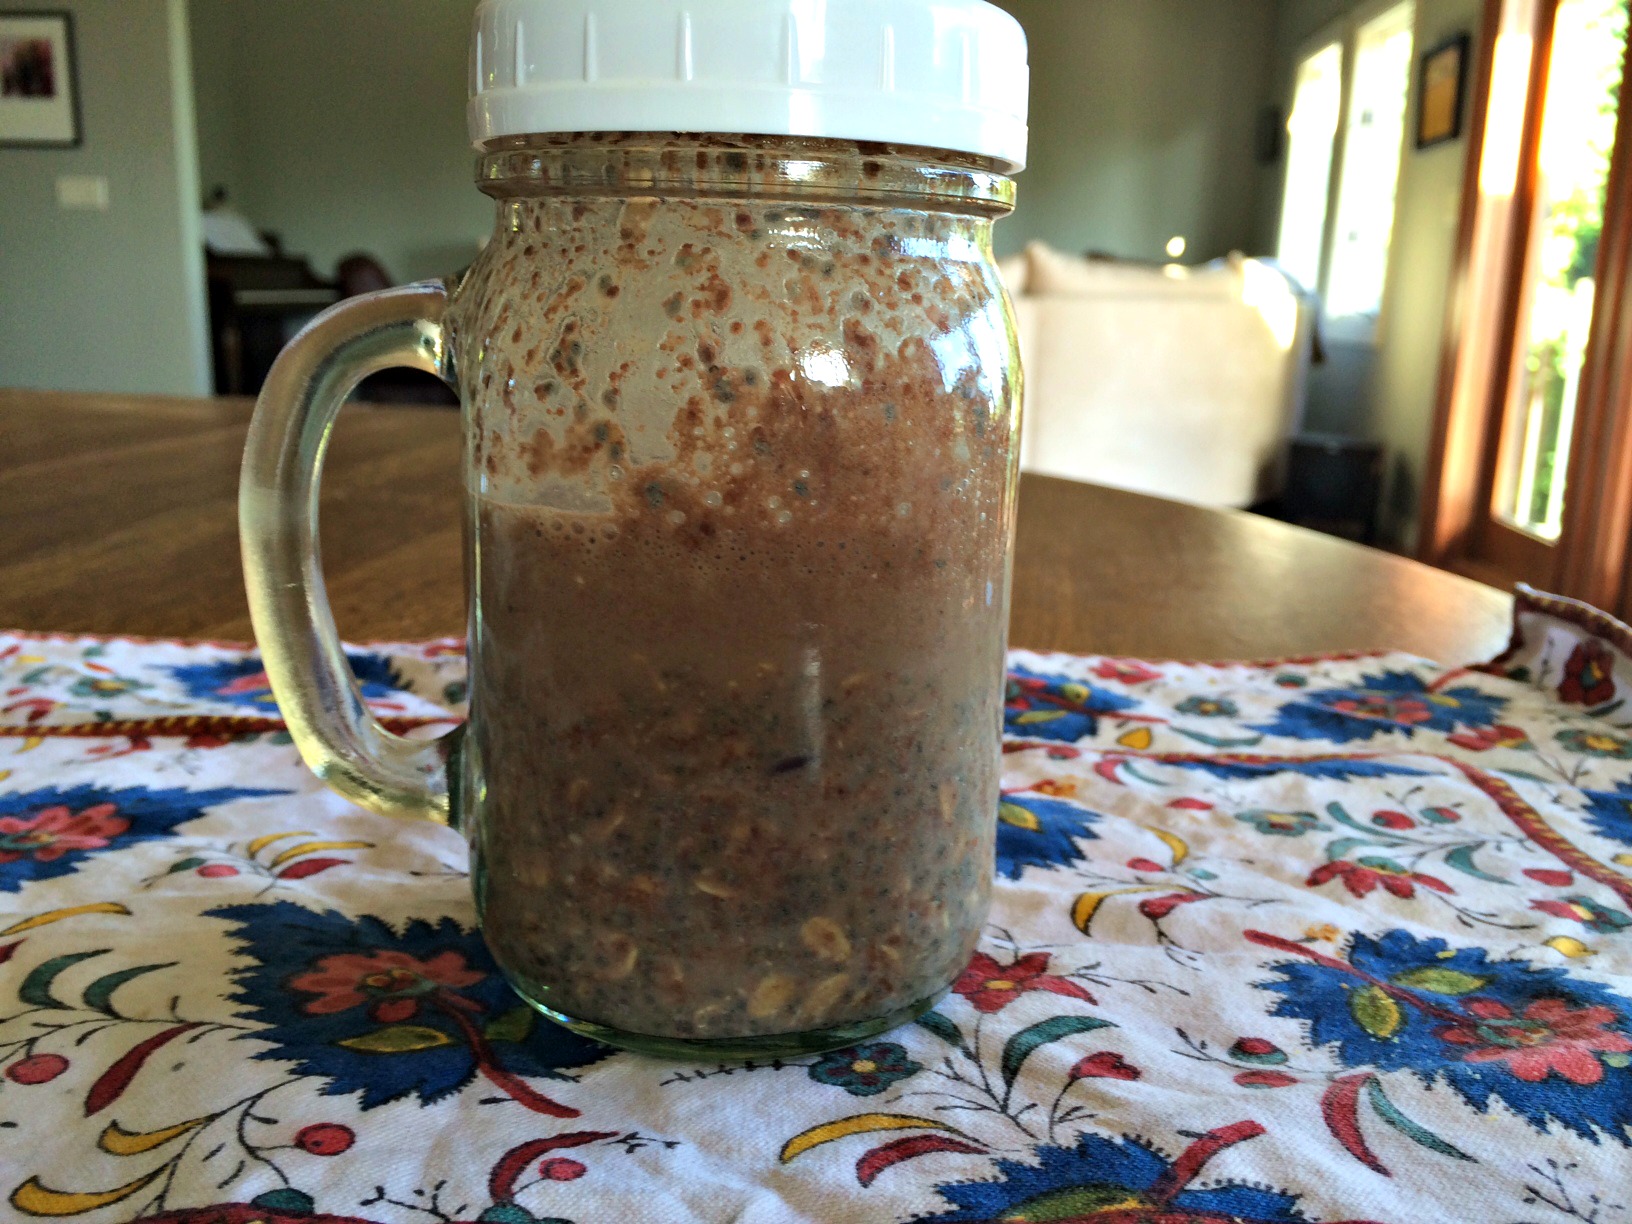
These oats are great because you prep them the night before and then just grab them and go in the morning. They offer healthy omega-3 fats with the chia seeds, fiber filled oats and a dose of Vitamin C from the cherries. As you can see from the picture below, it is not a pretty breakfast but it sure tastes good.
I usually add a couple of tablespoons of some sort of nut butter for even more flavor and protein. You can omit it if you want or use whatever type of nut butter you have on hand.
About a week ago, I picked up Angela Liddon’s The The Oh She Glows Cookbook: Over 100 Vegan Recipes to Glow from the Inside Out . Since then I have become totally obsessed with making recipes out of this book. Now, neither I nor my family are vegan but it has not mattered. Everything I have made from this book has been super yummy! As I have stated before, I am always on the hunt for healthier snack bars to feed my family so when I saw the recipe for her Glo Bars, I knew I had to make them. Usually I make some substitutions or additions to recipes but these sounded so good I made no changes.
Oats and crispy rice cereal- the two main components of the bars.
These bars were very easy and required very little time spent actually cooking- right up my alley. These bars are gluten free, no bake, refined sugar and oil free- yummy!!
1?4 cup roasted peanut butter or almond butter (I used almond butter.)
1 teaspoon pure vanilla extract
1?4 cup mini non-dairy chocolate chips (such as Enjoy Life brand) (optional)
Instructions
Combine ingredients through sea salt in a large bowl.
Place brown rice syrup and nut butter on the stove until begins to liquefy.
Watch carefully and stir frequently.
Pour hot liquids over the dry ingredients.
Stir well till all dry ingredients are coated with syrup mixture.
Stir in chocolate chips after mixture cools a bit. (I got impatient and stirred them in before it was cool and the chips melted a little. Fortunately, I like having the chocolate distributed throughout the bars!)
Spread mixture in parchment lined pan and put in fridge until hardens.
Once hard, take out of pan by lifting from parchment paper edges.
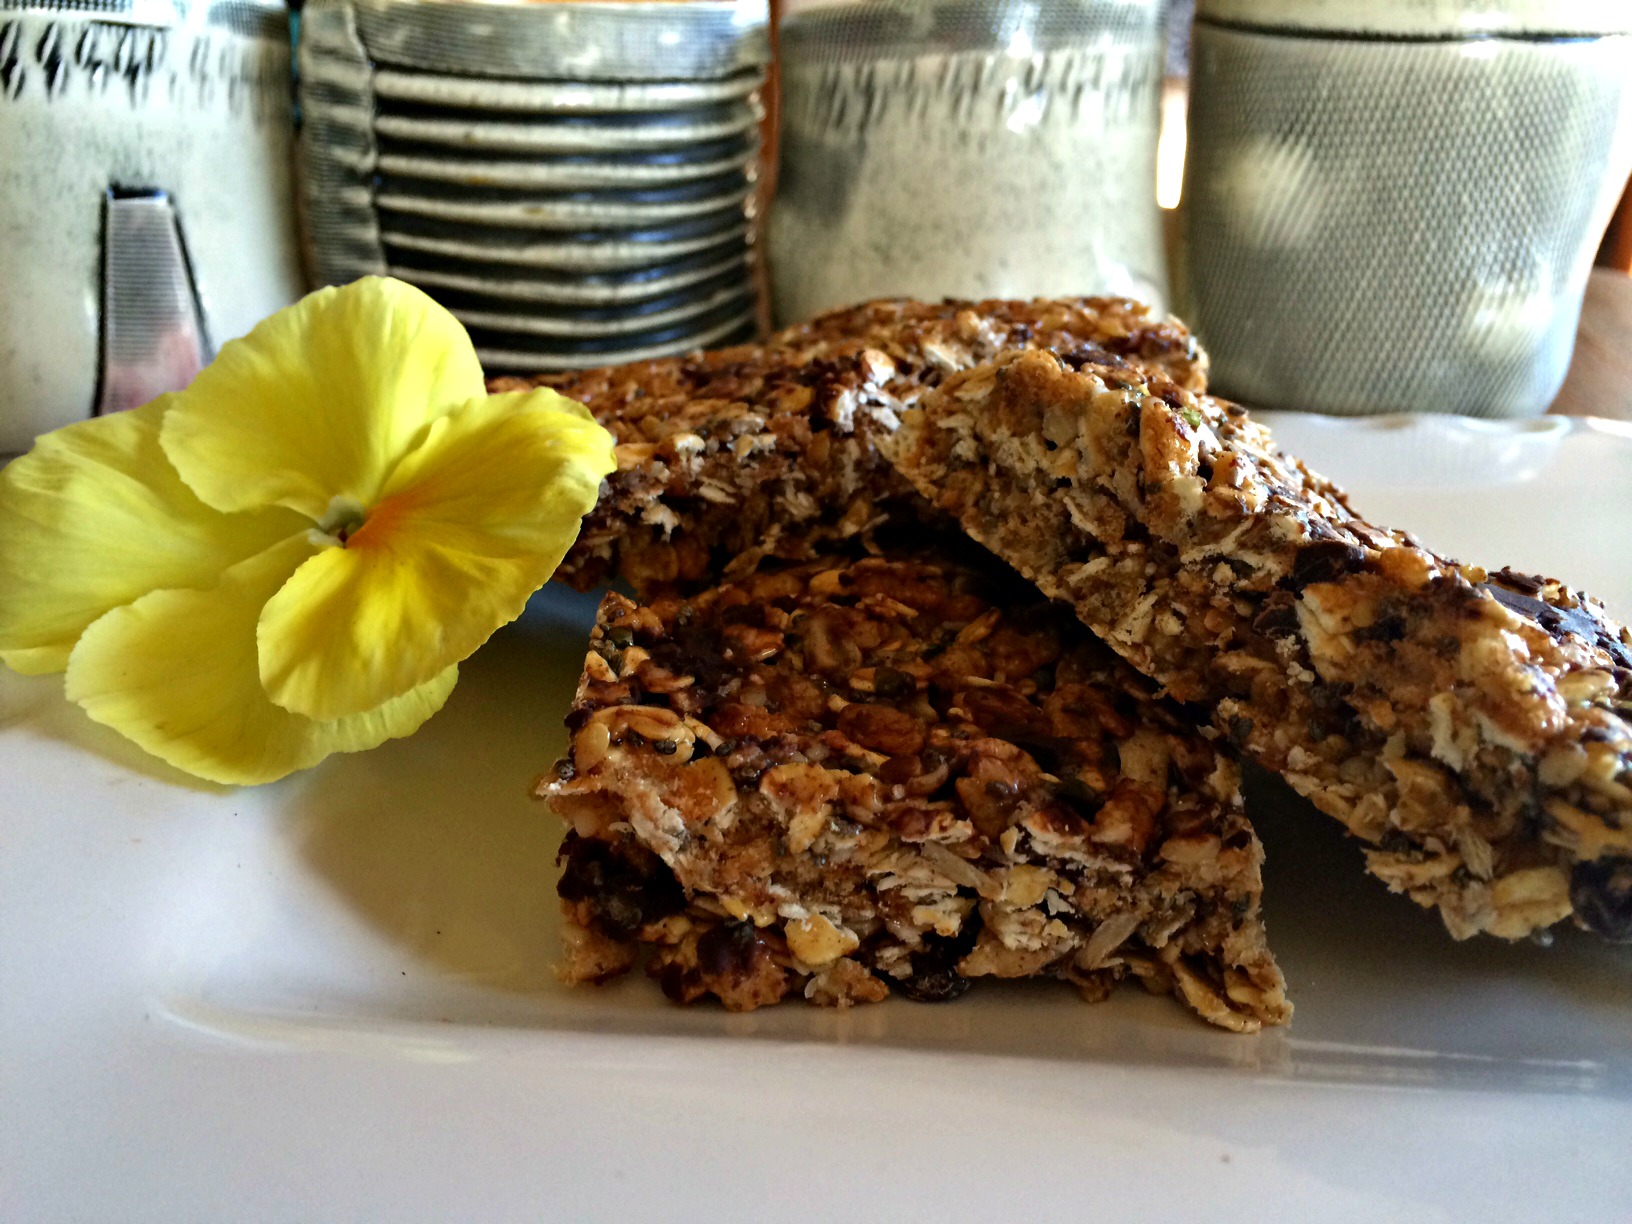
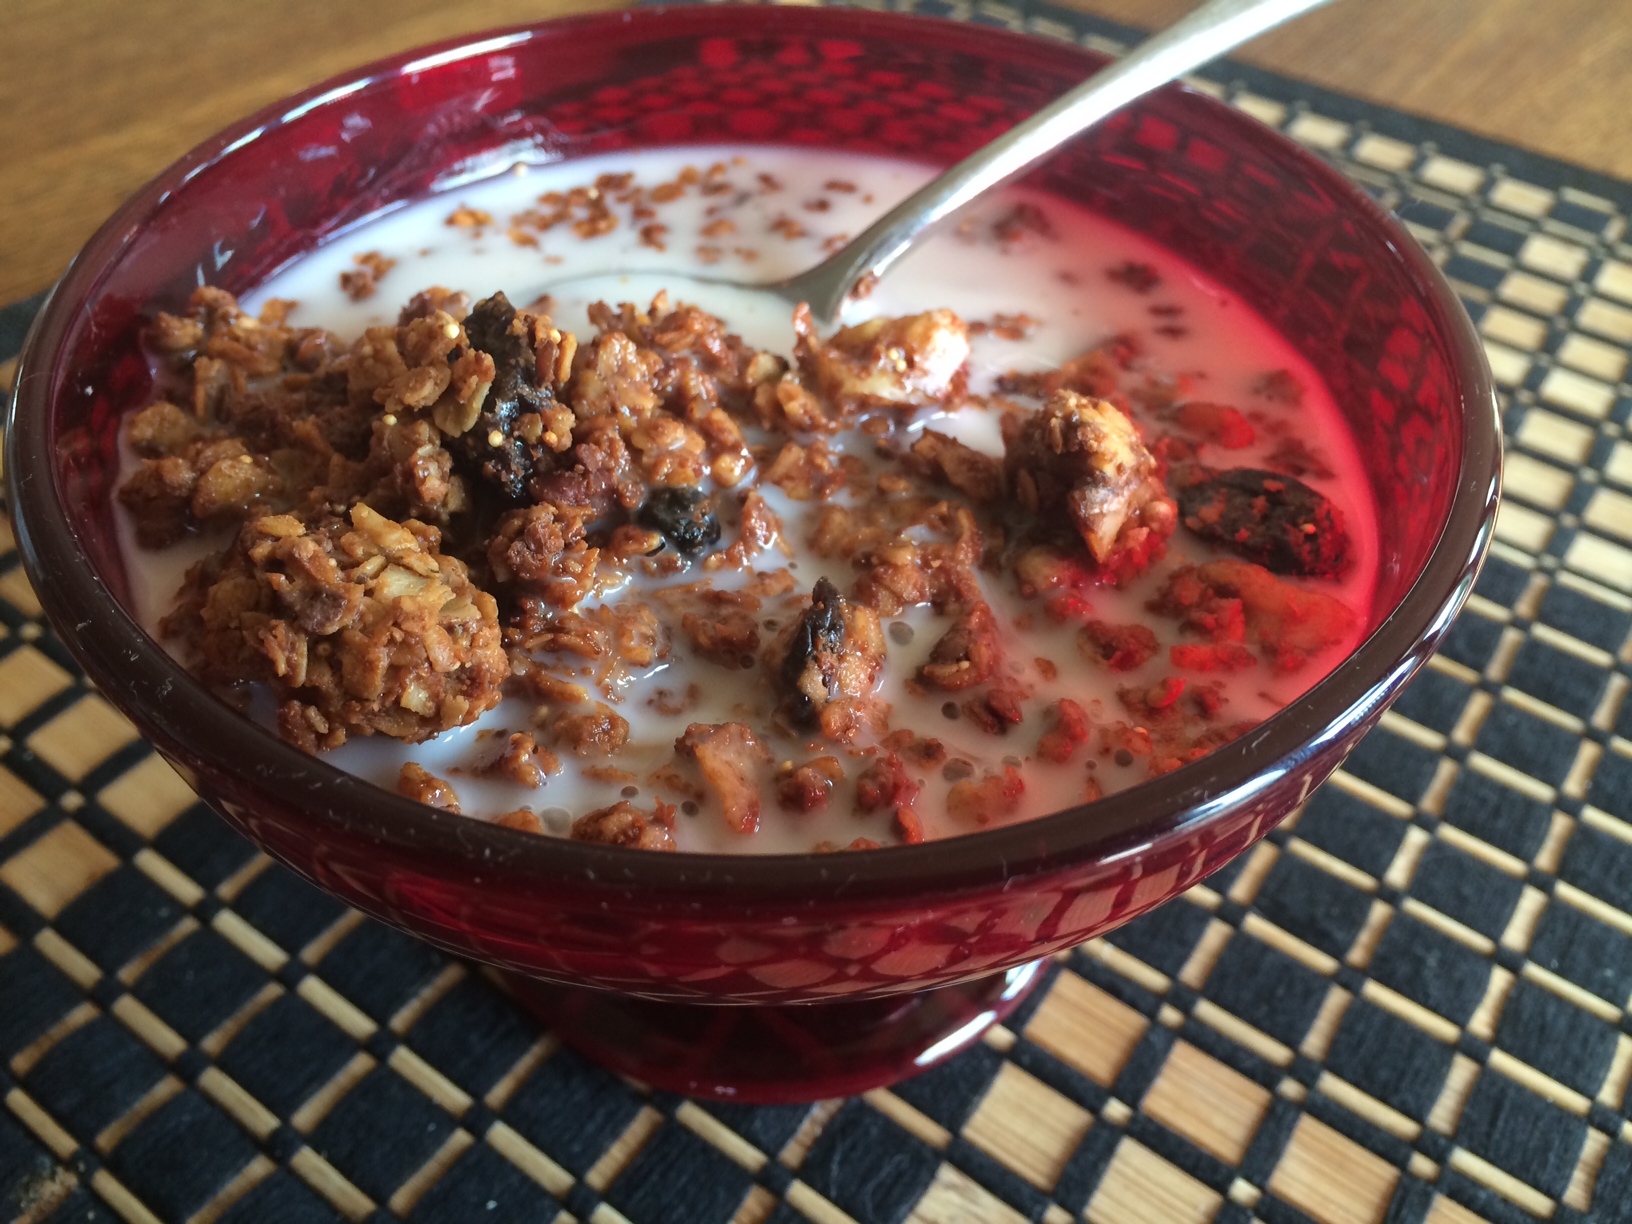
I have been in a bit of a breakfast slump lately. My normal rotation of chia pudding, warming grain cereal with coconut yogurt and fried egg sandwiches with avocado and hot sauce on sprouted bread is getting a little repetitive. As I was pondering what new addition I could make to my routine, I remembered an old recipe my friend, Jane, gave me for a super yummy, chocolaty gluten free granola. When I pulled the recipe out of my recipe box, it was covered in peanut butter smears and coconut oil stains- signs of a well used recipe. I remembered this granola not hanging around long in my household which confirmed I should reintroduce it to my family. I was excited to have this back as an option for my breakfast routine (or snack or dinner or any other time I had a hankering for chocolaty goodness!). As I looked at the recipe, I realized there were a few items I wanted to tweak from the original recipe based on the family’s changing eating habits but for the most part I left it as is. (I also changed a few ingredients based on the
types of dried fruit and nuts I had in my house.)
Dry ingredients all combined.
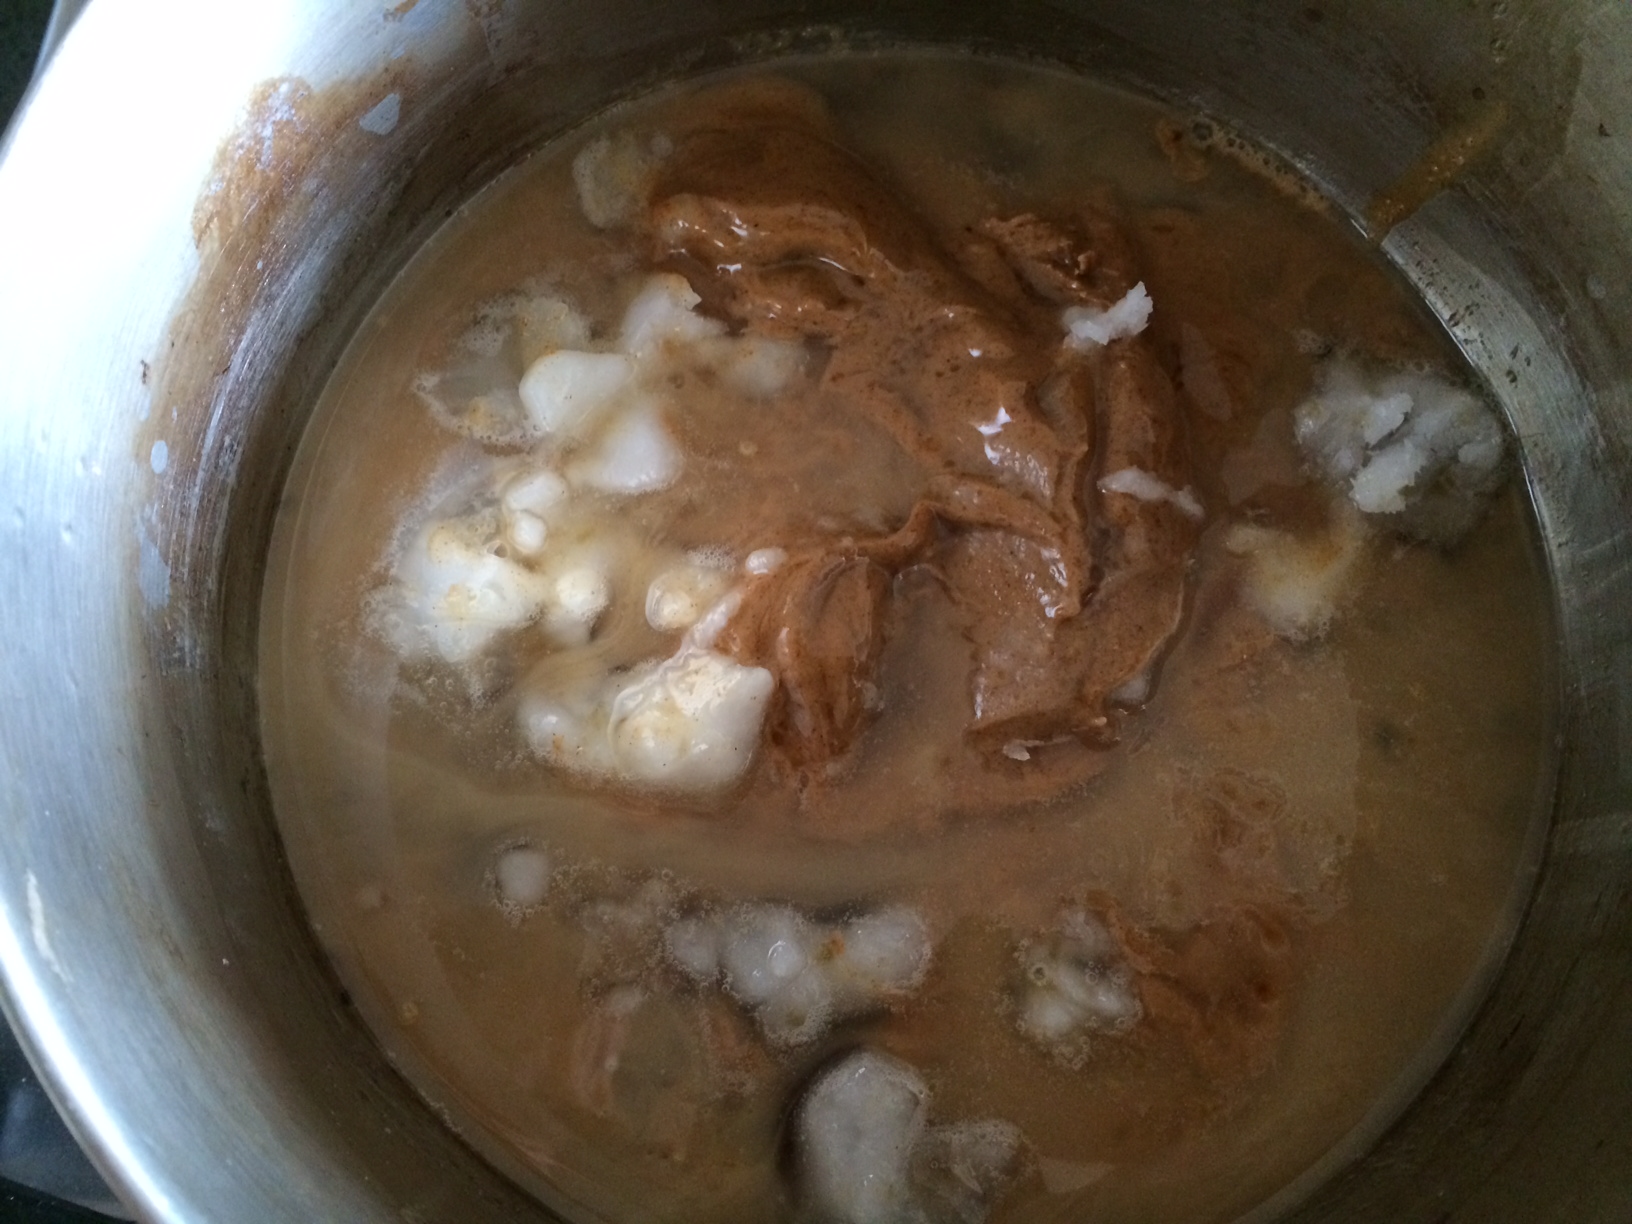
Nut butter, syrup, agave and coconut oil starting to melt.
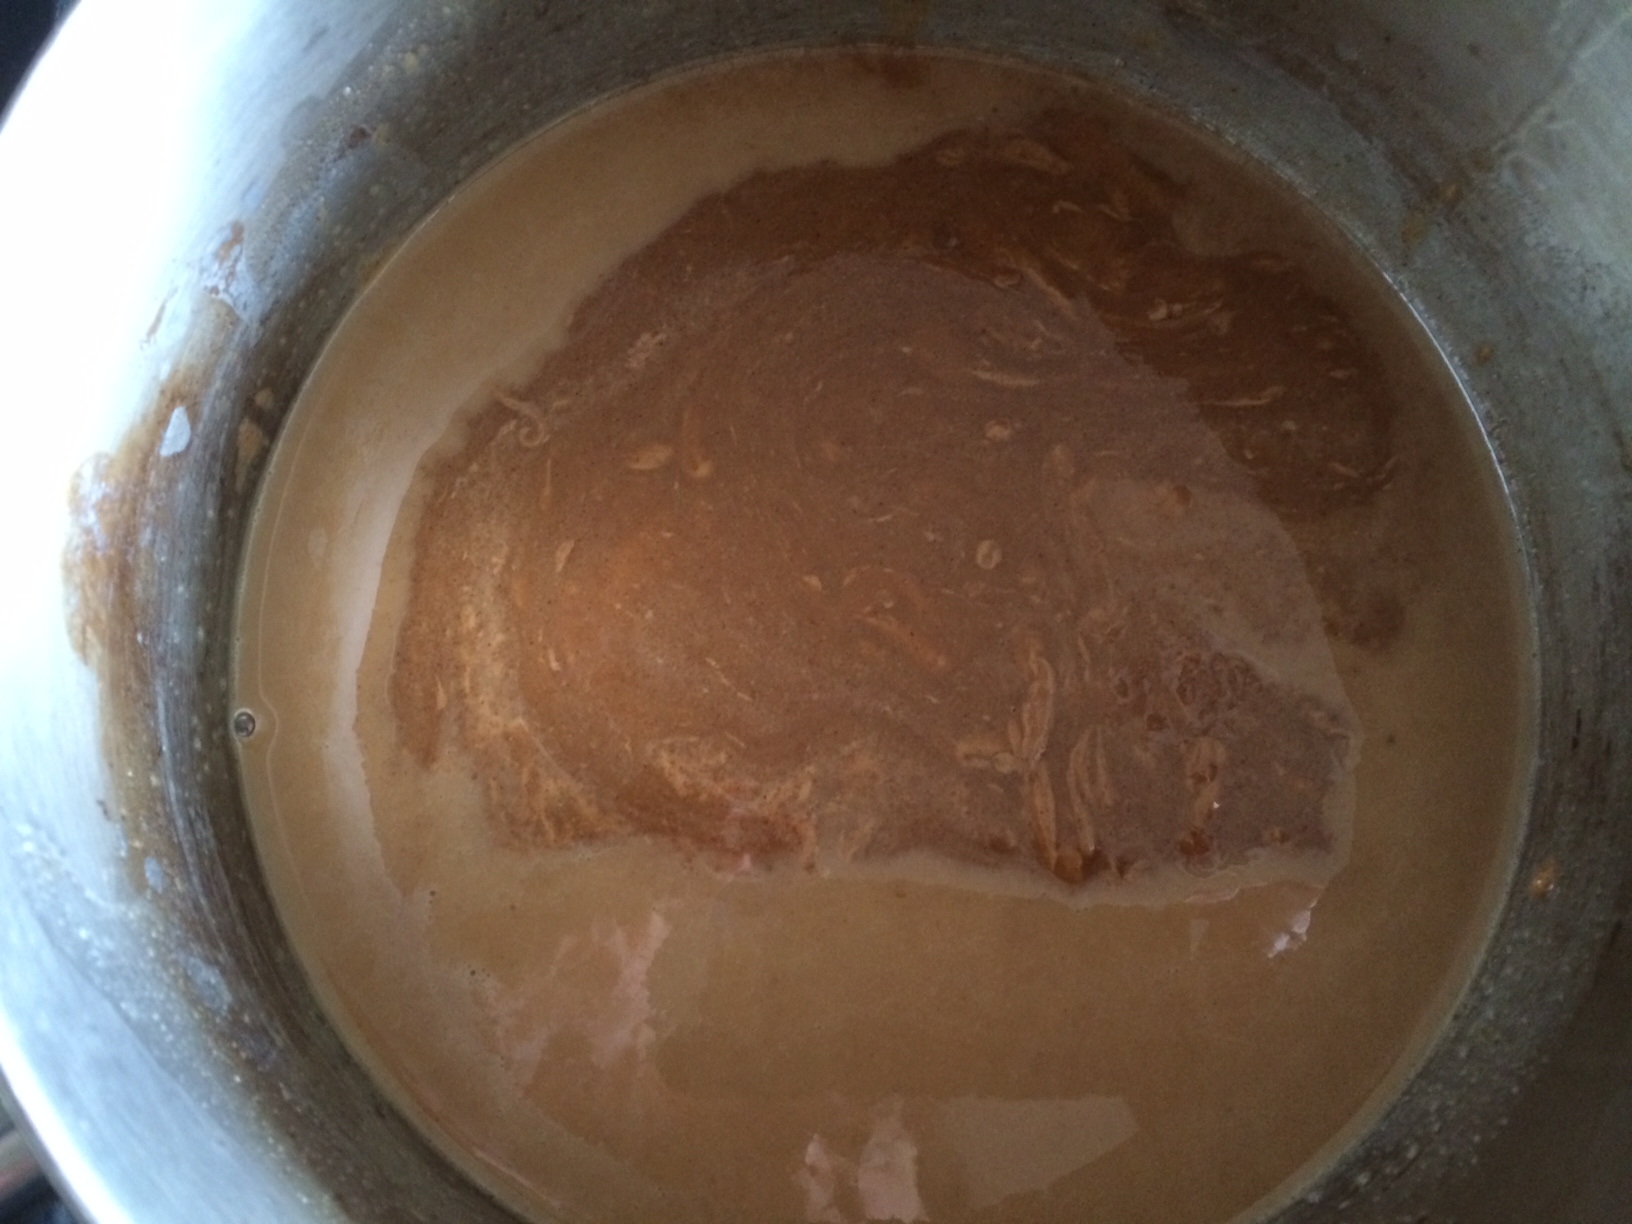
Melted wet ingredients.
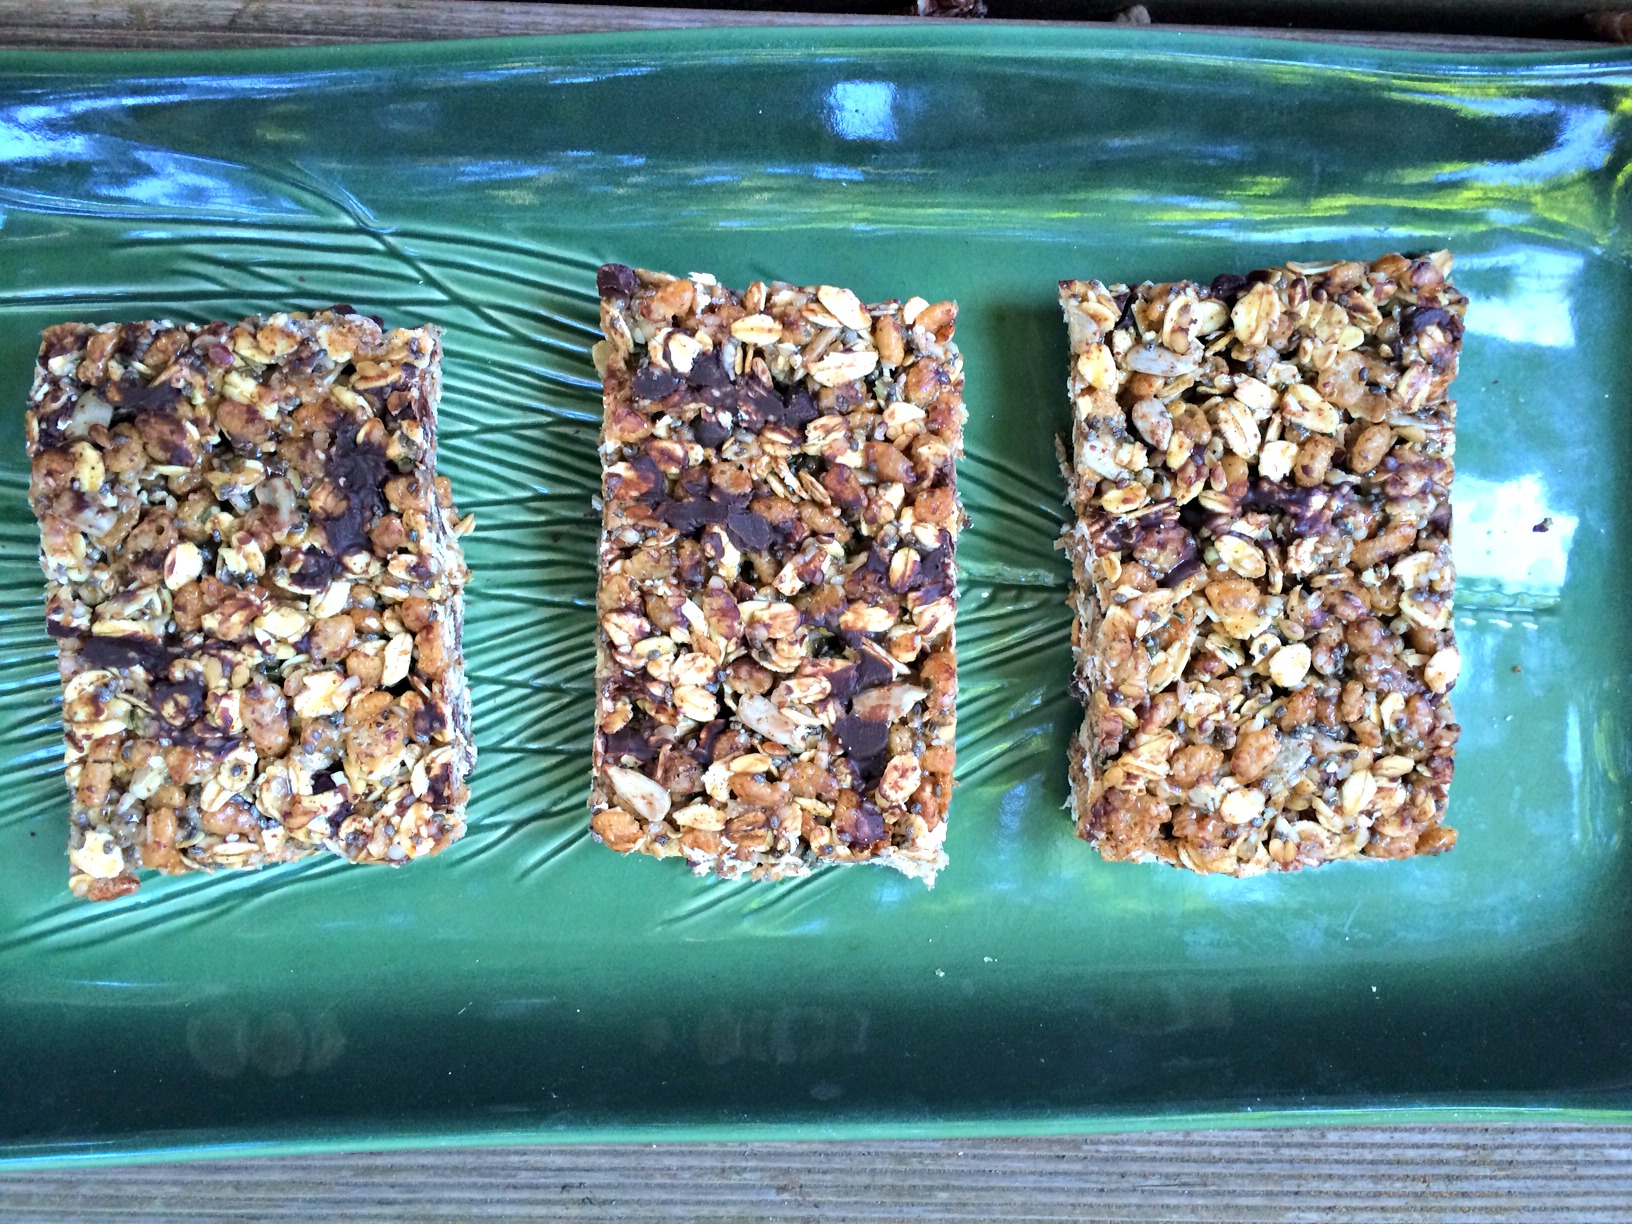
I used a combination of maple syrup and agave for my sweeteners but you could substitute honey or brown rice syrup if those are more to your liking. When you mix in the warm, wet ingredients, your chocolate chips will melt, spreading chocolate throughout the whole mixture. I like it this way because then I get a hint of chocolate in every bite. However, if you like granola with solid chunks of chocolate, I would wait to add the chips after the wet and dry ingredients have cooled a little bit.
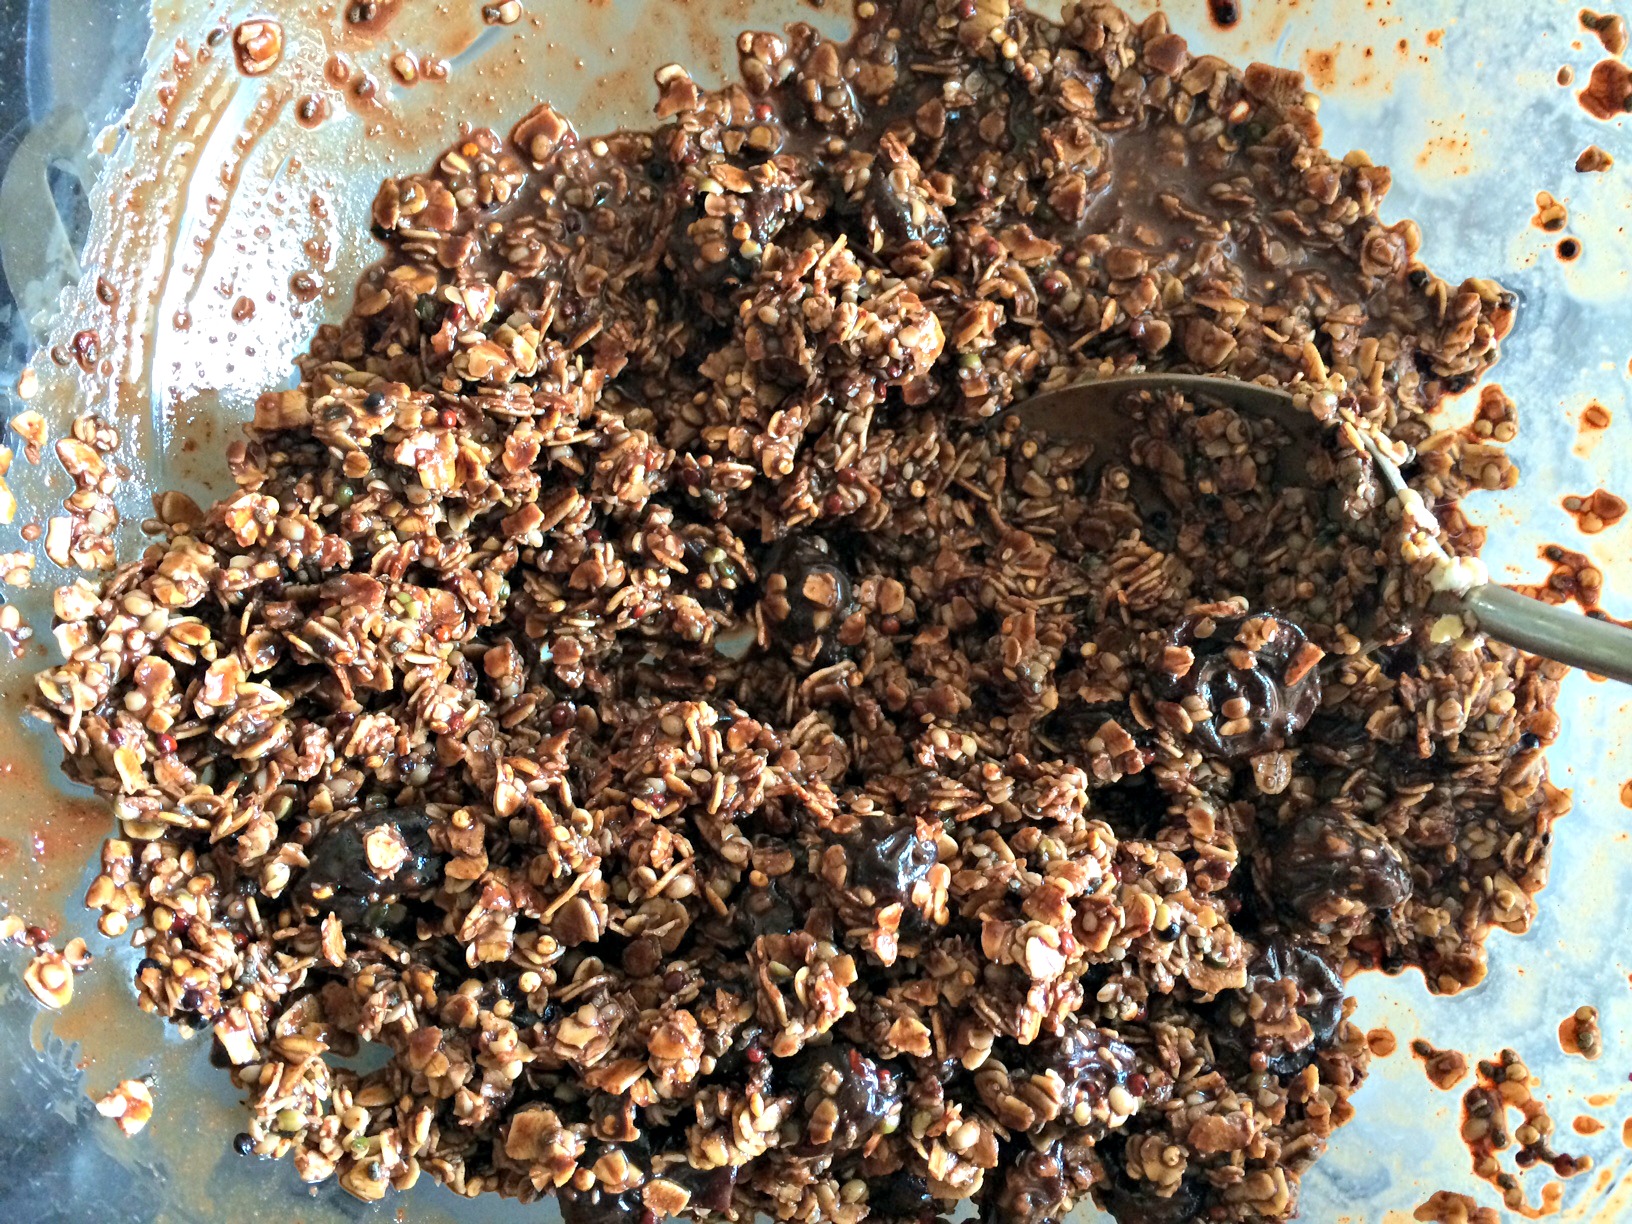
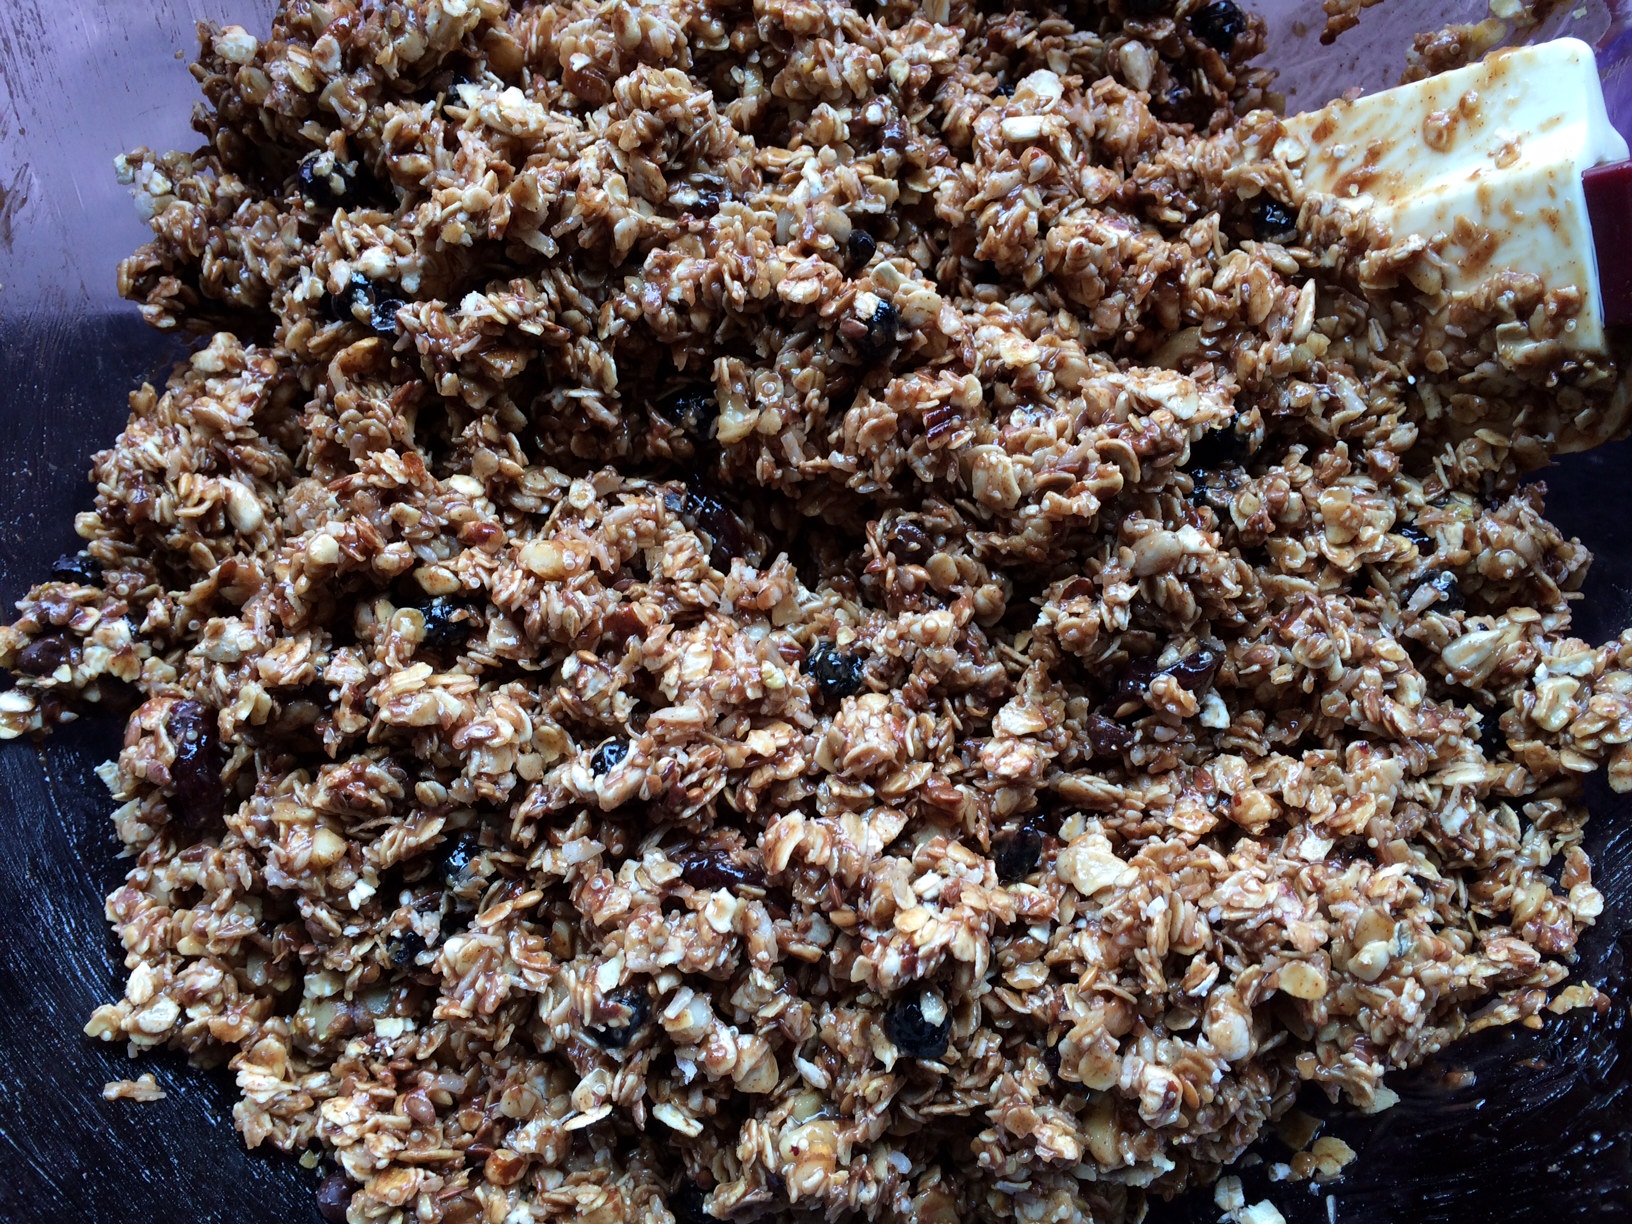
Wet and dry ingredients all combined.
As you can see from the photo above, everything is lightly coated but not soaked.
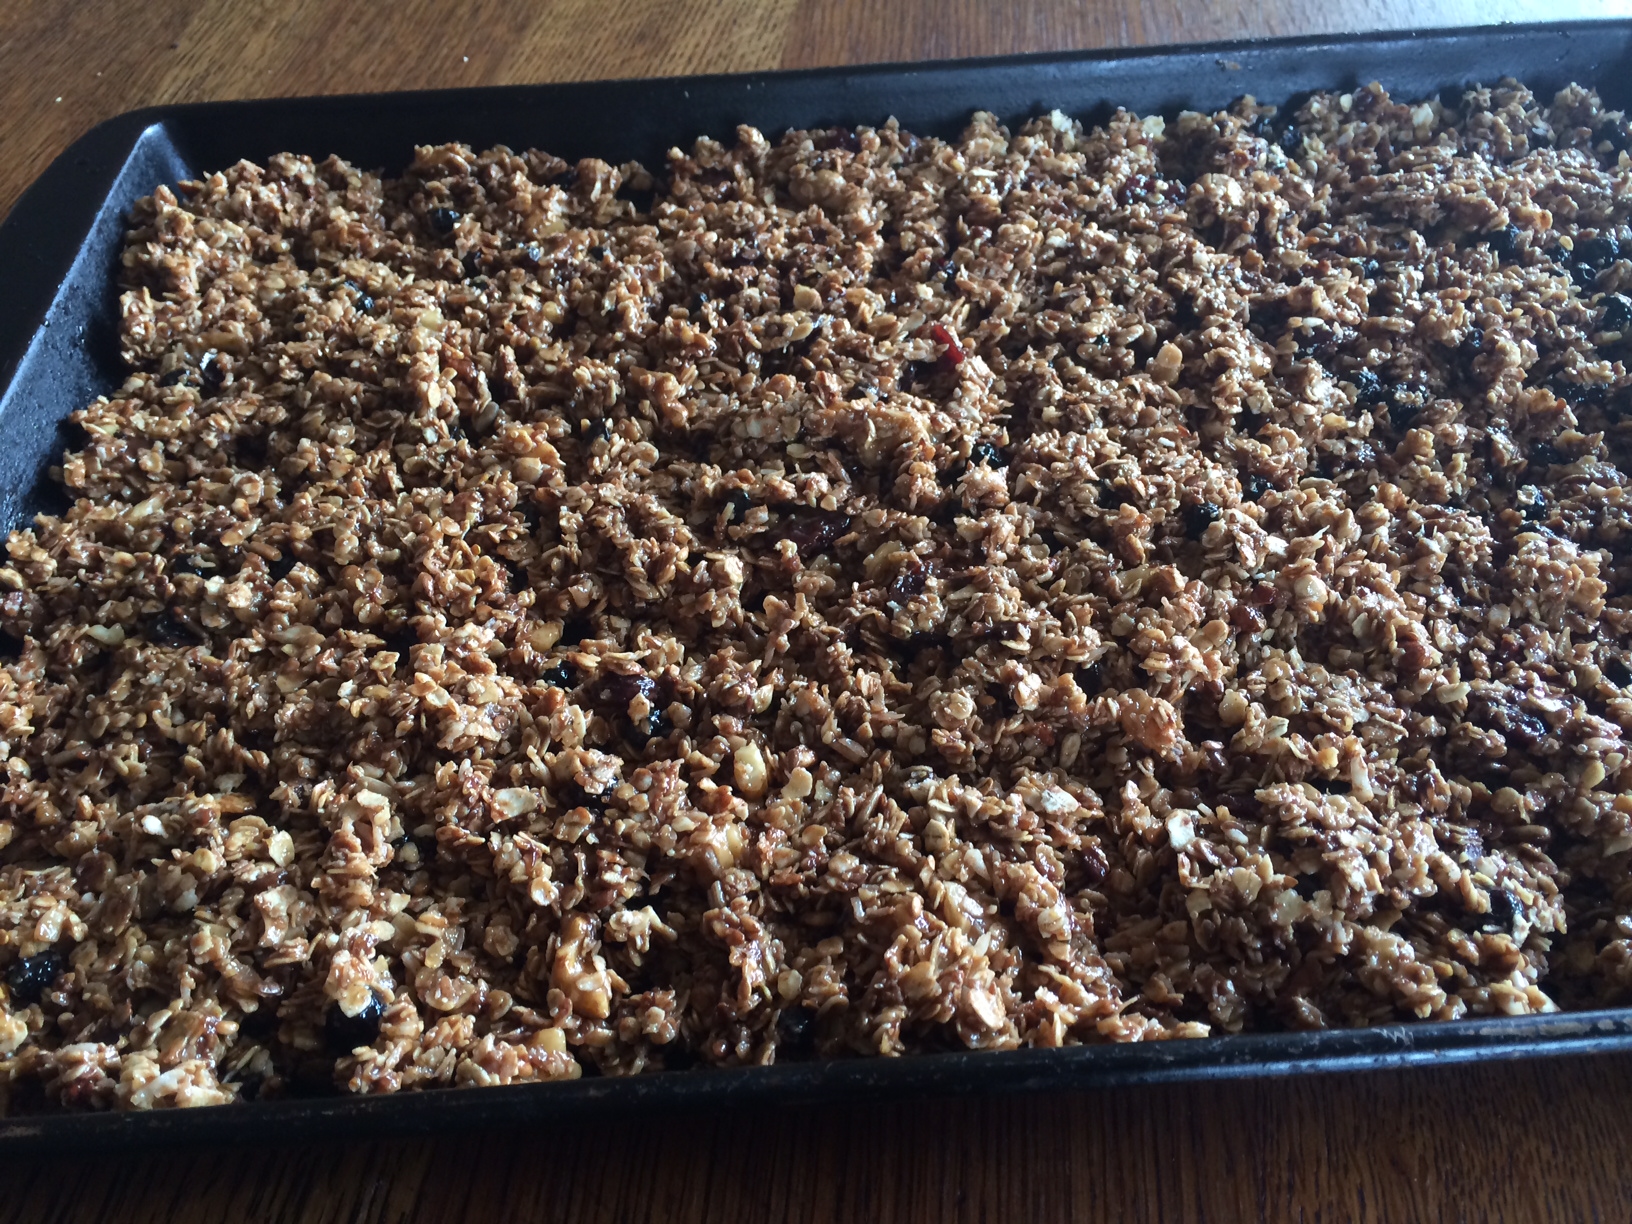
Granola ready to go into the oven.
The recipe calls for only 30 minutes in the oven but mine took much longer (almost 50 minutes). (My oven runs a little cold so be sure to base your cook time on your own oven.)
1/3 cup of amaranth, soaked (This is optional. I had it so I added it for a protein boost.)
1/4 cup flax seeds (1/2 of them ground, 1/2 of them whole)
1/4 cup of sunflower seeds
1/4 cup of coconut
1/4 cup of dried blueberries
1/4 cup of dried cherries
1/4 cup of chocolate chips (vegan or regular)
1/4 cup of chopped walnuts (Any nuts will do. Go with what you have available or what you like.)
1/4 cup of chopped pecans
1/2 cup of almond butter (Any nut butter will work in this recipe.)
1/4 cup of agave
1/4 cup of maple syrup
1/2 tsp of vanilla
5 tbs of coconut oil
Instructions
If using amaranth, soak for at least six hours and overnight if possible.
Preheat oven to 300 degrees.
Combine all the dry ingredients in a large bowl.
In a sauce pan, over low heat, combine almond butter, vanilla, agave, maple syrup and coconut oil.
Stir until well combined.
Add wet ingredients to dry ingredients.
Stir until all dry ingredients covered with almond butter mixture.
Press into a pan.
Place in oven for at least 30 minutes. Stir every 10 minutes. (Mine took over 50 minutes to be fully cooked but you will have to keep checking for when it looks done to you.)
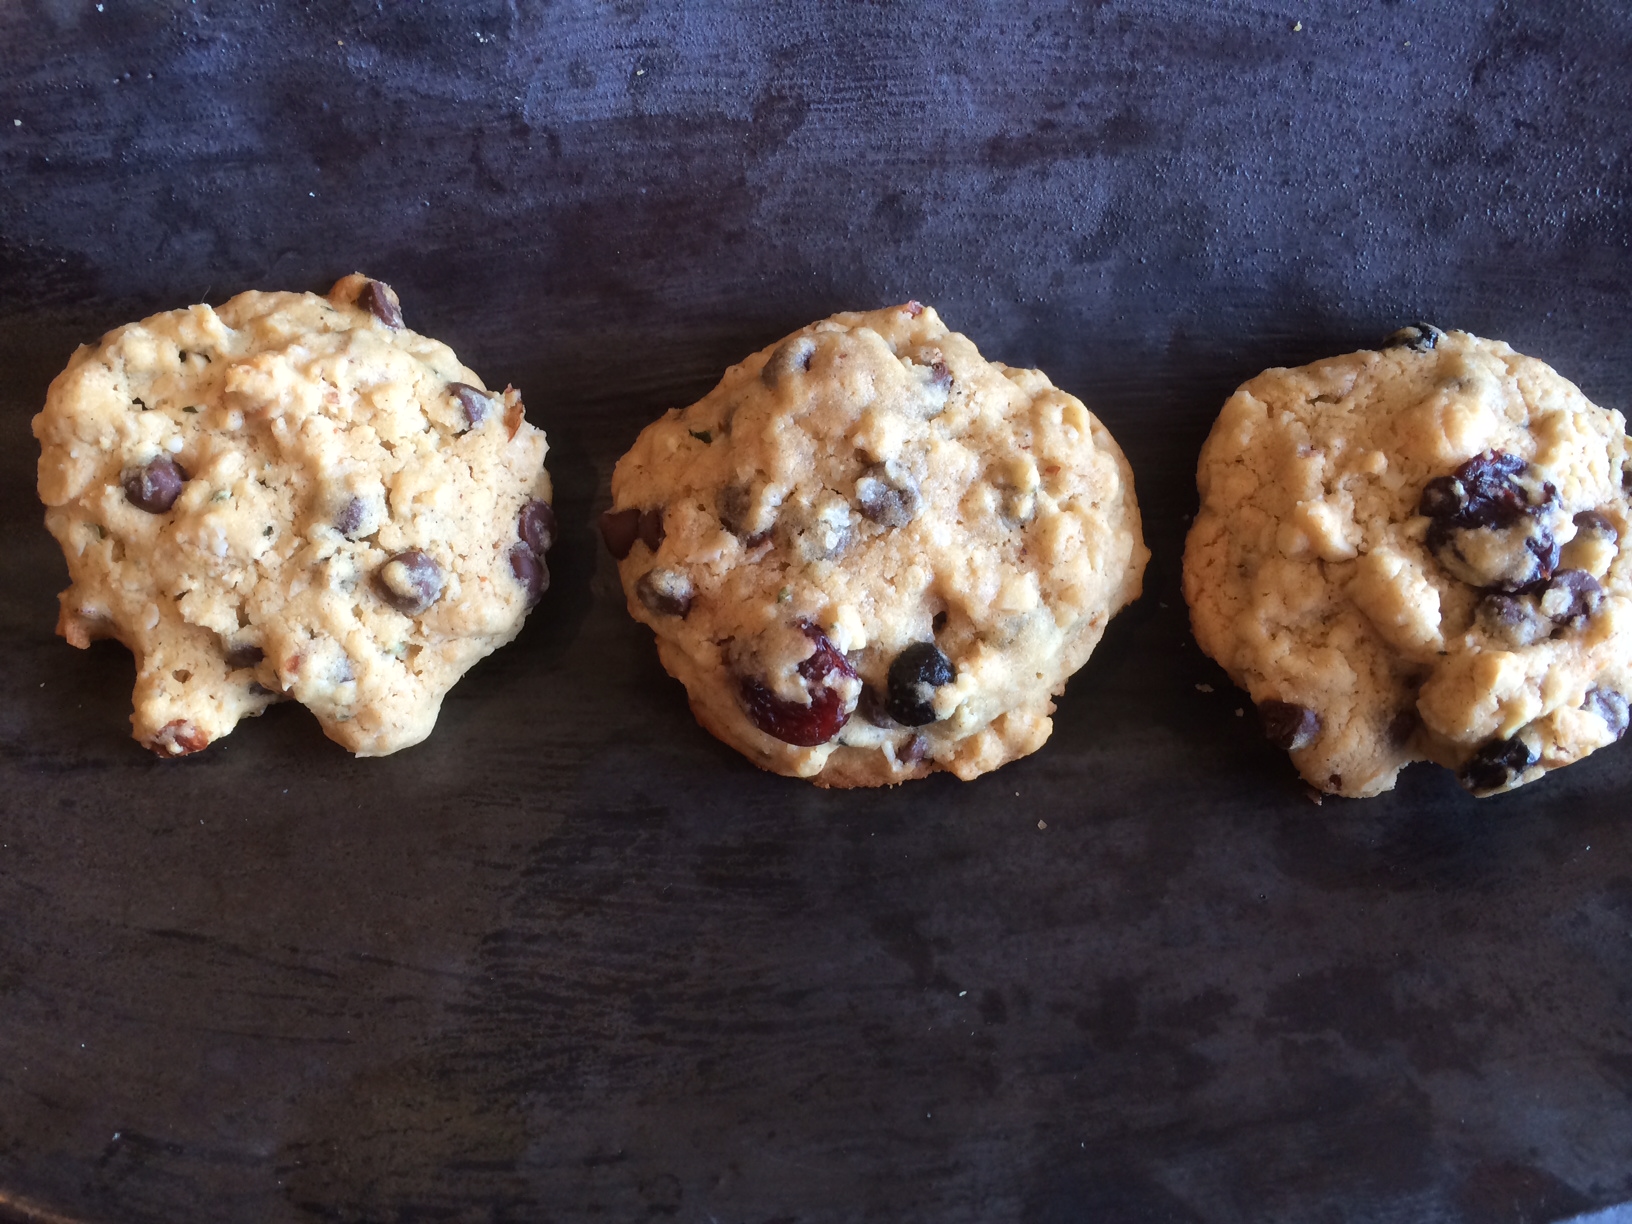
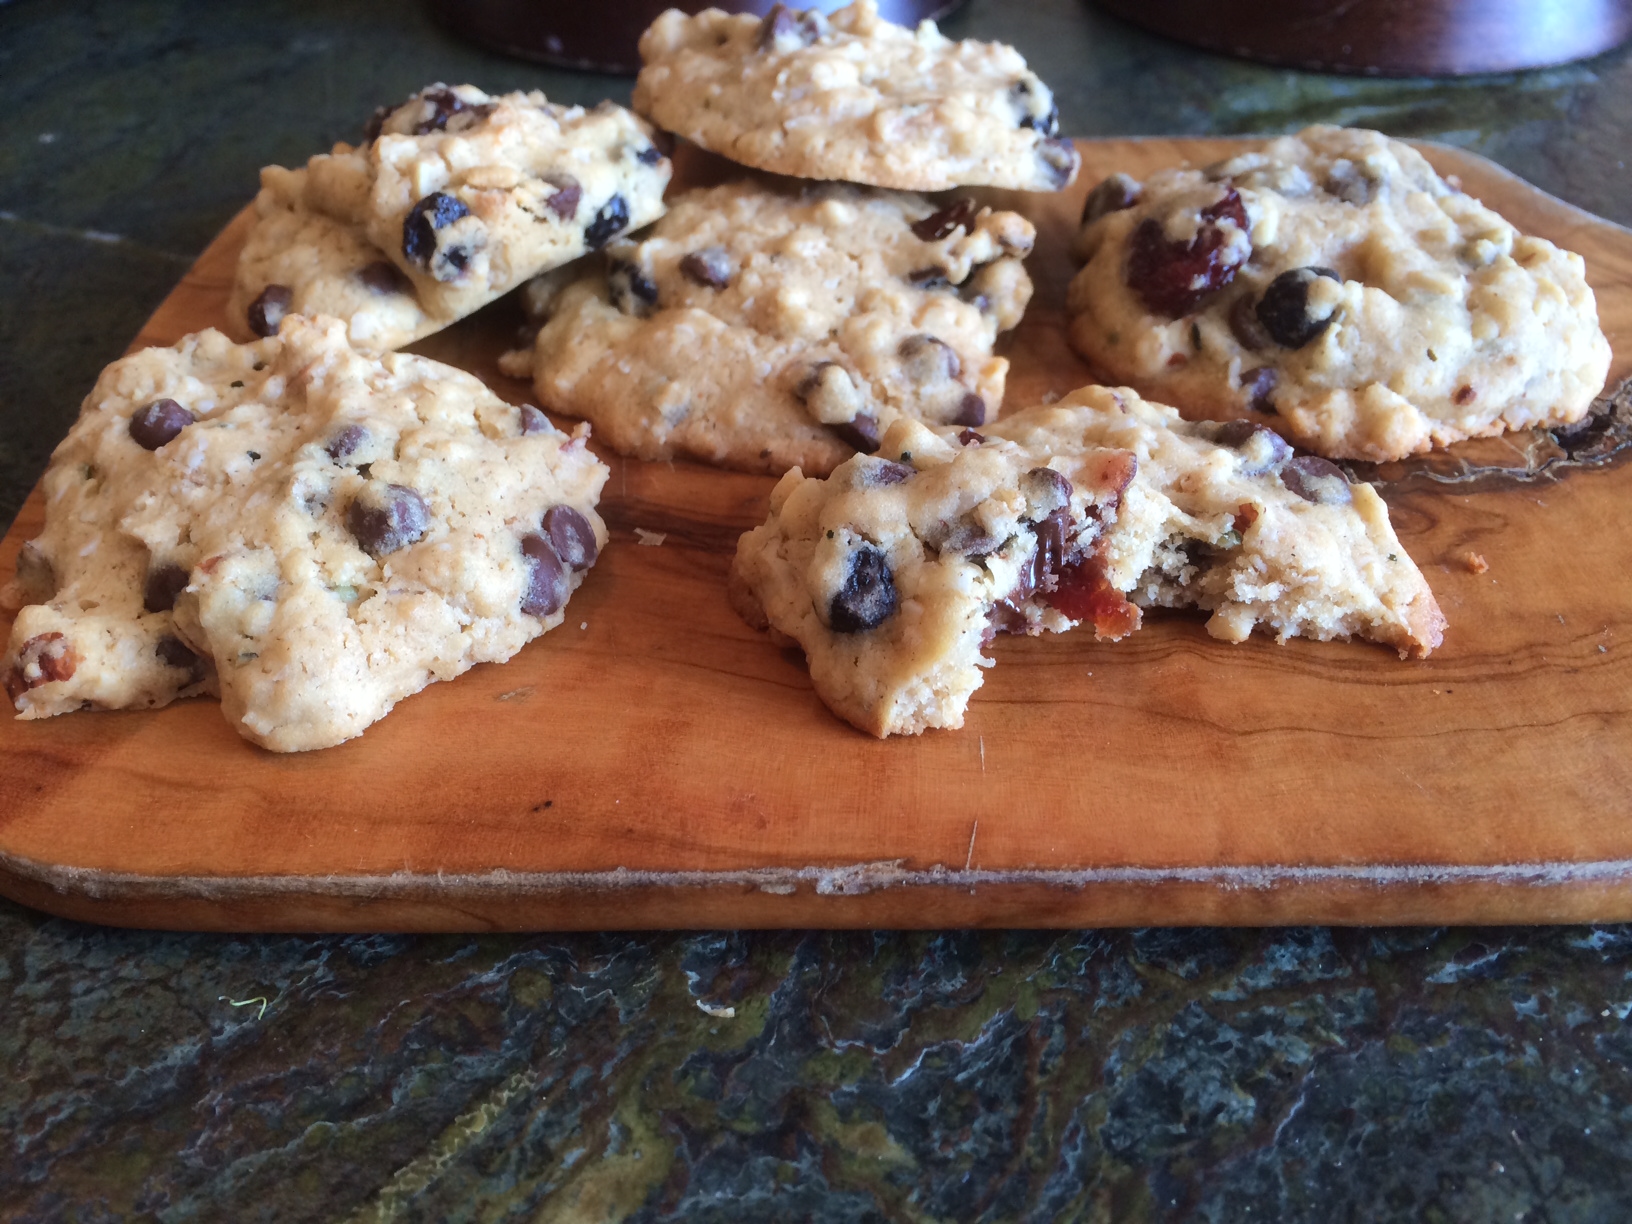
As I have adapted my families diet, one of the biggest requests I still get from my boys is for some sort of “treat”. To them, a “treat” means something sweet. (Unfortunately, their definition of “treat” reflects the language I used with them as young kids. How I wish I had realized that referring to apples and nuts and other healthy fair might have made them as excited to eat whole foods as they are to eat junk!) To help combat this idea of “treat”, I am always looking for recipes for whole foods that are packaged like “treats” but contain some good for you ingredients. It seems like a never ending quest which is why I was so happy when my school introduced me to these super yummy gluten free, dairy free cookies.
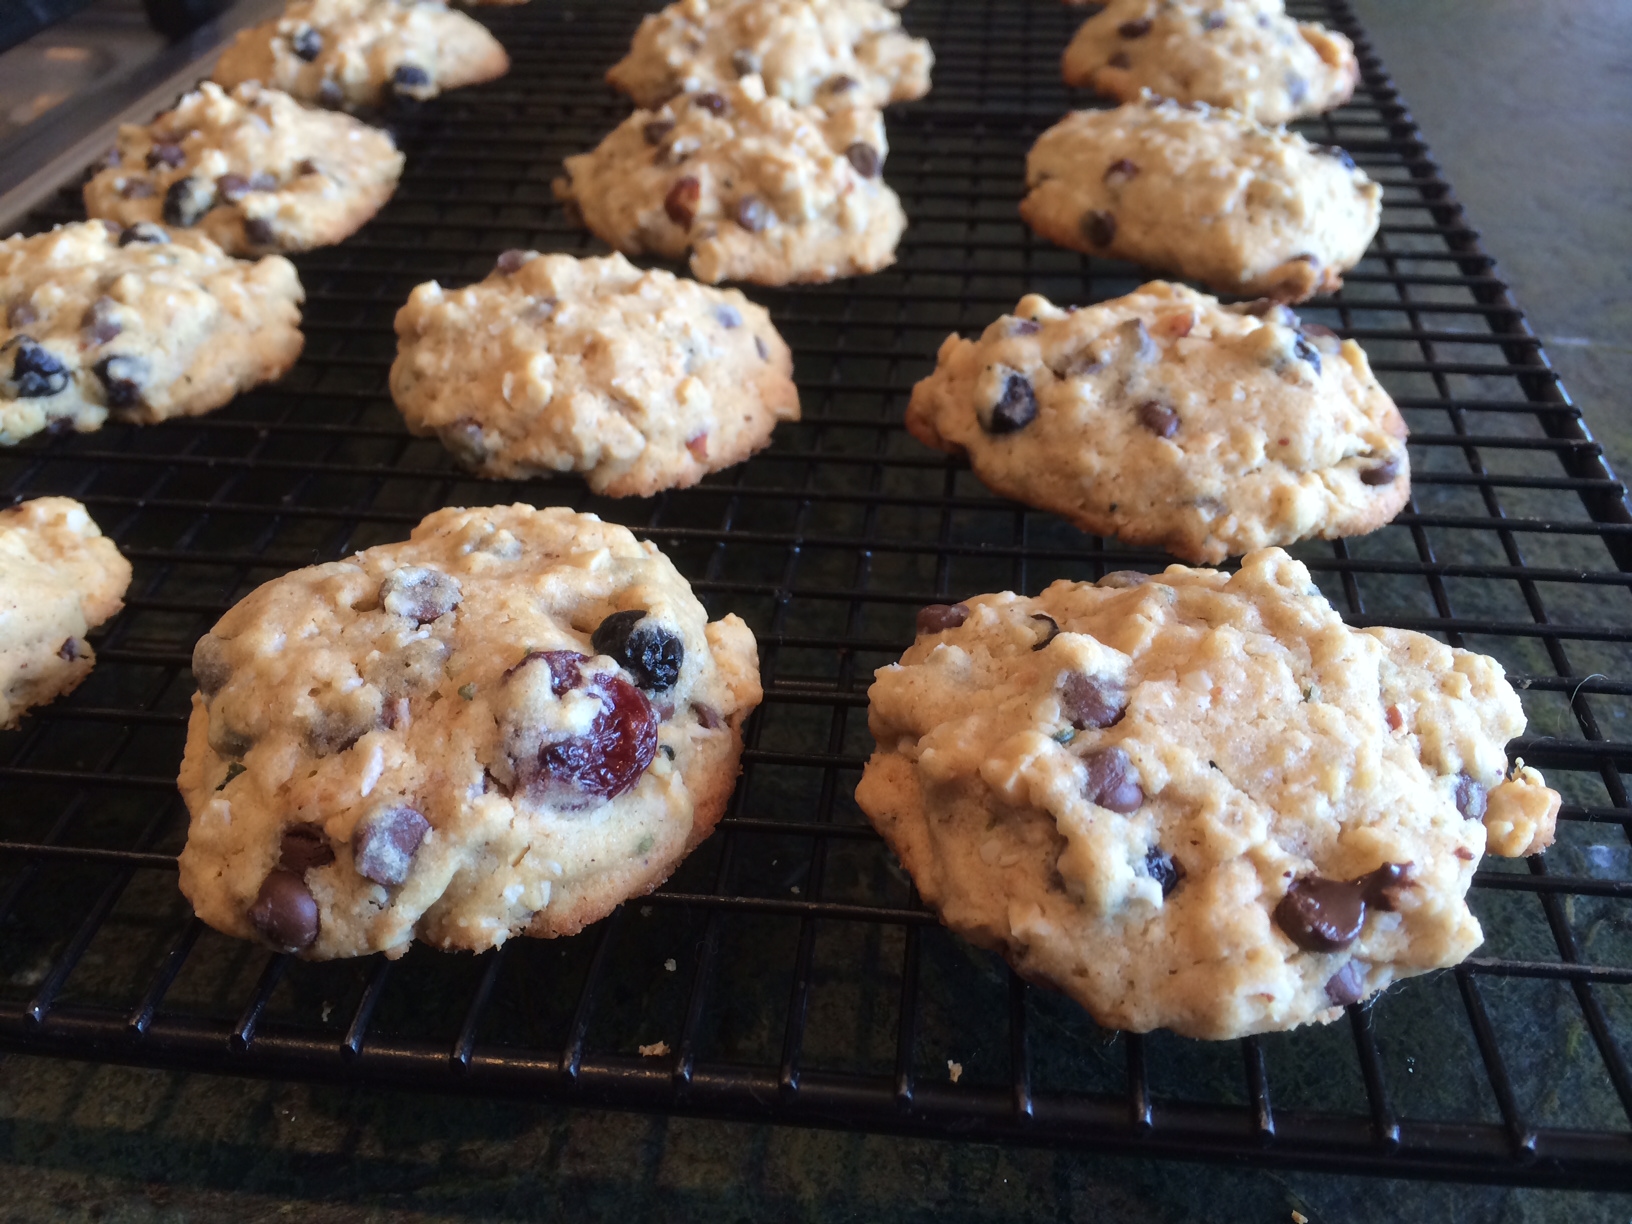
These cookies contain oats filled with fiber, manganese, molybdenum, B vitamins and phosphorus. They also have hemp seeds for a shot of omega-3’s and hazelnuts for increased fiber, folate, manganese and copper.
These cookies offer another health benefit. Instead of using butter or margarine, they are made with coconut oil. Coconut oil is a saturated fat, however, it is made of medium chain triglycerides not the long chain triglycerides found in cheese or red meat. Medium chain triglycerides go straight to the liver from the digestive tract, where they are used as a quick source of energy or turned into ketone bodies. These fats have been shown to increase daily calorie expenditure by about 5% a day. Also about 50% of the fatty acids in coconut oil is lauric acid. Lauric acid has anti microbial properties including killing bacteria, viruses and fungi. Lauric acid has also been shown to increase HDL (the “good”) cholesterol and reduced LDL (the “bad”) cholesterol. When buying coconut oil be sure to buy organic, virgin coconut to enjoy all these amazing benefits.
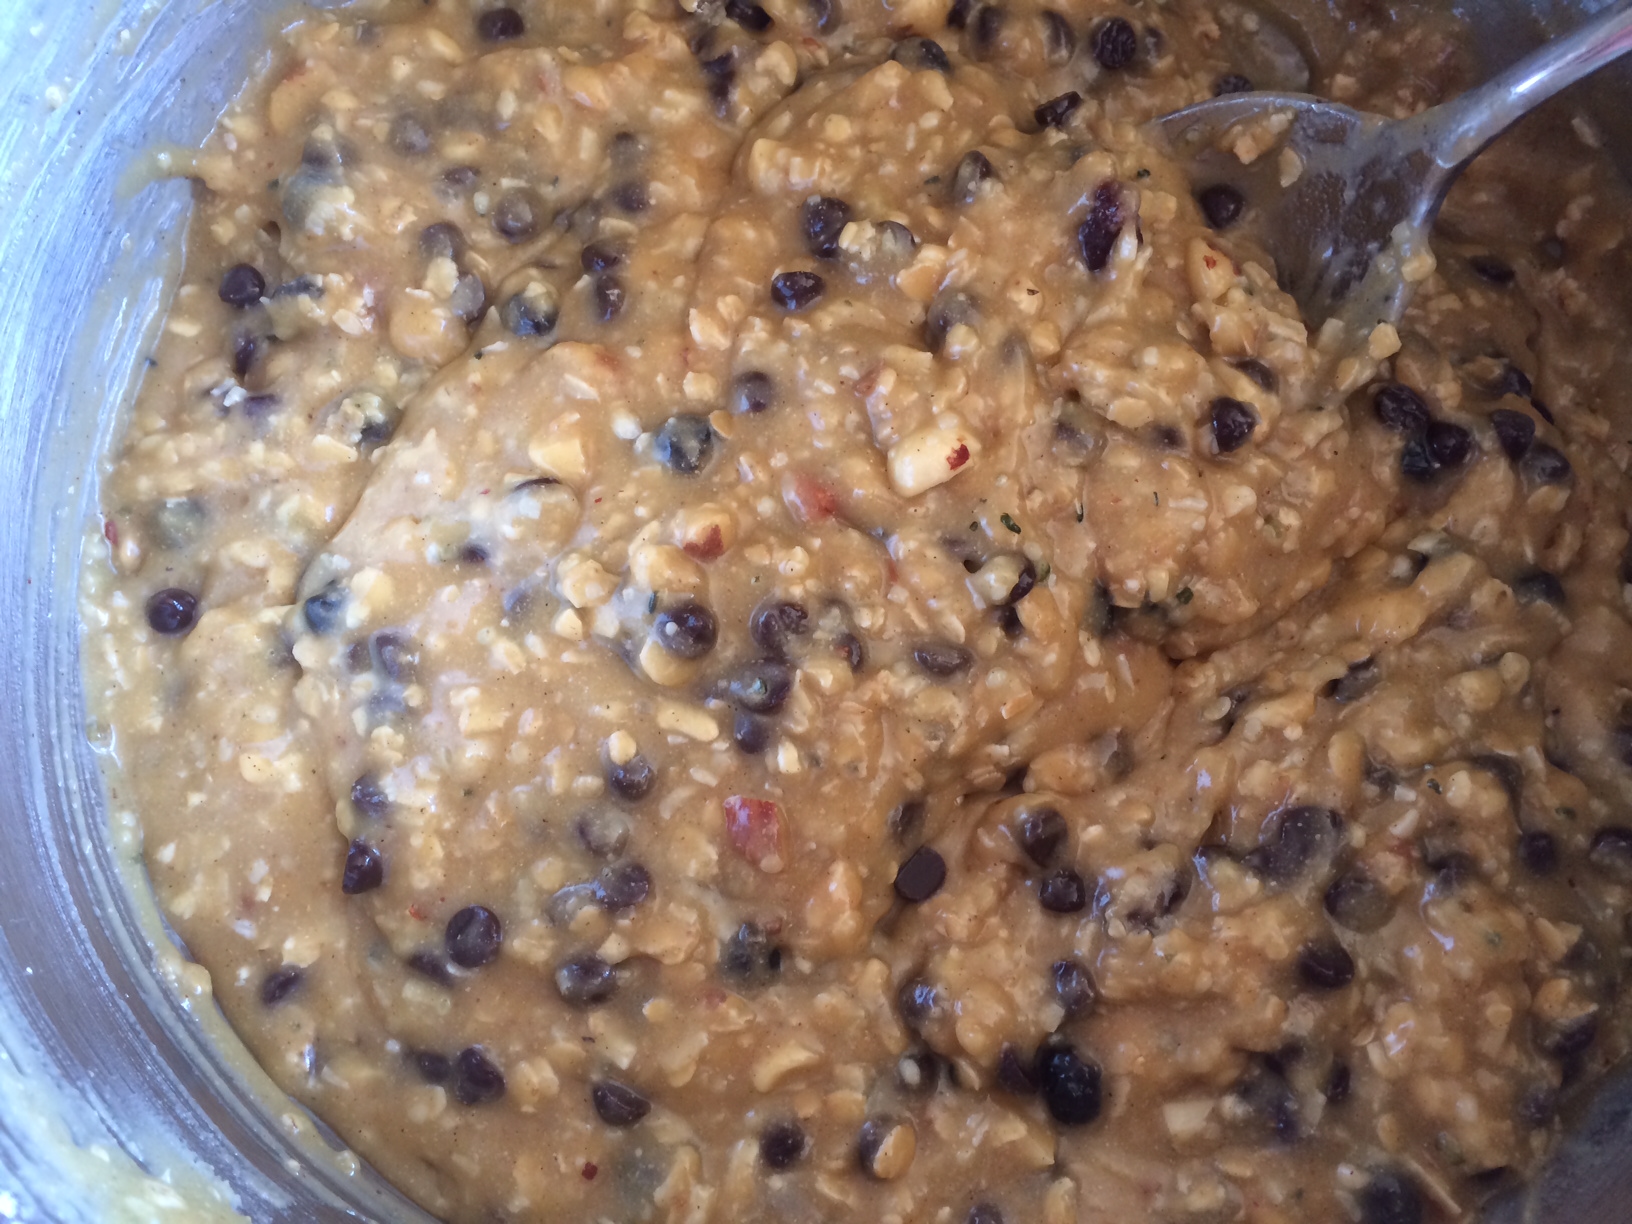
I made these cookies gluten and dairy free because these are two substances we are trying to reduce in our house. However, if you don’t have these same restrictions, regular flour and non-vegan chocolate chips would be just as tasty.
The ingredients might look and seem a little runny when first combined. However, once the mixture spends 15 minutes in the fridge, the dough will stiffen up, making it easy to scoop into cookies.


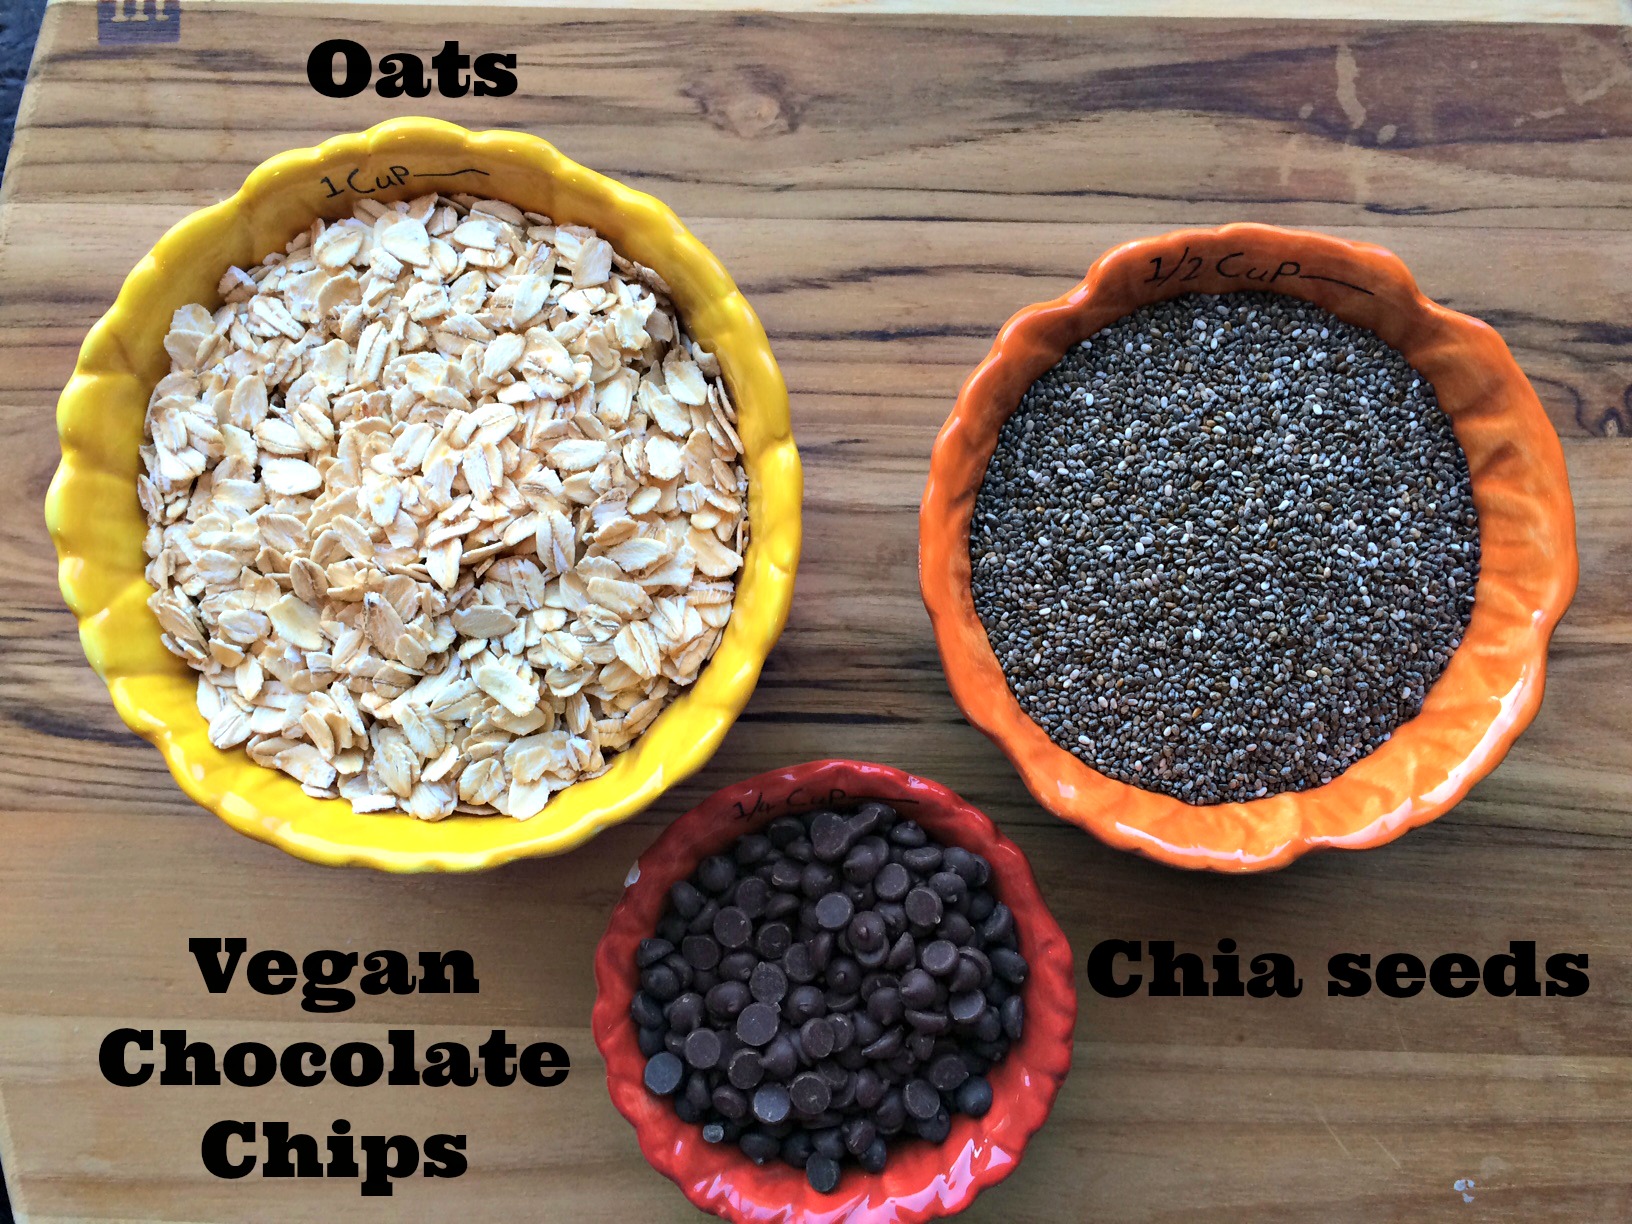 I love that these balls include energy producing, fiber filled Bob’s Red Mill Oats , Omega-3 rich Raw Chia Seeds
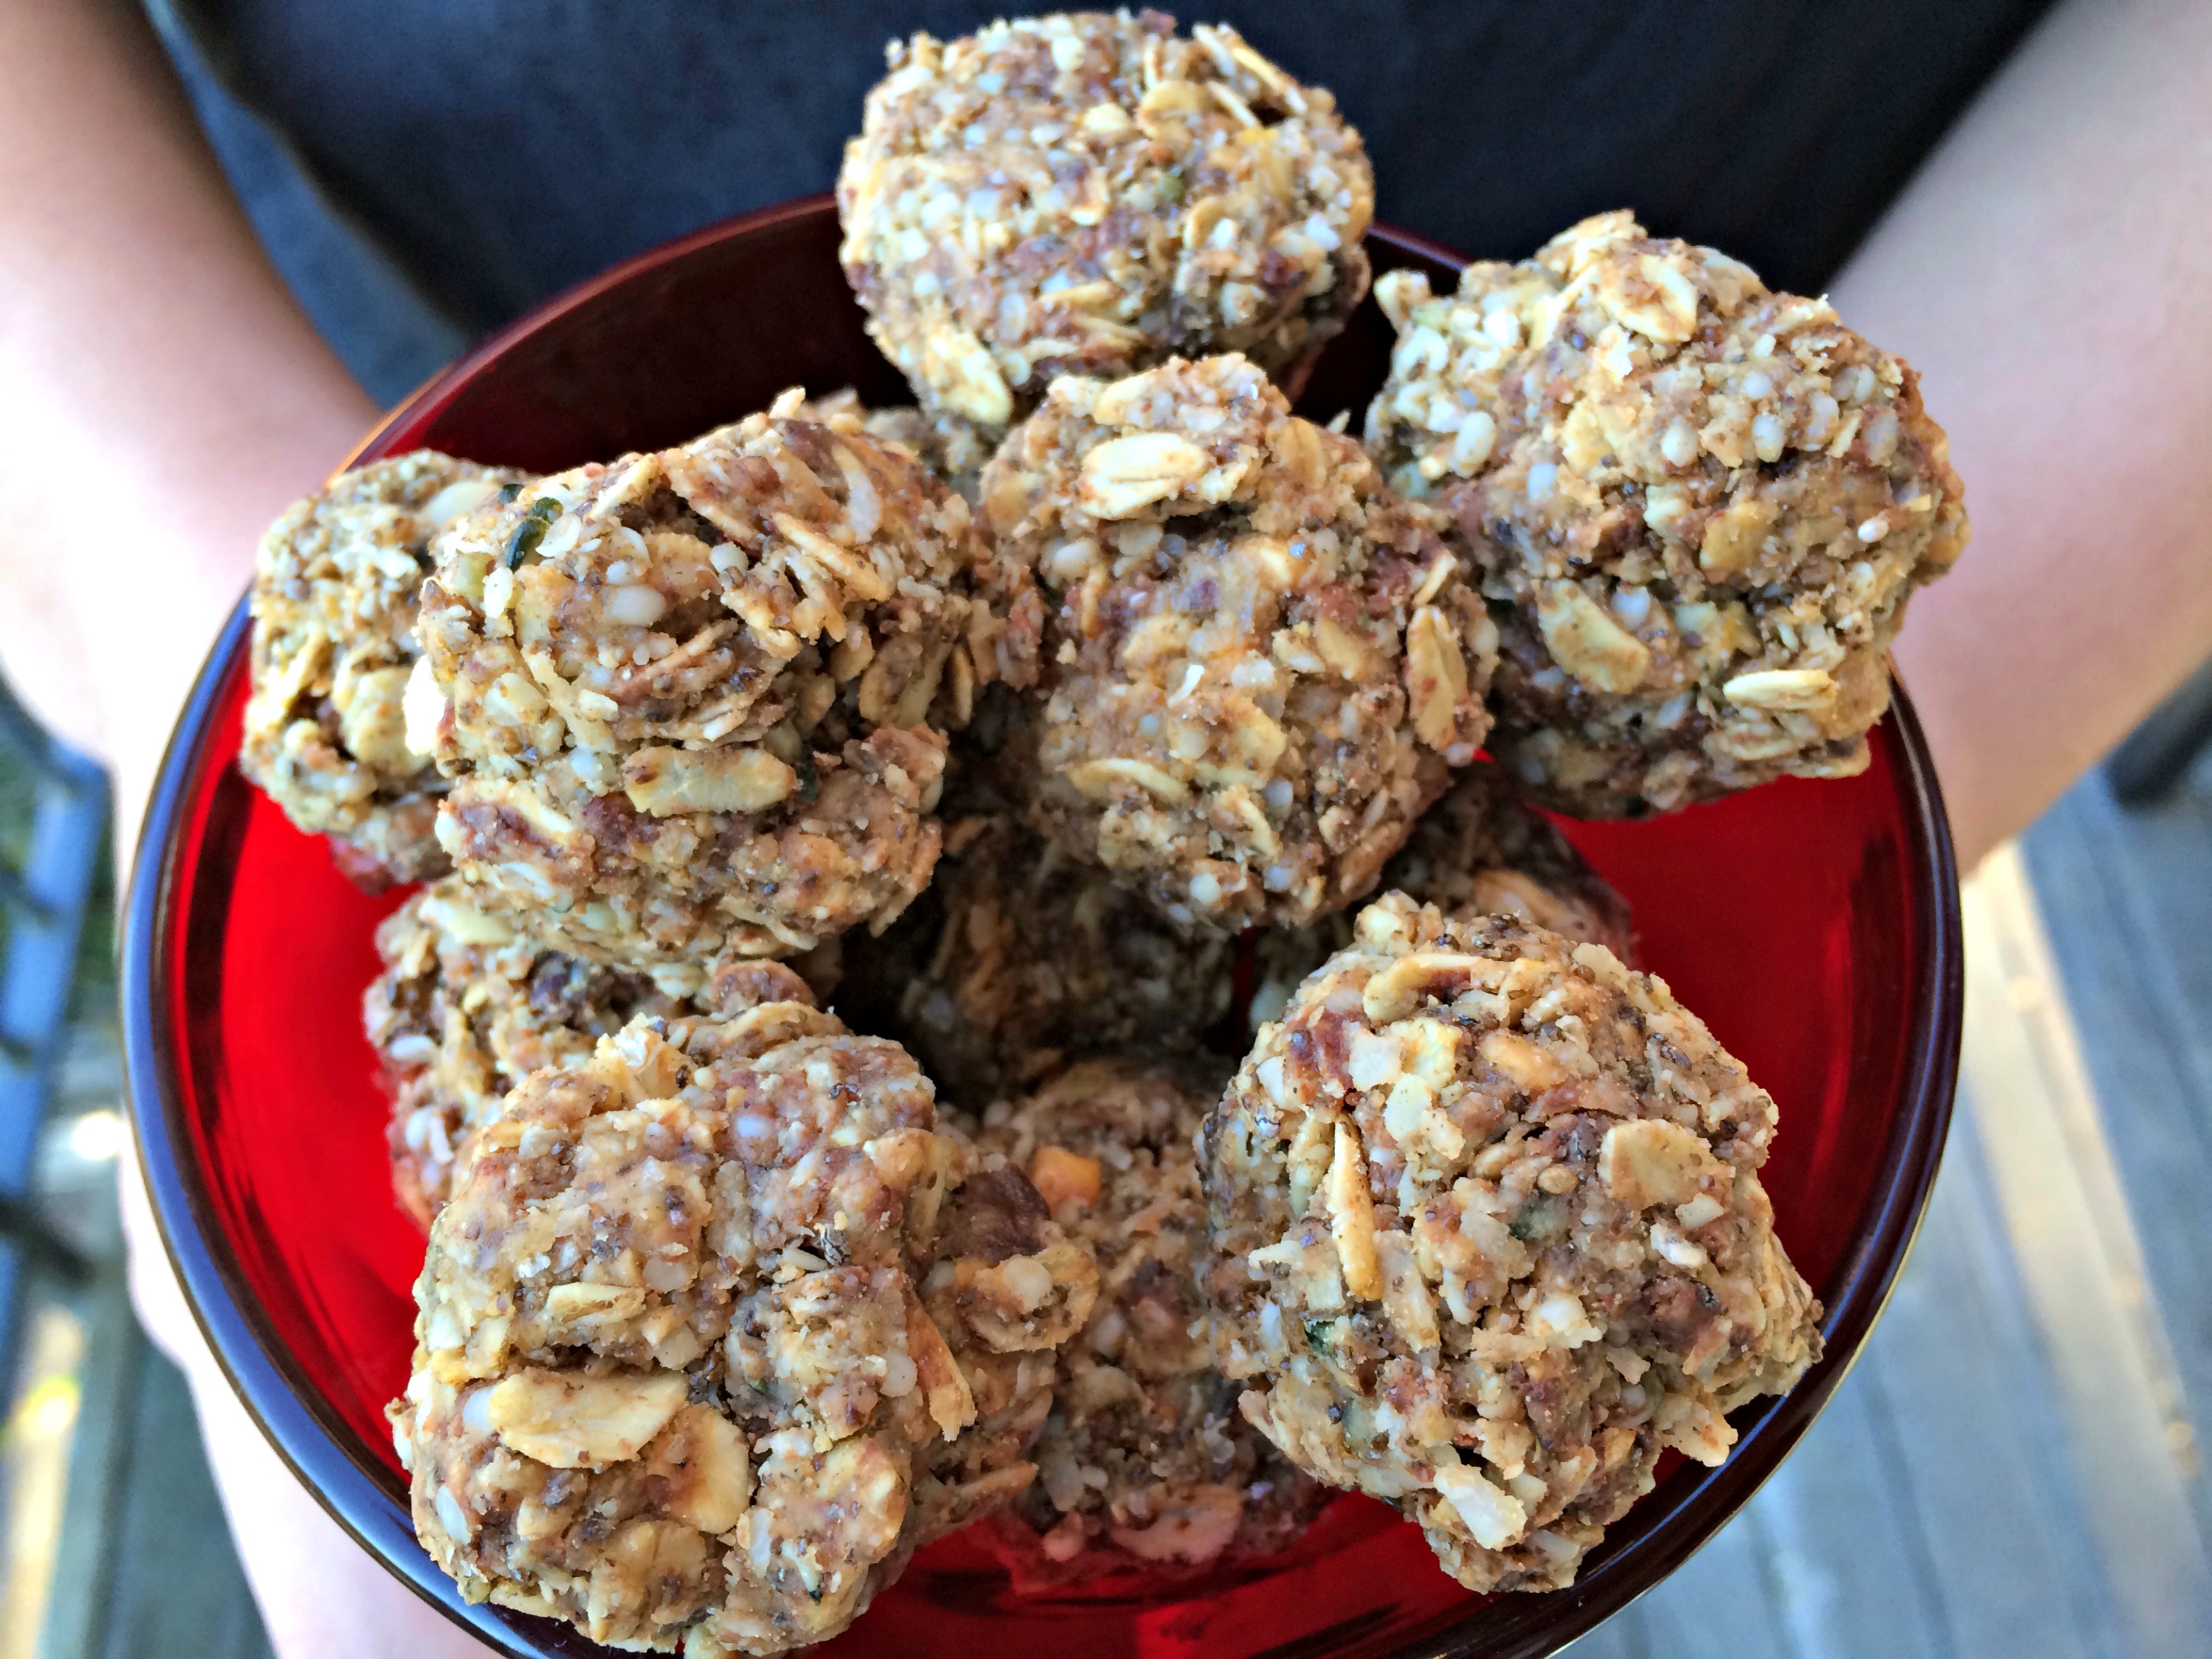 I found it was easiest to squeeze the dough into balls instead of trying to roll them. They don’t look too pretty but they sure taste good.