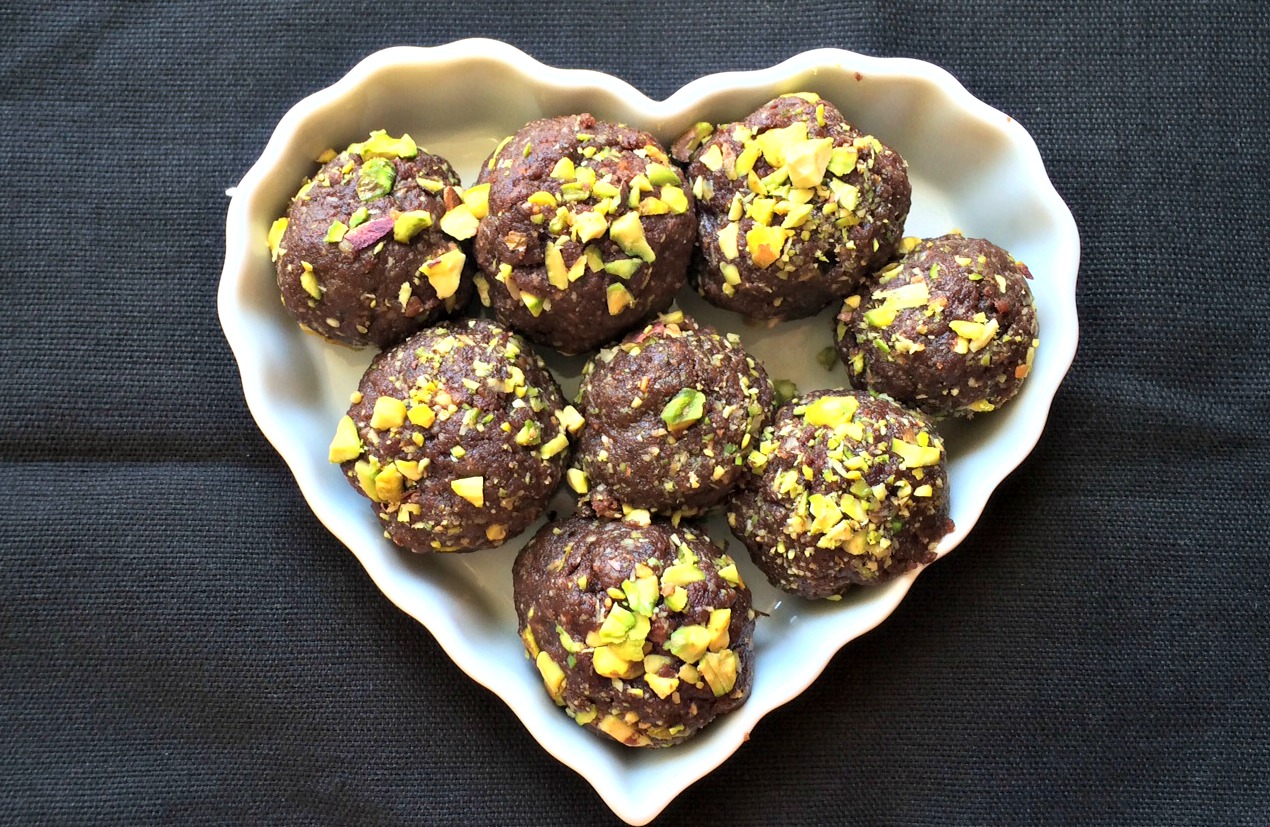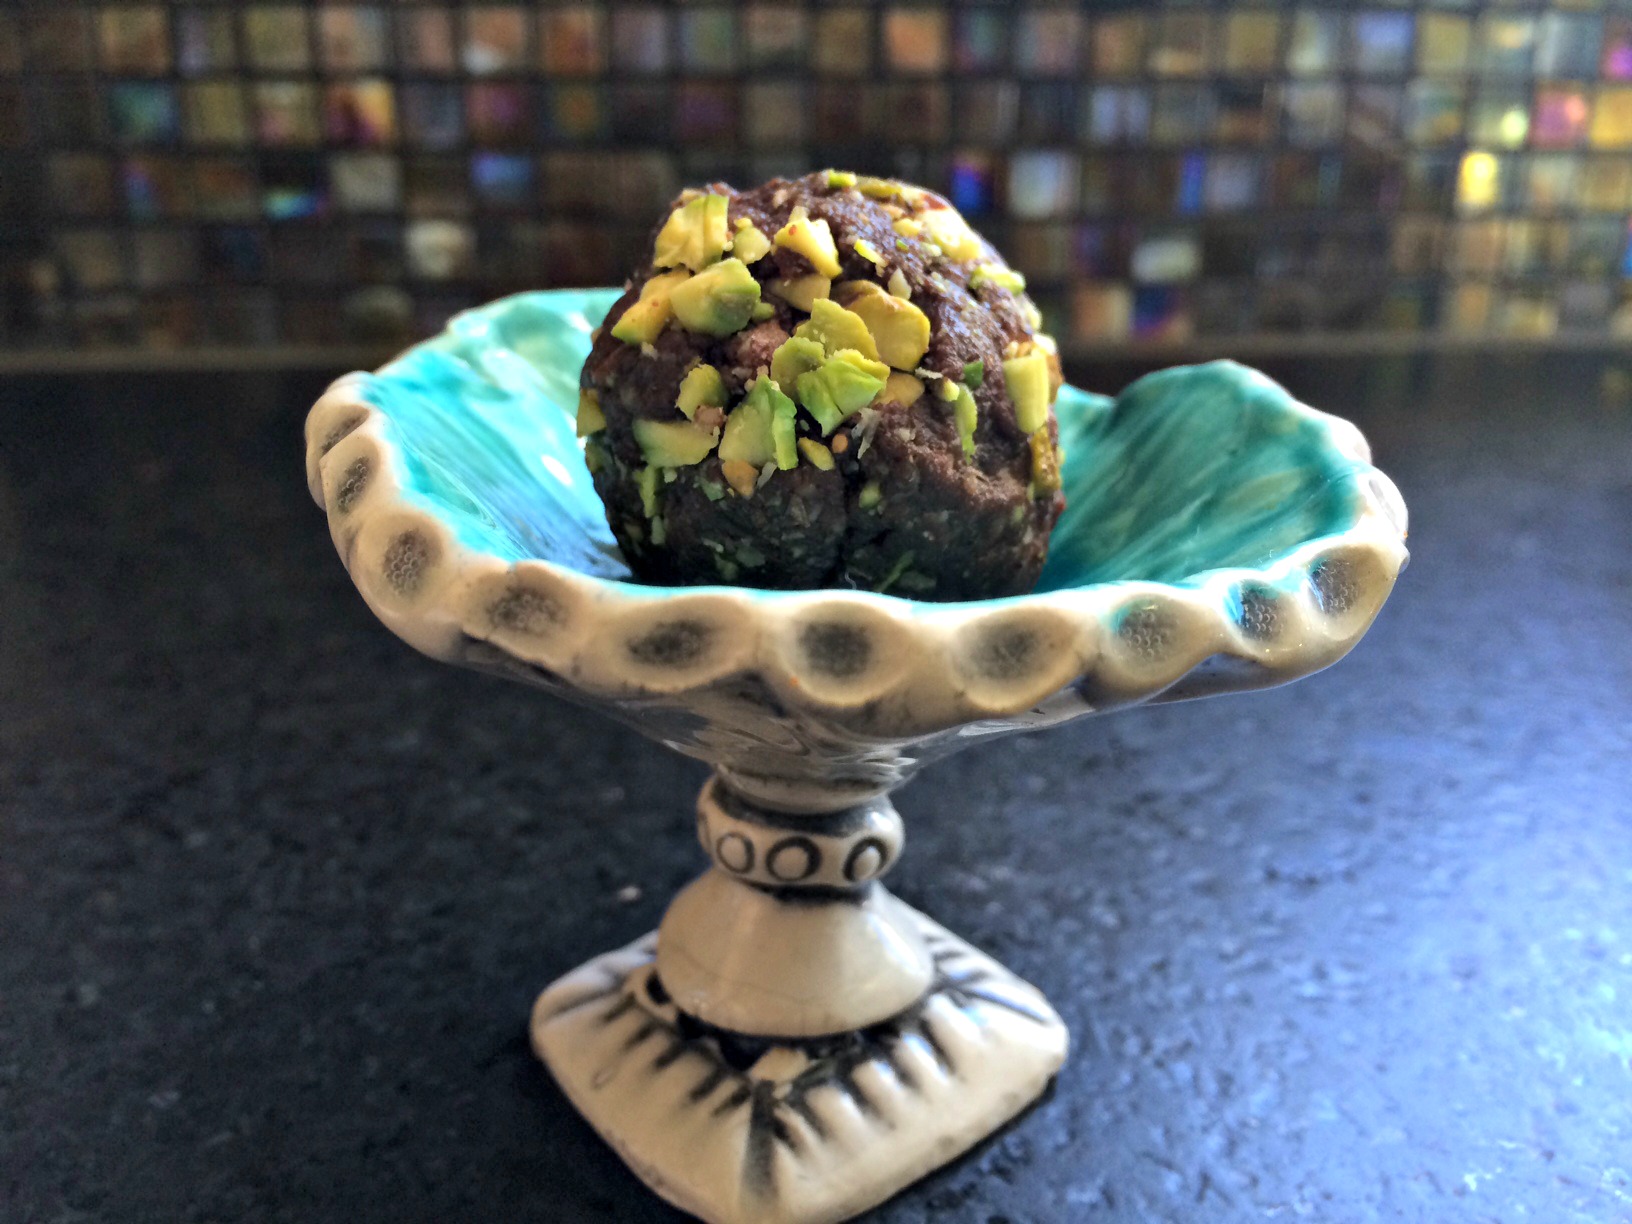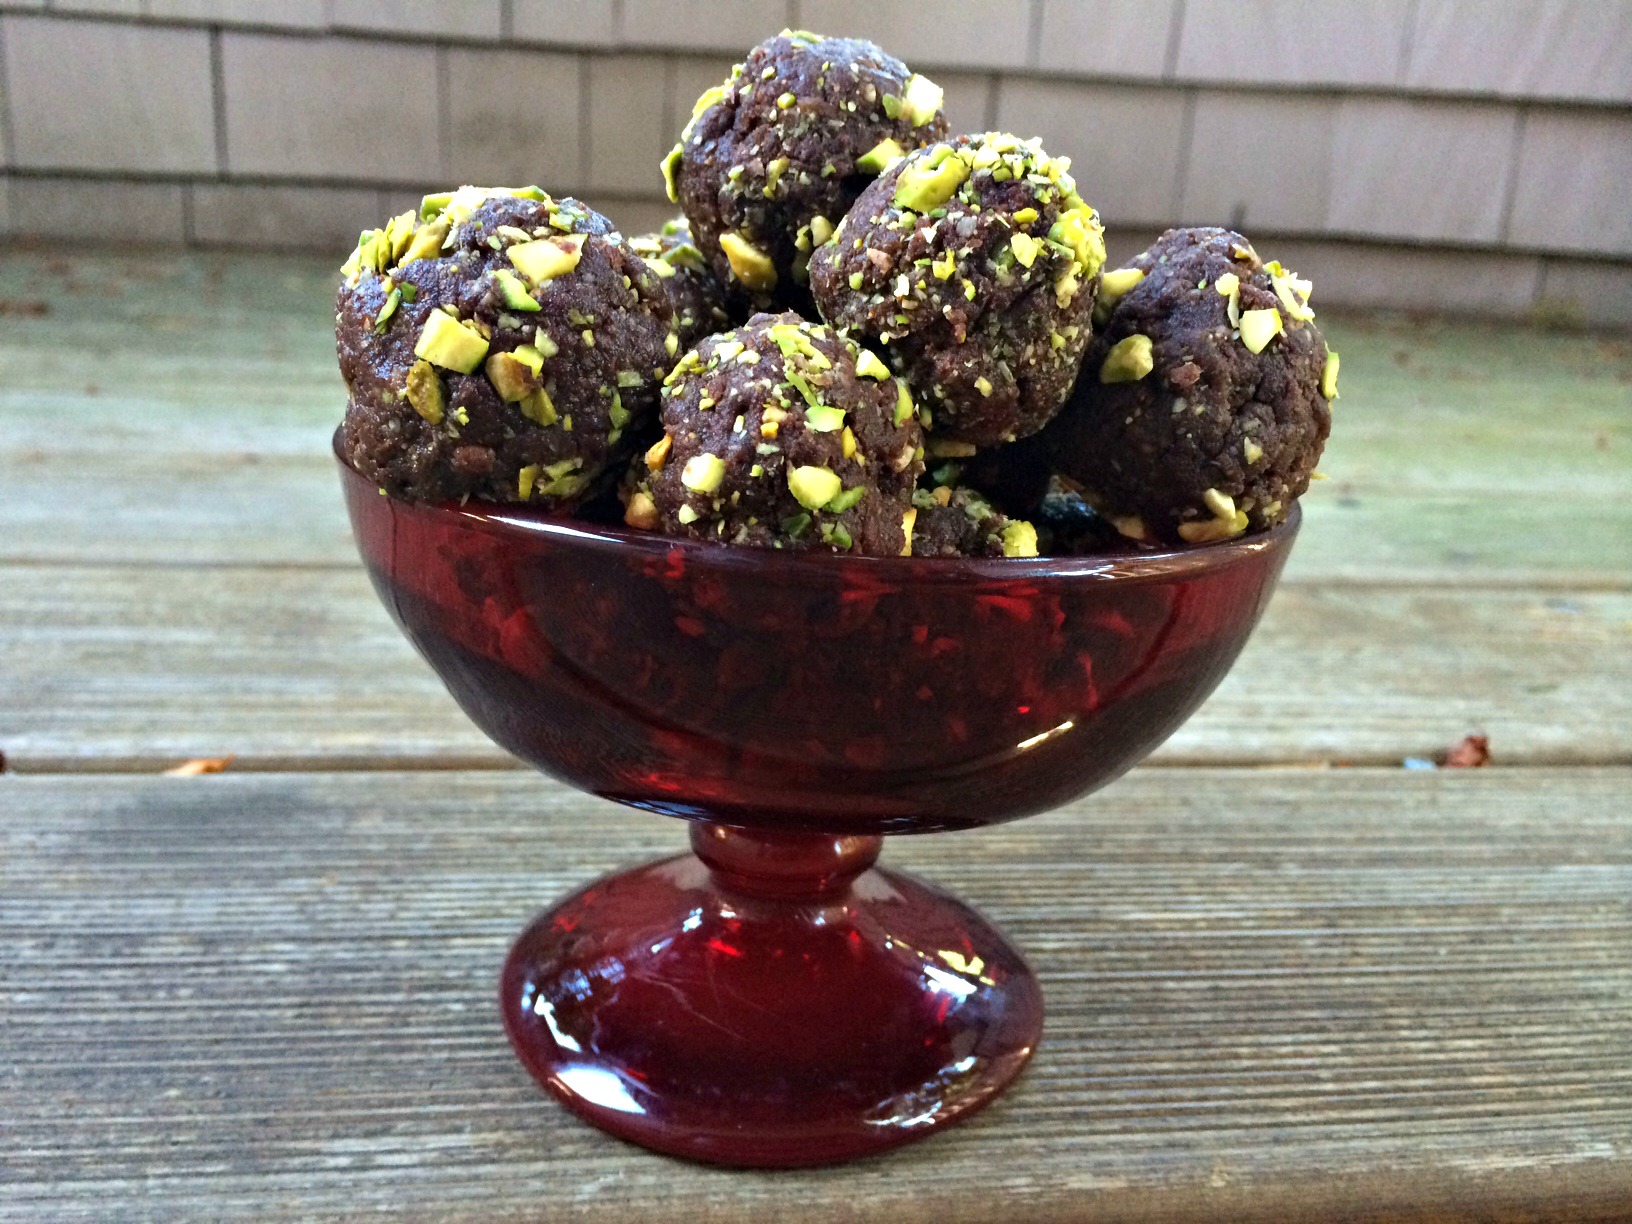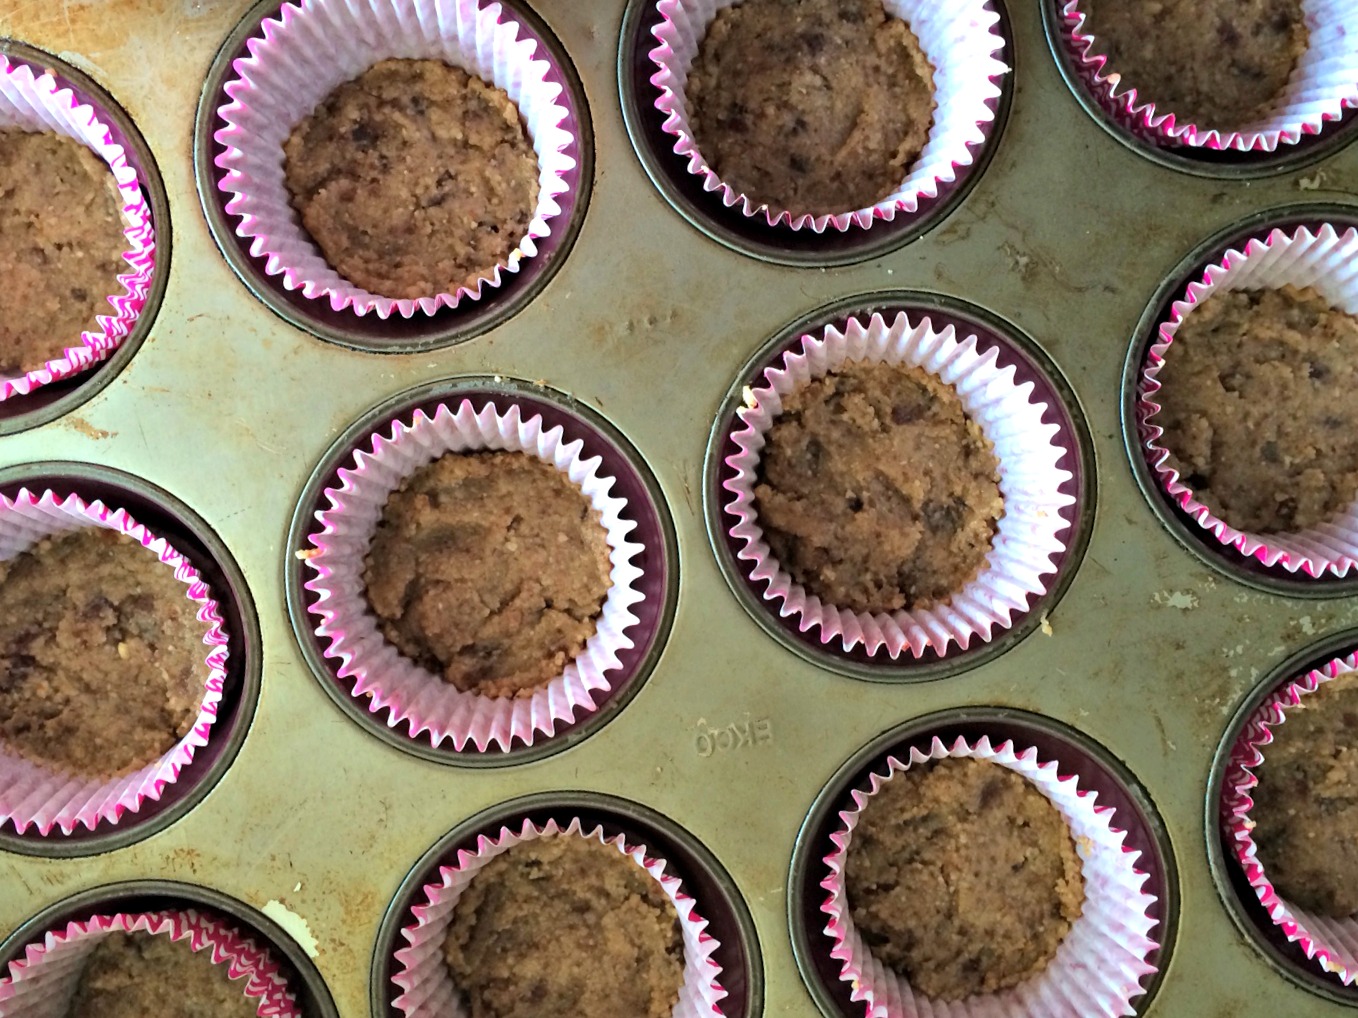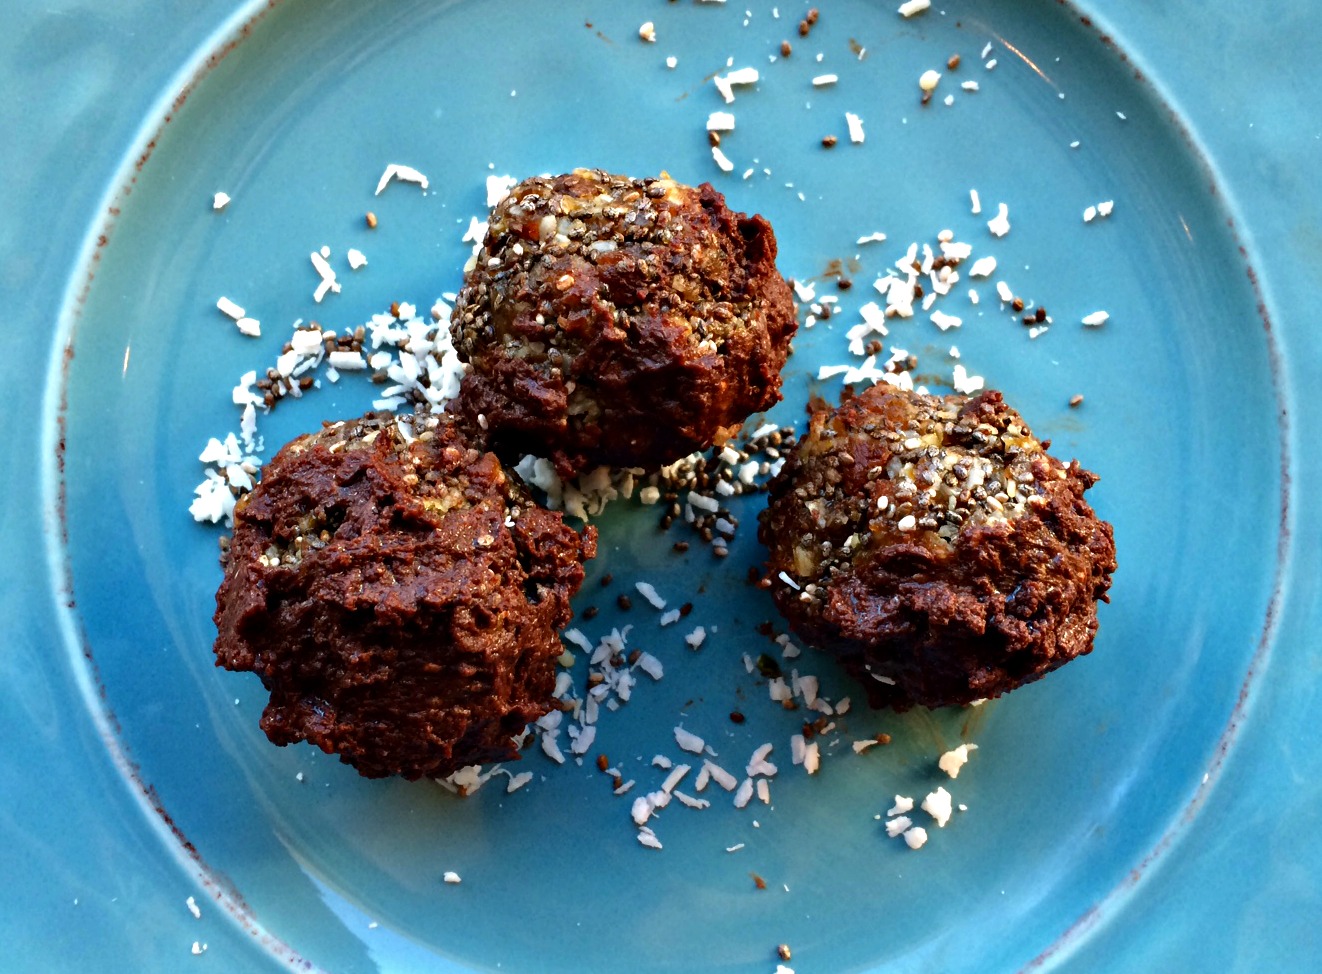
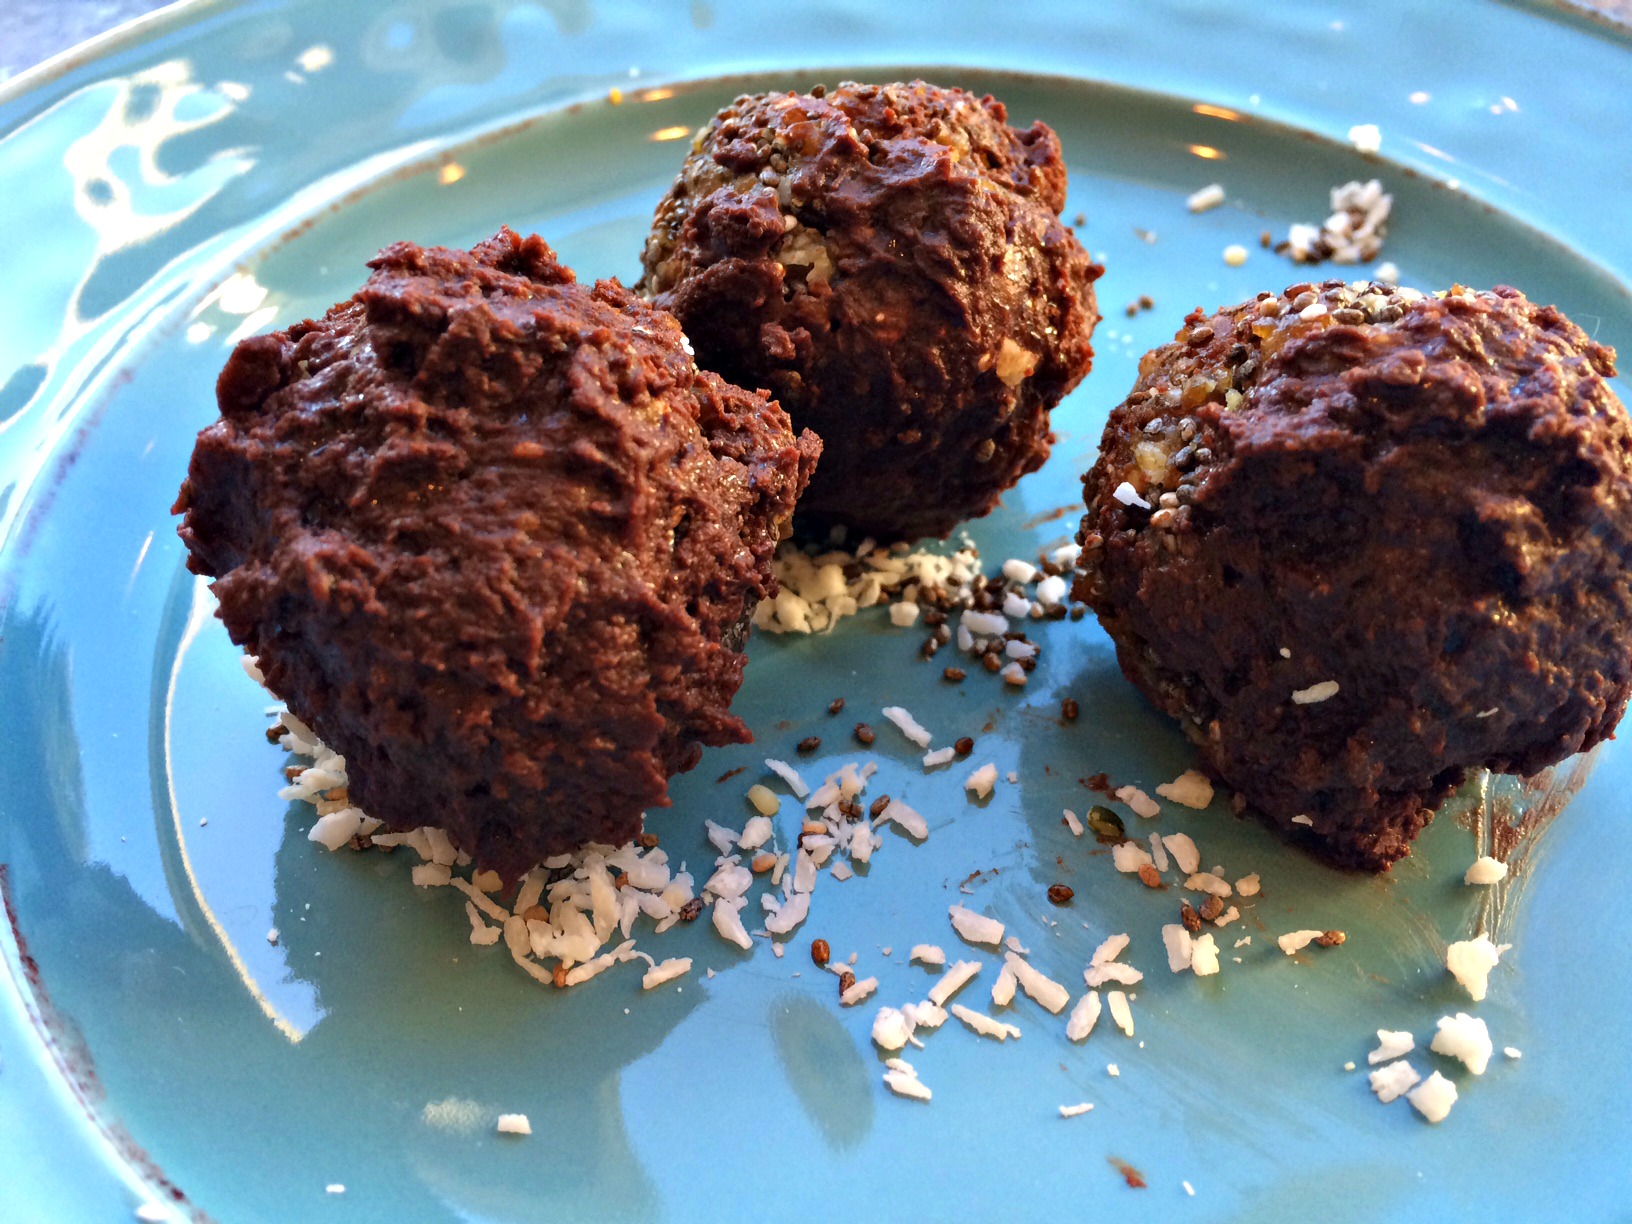
Balls all ready for snacking.
As I continue on my real foods journey, I find one of the aspects I struggle the most with is finding good quality, quick snacks. My kids are still stuck in the “it has to be in a box to qualify for a snack” mode. It is incredibly disheartening to go to the store, read package labels and realize how much crap is in the food marketed to kids! Even food under the “health halo” of gluten free or organic is often loaded with sugar listed in different forms to disguise how much sugar is actually lurking. IT DRIVES ME CRAZY!
I was recently wandering around the internet looking for new snack ideas when I stumble upon My Darling Lemon Thyme’ s recipe for Raw Apricot, Dark Chocolate and Coconut Bites . These sounded amazingly yummy to me but I wondered about tweaking them a little bit to add some protein. I am incredibly obsessed with chia and hemp seeds right now so I immediately thought about incorporating them.
I am use to using dates in many of my raw snacks so I was intrigued with the idea of trying apricots for a different taste. I try to find unsulfured apricots because the preservatives tend to give me a headache and upset my stomach. I bought Dried APRICOTS here. I know they look discolored and a little unappetizing but I promise they taste just as good as the sulfured ones! I eat Hemp Hearts and Organic Raw Chia Seeds every day for breakfast so they were a natural addition to these balls.
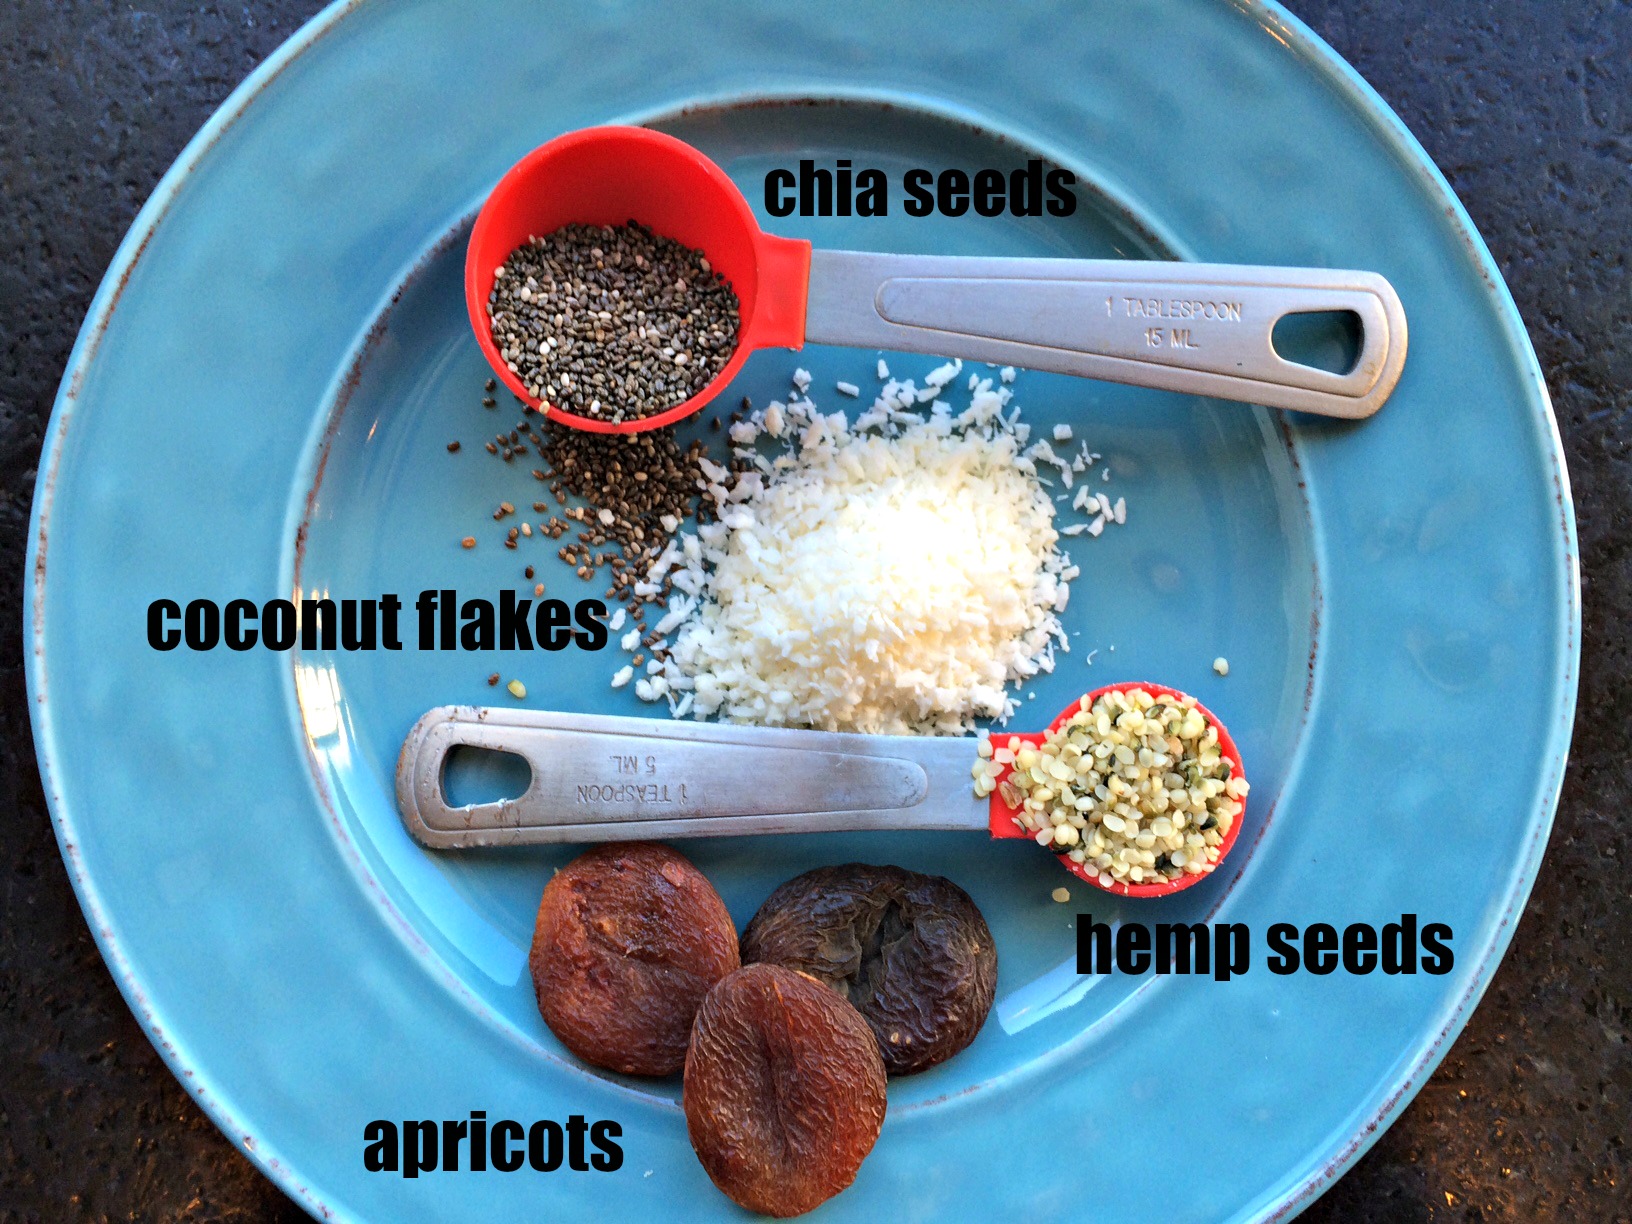
Ingredients.
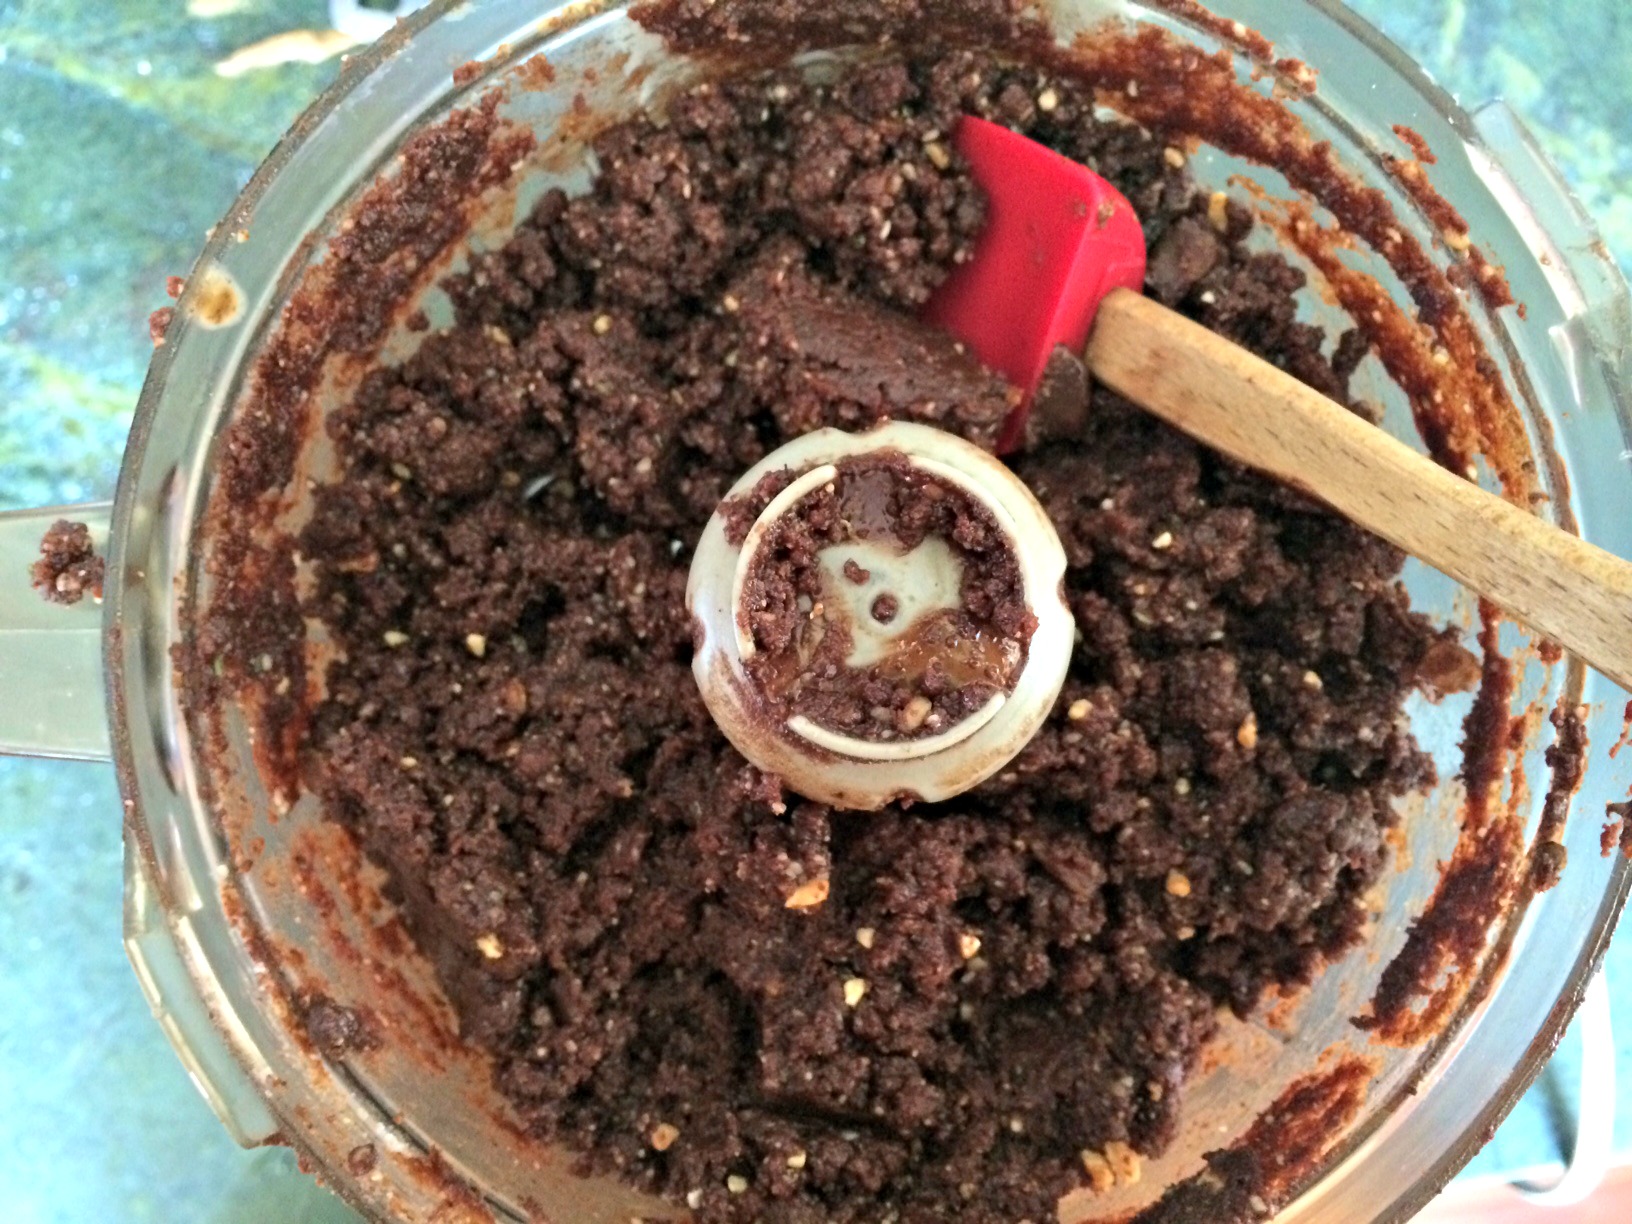
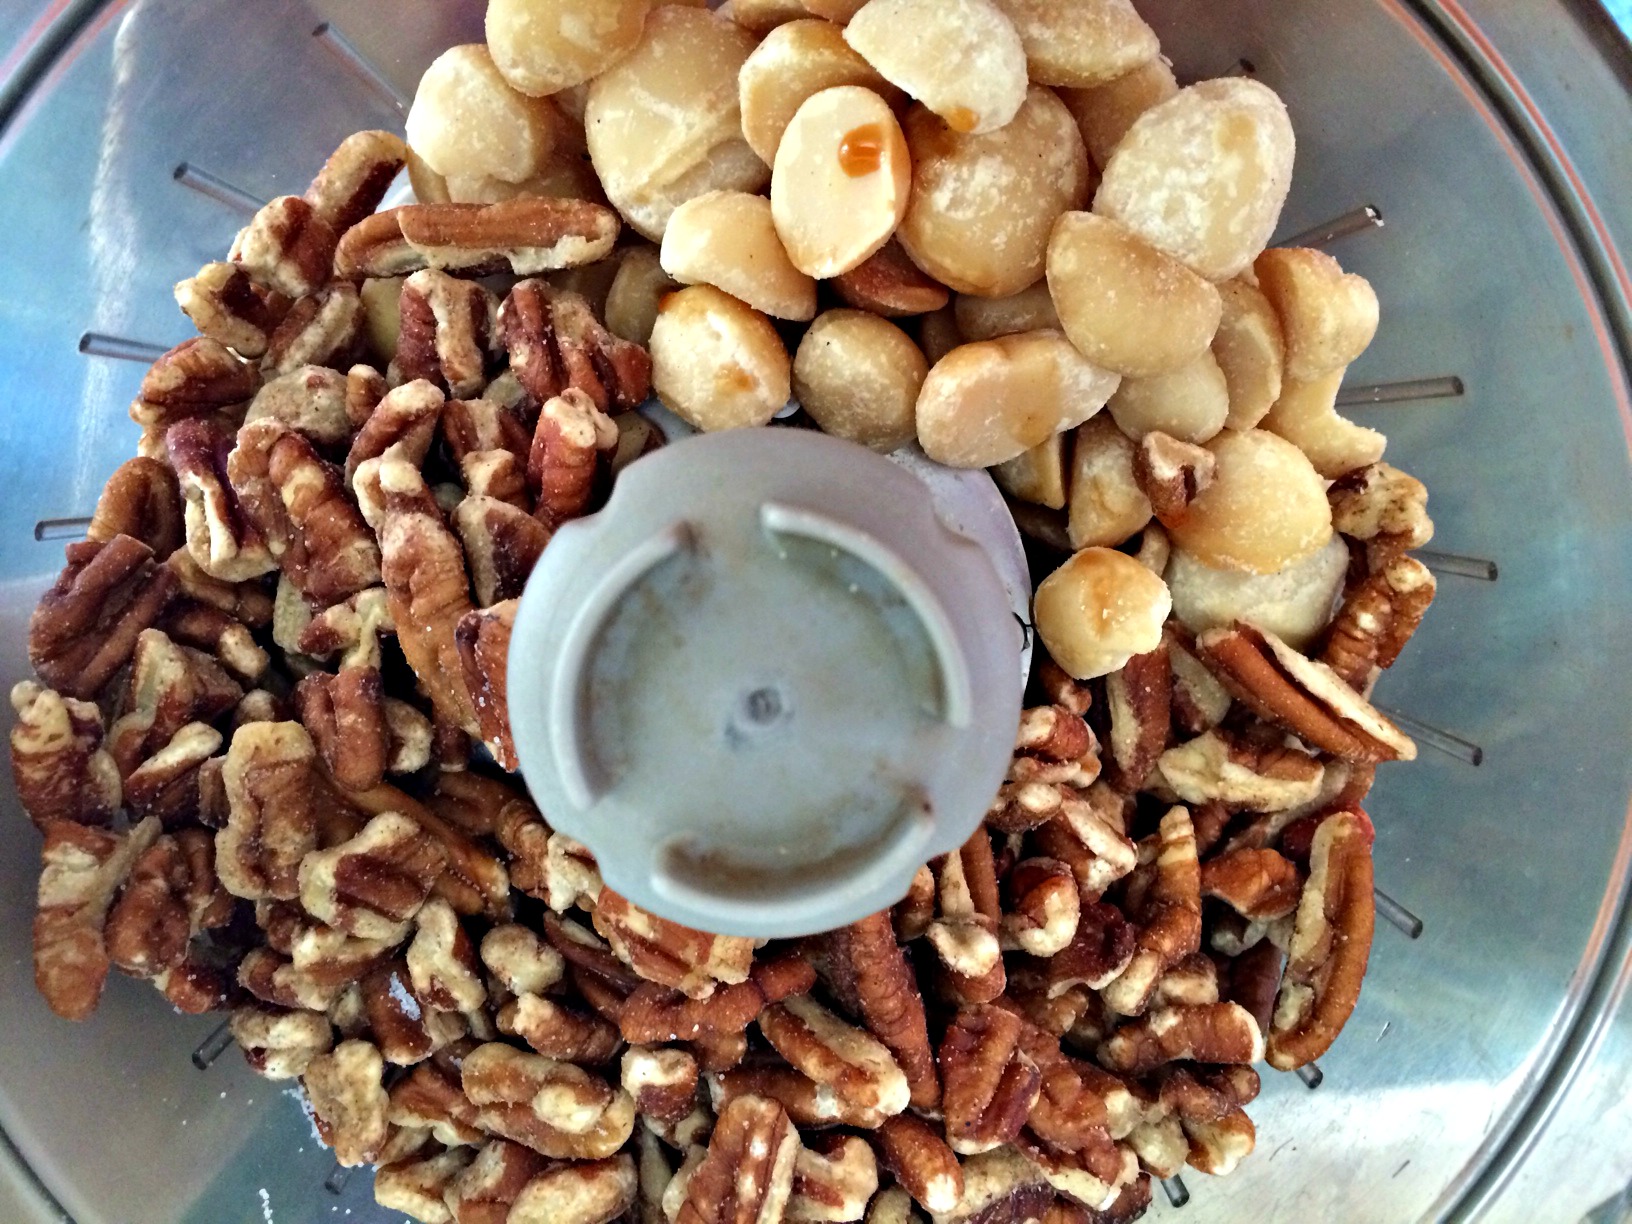
Into the food processor everything went.
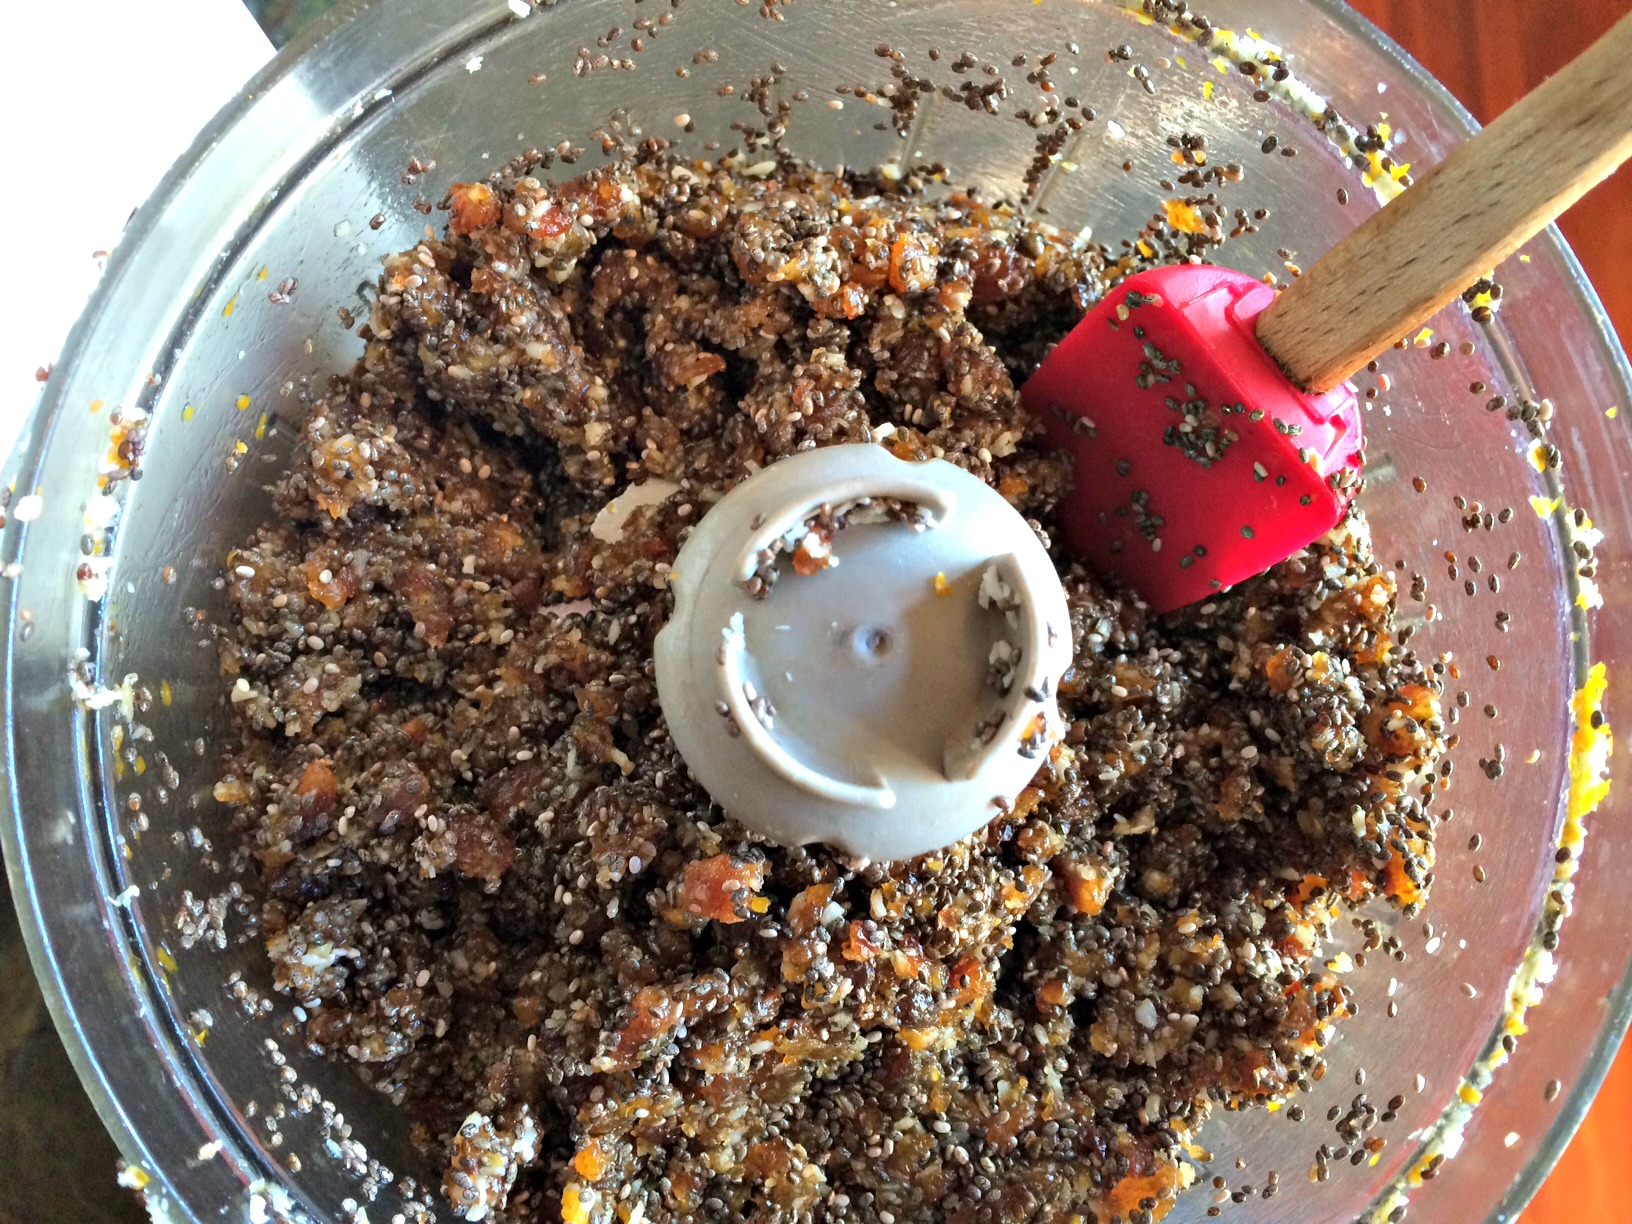 It was important to keep grinding and grinding to break down the apricots and to get a paste to form. Be sure to scrape down the sides of the food processor as needed. Gradually adding a little water also really helped the balls hold together. Checkout all that seedy goodness in the photo down below.
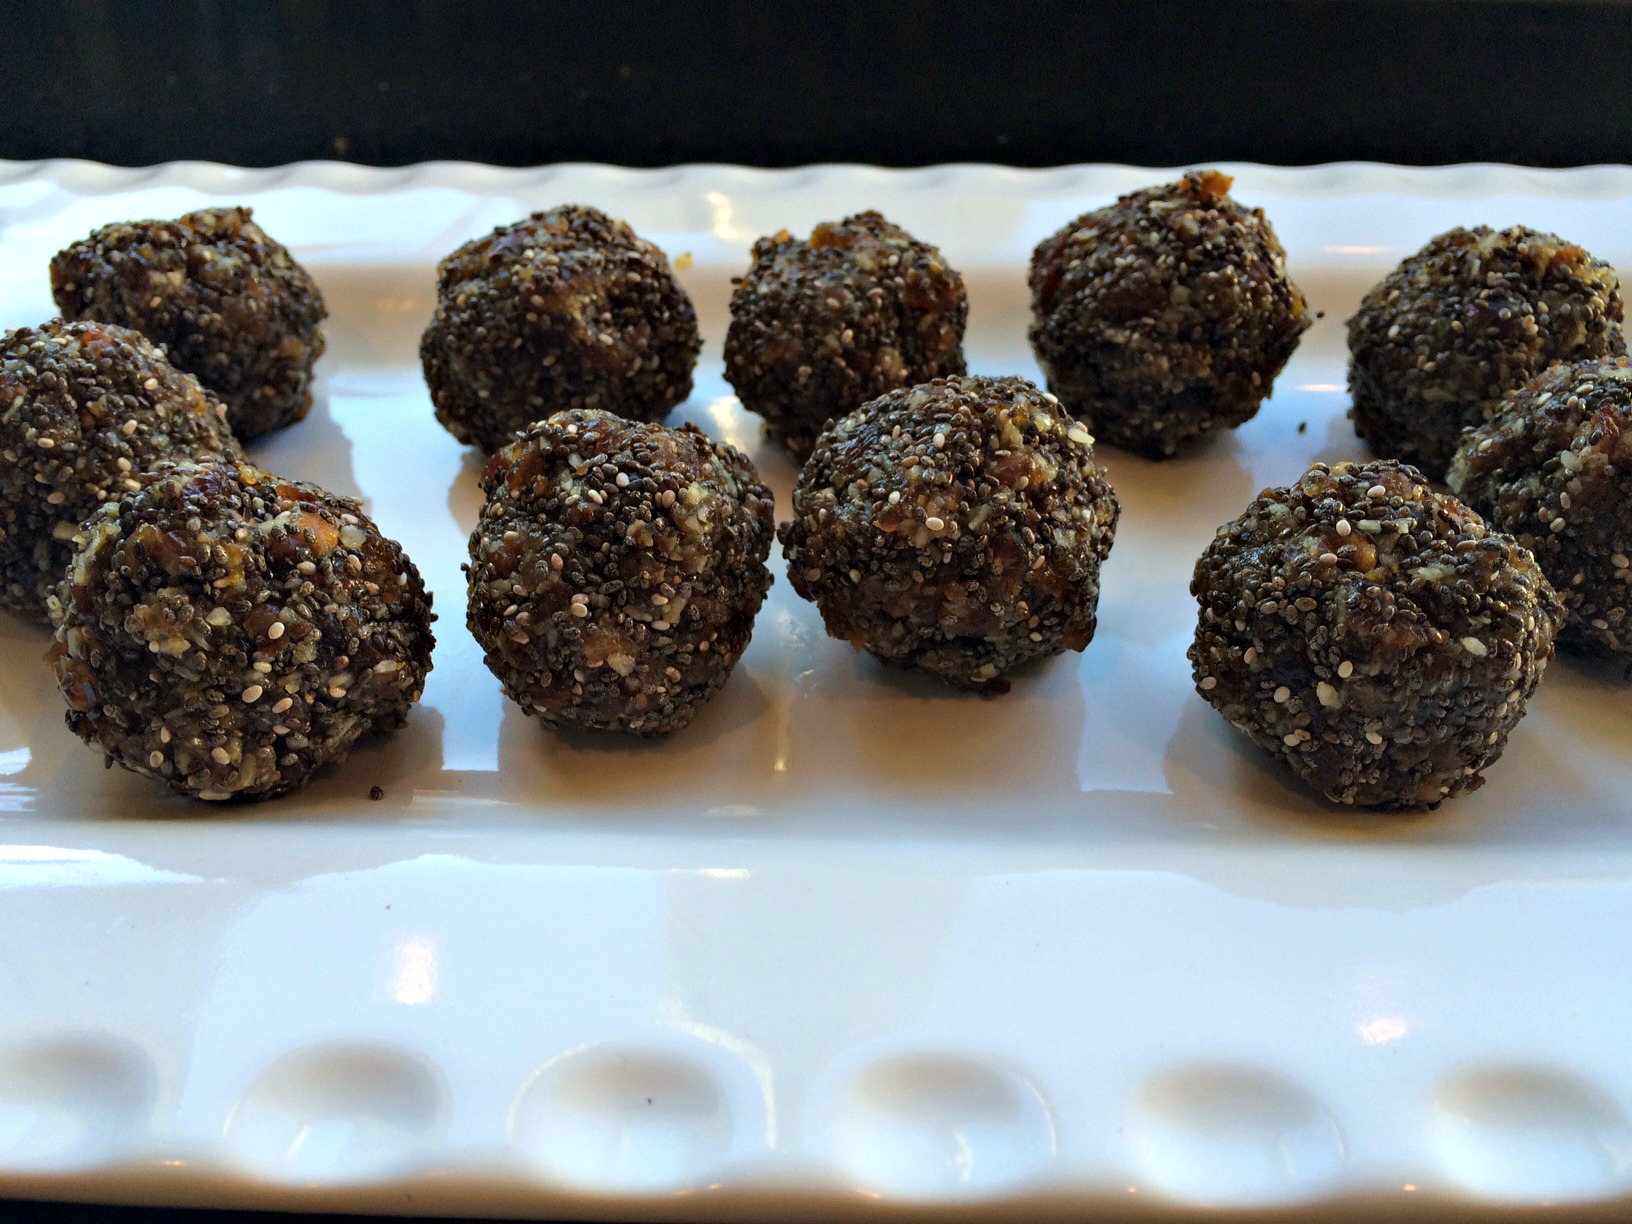
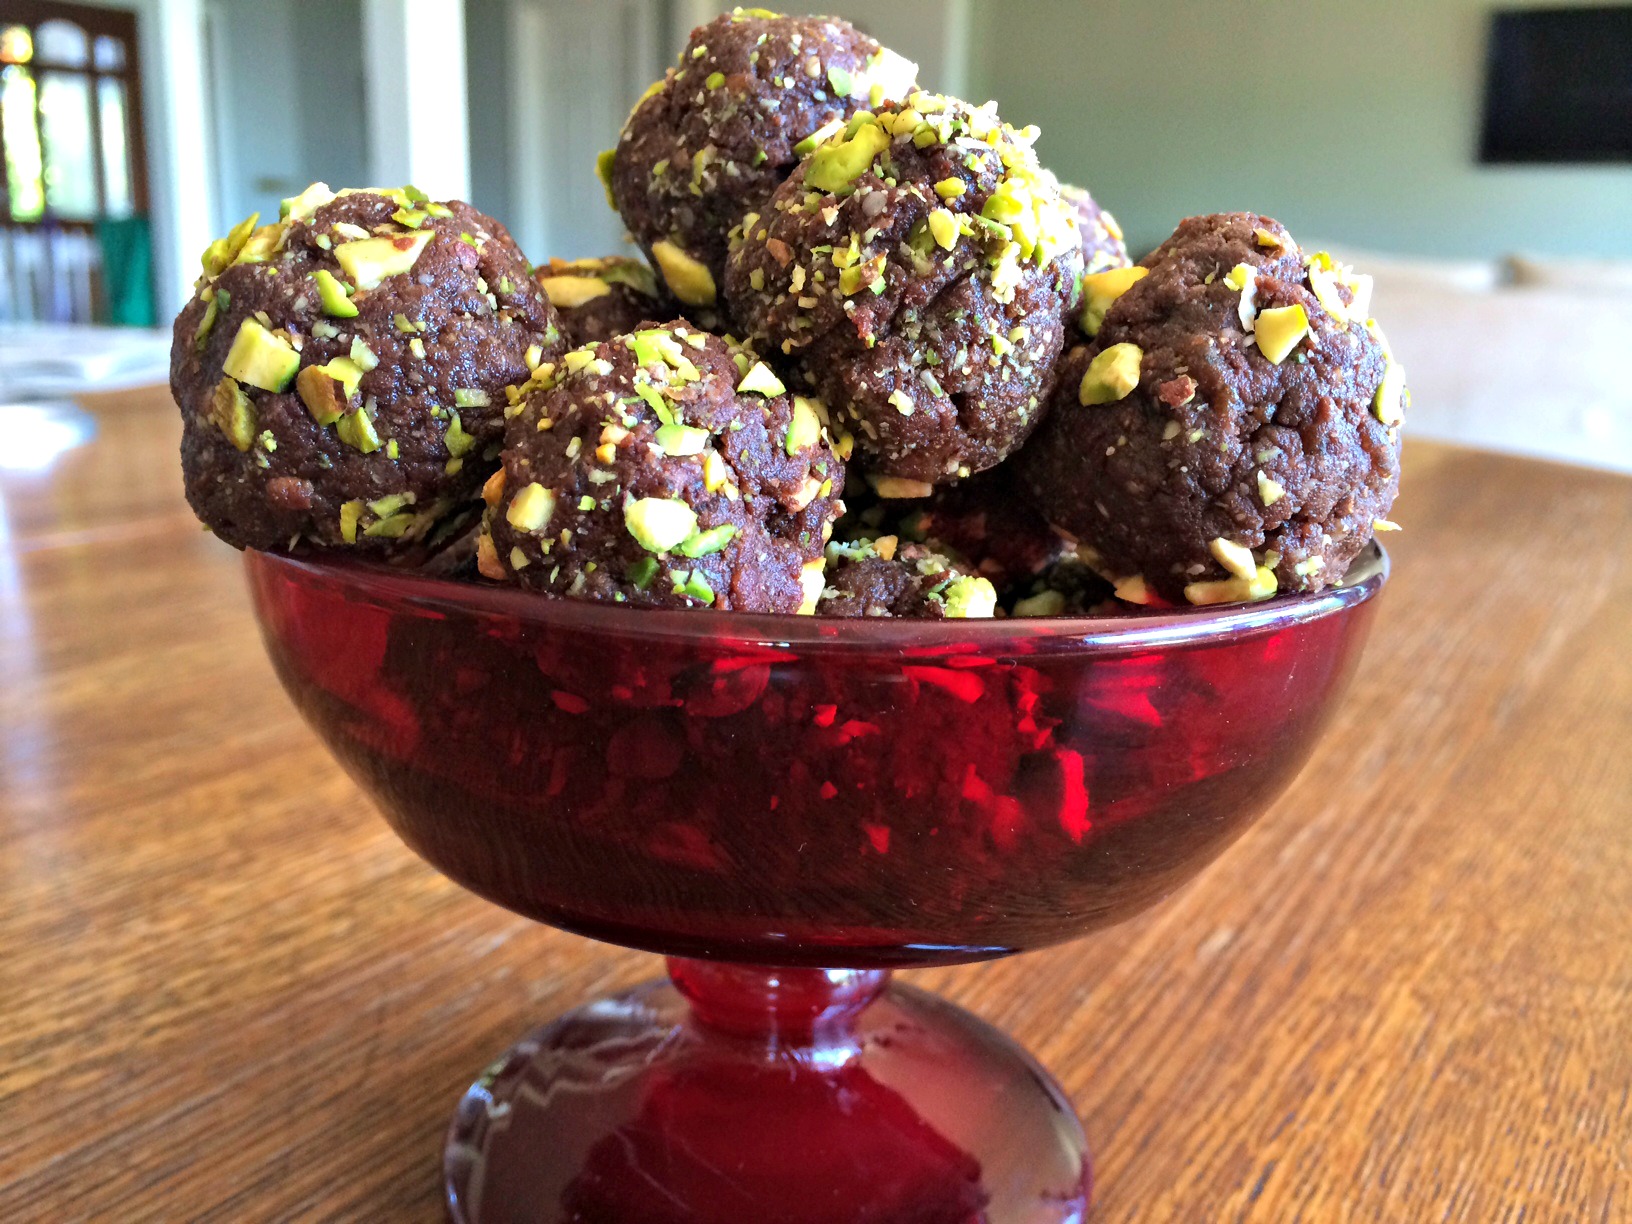
Balls before going into the freezer.
I know these are not the most visually appealing snacks but they definitely taste better than they look! The raw chocolate on these balls is so yummy and not too sweet! It is amazing combined with the orange flavor from the zest.
Ingredients
- 1 1/2 cups unsulfered apricots
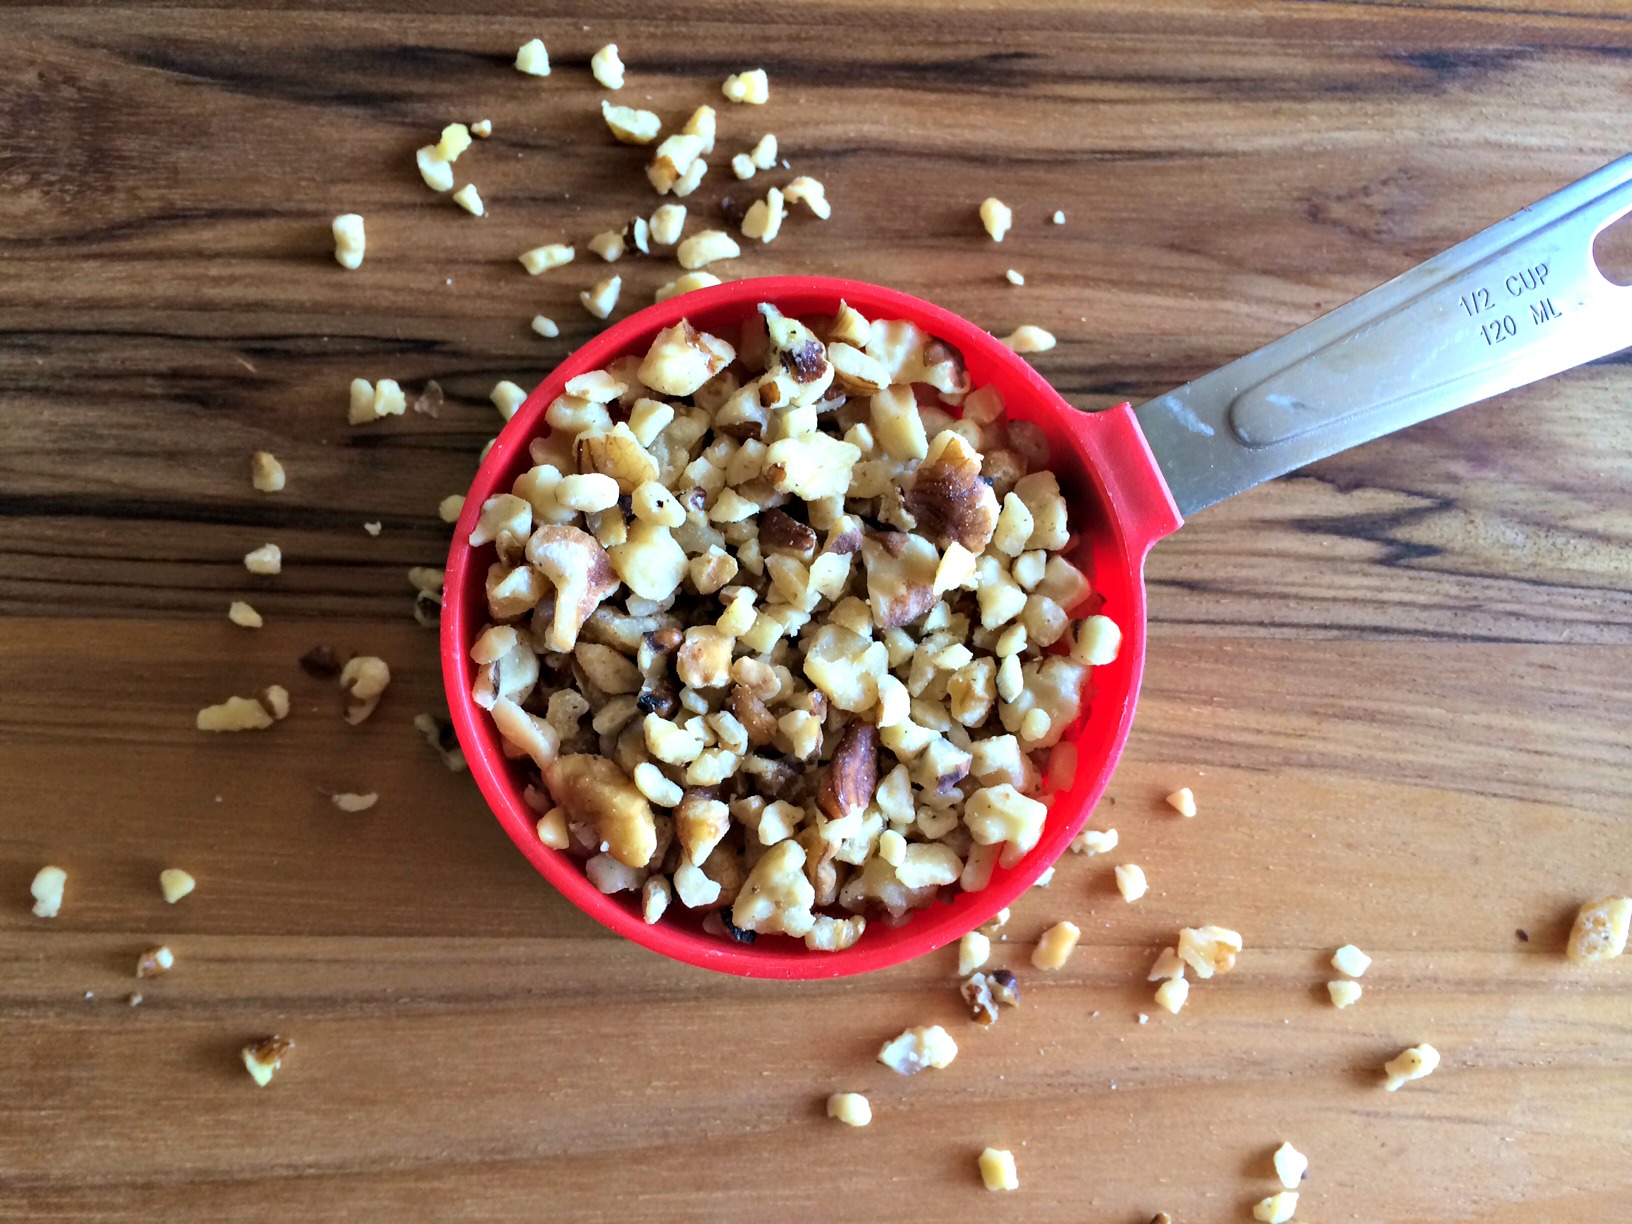
- 3/4 cup of coconut
- 1/4 cup of chia seeds
- 2 tbs of hemp seeds
- 1 tbs of orange zest
- 11/2 tbs of melted coconut oil
- For Raw Chocolate
- 3 tbs of melted coconut oil
- 3 tbs of cacao powder
- 2 tbs of maple syrup
- pinch of sea salt
Instructions
- Place apricots, coconut, seeds, zest and 1 1/2 tbs of oil in the food processor.
- Grind until a paste forms and mixture holds together when rolled into a ball.
- (I added a little warm water to help this process along.)
- Roll into balls.
- Place balls in freezer for 10-15 minutes to firm up.
- While balls are freezing, mix ingredients for raw chocolate together.
- Remove balls from freezer and roll in the chocolate.
- (You can completely cover the balls or cover only half of them depending on your taste.)
- Enjoy immediately or store in fridge for later snacking.
These balls turned out super yummy and I have been snacking on one or two of them a day for the last few days. Even though they are small, I find they give me sustained energy. The boys also declared them a winner- which is great, but then I have to share them! I would love to have readers share any of their snack ideas.
This post contains affiliate links.