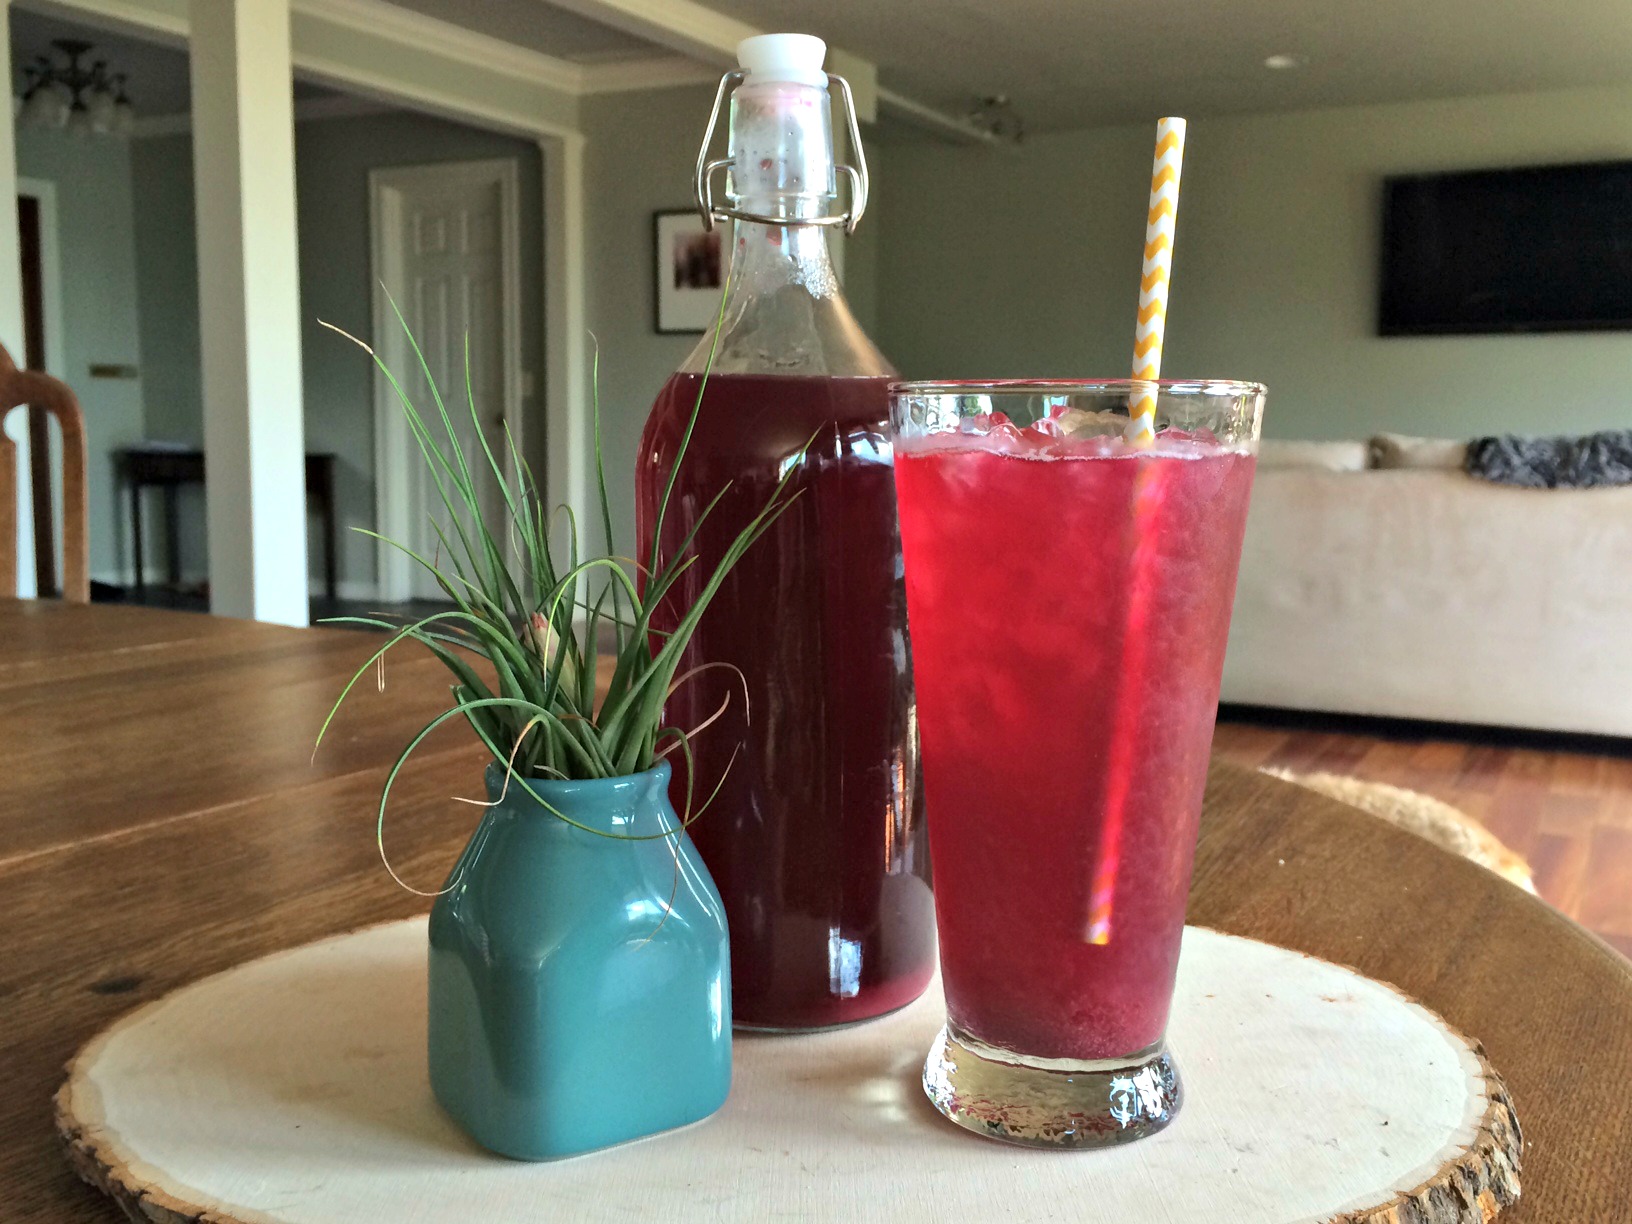
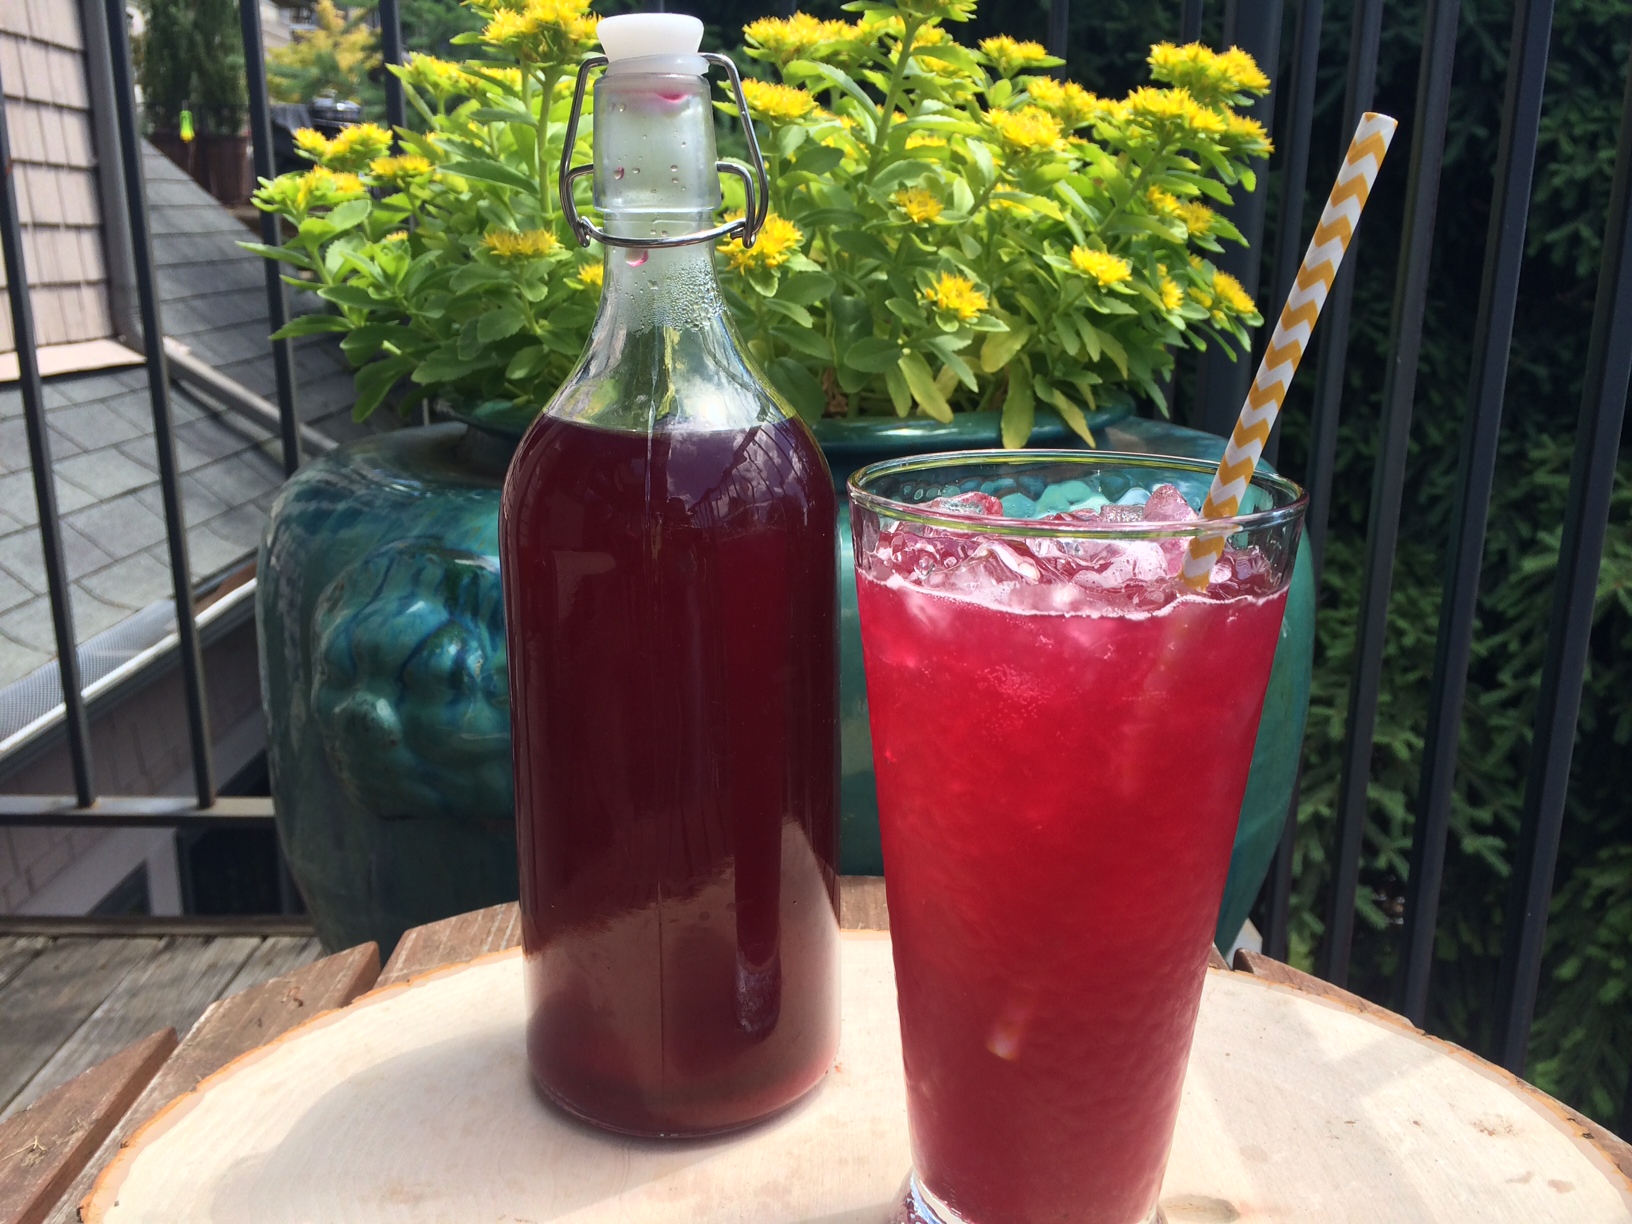
Ideas to flavor your water.
Last week, my school hosted a community health fair. Each student was asked to choose a topic related to the bountiful harvest of summer. There were incredibly informative tables about fermentation, sprouting, the importance of eating greens and hormone balancing through food. A colleague and I chose to make our booth about the importance of hydration. My booth partner, Stephanie Rider, provided a great short primer for ways to add tasty, seasonally appropriate hydration to your day. I thought I would share it with my readers. (You can see my part of the handout here.) Enjoy!
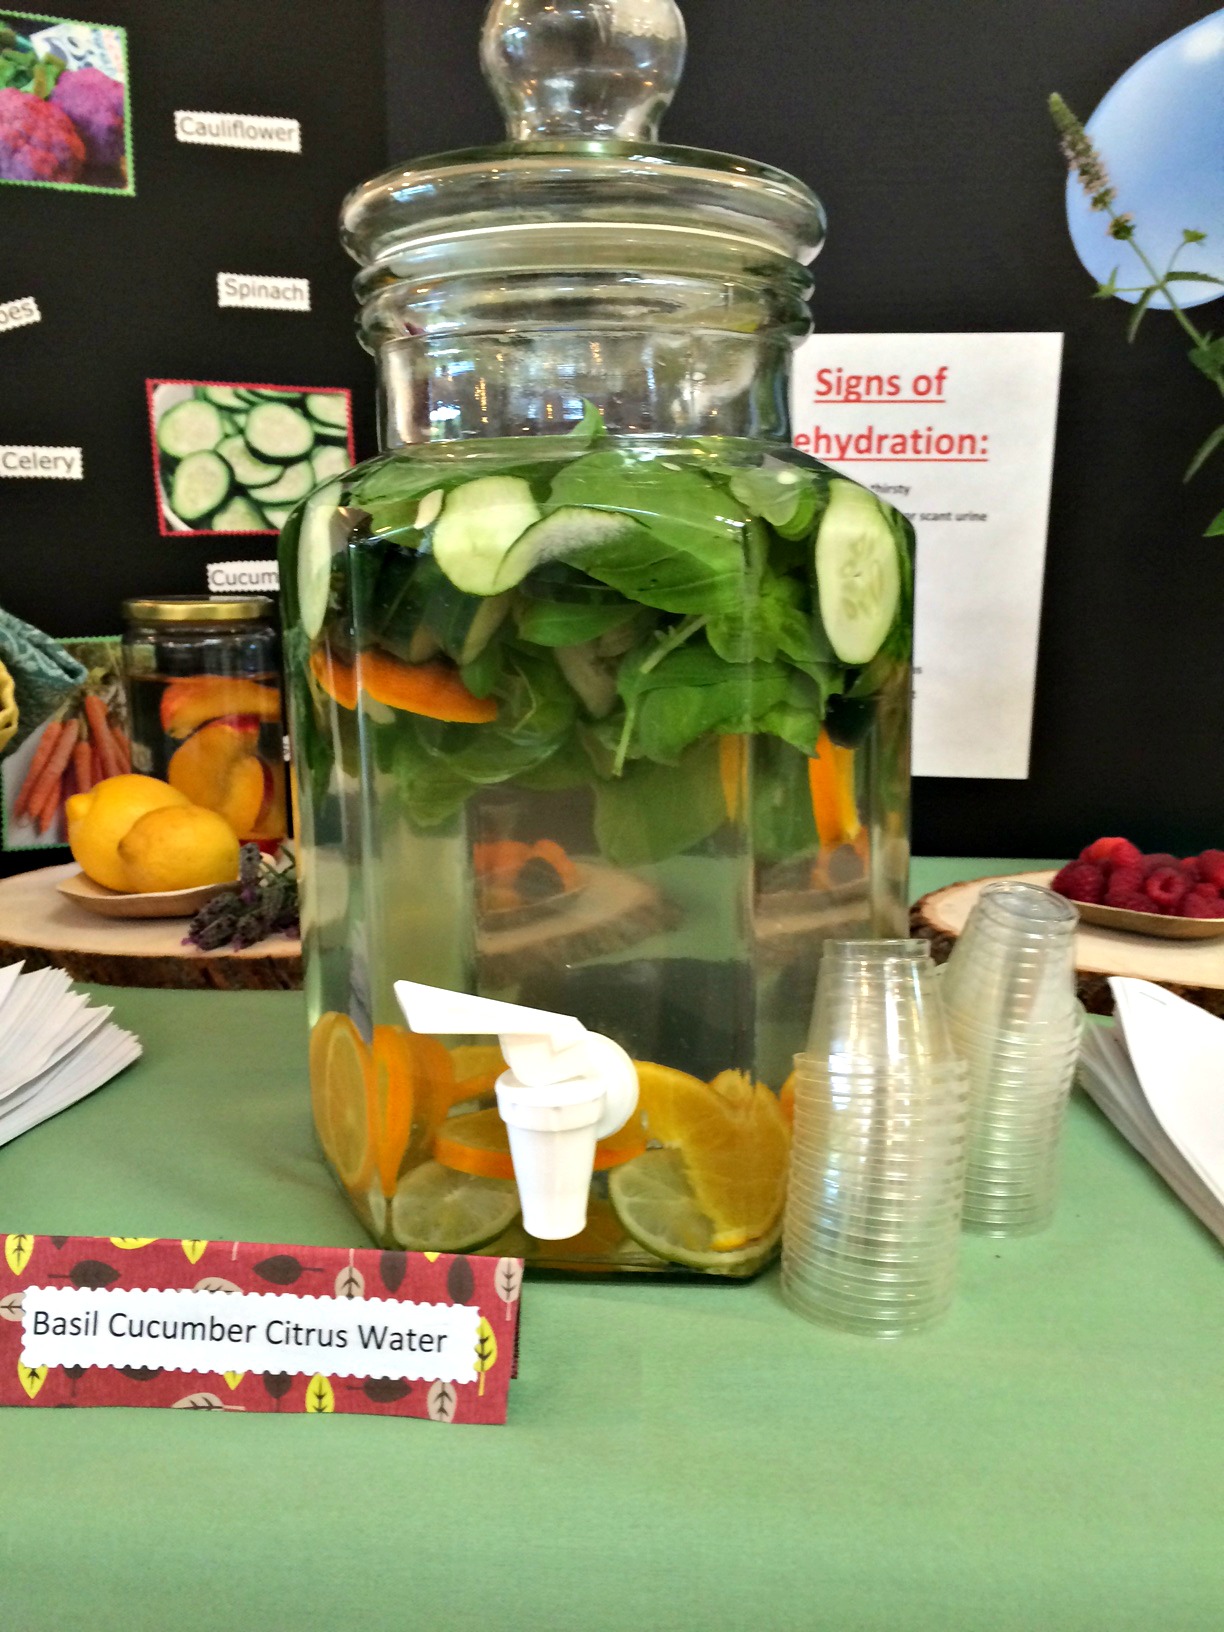
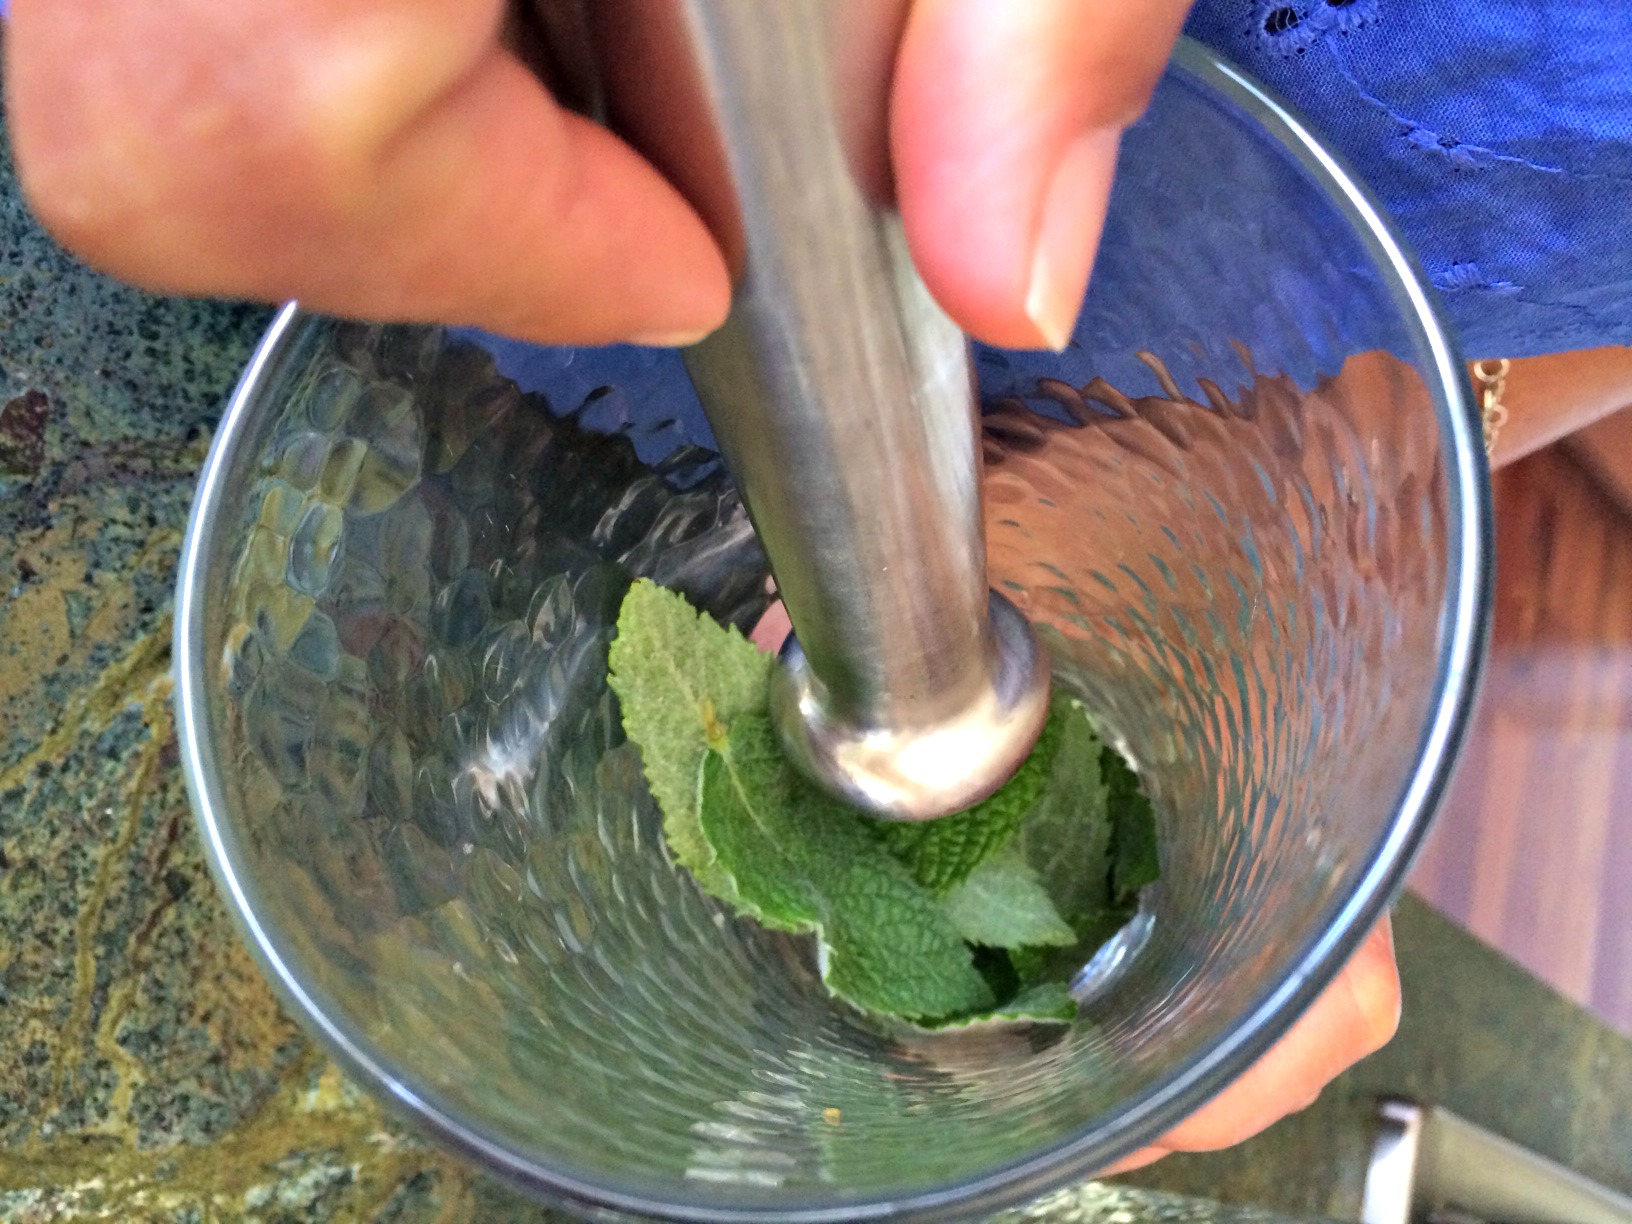
Basil, cucumber, orange water.
Adding Hydration into your Day
Adding vegetables and fruits such as those listed below will enhance
your intake of water.
Vegetables: Broccoli, Carrots, Cauliflower, Celery, Cucumber,
Green Peppers, Iceberg Lettuce, Spinach, Tomatoes
Fruits: Blackberries, Blueberries, Cantaloupe, Grapefruit,
Raspberries, Strawberries, Watermelon
The best way to ensure adequate hydration is to include water in your
daily routine. How can you make hydration fun? Adding fresh fruits,
vegetables and herbs to your water can provide both eye-catching
appeal and subtle flavoring.
There are many great, natural ingredients you can add to your water
to infuse color and flavor.
As you add these ingredients, you also get the benefit of the vitamins
and minerals contained in those foods.
Wholistic nutrition also recognizes the energetic and healing properties
of foods and herbs, and selecting the right ones based on the time of
year will support natural nourishment.
Summer: Cooling
Summer is a great time to look to foods that have a cooling effect on
the body to help stay regulated in the heat of the summer.
Such food/herb combinations are:
Cucumber, Orange and Basil
Dandelion leaf
Lemon and Lavender
Peaches and Chamomile
Pineapple and Green Tea
Berries: (black, blue, raspberry) and Mint
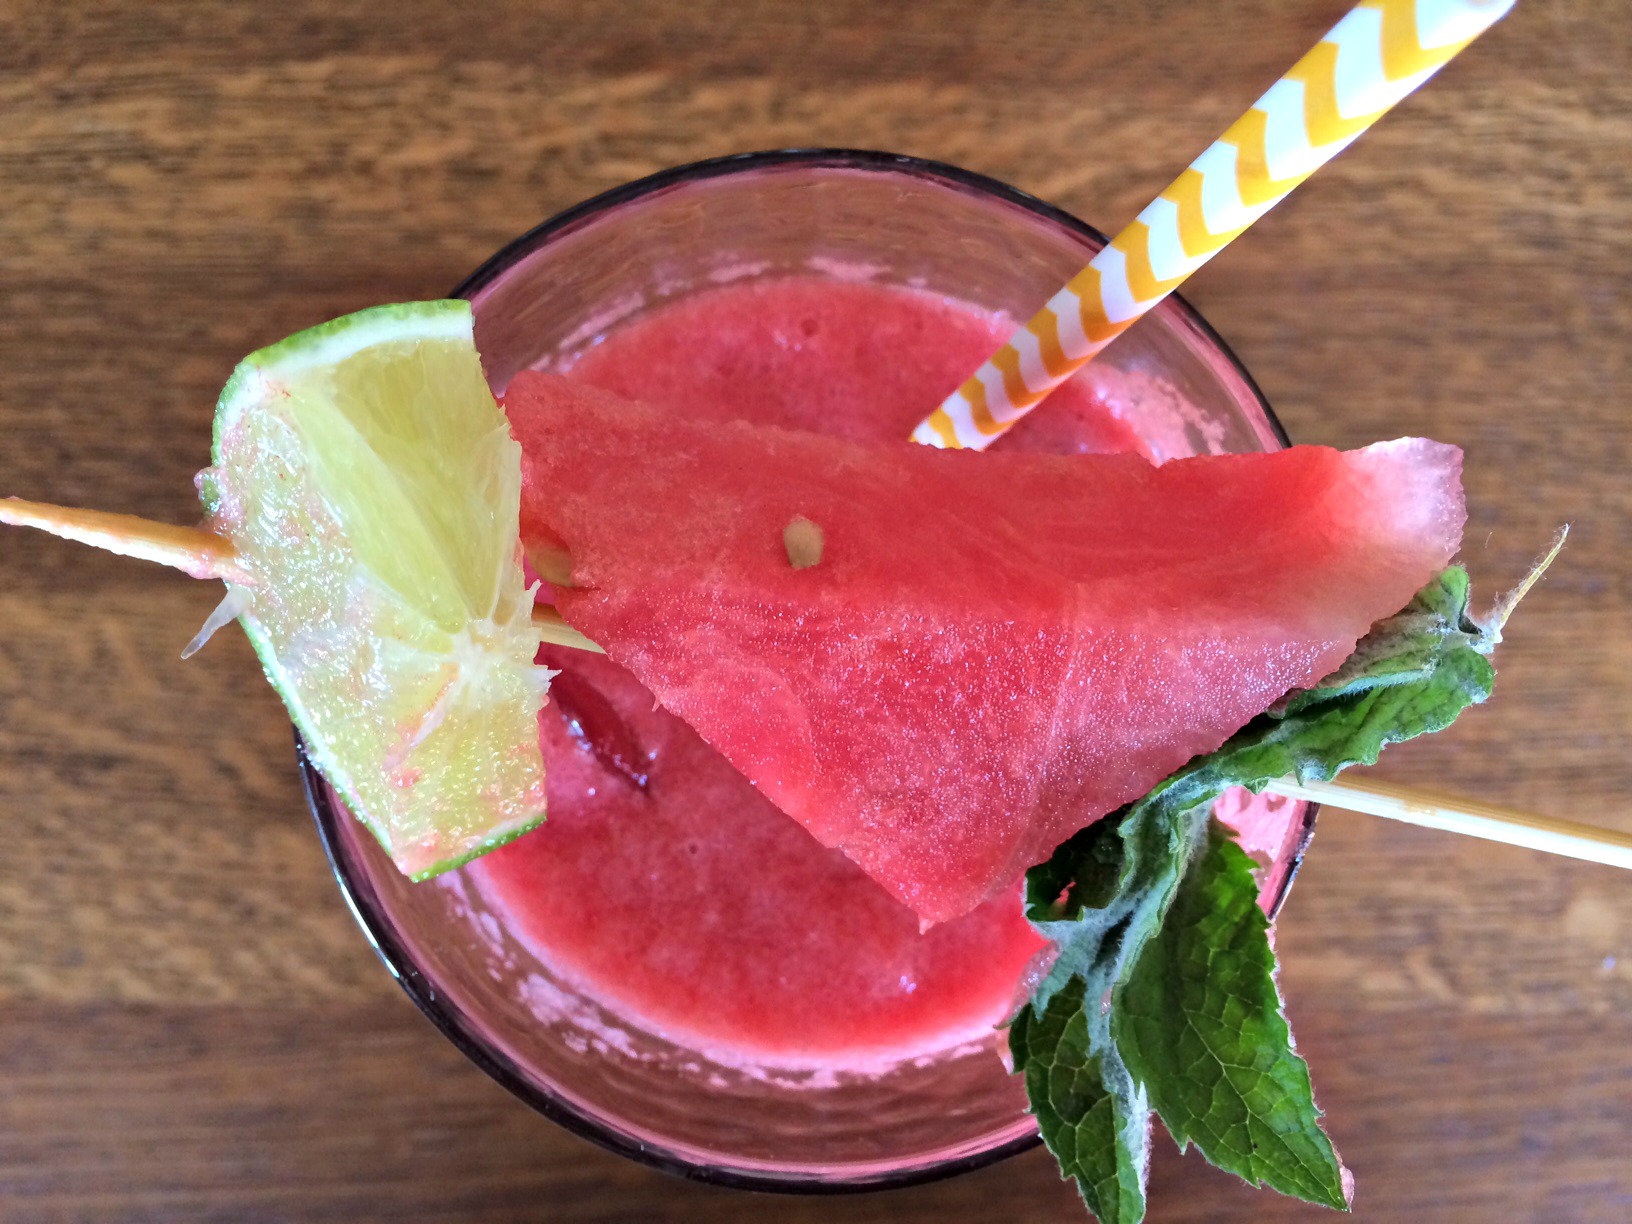
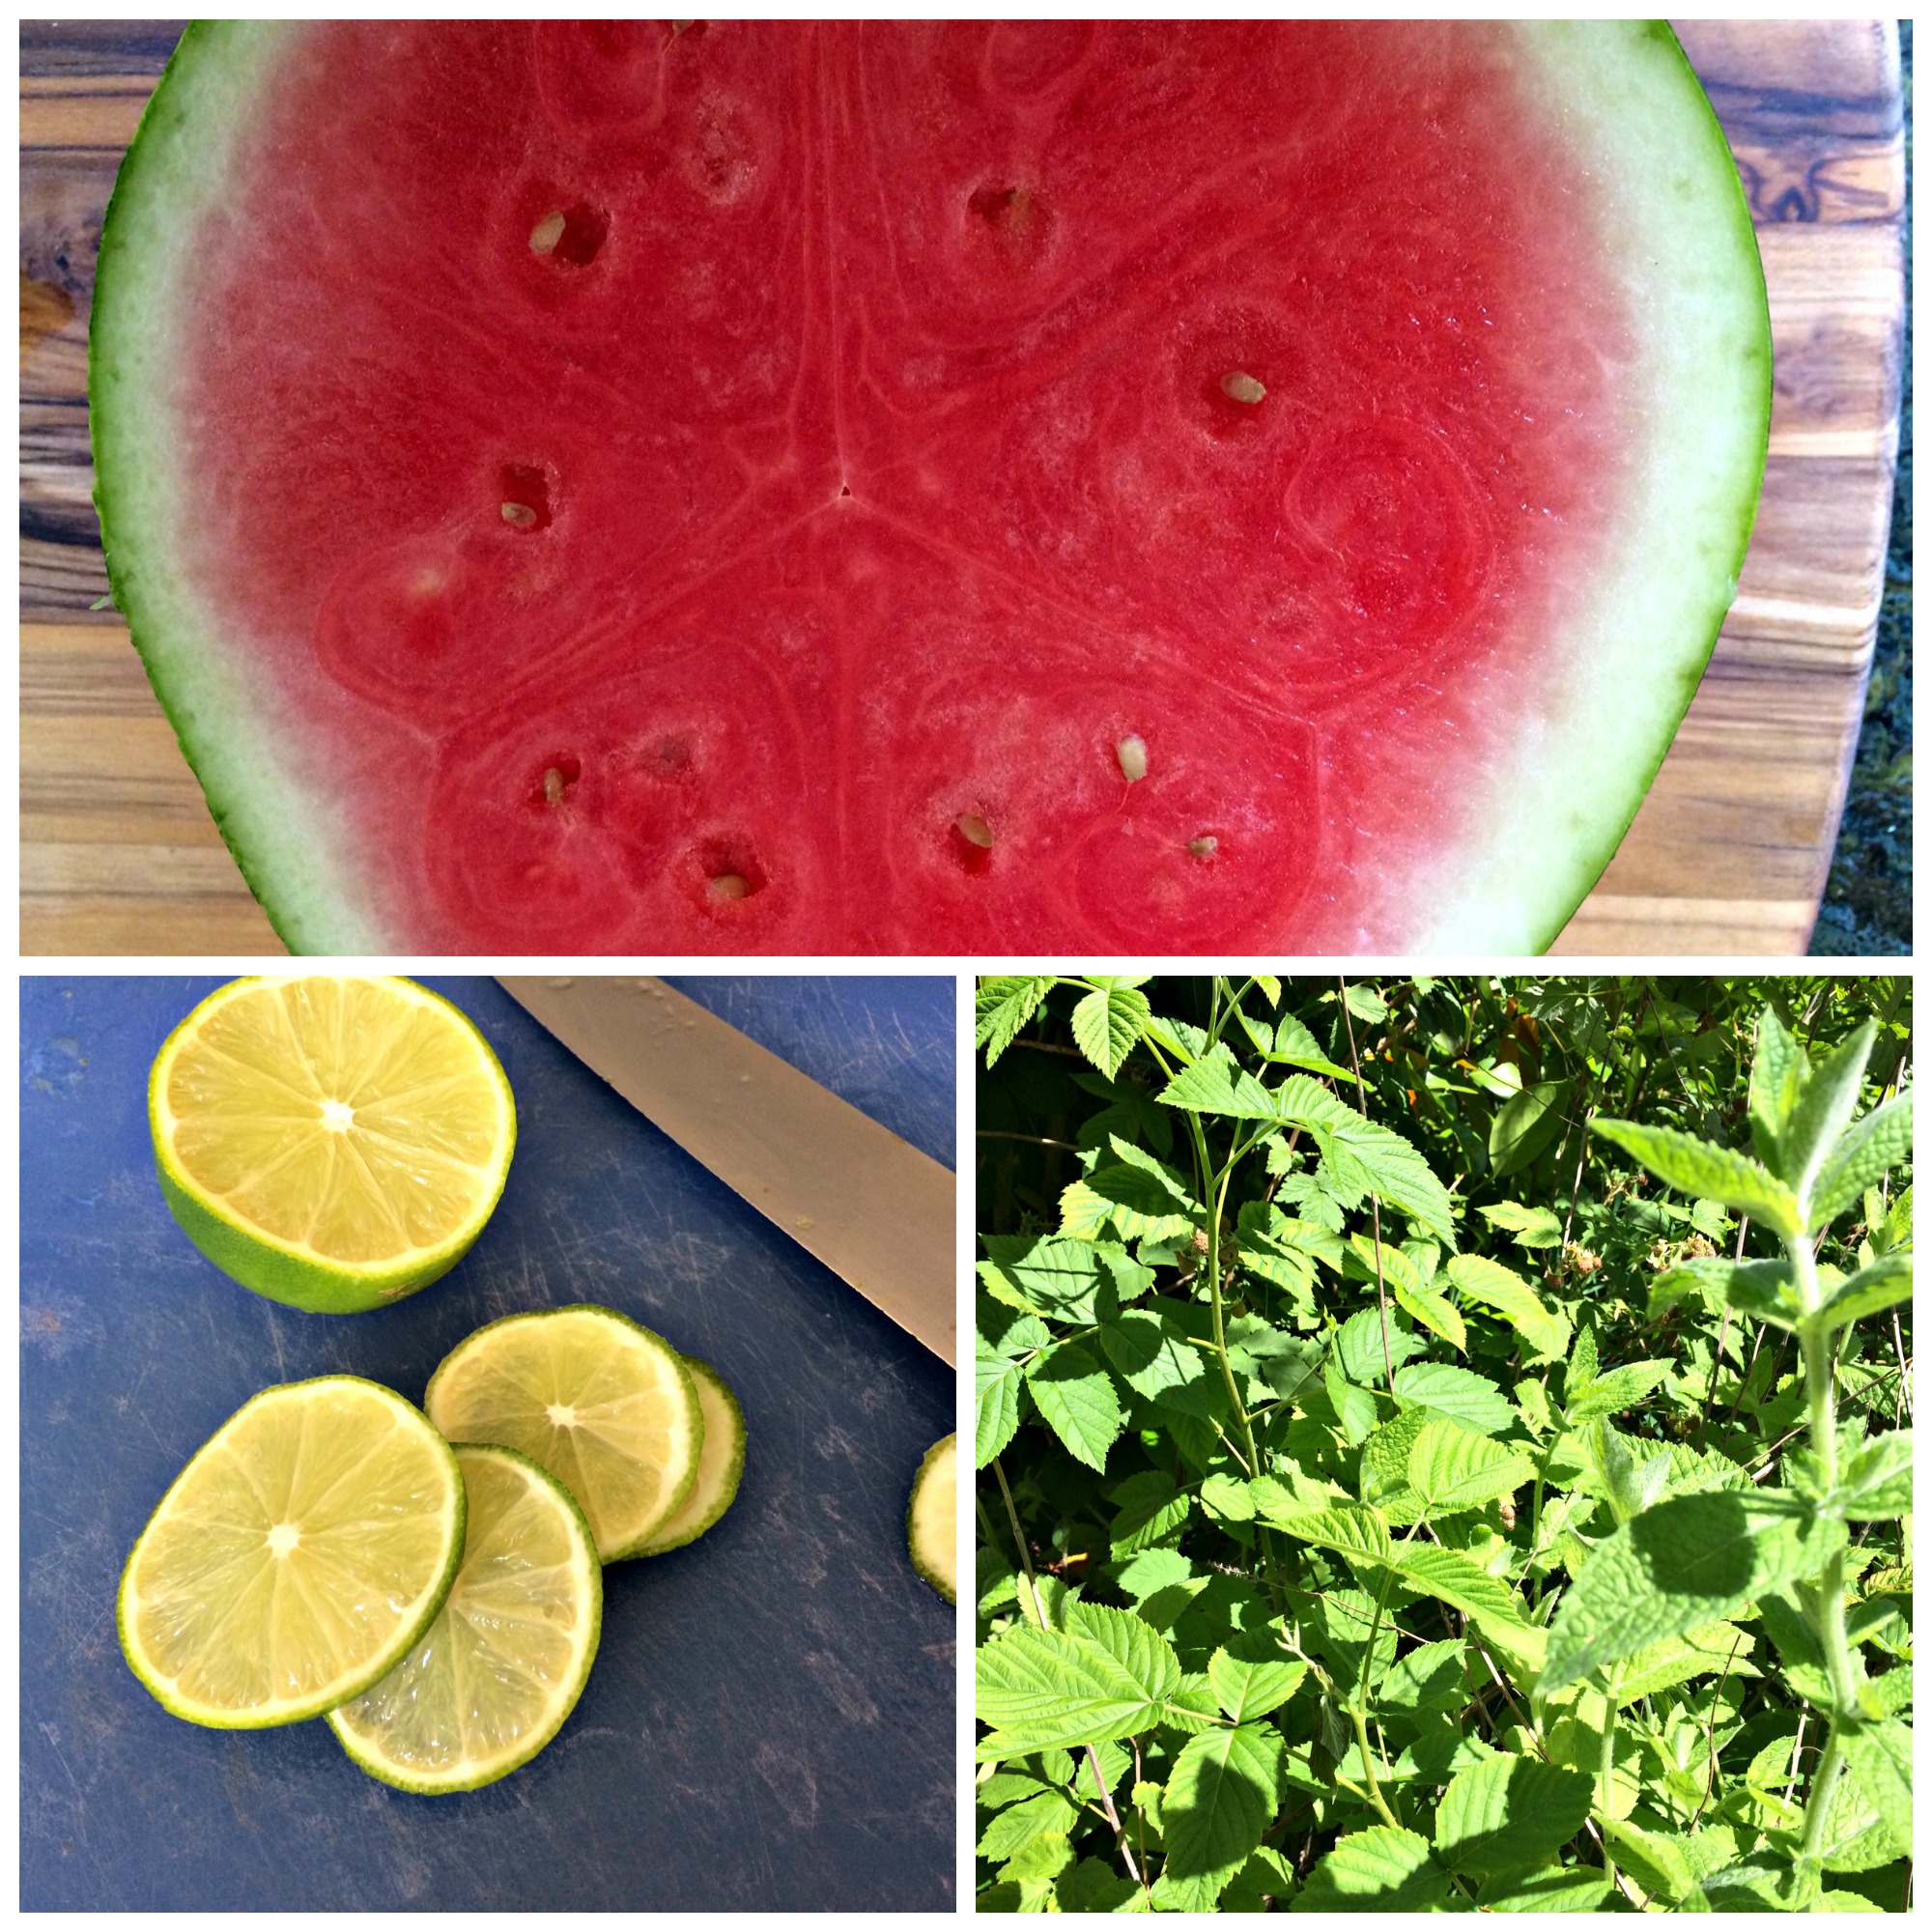
Watermelon and Mint
Fall: Grounding
Fall is a great time to add grounding foods to your diet. This reflects
the natural cycle of nature by supporting the need to ground and
prepare for winter months, drawing energy into your core.
Great fall seasonal flavors to use are:
Cilantro and Citrus peel
Fennel
Apricot and Goji Berries
Kumquat and Rosemary
Pomegranate
Pineapple and Ginger
Winter: Warming, Immunity Boosting
Winter is a time to stay hydrated, as the dryness of the air can
dehydrate just as much as summertime heat. Additionally, infusing
your liquids with warming foods and herbs will deeply warm you from
the inside out. It is also a great time to boost your immunities against
colds and flu. Consider warm/hot water infusions, herbal teas as well
as broths for hydration.
Winter concoctions can include:
Kumquat and Basil
Citrus peel
Black tea and Ginger
Cinnamon, Clove and Honey
When you are fighting a cold or virus:
Fresh Ginger (not dried) tea
Onion and Rosemary/Parsley broth
Miso broth
Spring: Uplifting
Springtime is a time of rebirth. Consider these “first harvest” fruits,
vegetables and herbs to bring that uplifting nourishment to your body
as you prepare for this cycle of nature.
Springtime harvest infusions can include:
Apricot
Cherry and Lime
Pineapple and Ginger
Strawberries and Rose Petals
Cucumbers and Basil
Lavender and Lemon