Tag Archives: chia seeds

Chocolate Chip Seed Balls

IMG_0237

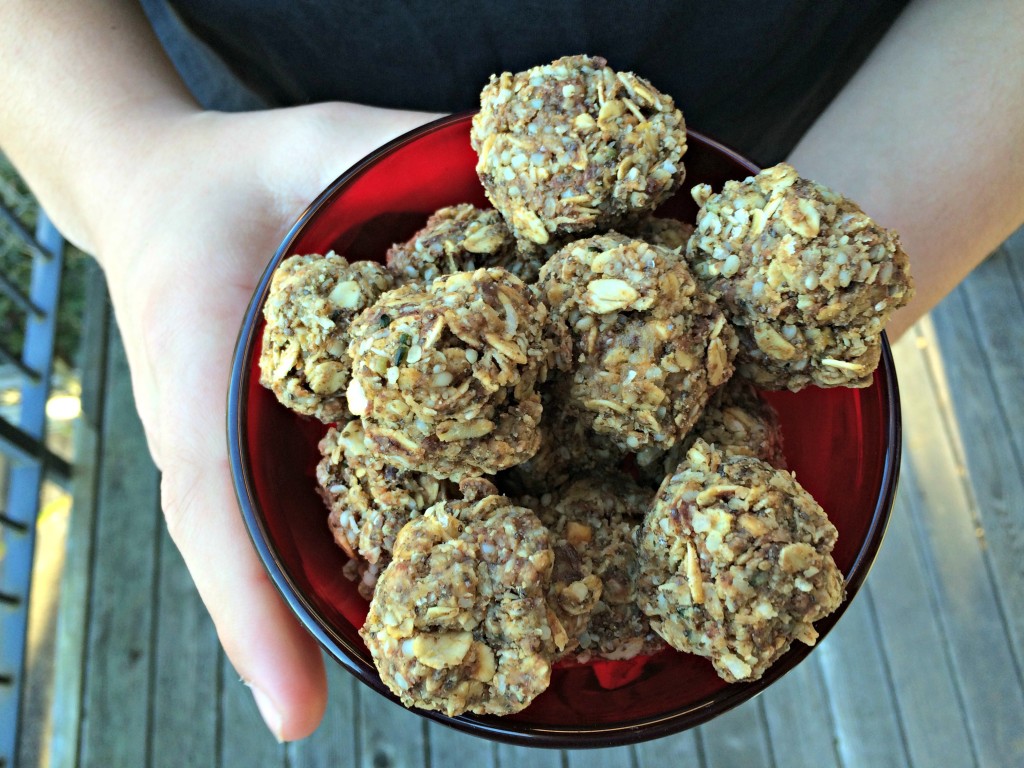
In my hunt for more snack foods, I have always been intrigued by all the ball recipes I see on the web.  I have posted a few of my own recipes over the last year. ( Check these balls out and these are super yummy too.)  I like to try to make all my balls bursting with flavor while still including lots of amazing, energy producing ingredients.  My latest ball incantation meets all these requirements.
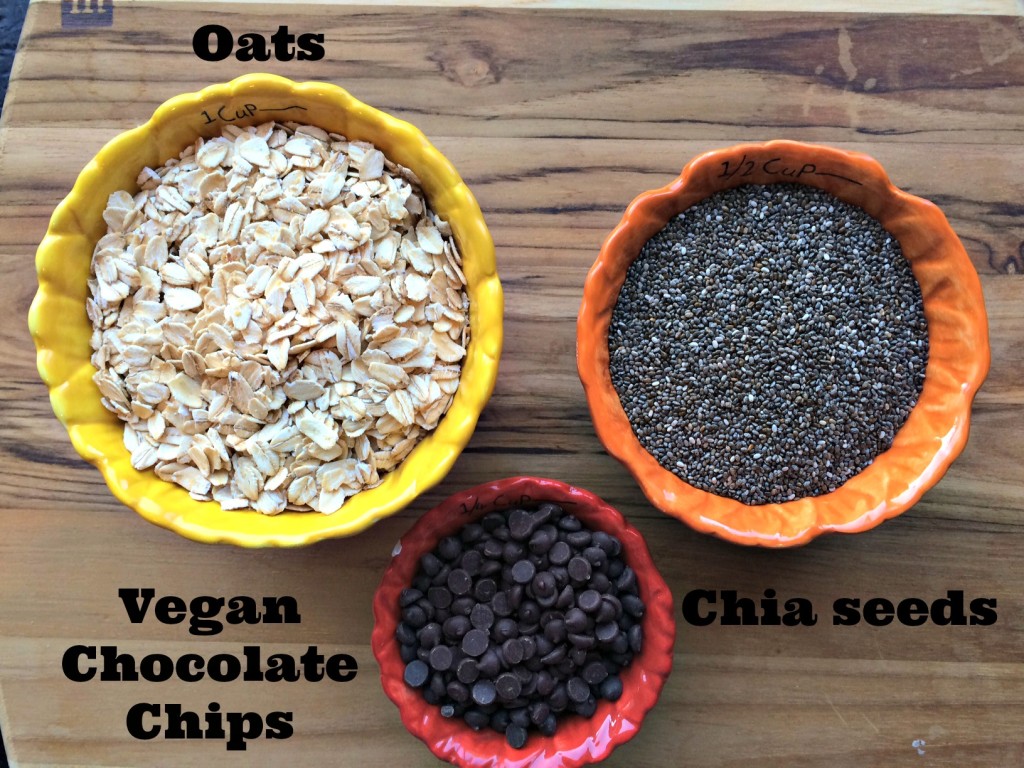
IMG_1188I love that these balls include energy producing, fiber filled Bob’s Red Mill Oats , Omega-3 rich Raw Chia Seeds and Hemp Hearts  and Enjoy Life Semi-Sweet Chocolate Mini Chips- so much goodness in such a small little bite!   These are such a great, quick snack to have on hand for a burst of energy any time.  They can even be used as a quick grab and go breakfast.

IMG_1187

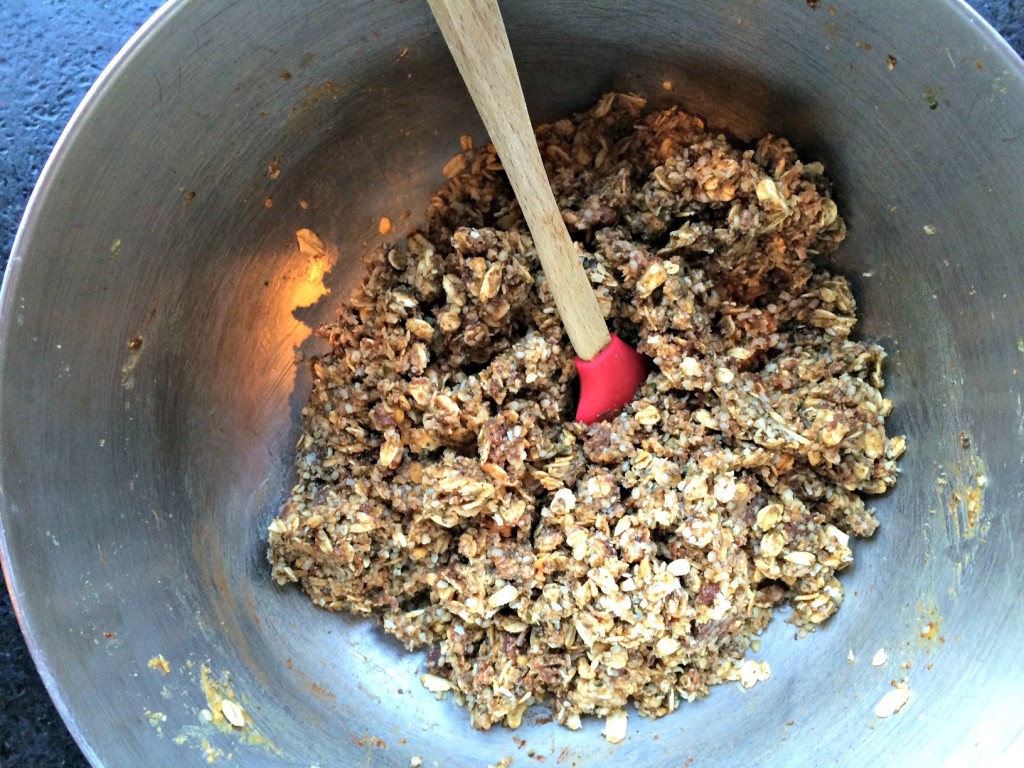
Here are all the healthy ingredients mixed up and ready to head into the fridge to help them stick together.  Putting them in the fridge for about 30 minutes is key to helping them hold together.  I definitely advised making sure you don’t skip this step!!
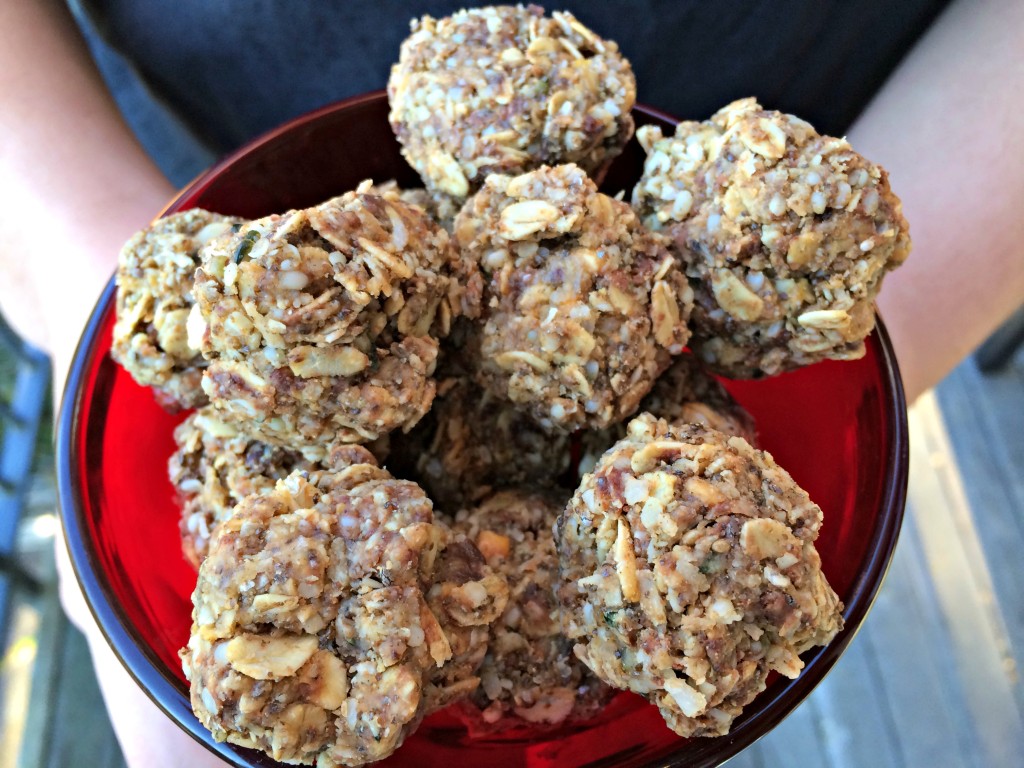
IMG_0238 I found it was easiest to squeeze the dough into balls instead of trying to roll them.  They don’t look too pretty but they sure taste good.

Chocolate Chip Seed Balls

Ingredients

  • 1 cup of dry oatmeal
  • 1/2 cup coconut flakes, unsweetened
  • 1/2 cup of hemp seeds
  • 1/4 cup of chocolate chips
  • 1/2 cup of peanut butter or other nut butter of choice
  • 1/2 cup of ground chia seeds
  • 1/3 cup of maple syrup
  • 1 tsp of vanilla
  • 1-3 tsp of almond milk

Instructions

  1. Put peanut butter and maple syrup in a small pot on the stove.
  2. Slowly heat, stirring to combine .
  3. While peanut butter heating on stove, add oats,coconut, seeds, chocolate chips and vanilla to a large bowl.
  4. When peanut butter and syrup combined, add to dry mixture.
  5. Stir to combine.
  6. Add almond milk as need to make sure dough is wet enough to stick together.
  7. Once well combined, chill in the fridge for 30 minutes.
  8. After 30 minutes, remove from fridge and roll into balls.
  9. Enjoy!
  10. Store leftovers in airtight container in the fridge.
http://www.nourishedrootspdx.com/blog/chocolate-chip-seed-balls/

This post contains affiliate links.
Strawberry Rhubarb Crumble, GF, Vegan


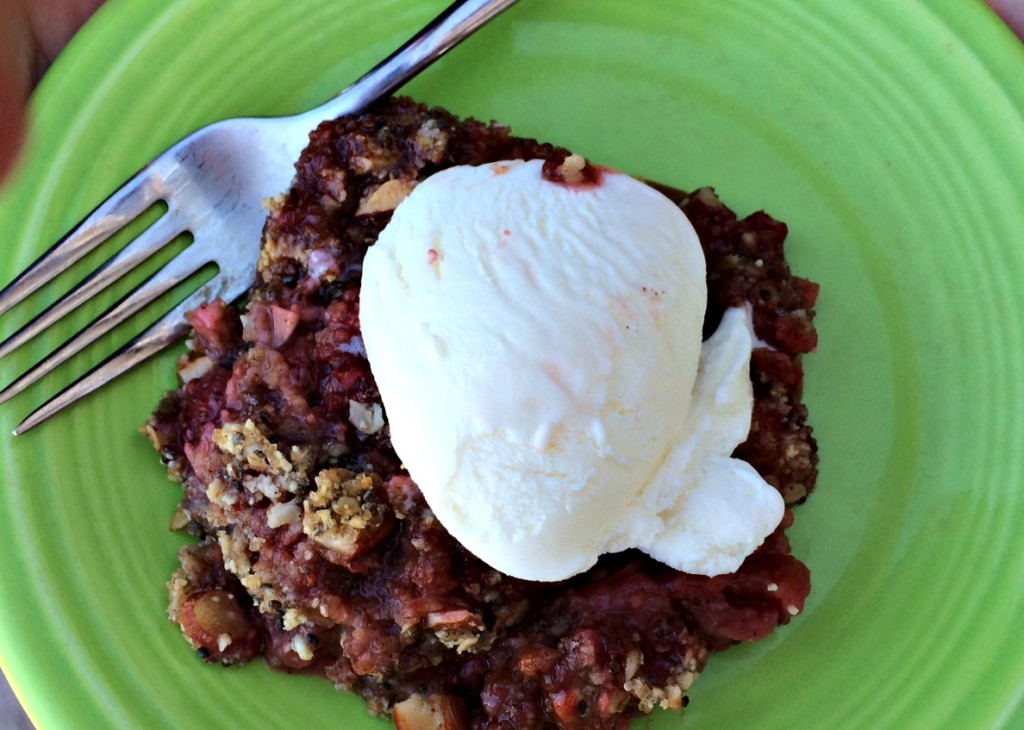
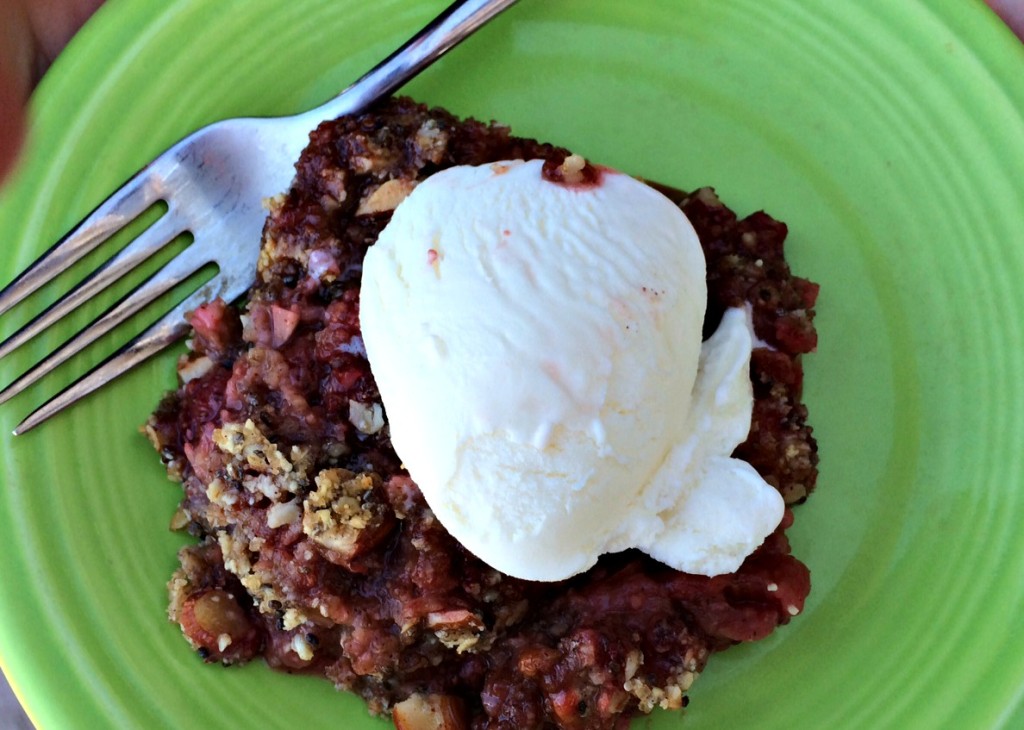
Strawberry Rhubarb Crisp with vanilla ice cream.

Strawberry Rhubarb Crisp with vanilla ice cream.

This weekend I went to visit my in-laws near Bainbridge Island, Washington.  Bainbridge has an amazing little farmer’s market with talented artisans and beautiful booths filled with produce.  When I was there on Saturday, one of the booths was featuring rhubarb and had a recipe for a flourless Strawberry Rhubarb Crumble.  Even though I had never cooked rhubarb before and had only eaten it a few times, once I sampled the crisp, I was hooked.  My son, mother-in-law and I instantly decided we needed to recreate the crisp for dessert that night.

Beautiful Rhubarb at the farmer's market.

Beautiful Rhubarb at the farmer’s market.

I loved this recipe because it did not include any gluten or dairy and is pretty light on sugar.  I also liked it because it included chia seeds for added omega-3’s. The chia seeds acted as a nutty, crunchy binder in both the filling and the crumble.  You can buy Chia Seeds here)  The almond meal used in place of flour offered a tasty, nutty  flavor I loved.  Almonds are high in fiber, Vitamin E, potassium and magnesium.  (You can buy Bob’s Red Mill Flour Almond Meal here.)

The strawberries offered a potent dose of Vitamin C and other antioxidants and the rhubarb is also high in fiber, Vitamin C and provides a major dose of Vitamin K, which supports healthy bone growth and can limit neuronal damage in the brain.  The oats contributed an extra boost of fiber, manganese and a surprising amount of protein.  (You can buy Bob’s Red Mill Oats Rolled Regular here.)

There are so many beneficial ingredients in this crumble that I think you could serve it for breakfast and feel like you have started your day off on the right nutritional foot!  I love when a dessert is good and good for you!!

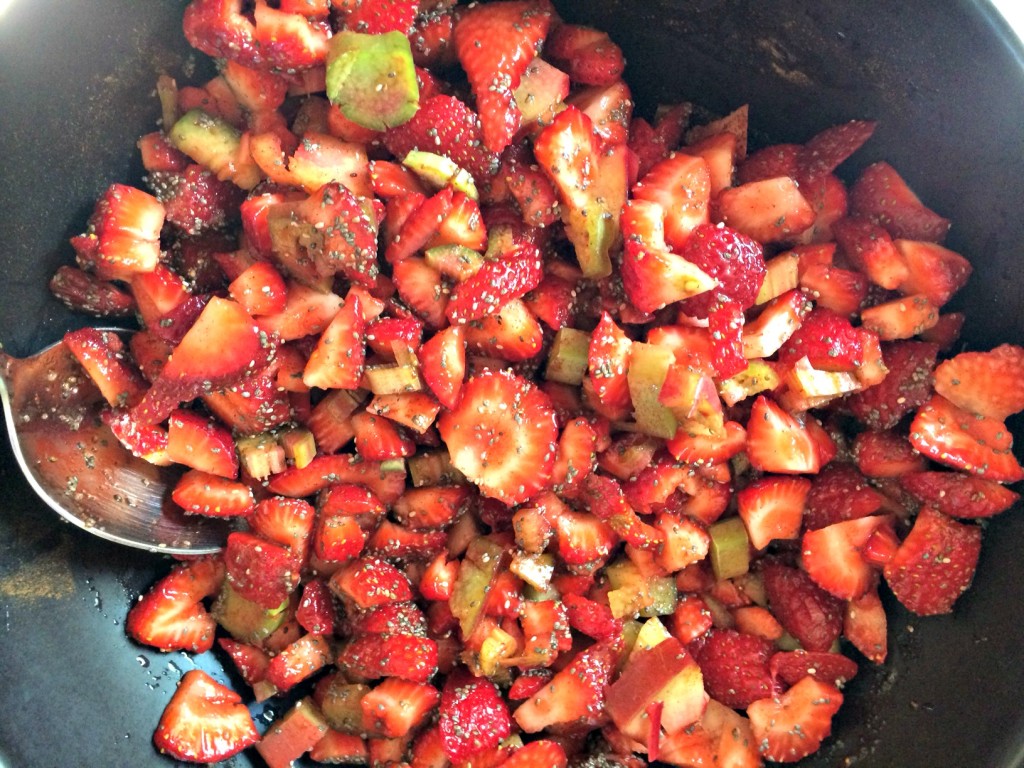
Filling waiting for the crumble topping.

Filling waiting for the crumble topping.

I think I mentioned in a previous post how much my father-in-law loves fruit desserts so he was thrilled when my son pulled this one out of the oven.

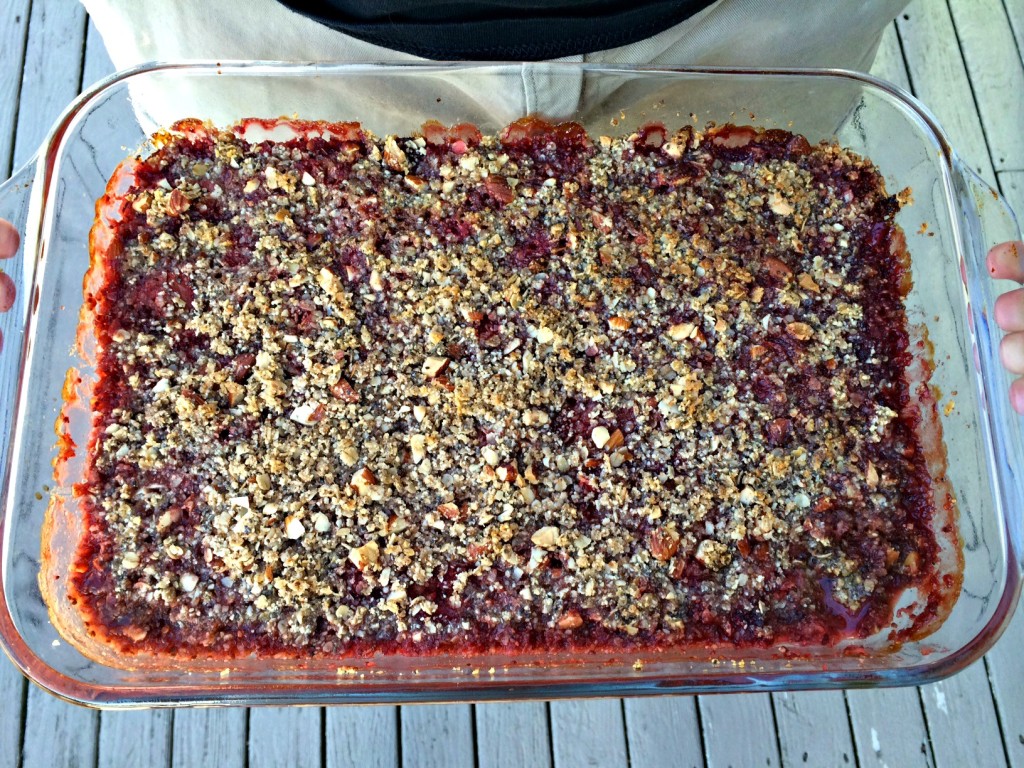
Finished crumble ready for dessert.

Finished crumble ready for dessert.

Some of us added ice cream to our crumble but if you are dairy free, it was just as good without it.

Crumble with ice cream.

Crumble with ice cream.

Strawberry Rhubarb Crumble, GF, Vegan

Ingredients

  • For Base
  • 2 lbs of strawberries, chopped
  • 1 cup of rhubarb
  • 1/2 lemon, juiced
  • 1 tsp of cinnamon
  • 2 tbsp chia seeds
  • 3 tbs of brown sugar
  • For topping
  • 1 cup of almond flour
  • 1 tsp cinnamon
  • 1/2 cup rolled oats
  • 3 tbs brown sugar
  • 1 tsp baking powder
  • 1/8 tsp of salt
  • 2 tbs chia seeds
  • 4 tbs of coconut oil, softened
  • 1/2 cup almonds, chopped

Instructions

  1. Preheat oven to 375 degrees.
  2. In medium bowl, combine base ingredients. Mix well and then set aside while you prepare the crust.
  3. In medium bowl, mix almond crumble topping ingredients except coconut oil and crushed almonds.
  4. Warm up the coconut oil by putting jar in warm water.
  5. Add coconut oil and chopped almonds in the bowl with the crumble topping. Mix until a course crumb is formed.
  6. Pour the base into a 8 X 11 baking dish. Top with crumble topping and bake until bubbling and almonds are roasted.
  7. Bake about 30-40 minutes depending on your oven.
  8. Wait 15 minutes before serving.
  9. Serve warm or room temperature and include ice cream topping if desired.
http://www.nourishedrootspdx.com/blog/strawberry-rhubarb-crumble-gf-vegan/

This post contains affiliate links.

Shared with Homespun Oasis, She eats, The Nourishing Gourmet, Real Food Fridays, Gluten Free HomemakerGirl Meets NourishmentRock My Vegan Socks, The Novice Gardner, Food Renegade, Allergy Free Alaska and Live Laugh Rowe.

Dark Chocolate Covered Seed and Nut Bars

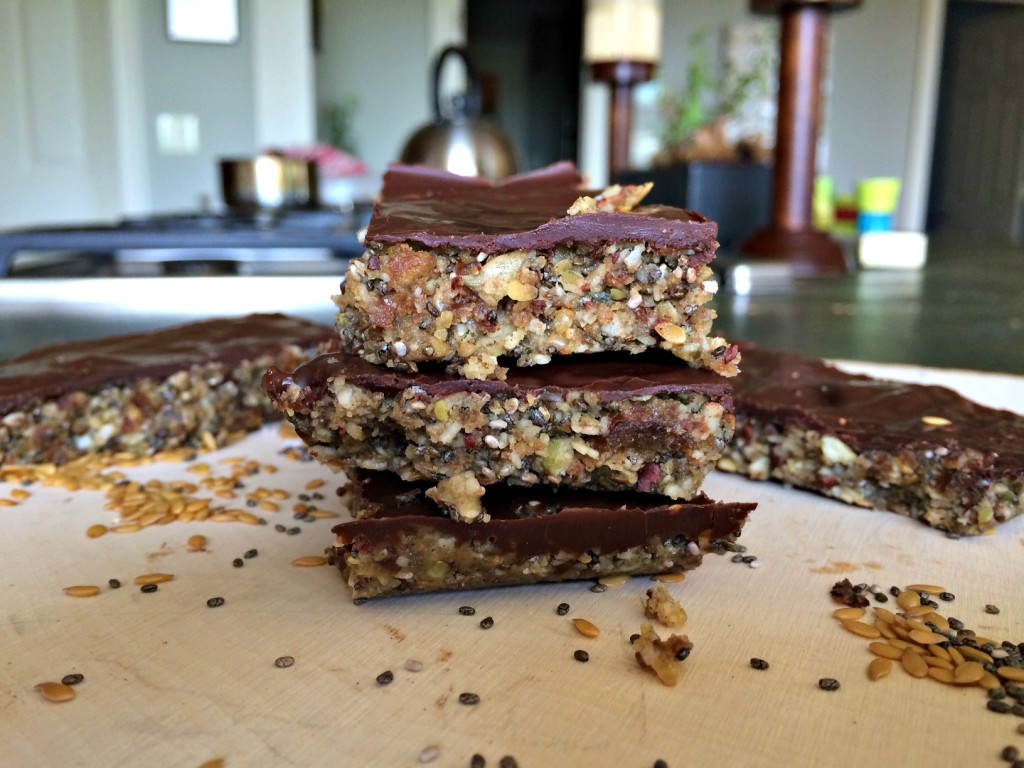
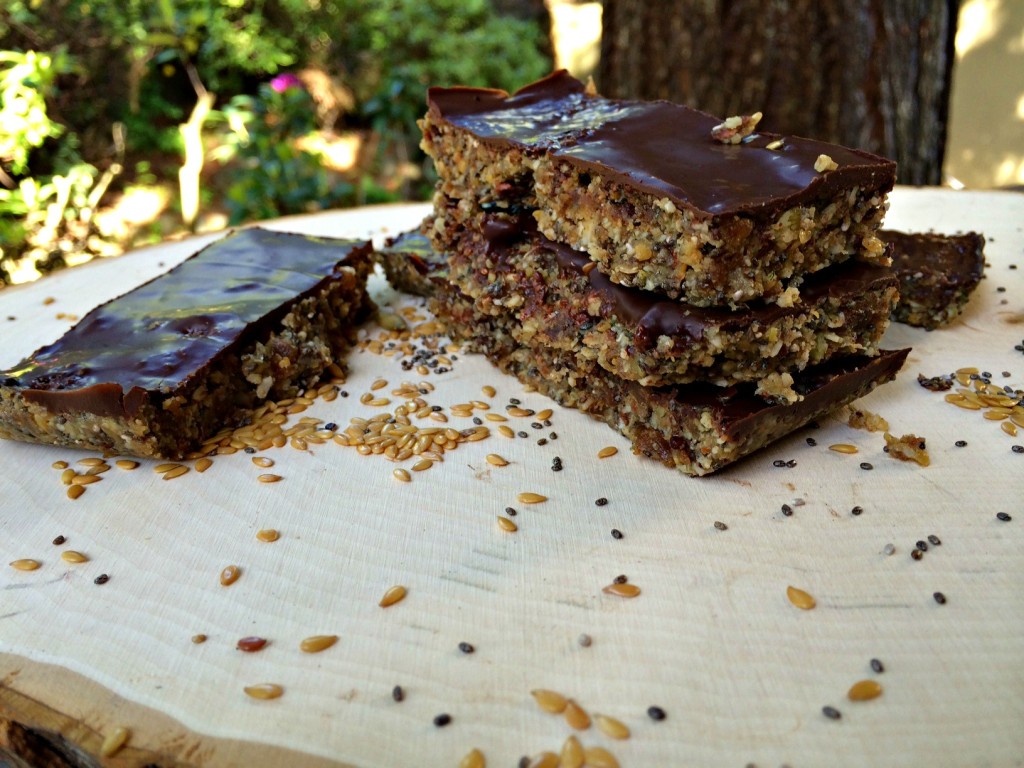
Finished bars all ready to eat.

Finished bars all ready to eat.

It has suddenly gotten amazingly hot and sunny here in the Pacific Northwest.  I LOVE IT!  I am a total sun girl- everything seems better with a little  sun!  The only bummer is our house gets incredibly hot as the day goes on.  As the mercury rises, trying to avoid further heating of  the house with cooking becomes a consuming obsession.  Imagine my joy when I came upon these amazing raw seed and nut bars from This Rawsome Vegan Life while surfing Pintrest (you can find me here on Pintrest).

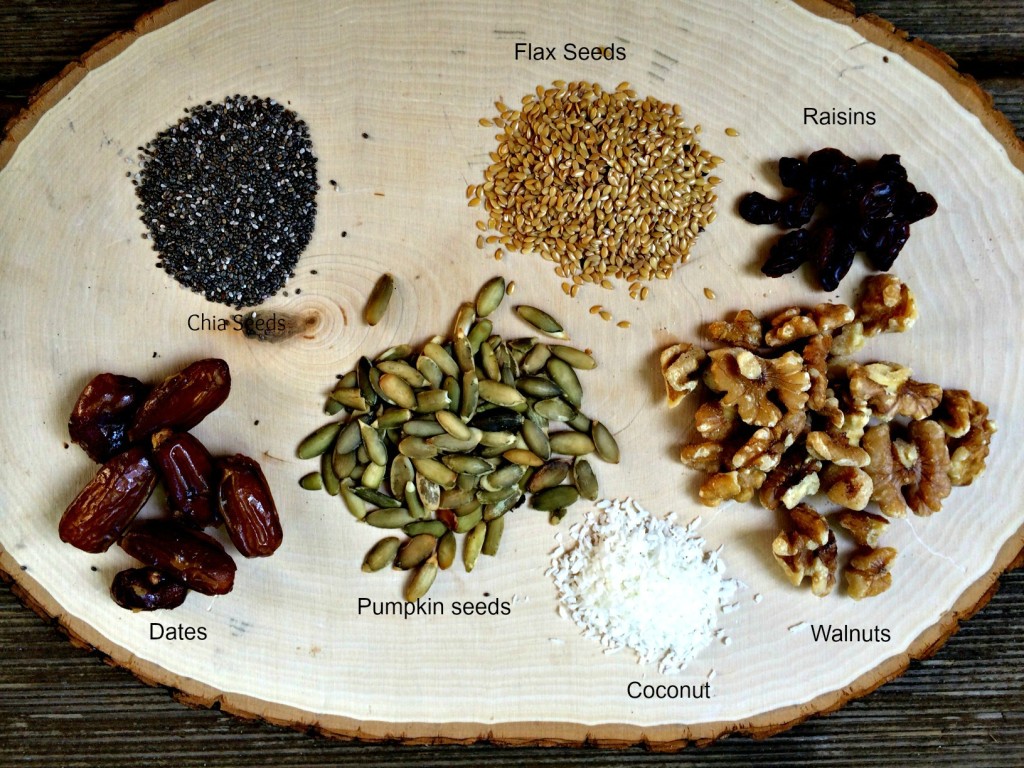
All the yummies that make up these awesome bars.

All the yummies that make up these awesome bars.


These bars have everything you could possibly need for a little pick me up in a busy day.  Healthy sugar from organic dates and raisins, omega-3’s from chia seeds, walnuts and flax seeds and protein from all those seeds and nuts.   Pumpkin seeds further contribute to the omega-3’s but they also give a much need boost of zinc (read here about the benefits of zinc.).The medium-chain triglycerides (MCTs) in the coconut oil provide a blast of increase energy expenditure compared to the same amount of calories from longer chain fats.  And, of course, I couldn’t resist adding a dark chocolate covered topping to increase my antioxidant exposure.  (Read more about the benefits of dark chocolate here.

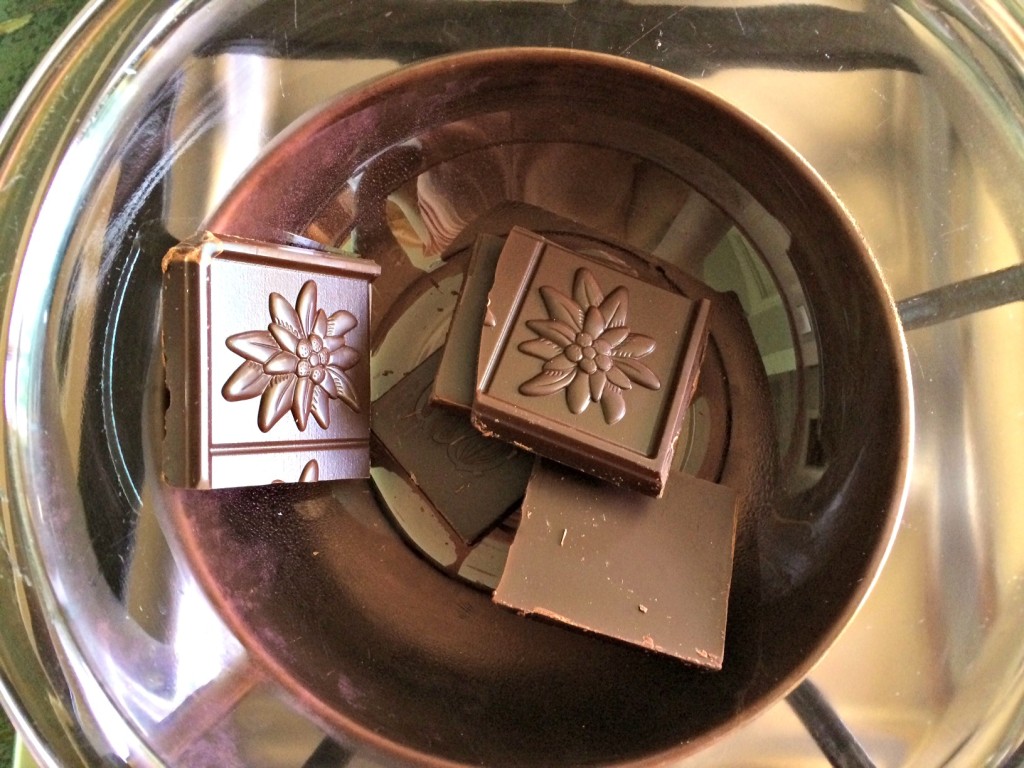
Dark chocolate squares melting in double broiler.

Dark chocolate squares melting in double broiler.

I put the dark chocolate squares on the stove in a makeshift double broiler while I started the grinding of the seeds and nuts in the food processor.  After the nuts and seeds resembled a course crumb, I gradually added the raisins and dates.  Mixing this all together required some time, with multiple stops to scrape down the sides of the food processor.  I used roughly 2 tbs of coconut oil but you will have to judge the stickiness of your own dough.  The moisture content of the dates and raisins seems to impact how sticky the dough becomes.

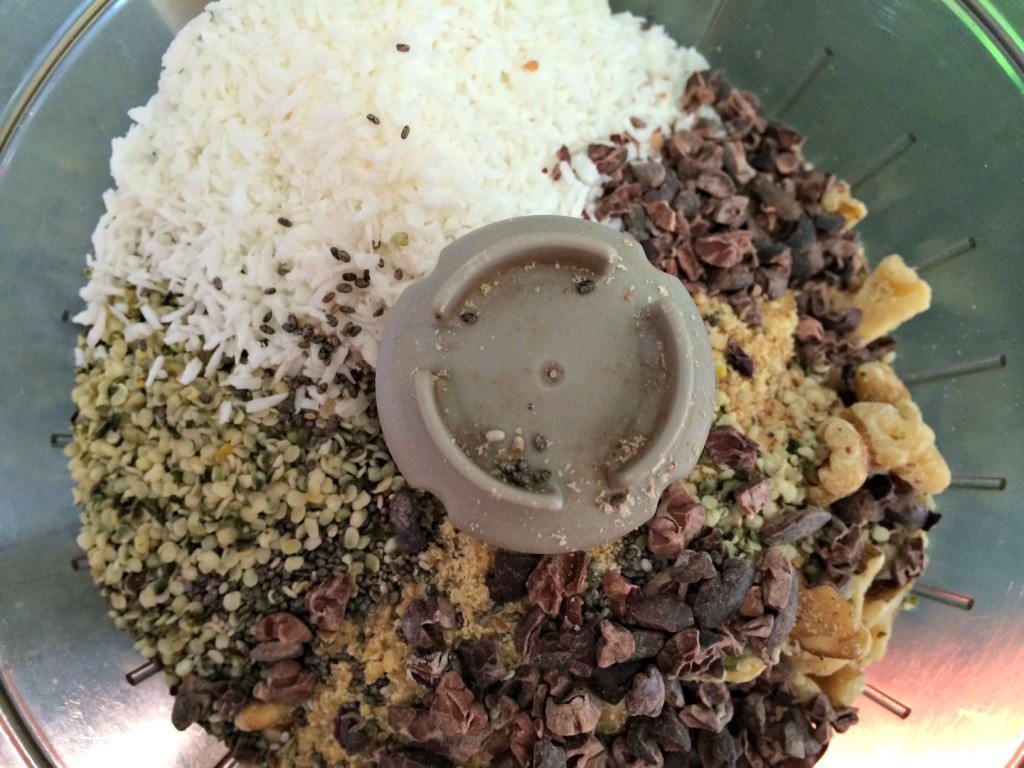
All the ingredients before being ground.

All the ingredients before being ground.


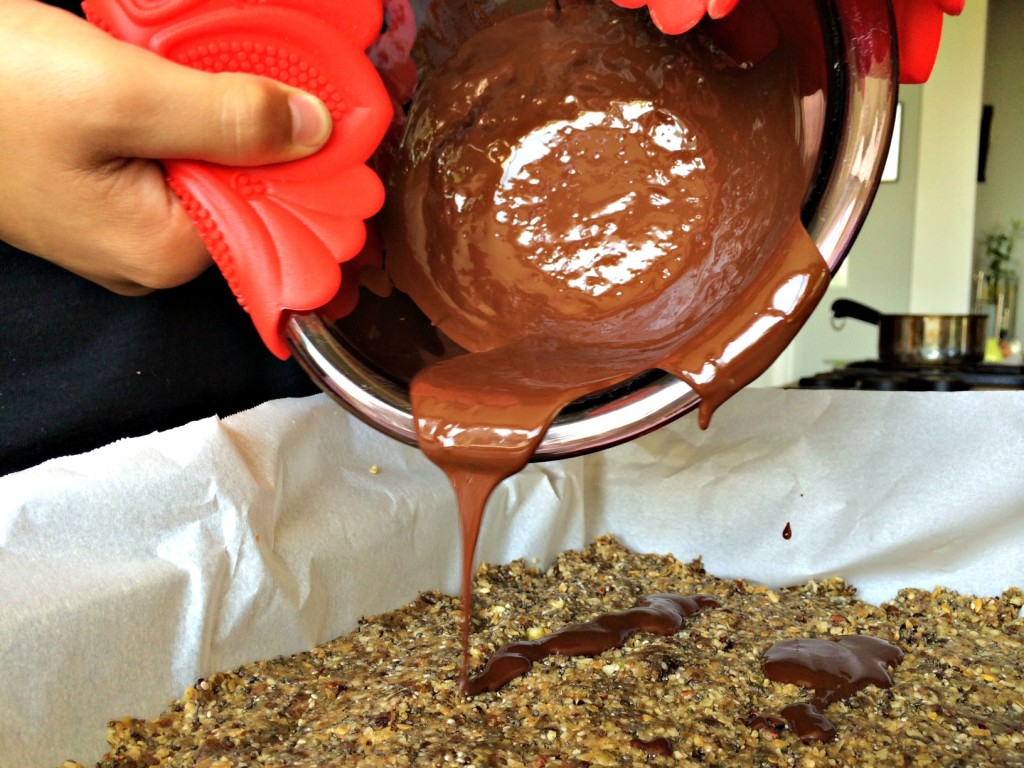
Melting chocolate for the topping.

Melting chocolate for the topping.

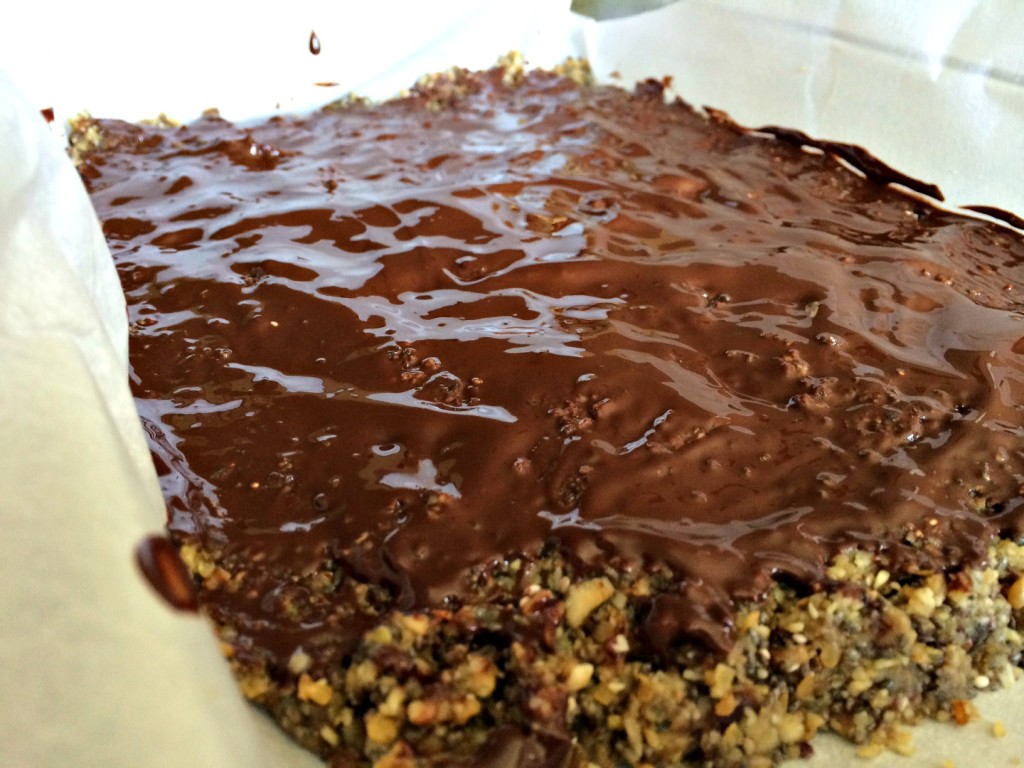
Bars with melted chocolate ready to go to the fridge to harden.

Bars with melted chocolate ready to go to the fridge to harden.

Finished bars.

Finished bars.

These were super easy to whip up and so tasty!  I think they might be my new favorite bar!

Dark Chocolate Covered Seed and Nut Bars

Ingredients

  • 1 cup walnuts
  • 1/3 cup chia seeds
  • 1/3 cup ground flax seeds
  • 1/3 cup hemp seeds
  • 1/4 cup cacao nibs
  • 1/4 cup coconut flakes
  • 3/4 cup pumpkin seeds
  • 1/2 cup raisins
  • 1 cup dates
  • 1-2 tablespoons melted coconut oil, if needed
  • 4 Dark chocolate squares for topping.

Instructions

  1. Melt dark chocolate over double broiler on the stove.
  2. Put all ingredients except raisins, coconut oil and dates in food processor.
  3. Process until you have a course crumb mixture.
  4. Add raisins and dates.
  5. Process until dough starts sticking together.
  6. Add coconut oil as needed to help with sticking.
  7. Put dough in parchment lined pan.
  8. Use your hands to press to uniform depth throughout the pan.
  9. Pour melted chocolate over top of bars.
  10. Spread chocolate.
  11. Put bars in fridge for about an hour.
  12. Once firm and chocolate hardens, take out and cut.
  13. Store in fridge.
  14. Enjoy!
http://www.nourishedrootspdx.com/blog/dark-chocolate-covered-seed-and-nut-bars/

Share a link to your favorite bar recipe!

This post was shared with Gluten Free Homemaker, A glimpse Inside, Homespun Oasis, The Nourishing Gourmet, Rock My Vegan Socks, Food Renegade,  Today’s Creative Blog  and Live Laugh Rowe..

Related Posts Plugin for WordPress, Blogger...