Category Archives: Dessert

Recipes for dessert.

Valentine’s Day Rich Chocolate Mousse

IMG_1172
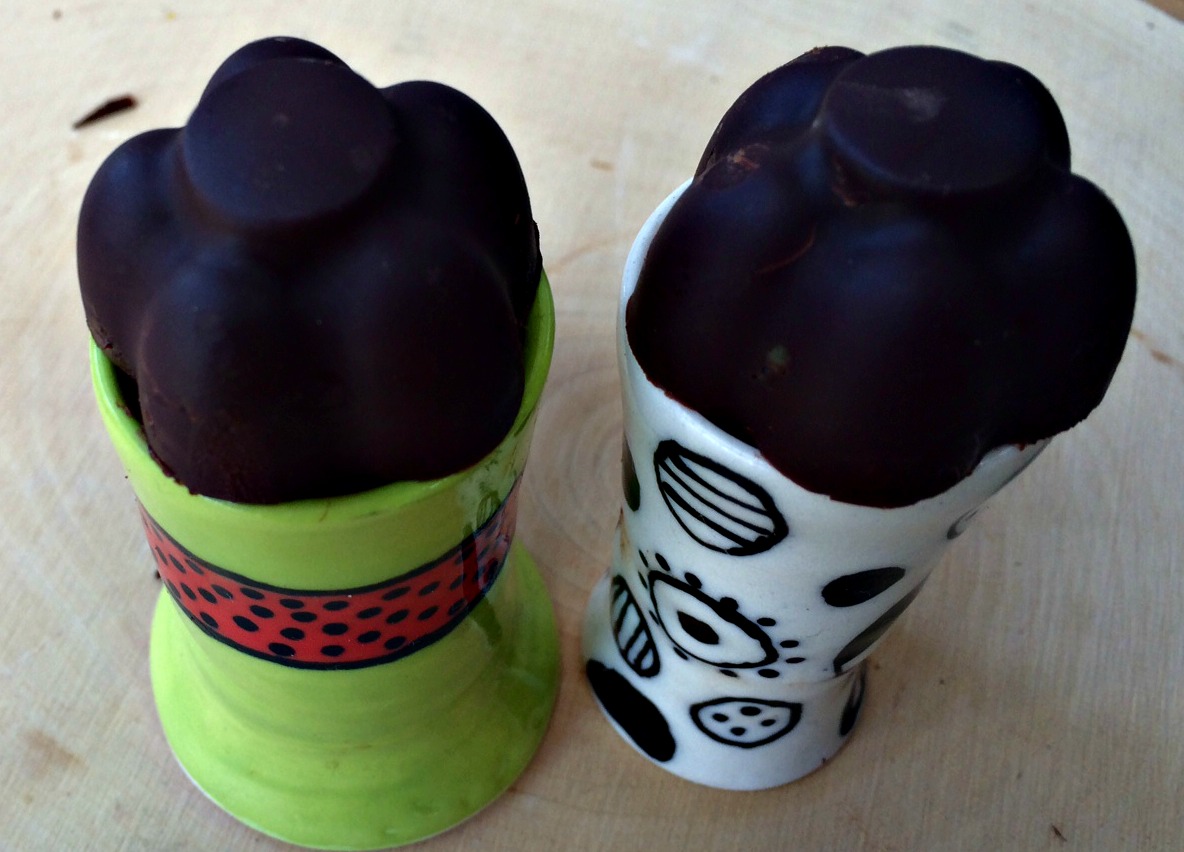
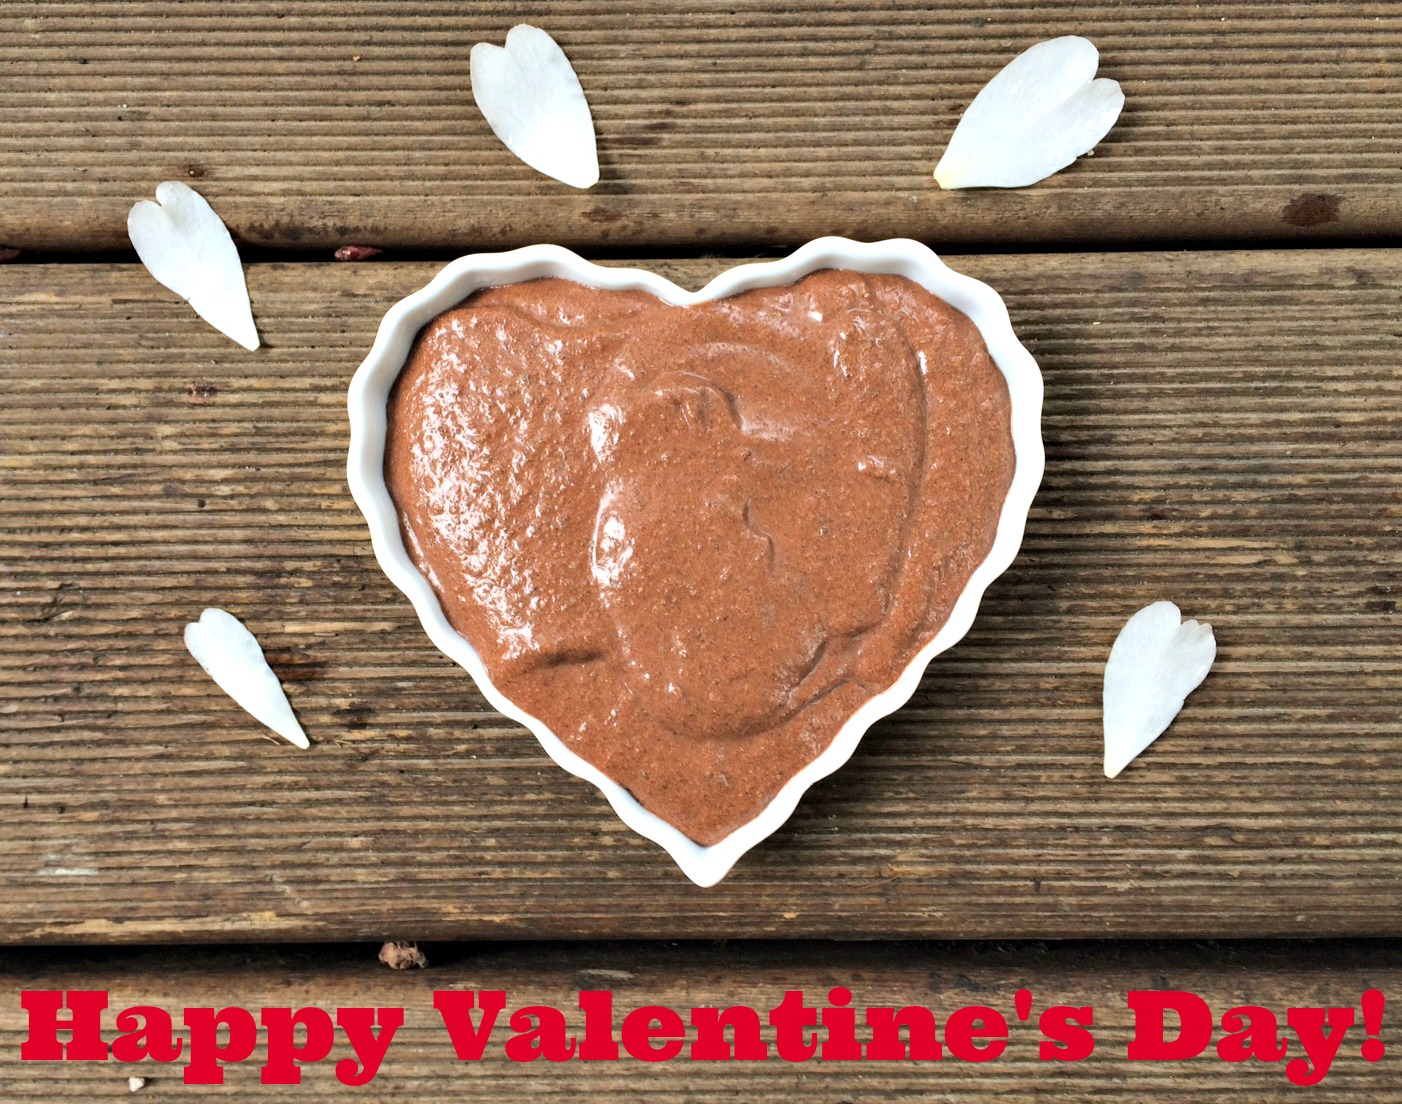
In my family, we are usually not big celebrators of Valentine’s Day but I found these really cute heart shaped ramekins at the Goodwill and  felt like I couldn’t let them go to waste.  I experimented high and low looking for a tasty, but healthy chocolaty dessert to fill those adorable hearts. After I tried a chia recipe that my husband said tasted “leafy” and my chocolate loving son refused to eat, I knew my search was not over.  Then I remembered that while visiting Bend, Oregon in June, I had tasted a chocolate avocado pudding.  After my failed chia attempt and a few other experiments that will go unmentioned, I decided to try to recreate the avocado experience.

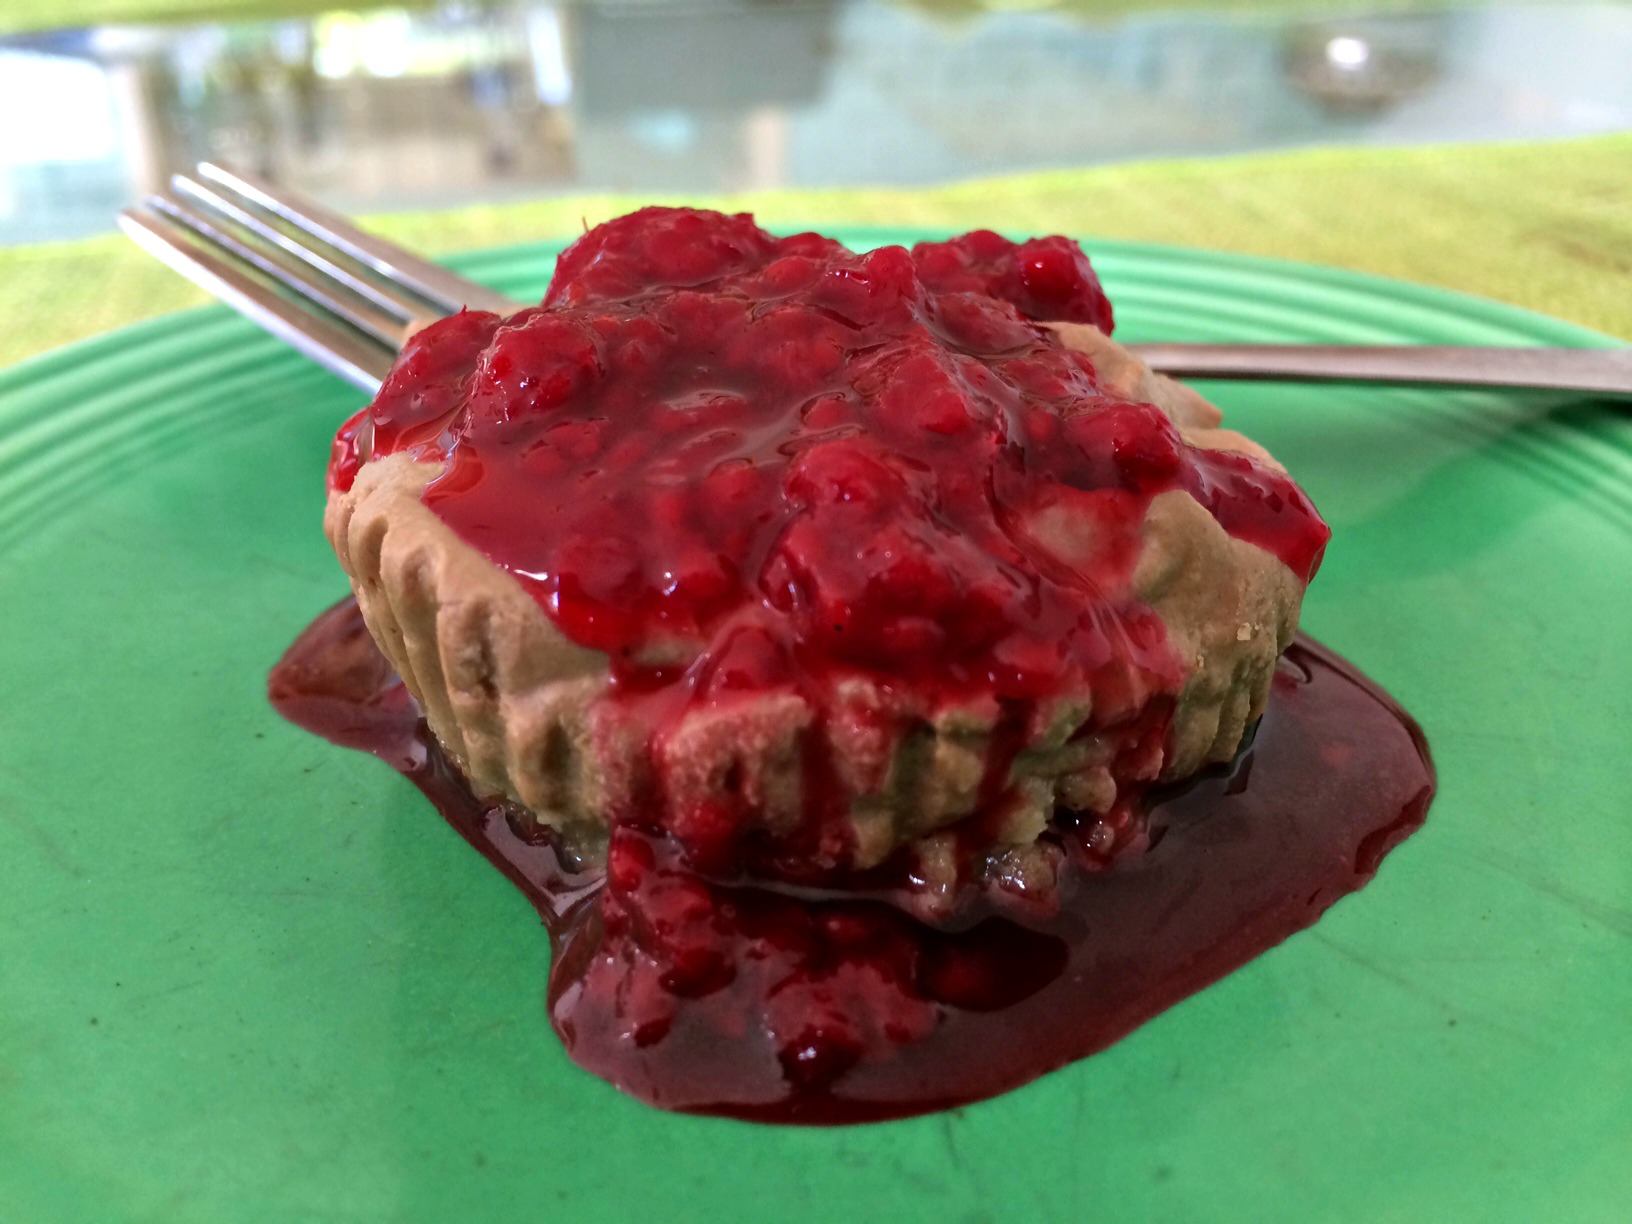
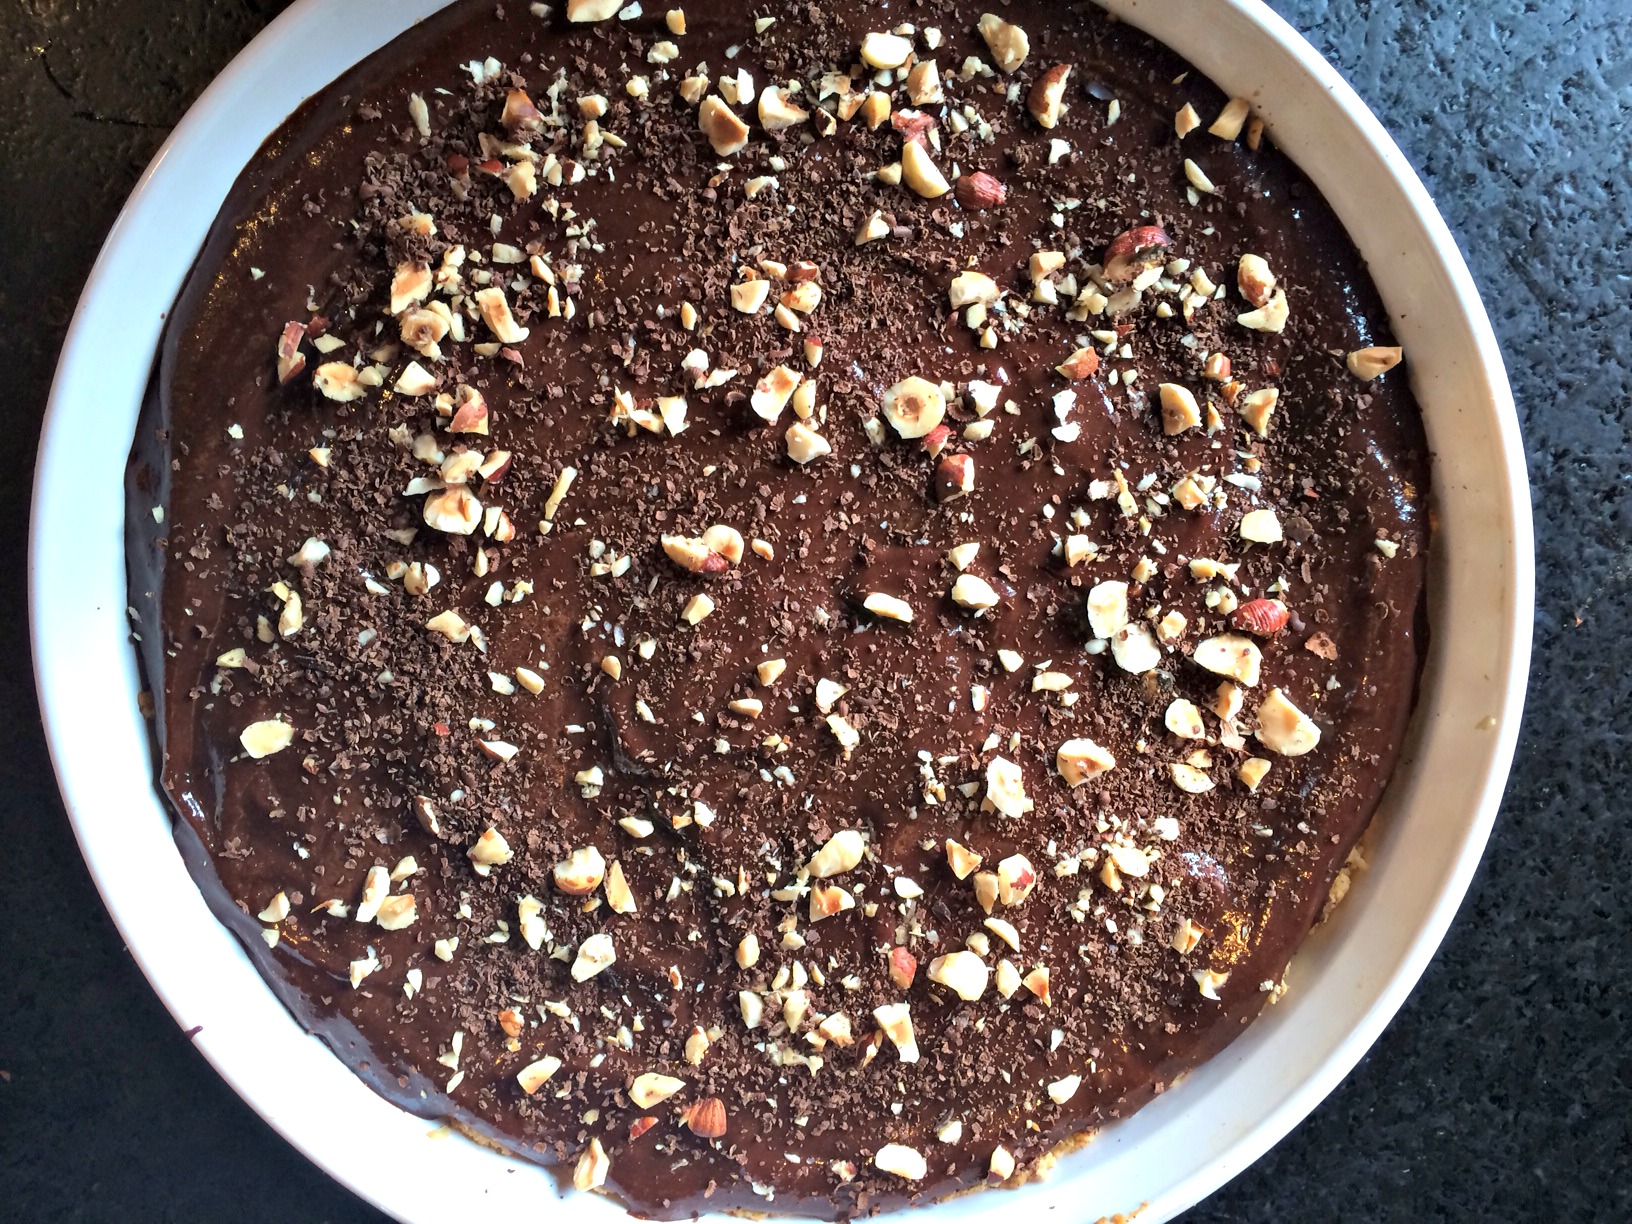
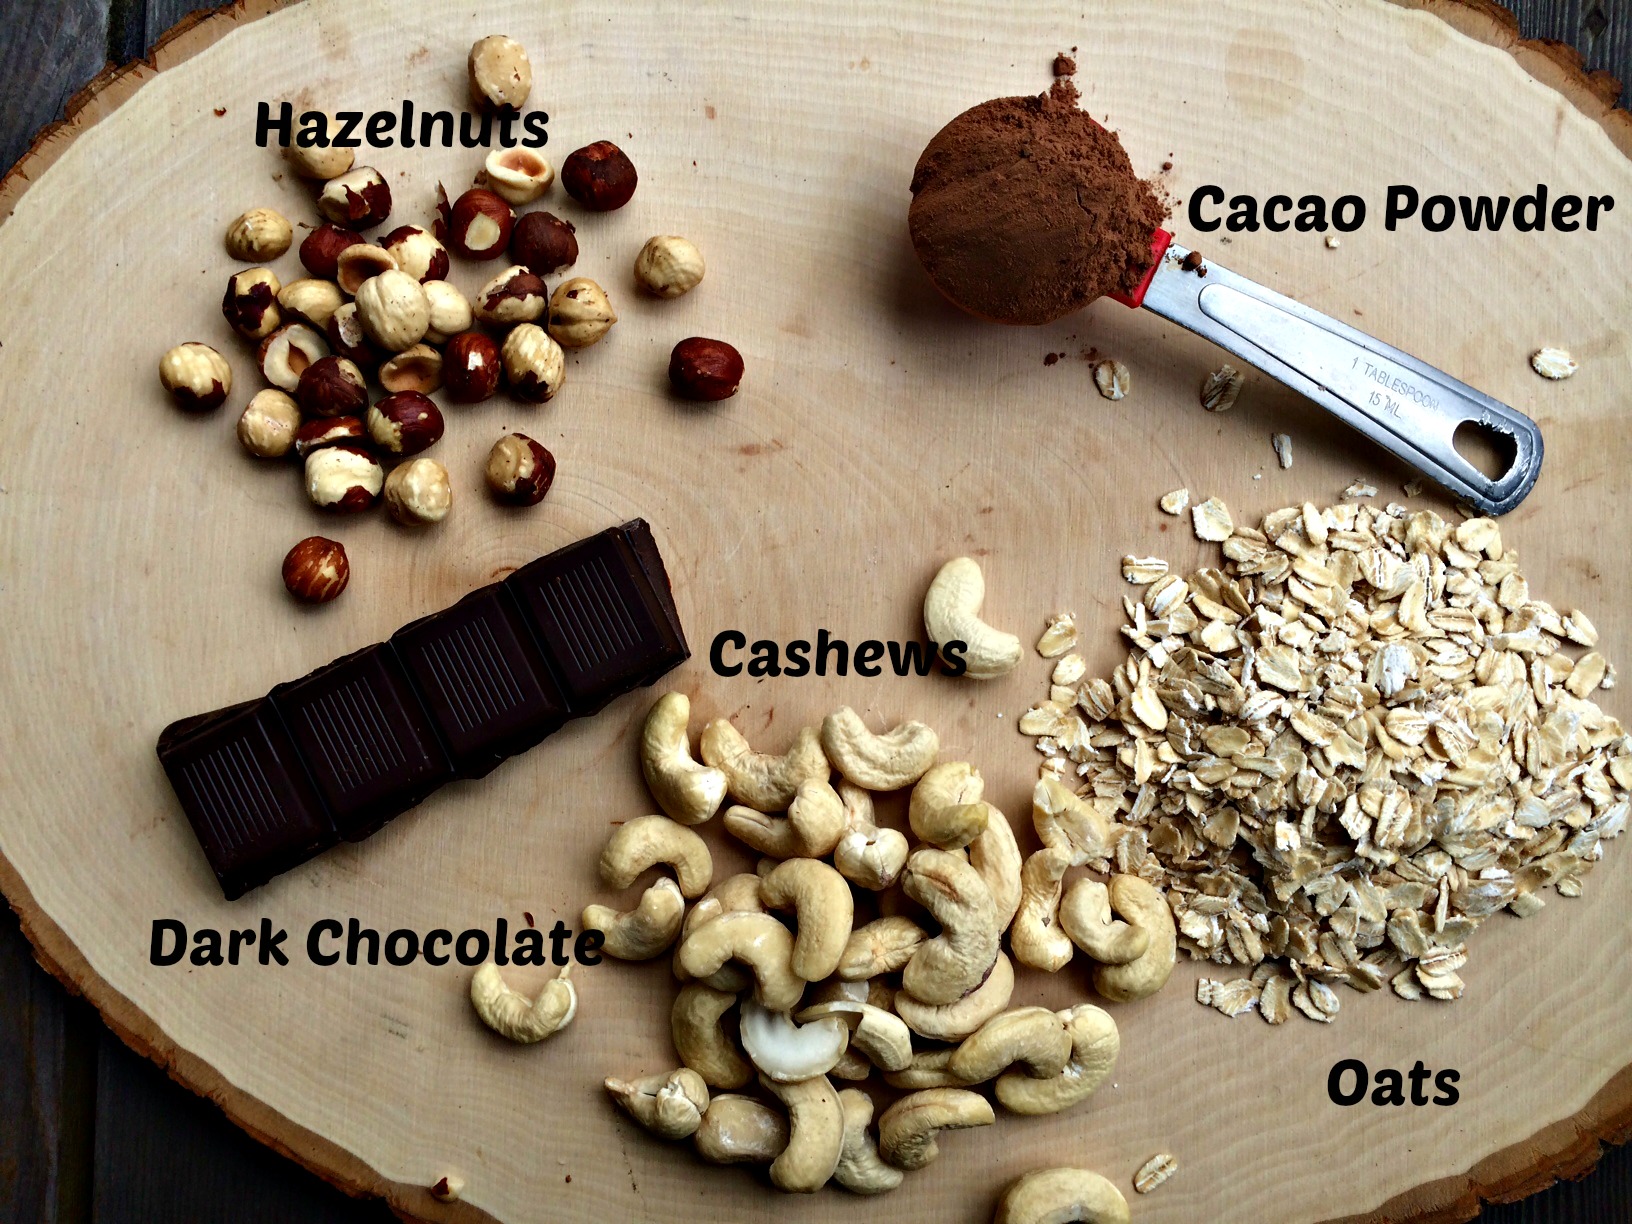
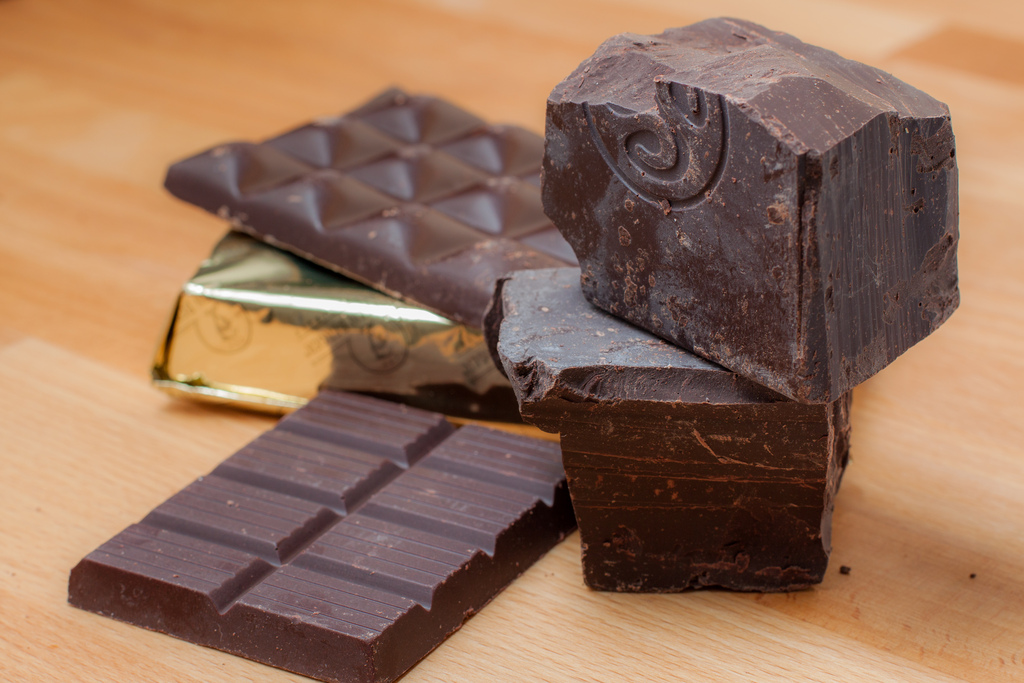
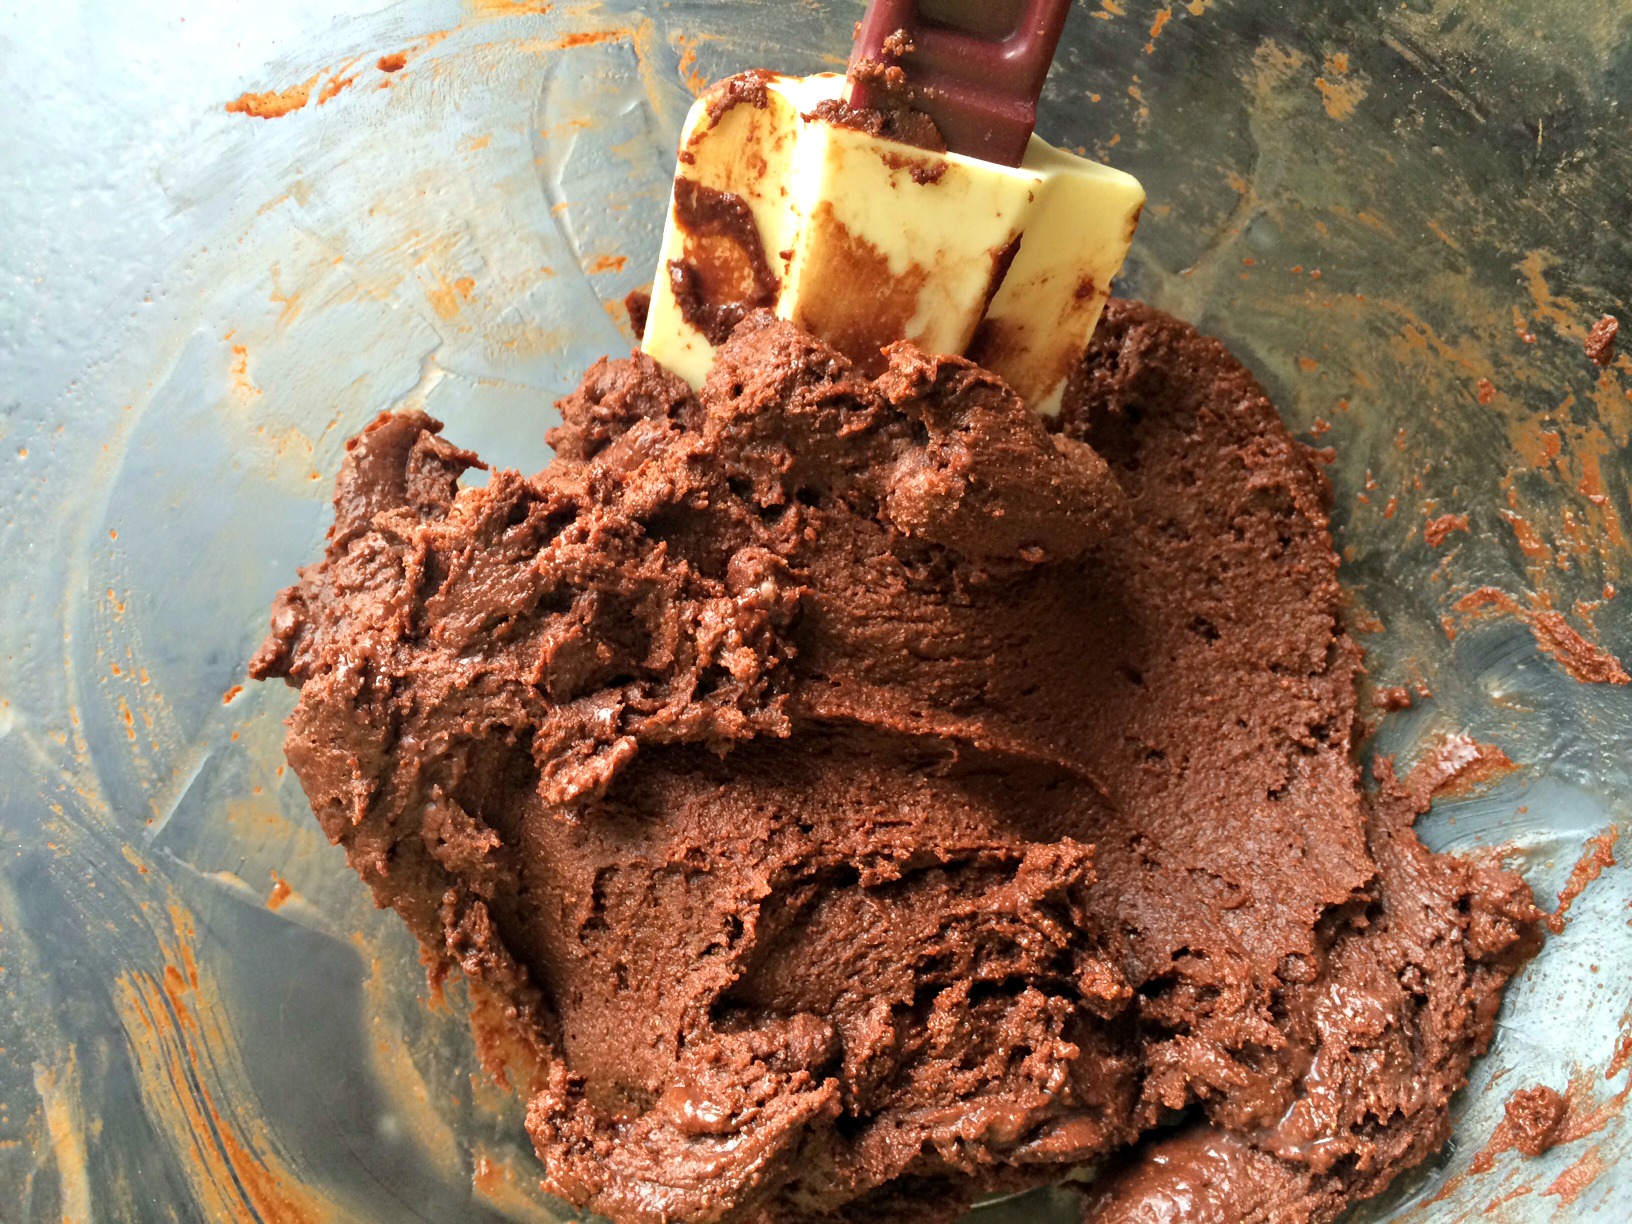
After all my failed attempts, this pudding mousse concoction came out way better than I had hoped- a little sweet, super creamy and VERY chocolaty!  I used Navitas Naturals Organic Raw Cacao Powder to give it that amazing chocolate flavor.  I love this product and use it almost every day in my Nature’s Path Qi’a Chia Buckwheat and Hemp Cereal  along with a scoop of Thorne MediPro Vegan Shake– such a yummy and filling breakfast!  But I digress!

4426009647_fcb4514aba_b

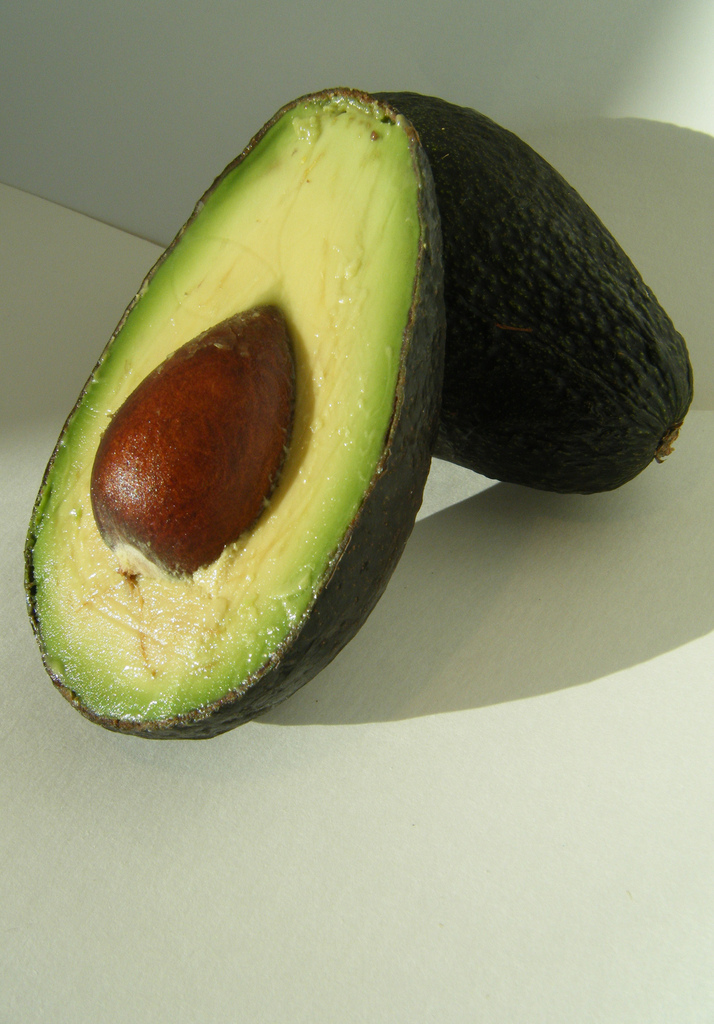
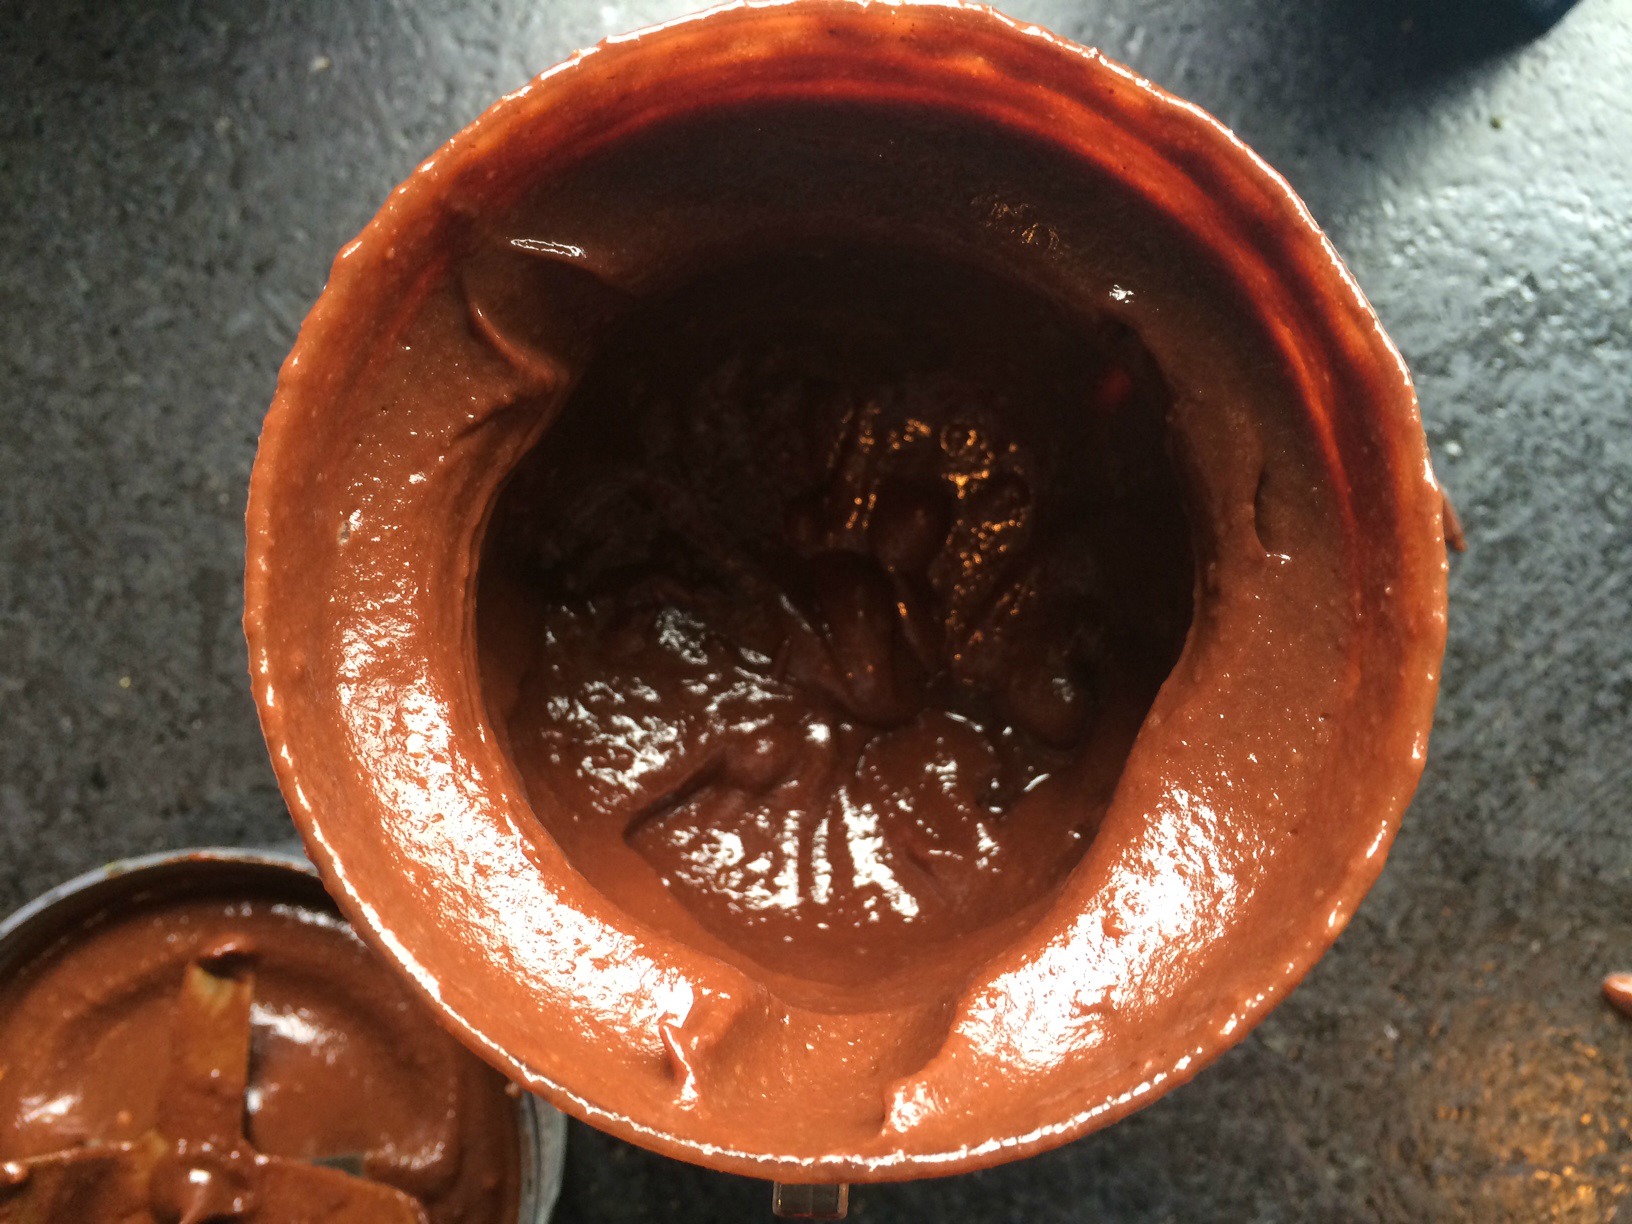
The bulk of this mousse is avocado.  I love avocados because they are a particularly rich source for potassium, Vitamin E, folate, Vitamin K, Copper and Vitamin C.  (Read more about all the benefits of avocados here). I love this mousse because it was so easy- just a few whirls of all the healthy ingredients in my NutriBullet  and a few hours in the fridge and then it was ready to be devoured.

IMG_1170

Valentine’s Day Rich Chocolate Mousse

Ingredients

  • 16 Medjool dates, pitted and coarsely chopped
  • 3 ripe avocados
  • 1 cup of unsweetened almond milk
  • 1 cup of cacao
  • 1/4 cup of maple syrup
  • 1 tbs of coconut oil
  • 1 tsp of vanilla
  • pinch of sea salt

Instructions

  1. Soak the dates in warm water until soft- 5-10 minutes. Drain.
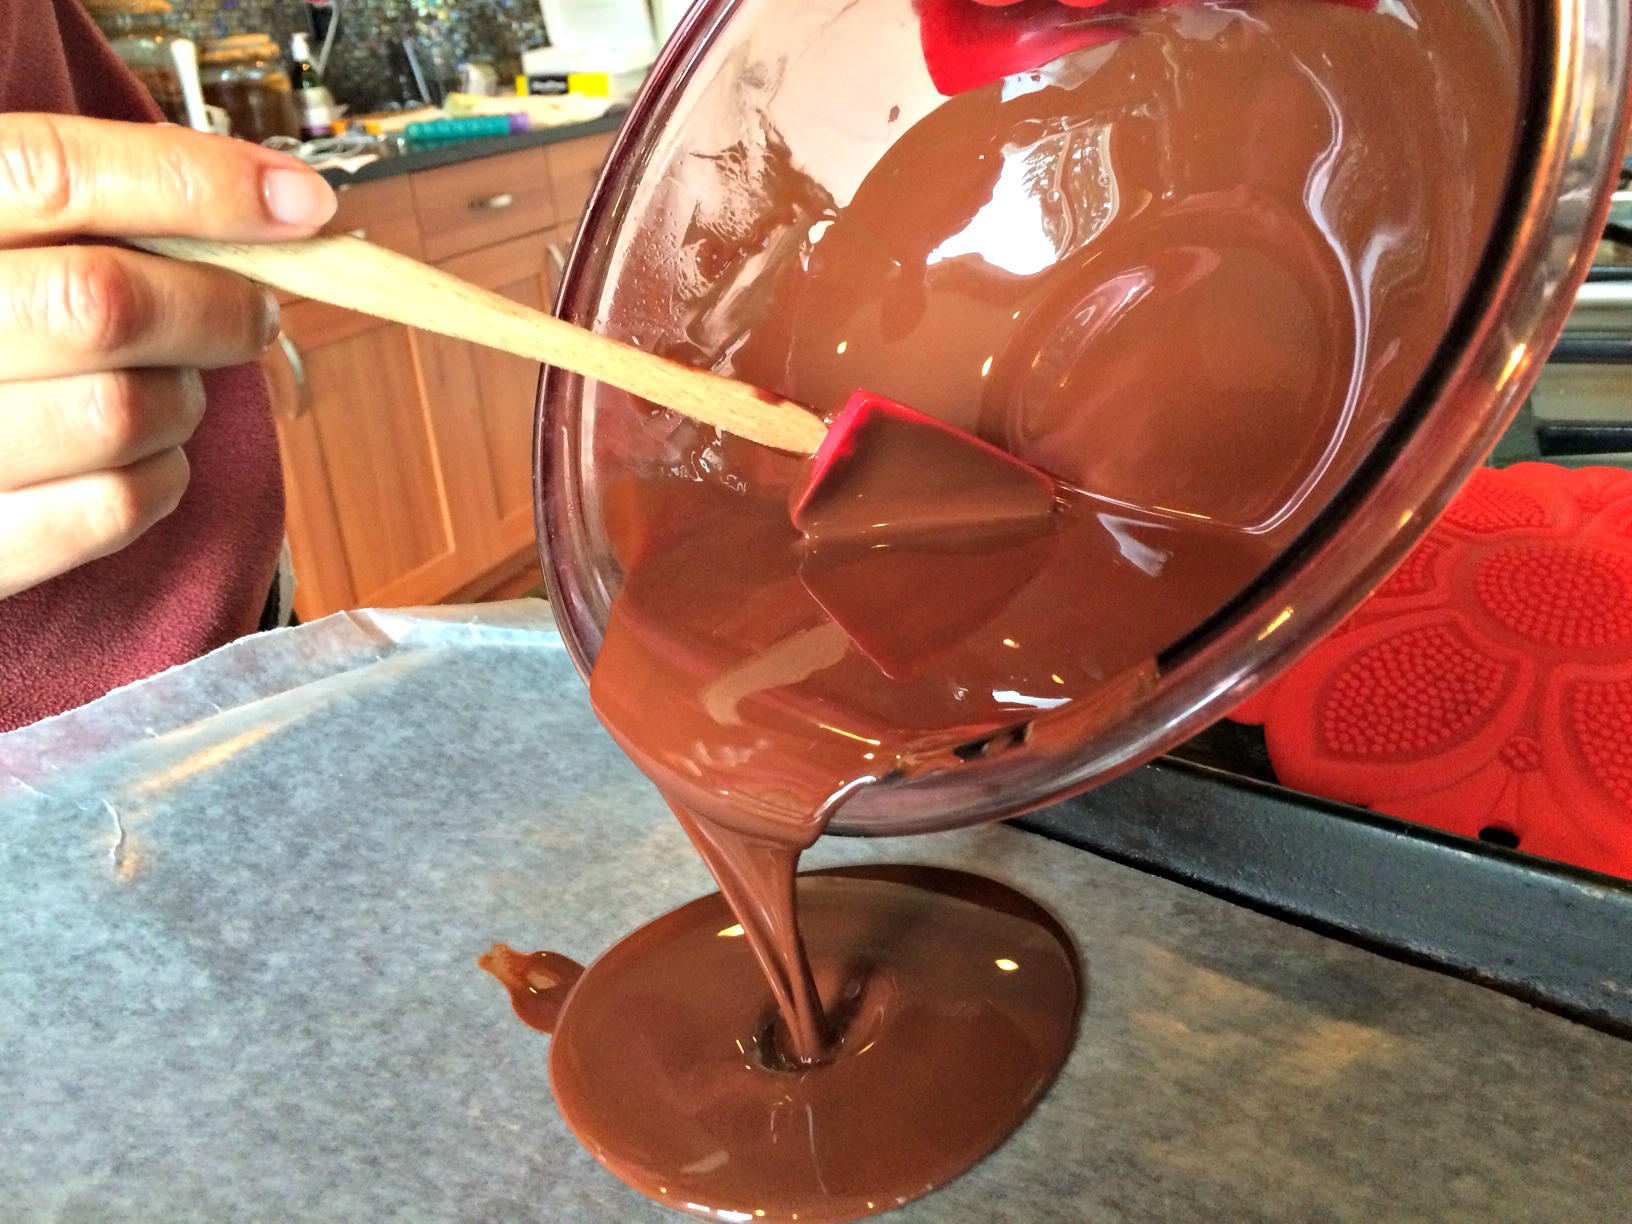
  2. Put all ingredients in the blender or nutribullet and blend until smooth and creamy.
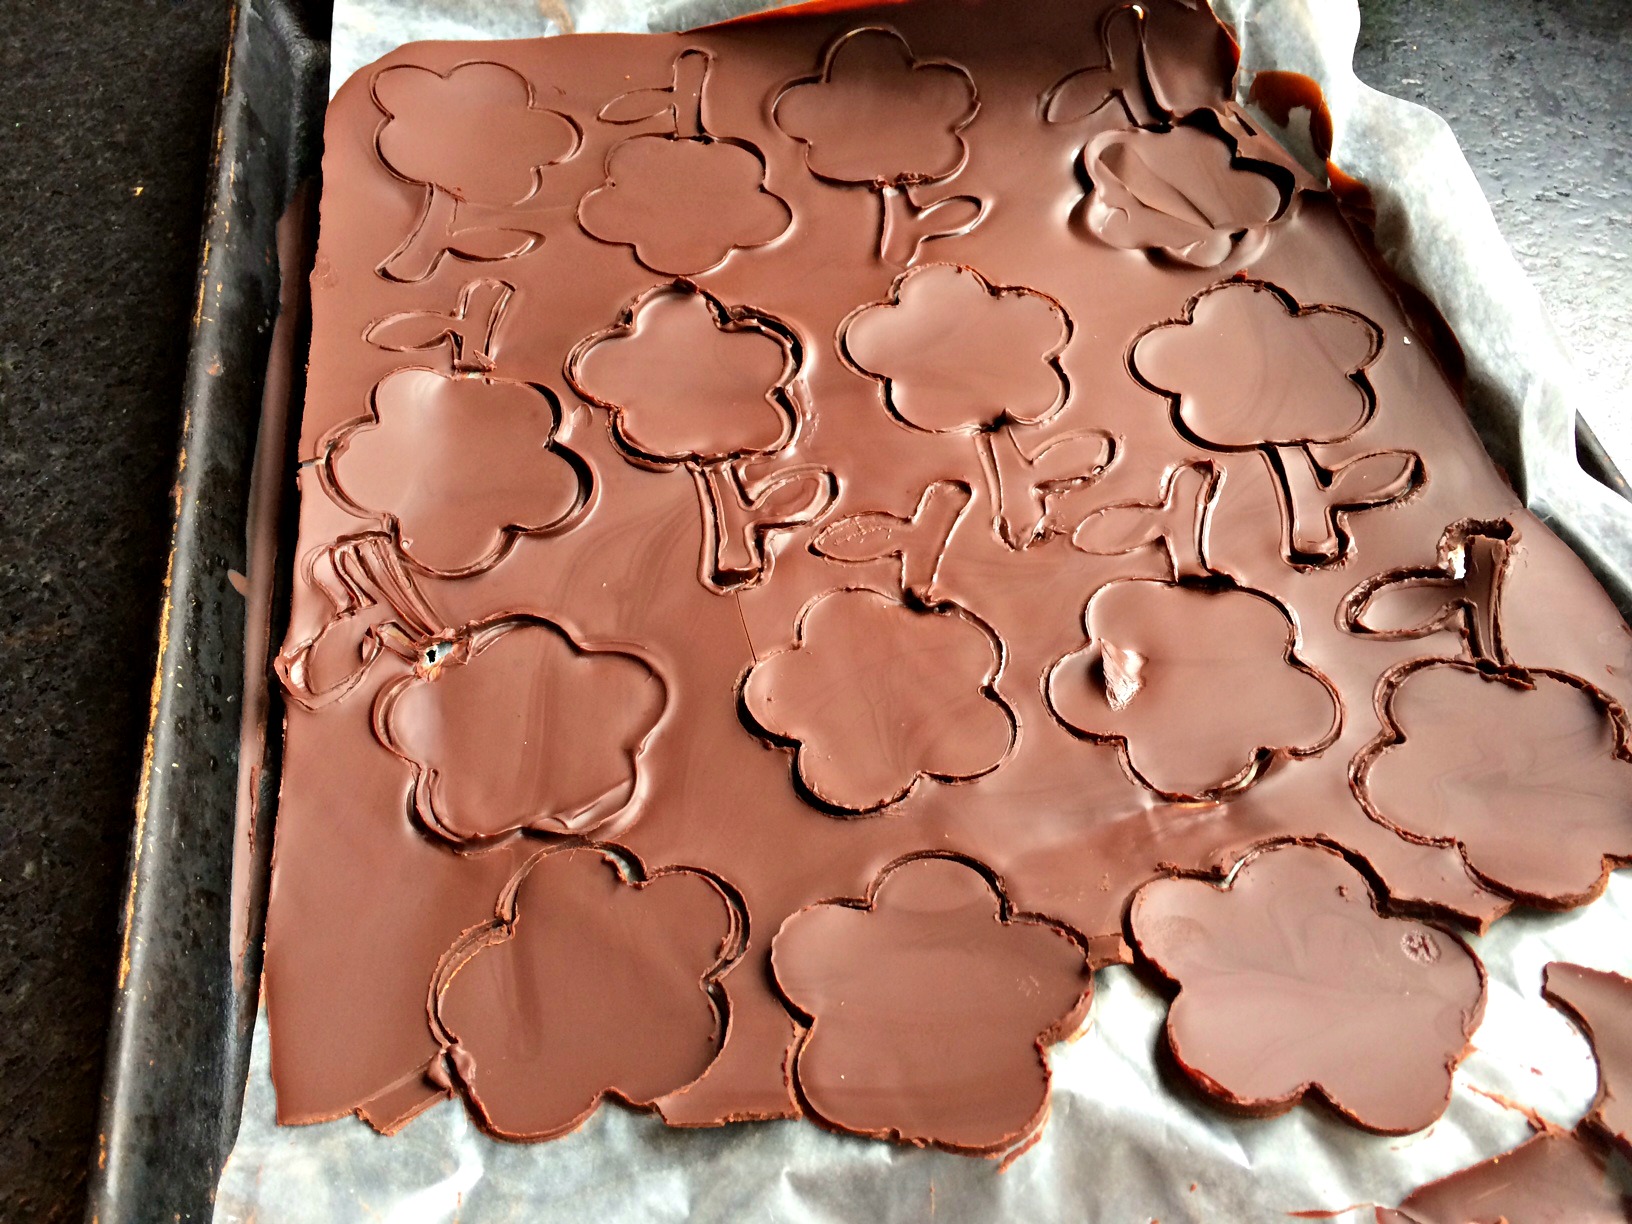
  3. Place in the fridge until well chilled.
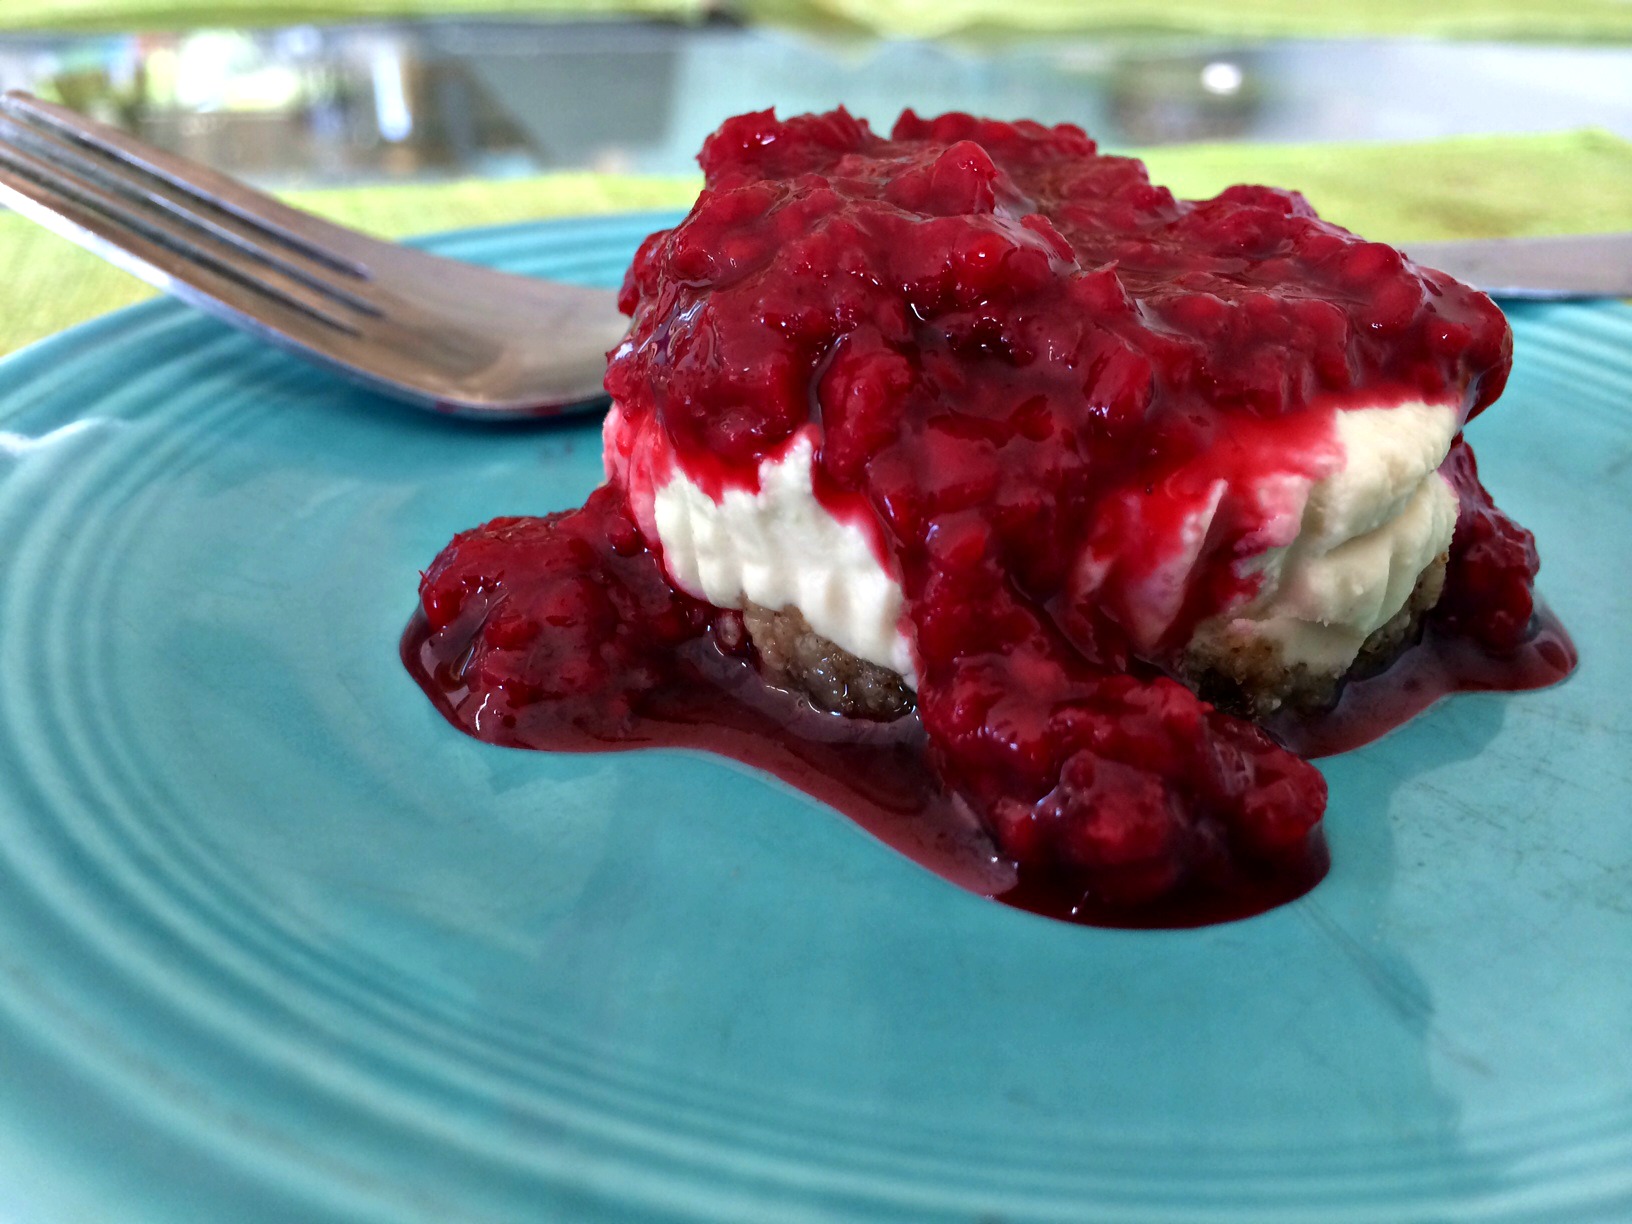
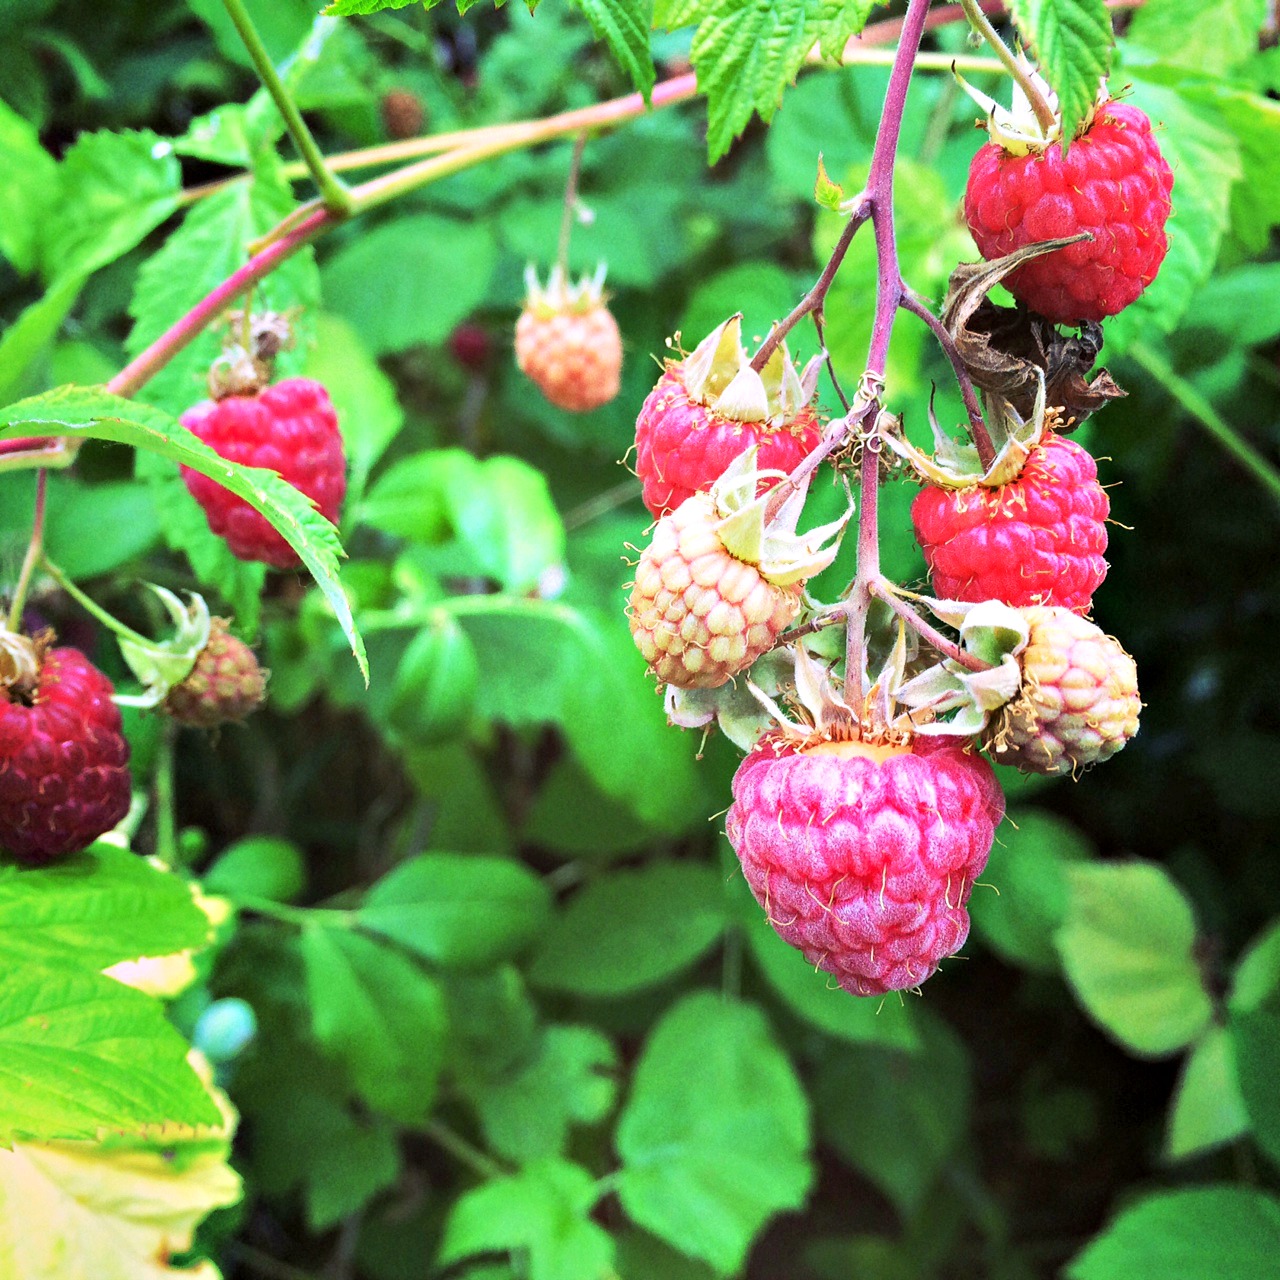
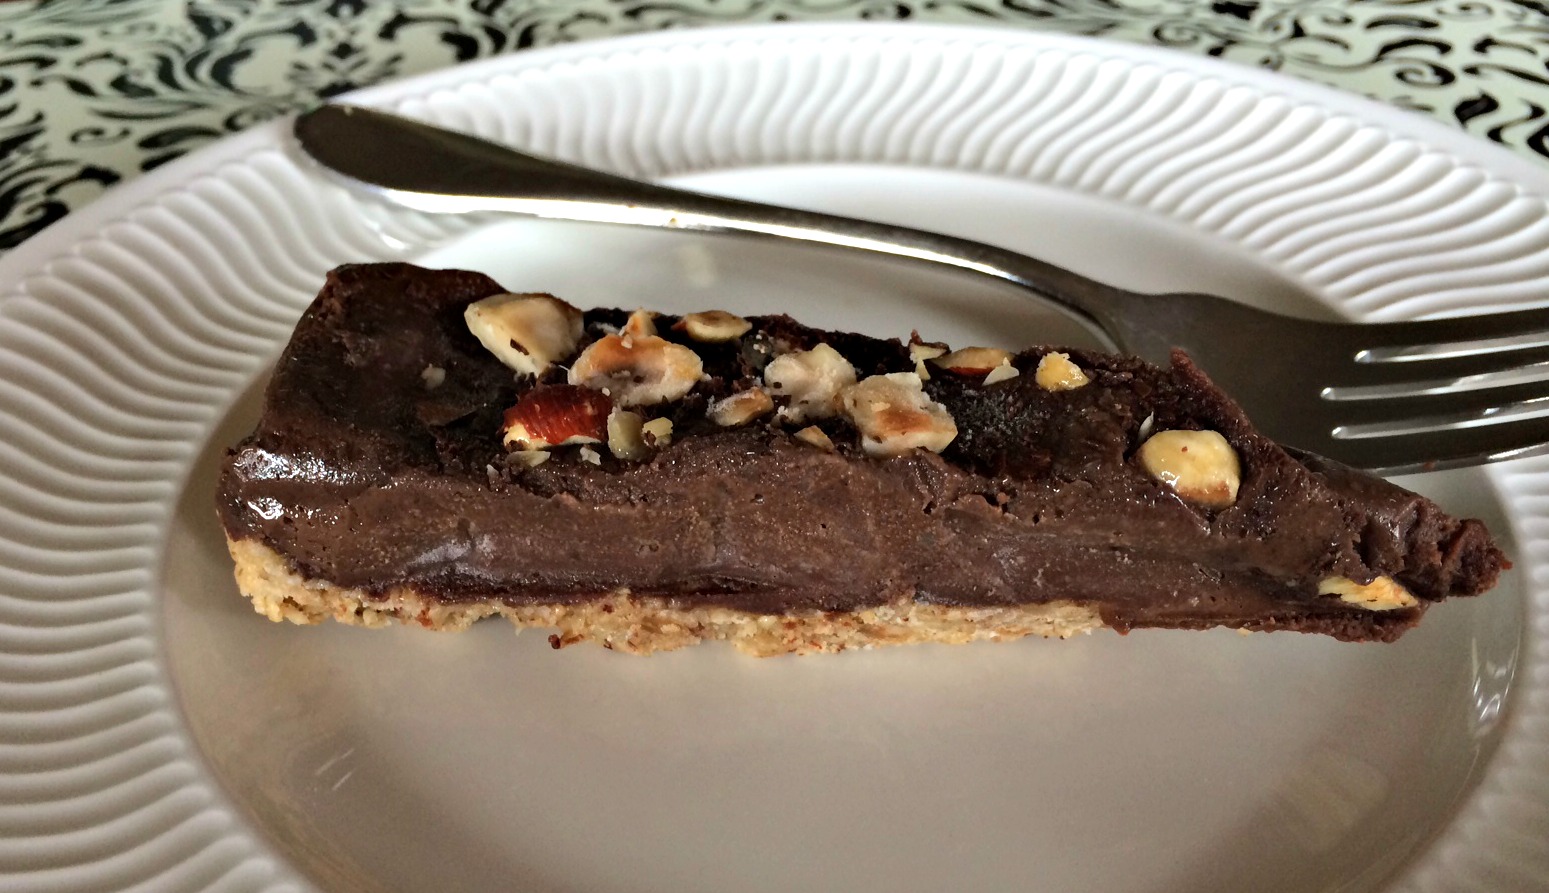
  4. Garnish with raspberries or other fruit or serve plain.
  5. Enjoy!
http://www.nourishedrootspdx.com/blog/valentines-day-rich-chocolate-mousse/

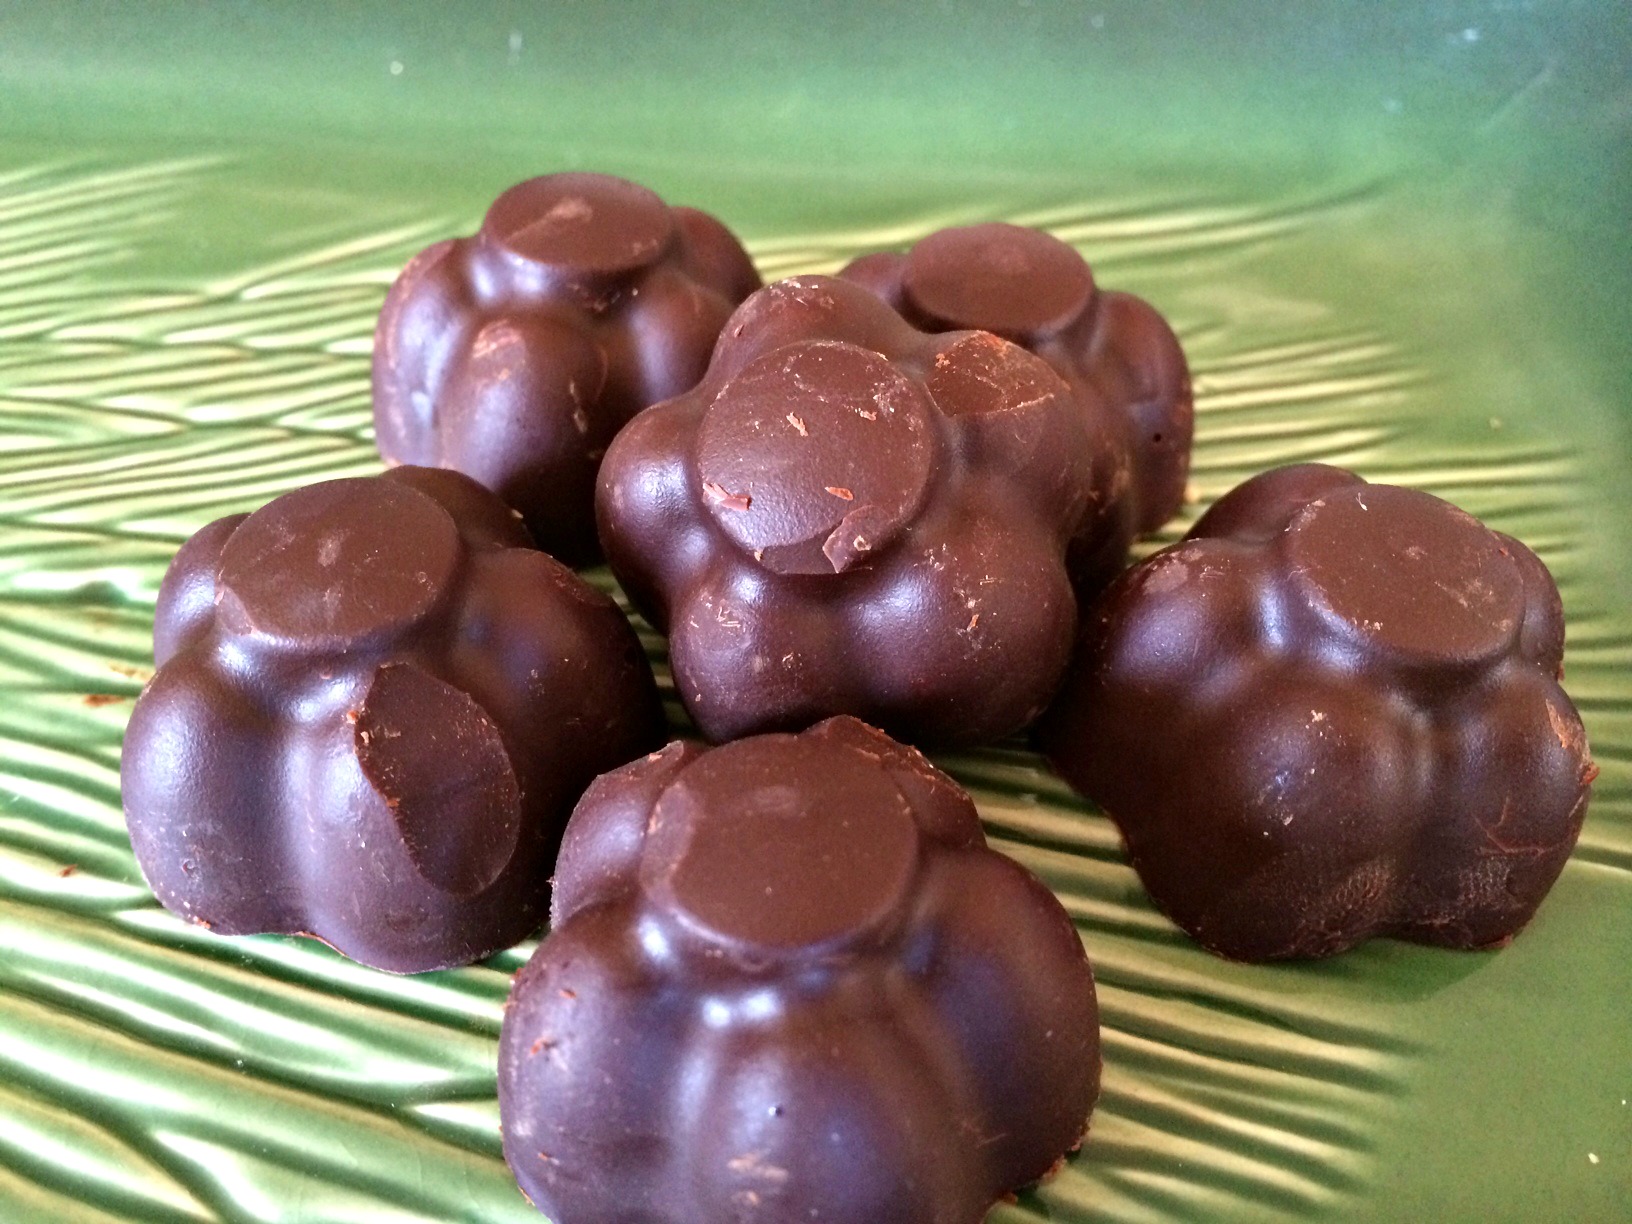
Enjoy this rich and creamy dessert!

Recipe taken from Eating Well Magazine.

Avocado picture from Anna under Creative Commons license.

This post contains affiliate links.

Strawberry Rhubarb Crumble, GF, Vegan


Strawberry Rhubarb Crisp with vanilla ice cream.

Strawberry Rhubarb Crisp with vanilla ice cream.

This weekend I went to visit my in-laws near Bainbridge Island, Washington.  Bainbridge has an amazing little farmer’s market with talented artisans and beautiful booths filled with produce.  When I was there on Saturday, one of the booths was featuring rhubarb and had a recipe for a flourless Strawberry Rhubarb Crumble.  Even though I had never cooked rhubarb before and had only eaten it a few times, once I sampled the crisp, I was hooked.  My son, mother-in-law and I instantly decided we needed to recreate the crisp for dessert that night.

Beautiful Rhubarb at the farmer's market.

Beautiful Rhubarb at the farmer’s market.

I loved this recipe because it did not include any gluten or dairy and is pretty light on sugar.  I also liked it because it included chia seeds for added omega-3’s. The chia seeds acted as a nutty, crunchy binder in both the filling and the crumble.  You can buy Chia Seeds here)  The almond meal used in place of flour offered a tasty, nutty  flavor I loved.  Almonds are high in fiber, Vitamin E, potassium and magnesium.  (You can buy Bob’s Red Mill Flour Almond Meal here.)

The strawberries offered a potent dose of Vitamin C and other antioxidants and the rhubarb is also high in fiber, Vitamin C and provides a major dose of Vitamin K, which supports healthy bone growth and can limit neuronal damage in the brain.  The oats contributed an extra boost of fiber, manganese and a surprising amount of protein.  (You can buy Bob’s Red Mill Oats Rolled Regular here.)

There are so many beneficial ingredients in this crumble that I think you could serve it for breakfast and feel like you have started your day off on the right nutritional foot!  I love when a dessert is good and good for you!!

Filling waiting for the crumble topping.

Filling waiting for the crumble topping.

I think I mentioned in a previous post how much my father-in-law loves fruit desserts so he was thrilled when my son pulled this one out of the oven.

Finished crumble ready for dessert.

Finished crumble ready for dessert.

Some of us added ice cream to our crumble but if you are dairy free, it was just as good without it.

Crumble with ice cream.

Crumble with ice cream.

Strawberry Rhubarb Crumble, GF, Vegan

Ingredients

  • For Base
  • 2 lbs of strawberries, chopped
  • 1 cup of rhubarb
  • 1/2 lemon, juiced
  • 1 tsp of cinnamon
  • 2 tbsp chia seeds
  • 3 tbs of brown sugar
  • For topping
  • 1 cup of almond flour
  • 1 tsp cinnamon
  • 1/2 cup rolled oats
  • 3 tbs brown sugar
  • 1 tsp baking powder
  • 1/8 tsp of salt
  • 2 tbs chia seeds
  • 4 tbs of coconut oil, softened
  • 1/2 cup almonds, chopped

Instructions

  1. Preheat oven to 375 degrees.
  2. In medium bowl, combine base ingredients. Mix well and then set aside while you prepare the crust.
  3. In medium bowl, mix almond crumble topping ingredients except coconut oil and crushed almonds.
  4. Warm up the coconut oil by putting jar in warm water.
  5. Add coconut oil and chopped almonds in the bowl with the crumble topping. Mix until a course crumb is formed.
  6. Pour the base into a 8 X 11 baking dish. Top with crumble topping and bake until bubbling and almonds are roasted.
  7. Bake about 30-40 minutes depending on your oven.
  8. Wait 15 minutes before serving.
  9. Serve warm or room temperature and include ice cream topping if desired.
http://www.nourishedrootspdx.com/blog/strawberry-rhubarb-crumble-gf-vegan/

This post contains affiliate links.

Shared with Homespun Oasis, She eats, The Nourishing Gourmet, Real Food Fridays, Gluten Free HomemakerGirl Meets NourishmentRock My Vegan Socks, The Novice Gardner, Food Renegade, Allergy Free Alaska and Live Laugh Rowe.

Lime and Chocolate Cashew Cream Cheesecakes

Lime, raw, vegan cheesecake with raspberry sauce.

Lime, raw, vegan cheesecake with raspberry sauce.

For the Fourth of July, we were headed up to the Olympic Peninsula to spend time with my in-laws.  They live in a somewhat rural area on the Puget Sound.  Everyone in the family loves to go up there because not only do we get to spend time with the grandparents but the area is filled with great outdoor activities.  Our days are consumed with fishing, kayaking, crabbing, hiking, biking and walking on the beach.  The other thing I love about going up there is all the yummy natural food.  There are multiple small farmer’s markets within 20 minute of their house.  The Sound is filled with fish and crab and the forest has wild blackberries and huckleberries.  I love to take advantage of the natural bounty!  Usually, when I am there in the summer, I end up making some sort of berry cobbler for my father-in-law’s birthday.  Crazily enough, he is one of the few people I know who doesn’t like chocolate so I like to try find desserts that will make him happy.

Before going up there last week, I was cruising around the internet and came upon the beautiful blog, Healthy For Happy.  Lisa, the blog’s author, had posted a recipe for a yummy sounding raw, lime, vegan cheesecake.  I had made a raw key lime pie before using the recipe from the I Am Grateful: Recipes and Lifestyle of Cafe Gratitude cookbook.  It was super tasty, particularly the crust.  I decided to combine the two recipes to make my own raw vegan cheesecake.  (I also knew that most of the people at my in-laws DID like chocolate, so I decided to make half mini lime cheesecakes and half mini chocolate cheesecakes.)


Chocolate, raw, vegan cheesecake with raspberry sauce.

Chocolate, raw, vegan cheesecake with raspberry sauce.

Lime and Chocolate Cashew Cream Cheesecakes

Ingredients

  • FOR CRUST:
  • 11/4 cup of macadamia nuts
  • 11/4 cup of pecans
  • 1/4 cup of packed dates
  • 1/4 tsp vanilla
  • 1/8 tsp of salt
  • FOR FILLING:
  • 2 cups cashews soaked overnight (or at least 4 hours) and then rinsed and drained
  • 1 tsp vanilla
  • 1/3 cup of maple syrup
  • 1/3 cup of melted coconut oil
  • small amount of almond milk as needed
  • Juice of 1-2 limes depending on how juicy they are
  • zest of 1 lime
  • 1 tbs of cacao powder
  • couple of squares of dark chocolate, melted

Instructions

  1. To make the crust, put all crust nut ingredients in a high speed blender or food processor.
  2. Process until nuts are small and crumbly.
  3. Slowly add dates while continuing to process nut mixture.
  4. Crust will begin to stick together.
  5. Press crust mixture into muffin tins lined with paper liners.
  6. The crust should hold together well in bottom of tins.
  7. I made two different types of cheese cake so I had to divide all the filling ingredients in 1/2. If you are only going to make one type, you can pour all the ingredients into the blender at the same time.
  8. To make the filling, add 1/2 the cashews, 1/2 the vanilla, 1/2 the maple syrup, juice from 1 lime, lime zest and 1/2 the coconut oil to a blender.
  9. Blend until smooth.
  10. Taste to see if it is limey enough.
  11. If not, gradually add more juice until it tastes as limey as you want.
  12. Once the filling tastes as limey as you like, add lime filling to half of the prepared muffin tins.
  13. Clean out the blender.
  14. Add other half of the ingredients, plus the cacao and melted dark chocolate to the blender.
  15. Process until smooth.
  16. If not getting creamy, you can add small amounts of almond milk to help your blender process the nuts.
  17. Taste to see if chocolaty enough. If not add more cacao to the blender.
  18. Once all the nuts are ground up, spoon filling into the prepared muffin tins.
  19. Smooth top of the cheesecakes.
  20. Place in the fridge for a few hours to firm up and then ENJOY!
  21. You can serve them with a raspberry sauce if you like. Recipe to follow.
http://www.nourishedrootspdx.com/blog/lime-and-chocolate-cashew-cream-cheesecakes/

Here is a picture of all the nuts for the crust before they get chopped up.

Pecans and macadamias before they become crust.

Pecans and macadamias before they become crust.

Below is a pic of the nuts, processed into the crust mixture and then pressed into the cup cake pan.  They are just waiting for the filling to be ready.

Crust before filling.

Crust before filling.

A pic of the muffin tin with the chocolate and lime fillings added.  Everything is now ready to go into the fridge.

Chocolate and lime raw vegan cheesecakes.

Chocolate and lime raw vegan cheesecakes.

I have a crazy amount of raspberry bushes in my yard and last week the were filled with berries.  I decided to use some of the berries to make a raspberry sauce to go on the cheesecakes.  The cheesecakes are super yummy without the sauce but if you want to add a little extra zing, this is one way to do it.

Raspberry on the vine in my yard.

Raspberry on the vine in my yard.

Homemade Raspberry Sauce

Ingredients

  • 2 cups of fresh raspberries (I am sure frozen would work too)
  • 1/4 cup of agave syrup
  • juice from 1 lemon
  • zest of 1 lemon

Instructions

  1. Put all ingredients in a pot on the stove over low heat.
  2. Stir frequently to prevent burning or sticking.
  3. When raspberries are broken down and the sauce starts to thicken, turn off stove.
  4. Allow to cool.
  5. Put in glass jar and store in the fridge.
http://www.nourishedrootspdx.com/blog/lime-and-chocolate-cashew-cream-cheesecakes/

Enjoy!

Shared on the Plant Based Pot Luck Party, Live Laugh Rowe, A Glimpse Inside, Real Food Fridays, Gluten Free Homemaker and the Nourishing Gourmet.

Chocolate Hazelnut Torte

I have not been shy about my love for the The Oh She Glows Cookbook: Over 100 Vegan Recipes to Glow from the Inside Out cookbook.  Every thing I have made from it has been absolutely delicious  so when it came time for me to host book club, I knew exactly where I was going to search for a recipe to serve for dessert.

Finished pie.

Finished pie.

Our book club is fairly simple and until the last meeting not very focused on the book.  If you are the hostess, you are responsible for choosing the book and serving wine and dessert.  Until the last book club, we did not spend much time actually discussing the books we had read.  Most of our time was spent drinking wine and talking about what was going on in each other’s lives.  However, with this meeting, we decided the hostess would be responsible for having some questions about the book to help spark discussion.

I choose Me Before You: A Novel by JoJo Moyes and printed off a list of questions from the web.  This book turned out to be a great choice for our first meeting with questions.   It themes were so universal that even the people who had not read the book were able to participate in the conversation.  It sparked a lot of conversation about how you live your life and the choices you might make around death.  I highly recommend this book.

In the original The Oh She Glows Cookbook recipe, it calls for espresso powder to be used in the filling.  I was out of espresso powder so I decided to omit it from the recipe.  I am sure it would be super tasty with the espresso powder but I thought it was very yummy and decadent without it.  Even though this dessert is dairy and gluten free, it still wowed everyone at book club. It does, however,  take a bit of planning because you need to soak the cashews for at least 4 hours (and overnight is even better) before you can make the filling.  This planning is well worth the end result!!

Some of the yummy ingredients that make up this torte.

Some of the yummy ingredients that make up this torte.

To make the crust, you combine the hazelnuts, coconut oil, oats and maple syrup in a food processor and pulse until you get a coarse crumb.  This coarse crumb is then pressed into the bottom of a nine inch round pan and baked for about 10-13 minutes.

Crust before being pressed into the pan.

Crust before being pressed into the pan.

After removing the crust from the oven, allow it to cool before adding the filling.

Crust before baking.

Crust before baking.

I put all the ingredients for the filling in my Nutri Bullet and gave them a whirl.  I had to stop multiple times to scrap down the sides and add a little almond milk.  The Nutri Bullet worked awesome to turn those nuts, chocolate and other ingredients into a smooth, creamy, yummy  filling.

Filling mixture after being blended together.


Chocolate Hazelnut Torte

Ingredients

  • FOR CRUST:
  • 3/4 cup raw hazelnuts
  • 1/4 cup of coconut oil
  • 3 tbs of maple syrup
  • 1/4 tsp sea salt
  • 1/2 cup gluten free oat flour
  • 1 cup gluten free rolled oats
  • FOR CHOCOLATE FILLING:
  • 1 1/2 cups of cashews soaked overnight or at least 4 hours
  • 2/3 cup of agave or maple syrup (I used maple)
  • 1/2 cup coconut oil
  • 1/3 cup cacao powder
  • 1/3 cup of melted dark chocolate chips
  • 2 tsp of vanilla
  • 1/2 tsp of sea salt
  • 1/2 tsp of espresso powder (optional)

Instructions

  1. Preheat oven to 350 degrees and lightly grease a 9 inch pie dish with coconut oil.
  2. TO MAKE CRUST:
  3. In food processor, grind the hazelnuts into a coarse crumb.
  4. Add the maple syrup, oat flour, salt and coconut oil until the dough starts to stick together.
  5. Add oats and process until begin to break up but you can still see them.
  6. Press mixture into the pie pan.
  7. Place in oven and bake for 10-13 minutes. (Until lightly brown.)
  8. Allow crust to cool while you make the filling.
  9. TO MAKE FILLING:
  10. Drain and rinse the soaked cashews.
  11. Place cashews and all other filling ingredients in your blender.
  12. Process the filling on high. Stopping to scrap the sides or add almond milk as needed to keep the blender moving.
  13. Once your filling is completely smooth, pour it into the cooled pie crust.
  14. Smooth filling so it evenly covers the crust.
  15. I garnished my pie with shaved dark chocolate and chopped hazelnuts. You can skip the garnish all together or add whatever ingredients appeal to you.
  16. Put uncovered pie in a flat spot in your freezer and freeze for a few hours.
  17. After a few hours, cover pie with foil and freeze for a minimum of 4-6 hours before serving.
  18. When ready to serve, remove pie from freezer about 10 minutes before slicing.
  19. To store pie, cut in individual slices, wrap in foil and keep in the freezer.
  20. Enjoy!
http://www.nourishedrootspdx.com/blog/chocolate-hazelnut-torte/

Pie slice.

Pie slice.

This pie is really very pretty sliced.  (I know this pictured doesn’t do it justice.)  Unfortunately, my kids got a hold of the pie before I could cut a nice slice and take a picture of it.  Just one more piece of evidence about how delectable this pie is!

Enjoy!

This post contains affiliate links.


Dark Chocolate, Cherry and Hazelnut Bark

Finished chocolate cherry hazelnut bark.

Finished chocolate cherry hazelnut bark.

As you may have guessed from reading my blog over the last few months, I do love dark chocolate.  In fact, in moderation, it is one of my favorite foods.  I am always thinking about ways to incorporate it into my diet. (Read more about the benefits of dark chocolate here.)  When I was little, my mom use to make candy barks for the holidays.   Her bark involved making an amazingly yummy toffee and then covering it in chocolate.  This seemed like more steps than I was prepared for today so I decided to try a bark that felt a little less complicated.  I already had the four ingredients for this bark in my house so it felt like a no brainer to combine them to make a tasty treat.

Ingredients for yum!

Here are the cherries and nuts all ready to be added to the melted dark chocolate.  I roughly chopped the nuts but you can make them as fine as you want depending on your preference.

Chopped hazelnuts and dried cherries.

Chopped hazelnuts and dried cherries.

Even though I used ingredients I already had in my house, I was so excited because for my birthday, I received a cookbook called Nuts in the Kitchen by Susan Herrmann Loomis with all sorts of recipes about cooking with nuts.  In reading the book, I was intrigued by all the benefits offered by each specific nut.  I live in Oregon whose state nut is the hazelnut.  Hazelnuts are everywhere and so delicious. In her book, Susan points out that hazelnuts “contain some folate (or vitamin B9) which helps the body make new protein and red blood cells…Hazelnuts also contain generous amounts of copper and manganese.”  Dried cherries, one of the other ingredients in this recipe, also provide a good source of copper.  Their tart- sweet taste also offers the benefits of Vitamin A and Vitamin C. (And of course, don’t forget all the benefits of dark chocolate.)  I hesitate to call this bark a candy because there are so many benefits to eating it!!

Finished dark chocolate, cherry and hazelnut bark.

Finished dark chocolate, cherry and hazelnut bark.

Dark Chocolate Cherry and Hazelnut Bark

Ingredients

  • about 6.5-7 oz of dark chocolate
  • short 1/2 cup of hazelnuts, chopped
  • short 1/2 cup of cherries
  • Fresh ground sea salt, optional

Instructions

  1. Melt dark chocolate in double broiler on the stove.
  2. While melting, chop nuts to desired size.
  3. Line pan with parchment paper.
  4. When chocolate finishes melting, fold in cherries and nuts.
  5. Pour chocolate mixture onto parchment cover pan.
  6. Spread mixture across pan.
  7. Grind salt on top if using.
  8. Let sit out for at least 2 hours or until hard.
  9. Break into bite sized pieces.
  10. Enjoy!
http://www.nourishedrootspdx.com/blog/dark-chocolate-cherry-and-hazelnut-bark/

A couple of hints:  This bark was packed with nuts and cherries, if you prefer a higher ratio of chocolate to mix ins, I would either melt more chocolate or reduce the amounts of the cherry and nuts.  Also, next time I make this, I will be a little more generous with the salt.  It is sooo yummy with the sweetness of the chocolate that I think a little more would be nice.

This recipe lends itself to lots of experimentation.  I am already thinking of potential ingredients for the next round.  What are your favorite ingredients in candy?

Post shared with A Glimpse Inside, Homespun Oasis, Gluten Free Homemaker and Live laugh Rowe.

Dark Chocolate Pumpkin Seed Butter Spring Flowers

Dark Chocolate Pumpkin Seed Butter Spring Flowers.

Dark Chocolate Pumpkin Seed Butter Spring Flowers.

All this talk about the benefits of dark chocolate from Tuesday’s post got me thinking about a way to add a little more chocolate to my daily routine. Lately, I have been snacking on pumpkin seed butter spread on dark chocolate scraps leftover from my debacle of trying to make almond  butter flowers.  (Read about it here.)  I have been obsessed with this tasty treat.  I also recently found a really cute flower ice cube tray mold at Ikea and was excited to put it to use. I had seen many recipes for homemade peanut butter cups on the internet  but I thought if  I incorporated pumpkin and flax seeds into my chocolate, it could add a boost of omega 3’s.

Cute mold filled with chocolate.

Cute mold filled with chocolate.

I had a little extra chocolate so I also used a mini muffin tin to make some traditionally shaped pumpkin seed butter cups.  This works great and obviously tastes just as yummy if you don’t have a fancy mold.

Muffin tin with chocolate.

Muffin tin with chocolate.


After I filled the mold, I put it in the freezer to allow the chocolate to set up.  Once the chocolate was hard, I added my pumpkin seed butter to the mold and then poured another layer of chocolate over the nut butter.  Be sure to cover all of the pumpkin seed butter.

Hardened chocolate with pumpkin butter.

Hardened chocolate with pumpkin butter.

My pumpkin butter did not hold together too well but I figured it would be okay because the melted chocolate would be able to hold it in place.  I thought about adding more coconut oil or blending it longer but felt it would work fine once the extra chocolate layer was added.  And look,  I was right!!

finished pumpkin butter dark chocolate flowers.

finished pumpkin butter dark chocolate flowers.

Traditional butter cups.

Traditional butter cups.

OH!  THESE ARE SO YUMMY!

Dark Chocolate Pumpkin Seed Butter Spring Flowers

Ingredients

  • 2 dark chocolate bars
  • 1/8 cup of ground flax seed
  • 3/4 cup pumpkin seeds
  • 2 1/2 tbs of coconut oil (more as needed)
  • 2 tbs of honey

Instructions

  1. Place chocolate in a double broiler on the stove.
  2. Add one tbs of coconut oil and allow to melt.
  3. Stir frequently.
  4. While melting, grind pumpkin seeds,flax meal, honey and remaining coconut oil in food processor.
  5. When chocolate melted, put thin layer in bottom of mold.
  6. Place in freezer for about 10 minutes or until hard.
  7. Take out of freezer and place small amount of pumpkin seed butter in the mold.
  8. Pour another layer of chocolate around the pumpkin seed butter. It should completely cover the butter.
  9. Put back in the freezer until hard. (This could take over an hour.)
  10. Pop the flowers out of the mold.
  11. Enjoy!!
http://www.nourishedrootspdx.com/blog/dark-chocolate-pumpkin-seed-butter-spring-flowers/

More finished flowers.

More finished flowers.

These dark chocolate nut butter cups could be made with any nut butter you desire.  In my opinion any nut combined with dark chocolate is a yummy combination!

What is your favorite nut butter- dark chocolate pairing?

This post was shared with Food Renegade,  Gluten Free Cat, Homespun Oasis, The Idea Room,  Rock My Vegan Socks, Today’s Creative BlogUrban Naturale,  Live, Laugh Rowe  and  A Glimpse Inside.

Tiny Tip Tuesday: Eat Your Chocolate

Photo by Tim Sackton

Photo by Tim Sackton

A prescription to eat chocolate?  It sounds to good to be true but it may just become a reality in the future given the surprising benefits the medical community is finding about consuming dark chocolate.

A recent German study found that people with mild high blood pressure who ate a daily dose of dark chocolate saw a significant drop in their blood pressure.  Their  counterparts, who ate a similar amount of white chocolate,  saw no drop in blood pressure.  Both groups adjusted their total daily calorie consumption to account for the added chocolate calories.

An Italian study divided people into three groups.  The first group received 100 grams of dark chocolate, the second group had 100 grams of dark chocolate with a glass of whole milk and the third group received 200 grams of milk chocolate.  The study  found that  the people who ate  dark chocolate by itself , showed the highest level of antioxidants in their blood.  Dark chocolate is loaded with the anti-oxidants polyphenols, flavanols, catechins, among others.  These anti-oxidants are excellent at fighting free radical damage and have also been found to lower oxidized LDL (bad) cholesterol.

Another recent study found  that certain “good” bacteria in the stomach called Bifidobacterium and lactic acid bacteria eat dark chocolate, ferment it and then release anti-inflammatory compounds that benefit cardiovascular tissue, reducing the risk of stroke.

Studies show dark chocolate is also loaded with vitamins and minerals including iron, magnesium, copper, manganese, potassium, phosphorus, zinc and selenium.  In fact, some view cravings for chocolate as a sign of a possible magnesium deficiency.  Dark chocolate  also offers a fair amount of fiber.

To reap the benefits of chocolate, not just any old chocolate will do.  You must eat dark chocolate which is at least 70-80% cocoa content and even with all these benefits, moderation is key.  Chocolate is still a high calorie food with some added sugar.  (Although, the higher the cocoa content, the less the sugar.)  Look for a good organic brand to get your daily fix.  One to two squares of dark chocolate savored each day is all you need  to reap these health benefits.

This post was shared with Richly Rooted,  Urban Naturale,  Real Food Forager,  and Natural Living Mondays.

Chocolate Almond Butter Frosted Cookies

All yummy and ready to eat.

All yummy and ready to eat.

This is one of those stories of a very trying day in the kitchen.  You know, one of those days were nothing seems to go exactly as you plan.  I originally intended to make some chocolate peanut butter flower sandwiches like I saw on Gluten Free Homemaker but they were too ugly to share.  I attempted to tweak the recipe from Gluten Free Homemaker but the coconut oil I used made the chocolate flowers start to melt as soon as you touched them.  They tasted super yummy but looked like a disaster.

After melting and pouring two whole bars of delicious dark chocolate.

Dark chocolate and coconut oil.

Dark chocolate and coconut oil.

And then cutting out all these flowers.

Flower cut outs.

Flower cut outs.

All I got were these few, lousy but super tasty Dark Chocolate Almond Butter Flower Cups-BUMMER! (Oh and I had  lots of left over chocolate scraps to melt down again to put on strawberries for Easter Sunday brunch.)

Flower cups

Flower cups

Unfortunately, it was hard to keep the chocolate from melting any time you worked with it and as you can see from the picture above, it showed every possible fingerprint.  The boys sure liked the mess ups but I still had a bowl full of the almond butter .filling.  When I tasted it, I thought it would be great as a frosting on a chocolate cookie so I began searching for recipes.

I found a great option on the blog Chocolate Cover Katie.  However, the cookie part of this recipe also proved to give me some challenges.

Dough all mixed up and ready to go in the fridge.

Dough all mixed up and ready to go in the fridge.

Originally, I was going to roll out the dough and cut the cookies out into perfect circles.  However, as soon as I tried to pick up the cookies and move them to the baking sheet,their shapes got a little funky.


Sticky dough all rolled out.

Sticky dough all rolled out.

I decided it would be easier to transfer the cookies that moved easily to the baking sheet without changing shape too much and to take the remaining dough and scoop out clumps which I then smushed with the back of a fork.  I figured it wouldn’t matter too much how pretty they were because they would be covered with almond butter frosting.

Cookies ready to go in the oven.

Cookies ready to go in the oven.

I was right!  Even though these cookies didn’t look to pretty, they sure tasted good.

Finished cookies ready to be devoured.

Finished cookies ready to be devoured.


Chocolate Almond Butter Frosted Cookies

Ingredients

  • Cookie
  • 3/4 cup Gluten free flour
  • 1/4 cup plus 2 tbsp cocoa powder
  • 1/4 cup plus 2 tbsp coconut sugar
  • 1/4 tsp salt
  • 1/4 tsp baking soda
  • 1 tsp pure vanilla extract
  • 1/4 cup coconut oil melted
  • 3 tbsp milk of choice (I used almond)
  • 2 tbsp pure maple syrup (or agave)
  • Frosting
  • 3/4 cup of almond butter
  • 2 tbs of honey
  • 2 tbs of powdered sugar
  • 1 tsp of vanilla

Instructions

  1. Mix all the dry ingredients for the cookie into a bowl.
  2. Combine wet ingredients in a different bowl.
  3. Combine both bowls until well mixed.
  4. Refrigerate for 30 minutes.
  5. While cookie dough in the fridge, combine all ingredients for the frosting.
  6. Scoop out about 1 tbs of dough for each cookie.
  7. Place on baking pan.
  8. Flatten with a fork.
  9. Bake at 300 for about 13 minutes.
  10. Allow to cool for at least 10 minutes.
  11. Frost with almond butter frosting.
  12. Enjoy.
http://www.nourishedrootspdx.com/blog/chocolate-almond-butter-frosted-cookies/

What cooking disasters have you had that you salvage into a tasty treat?

This post was shared on The Idea Room, Skip to My Lou, Gluten Free Homemaker,  Natural Living Mamma,  Homespun Oasis and Food Renegade.

Dark Chocolate Chip Gluten Free Cookies


photo 3 (2)As I have adapted my families diet, one of the biggest requests I still get from my boys is for some sort of “treat”.  To them, a “treat” means something sweet.  (Unfortunately, their definition of “treat” reflects the language I used with them as young kids.  How I wish I had realized that referring to apples and nuts and other healthy fair might have made them as excited to eat whole foods as they are to eat junk!)  To help combat this idea of “treat”, I am always looking for recipes for whole foods that are packaged like “treats” but contain some good for you ingredients.  It seems like  a never ending quest which is why I was so happy when my school introduced me to these super yummy gluten free, dairy free cookies.

photo 1 (2)These cookies contain oats filled with fiber, manganese, molybdenum, B vitamins and phosphorus.  They also have hemp seeds for a shot of omega-3’s and hazelnuts for increased fiber, folate, manganese and copper.

These cookies offer another health benefit.  Instead of using butter or margarine, they are made with coconut oil.  Coconut oil is a saturated fat, however, it is made of medium chain triglycerides not the long chain triglycerides found in cheese or red meat.  Medium chain triglycerides go straight to the liver from the digestive tract, where they are used as a quick source of energy or turned into ketone bodies.  These fats have been shown to increase daily calorie expenditure by about 5% a day.  Also about 50% of the fatty acids in coconut oil is lauric acid.  Lauric acid has anti microbial properties including killing bacteria, viruses and fungi.  Lauric acid has also been shown to increase HDL (the “good”)  cholesterol and reduced LDL (the “bad”) cholesterol.  When buying coconut oil be sure to buy organic, virgin coconut to enjoy all these amazing benefits.

photo 4

I made these cookies gluten and dairy free because these are two substances we are trying to reduce in our house.  However, if you don’t have these same restrictions, regular flour and non-vegan chocolate chips would be just as tasty.

Dark Chocolate Chip Gluten Free Cookies

Ingredients

  • DRY Ingredients
  • 2c GF all purpose flour
  • 1c vegan chocolate chips (could use chopped dark chocolate or regular chocolate chips)
  • 1/4 c unsweetened coconut flakes
  • 1/4 cup of hemp seeds
  • ½ c hazelnuts chopped (could be replaced with walnuts)
  • ½c dried cherries
  • ¾c oats
  • ½tsp sea salt
  • ¾tsp baking powder
  • ¼tsp cinnamon
  • 1/8tsp nutmeg
  • WET Ingredients
  • 2/3c maple syrup or agave (I used maple syrup)
  • 2/3c safflower oil or coconut oil (melt first)
  • 1tsp vanilla extract
  • 3tb water

Instructions

  1. Preheat oven to 350.
  2. Mix dry ingredients in a separate bowl from the wet ingredients.
  3. Combine wet and dry ingredients together until well combined.
  4. Refrigerate for 15 minutes.
  5. Scoop dough into equal size balls and place on oiled parchment paper or silicone baking sheet.
  6. Slightly flatten.
  7. Bake 12-15 minutes until slightly brown on the edges.
http://www.nourishedrootspdx.com/blog/dark-chocolate-chip-gluten-free-cookies/


Dry ingredients.

Dry ingredients.


Wet ingredients before refrigeration.

Wet ingredients before refrigeration.

The ingredients might look and seem a little runny when first combined.  However, once the mixture spends 15 minutes in the fridge, the dough will stiffen up, making it easy to scoop into cookies.

Dough scooped out and ready to head to the oven.

Dough scooped out and ready to head to the oven.


Cookies cooling on the wire rack.

Cookies cooling on the wire rack.


Yummy! Yummy!  Cookies!

Yummy! Yummy! Cookies!


This post is part of a linky party on Rock My Vegan Socks, Tip Junkie and a Southern Fairytale.

Related Posts Plugin for WordPress, Blogger...