Super yummy blueberry soda.
I have become obsessed with making fermented sodas and other drinks. I have been making kombucha and water kefir for a while but only recently became interested in trying to make fizzy sodas for my kids. Unfortunately, my kids have not been fans of either my kombucha or the water kefir so I am hoping to increase their consumption of fermented foods by appealing to the soda loving part of them. (However, if you love kombucha, go here for easy kombucha making instructions.)
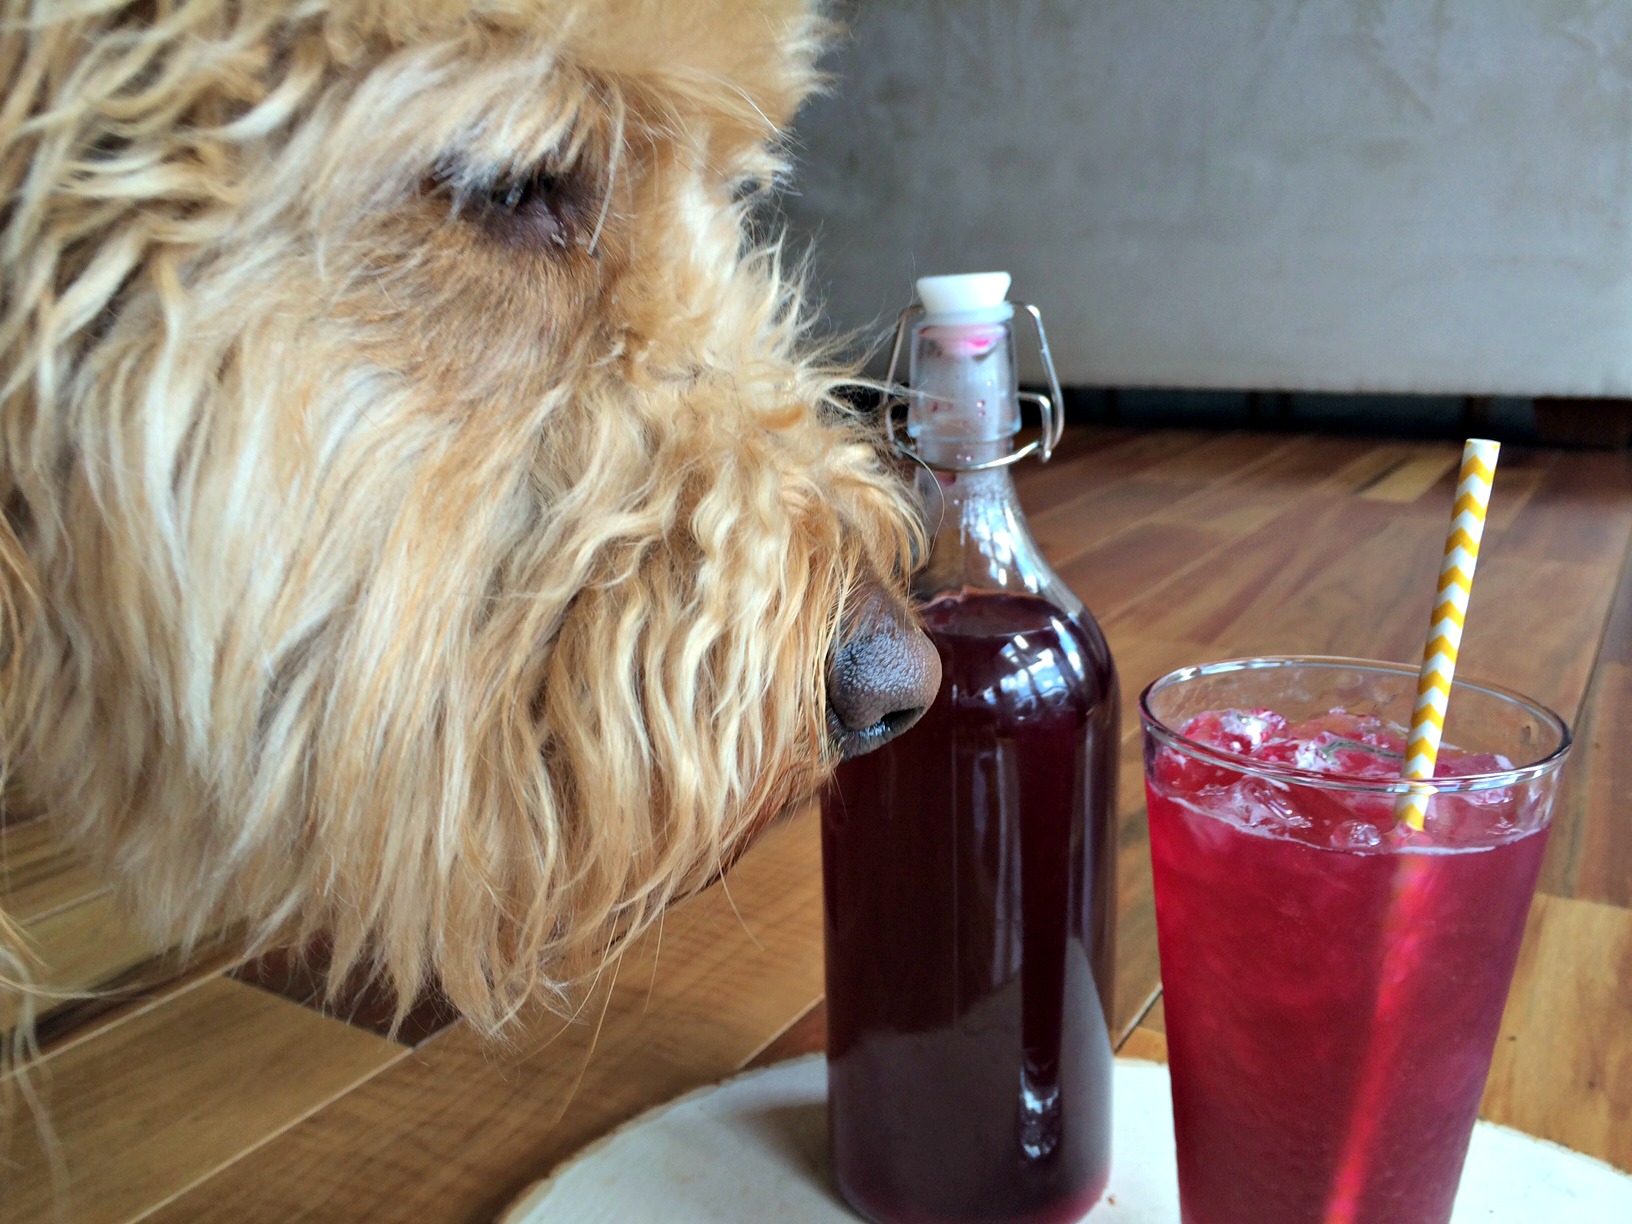
Even my dog, Roxie, is interested in improving her gut health with fermented soda.
I was interested in trying to do a wild ferment using a ginger bug and found a great recipe for ginger bugs on The Holistic Squid. When I first read the term ginger bug, I was a little intimidated to try to make one but it really turned out to be very easy. The only thing about ginger bugs is they require time. They take about one week to fully ferment so if you are in a hurry, you will need to explore a different soda making method. (I will be posting a recipe for raspberry soda soon, which I am fermenting using champagne yeast. It is quicker.)

Chopped ginger to start the ginger bug.
Ingredients
- 3 cups of water
- 3 teaspoons of sugar
- 3 teaspoons of chopped ginger
Instructions
- In a quart sized jar, mix all three of the ingredients.
- Cover jar and give it a shake to mix the ingredients.
- Place in a warm spot away from direct sunlight. (Above 72 degrees)
- If your house gets cold at night, you might want to use a seedling mat or heating pad to warm your bug.
- Everyday for a week, add 2 more teaspoons of ginger and 2 teaspoons of sugar.
- Shake after each addition.
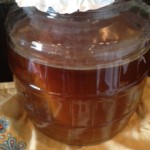
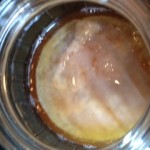
- Towards the end of the week, you will see your liquid begin to get bubbly.
- Once good and fizzy it is ready to be combined with the blueberries.

Ginger bug plus blueberries.
Above is a picture of the ginger bug on the seventh day. You can see the bubbles near the top of the jar. You can also see the blueberries in the background. I used organic frozen blueberries but fresh works just as well.
Once the bug was done, I used a recipe from Learning Herbs to make my blueberry soda.
Ingredients
- 6 cups of blueberries (fresh or frozen)
- 1 1/2 cups of sugar
- 1 cup of ginger bug
- filtered water
- Gallon jar and large pot
Instructions
- Put 1/2 gallon of filtered water in a large pot.
- Bring to a boil.
- Stir in sugar.
- Add your blueberries to the pot and allow the water to come back to a boil.
- Boil for 10 minutes.
- Taste to see if tastes fruity. If you want a fruitier taste, let it boil longer.
- Pour boiled liquid into the gallon jar and fill jar a few inches from top with more filtered water. (I put a metal knife in the jar to draw out some of the heat and keep the jar from cracking.)
- Allow liquid to cool completely.
- Strain ginger bug to remove particles of ginger.
- Add ginger bug.
- Cover with cheese cloth held down with rubber band or you can use paper coffee filters.
- Place jar in warm spot but not in direct sunlight.
- Allow to sit for at least 3 days. Stir each day 2-3 times.
- After 3 days, taste your liquid, if it has the right balance of sweet and tart for you, then it is ready to be bottled. (This could take up to 7 days.)
- You want to strain your liquid to remove all the berry solids.
- Place strained liquid into small, capped bottles. (I used some flip top bottles I found at Ikea and some recycled glass kombucha bottles.)
- Allow to sit out for another day to increase the fizziness of the soda.
- When it is a bubbly as you want, move it to the fridge to stop the fermentation process.
- When cool, enjoy!!

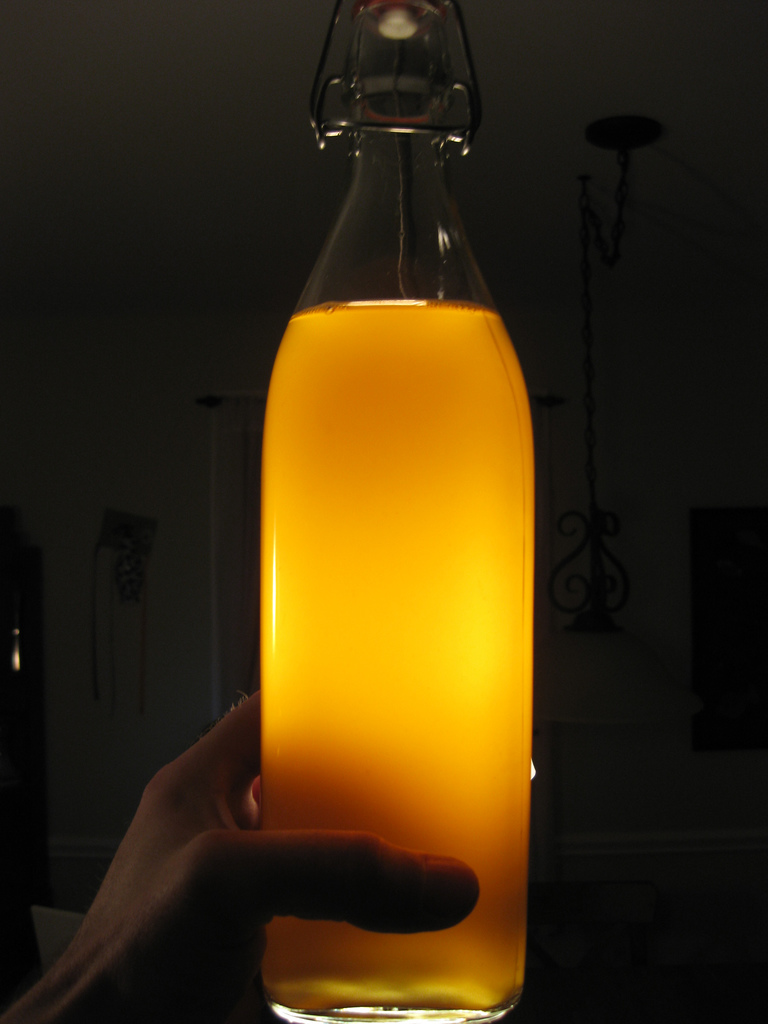
Blueberry soda fermenting on the counter.
I am happy to say that even my kids like this blueberry soda. In fact, they kept hunting for more even after it had all been consumed! I was happy because my mission to get them to consume more ferments was accomplished. (Read more about the importance of fermented foods here.) The soda was fruity and fizzy but not too sweet. It tasted very refreshing on the hot summer days.
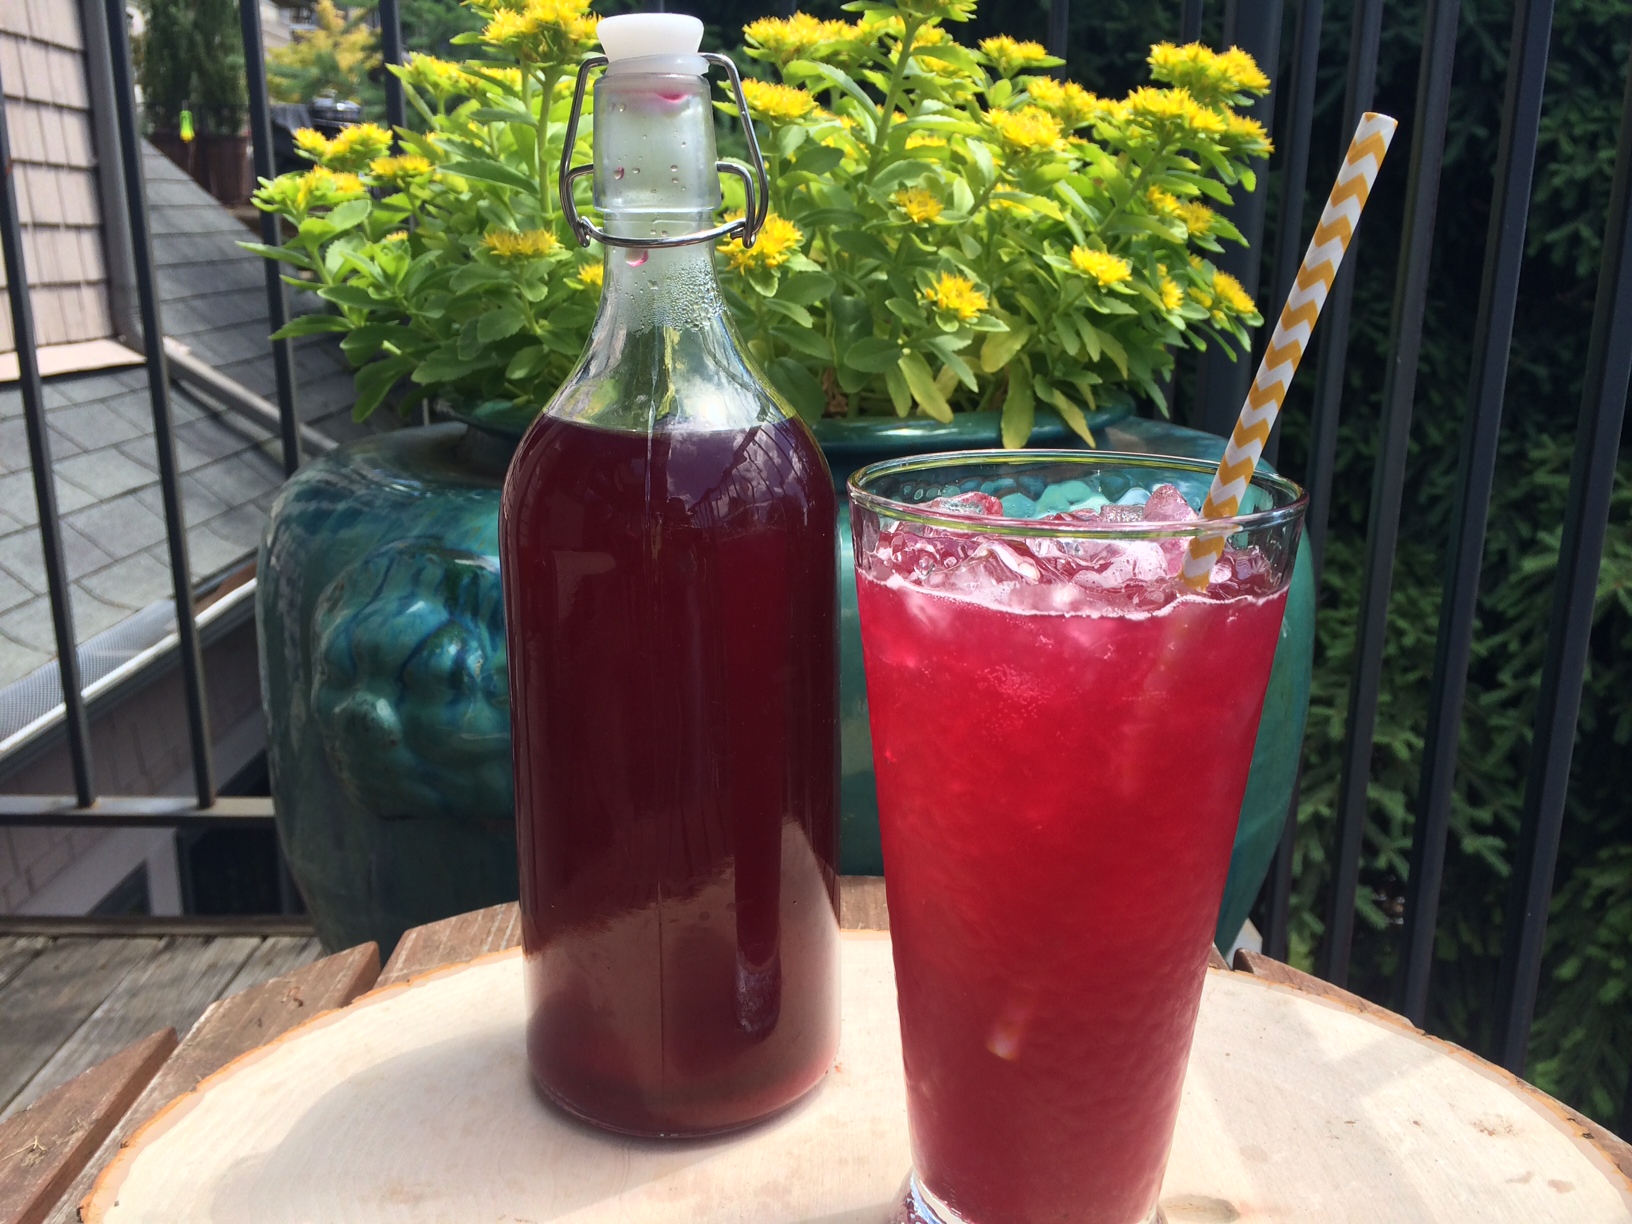
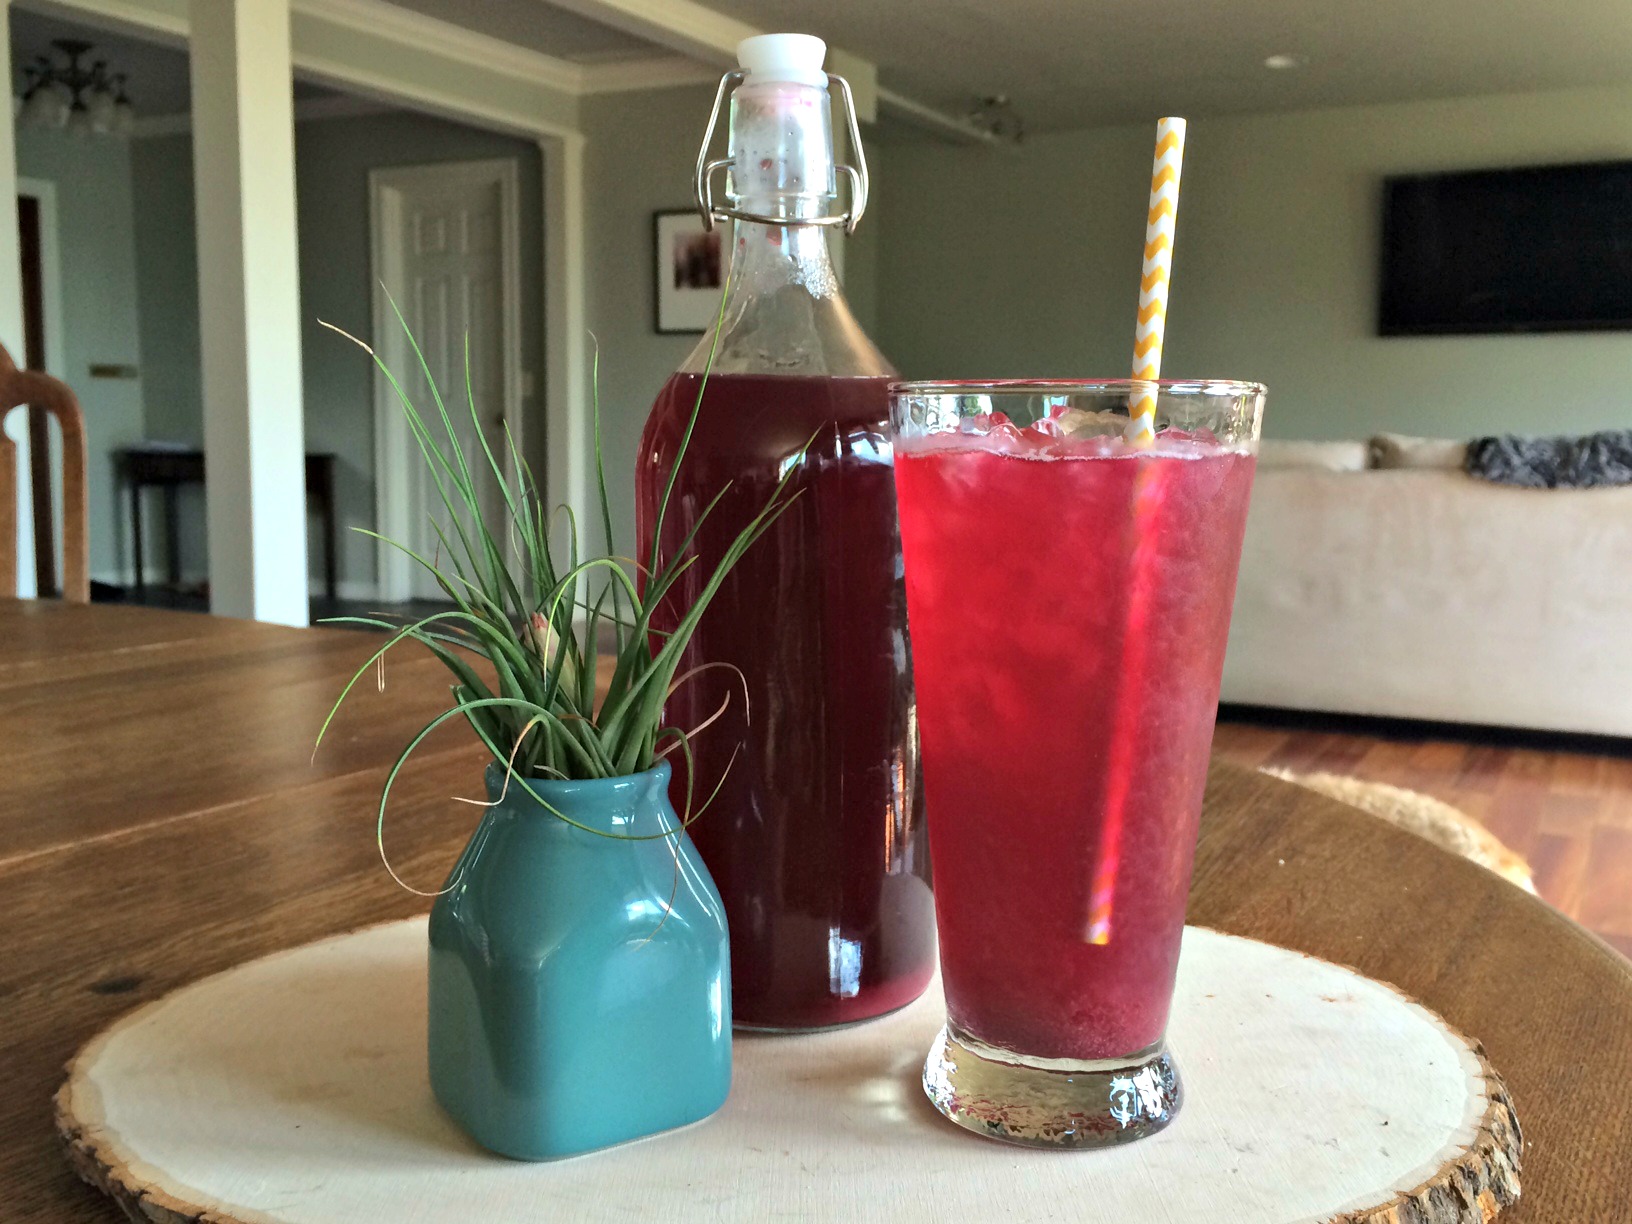
Finished soda ready to drink.
This post was shared on Plant Based Pot Luck, Homespun Oasis, Allergy Free Alaska, Urban Naturale, Real Food Forager and Live, Laugh, Rowe.