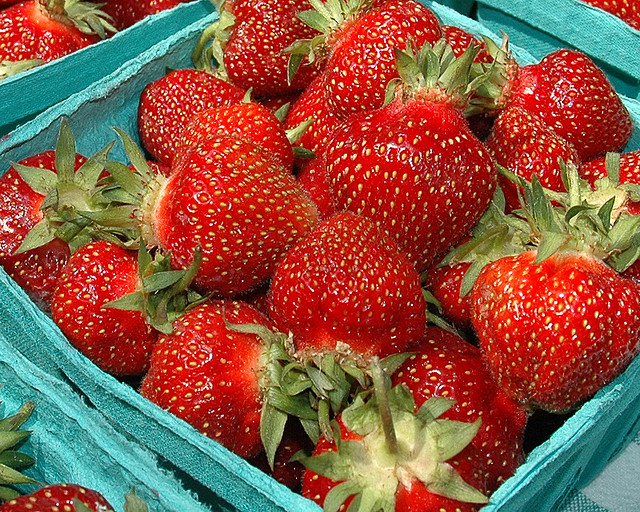
Super Yummy strawberries.
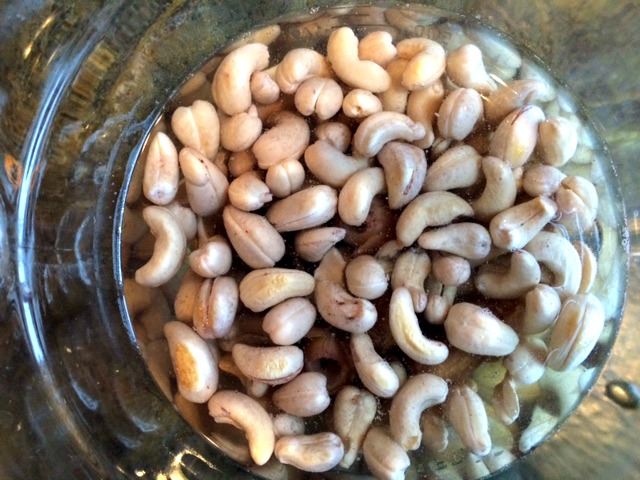
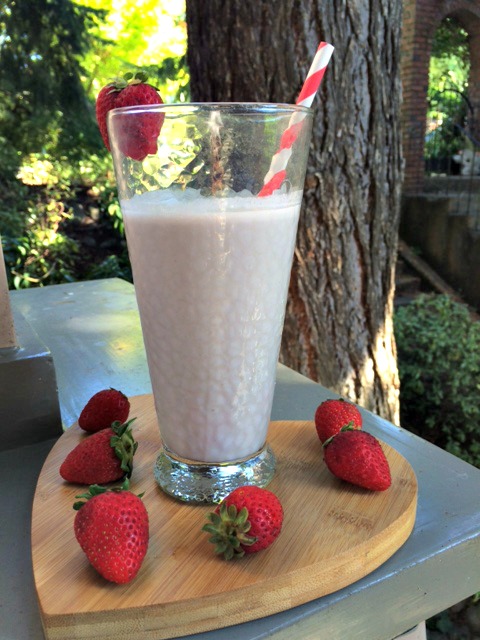
Recently, I have been obsessed with a strawberry cashew nut milk I have been buying from a local juice bar. It is so incredibly yummy and creamy but also very expensive. After many days of trying to resist the strawberry nut milk and then giving in to the tune of $8 a whack, I decided to try making my own. I had made almond milk before so I figured it had to be a similar process. Making nut milks is easy but takes a little planning because you have to soak the nuts over night before you can start. As long as you remember that step, your milk should come together pretty easily!
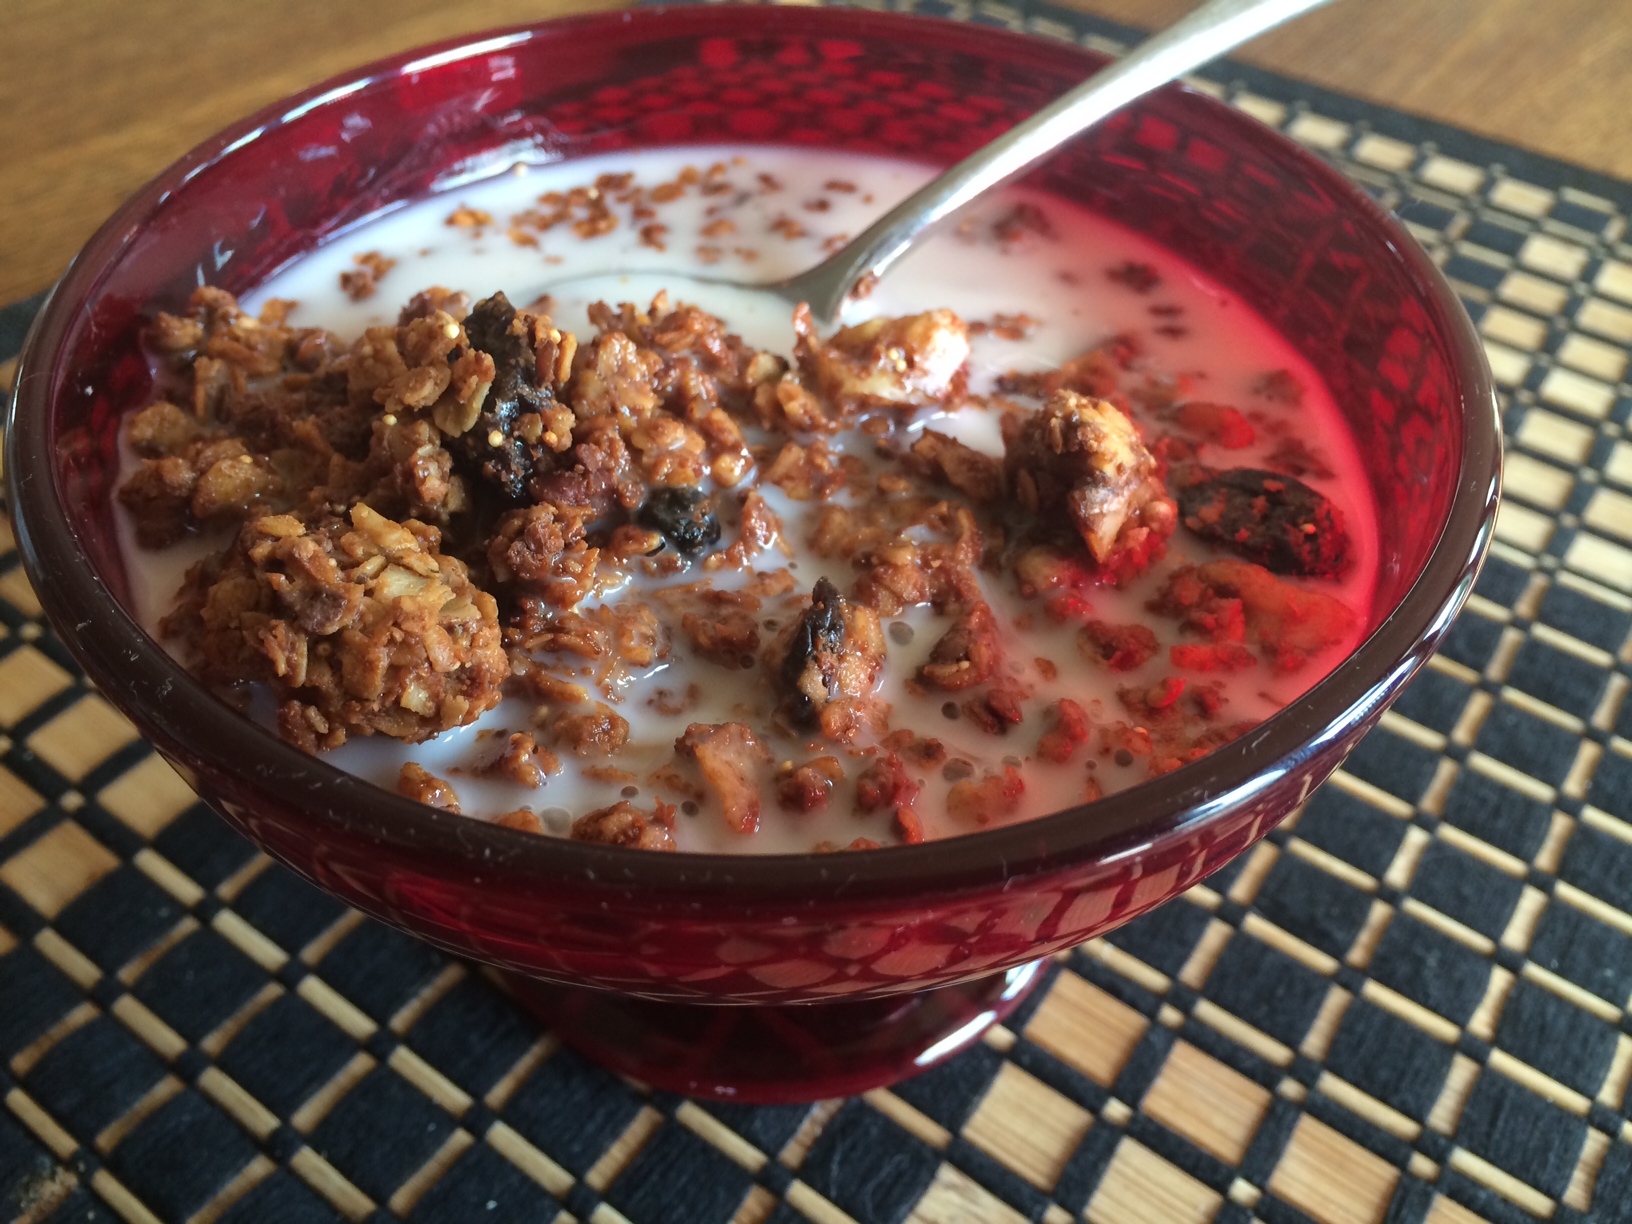
This recipe made an incredibly rich, creamy nut milk. You can manipulate how strong you want the strawberry flavor or how sweet you want the milk by adjusting the number of strawberries or dates you use. This is an amazing after workout treat because it is packed with protein from the cashews and anti-oxidants from the strawberries. The dates also offer some carbs to replace all the glucose you burned in your workout.
Ingredients
- 1 cup of cashews
- 4 cups of filtered water
- 10-12 stem removed strawberries
- 7-10 dates
- pinch of sea salt
Instructions
- Put cashews and dates in 3 cups of water to soak overnight.
- Pour cashews, dates, salt and water in high speed blender and pulse until uniform consistency.
- Place nut milk bag over a bowl and then pour liquid into the bowl.
- Knead bag until all liquid is squeezed out of the bag.
- Set aside bowl.
- Put 1 cup of water and strawberries in high speed blender and pulse to uniform consistency.
- Now put nut milk bag back over the bowl and pour strawberry liquid into bag.
- Knead bag again to extract all the liquid.
- Stir strawberry liquid into cashew liquid until uniform in color.
- Refrigerate and enjoy.
Strawberry photo by David Slack on flickr.