I have not been shy about my love for the The Oh She Glows Cookbook: Over 100 Vegan Recipes to Glow from the Inside Out cookbook. Every thing I have made from it has been absolutely delicious so when it came time for me to host book club, I knew exactly where I was going to search for a recipe to serve for dessert.
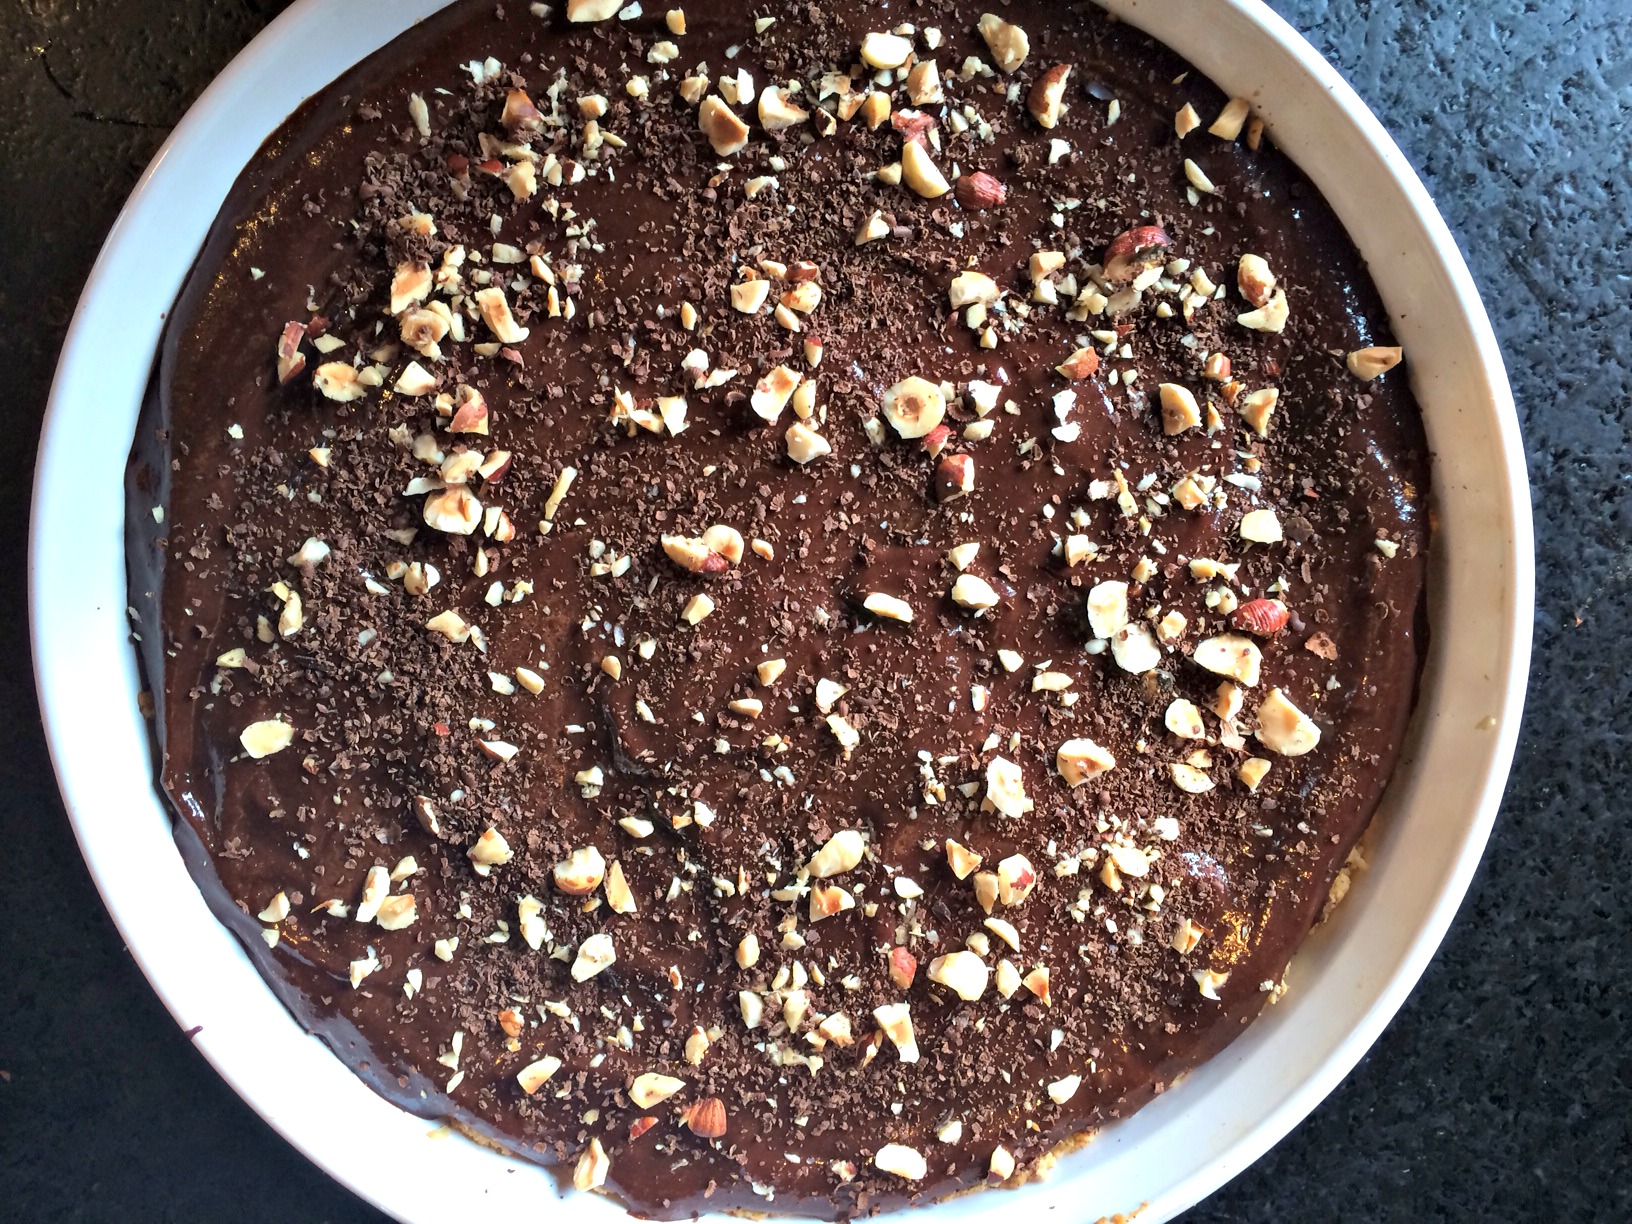
Finished pie.
Our book club is fairly simple and until the last meeting not very focused on the book. If you are the hostess, you are responsible for choosing the book and serving wine and dessert. Until the last book club, we did not spend much time actually discussing the books we had read. Most of our time was spent drinking wine and talking about what was going on in each other’s lives. However, with this meeting, we decided the hostess would be responsible for having some questions about the book to help spark discussion.
I choose Me Before You: A Novel by JoJo Moyes and printed off a list of questions from the web. This book turned out to be a great choice for our first meeting with questions. It themes were so universal that even the people who had not read the book were able to participate in the conversation. It sparked a lot of conversation about how you live your life and the choices you might make around death. I highly recommend this book.
In the original The Oh She Glows Cookbook recipe, it calls for espresso powder to be used in the filling. I was out of espresso powder so I decided to omit it from the recipe. I am sure it would be super tasty with the espresso powder but I thought it was very yummy and decadent without it. Even though this dessert is dairy and gluten free, it still wowed everyone at book club. It does, however, take a bit of planning because you need to soak the cashews for at least 4 hours (and overnight is even better) before you can make the filling. This planning is well worth the end result!!
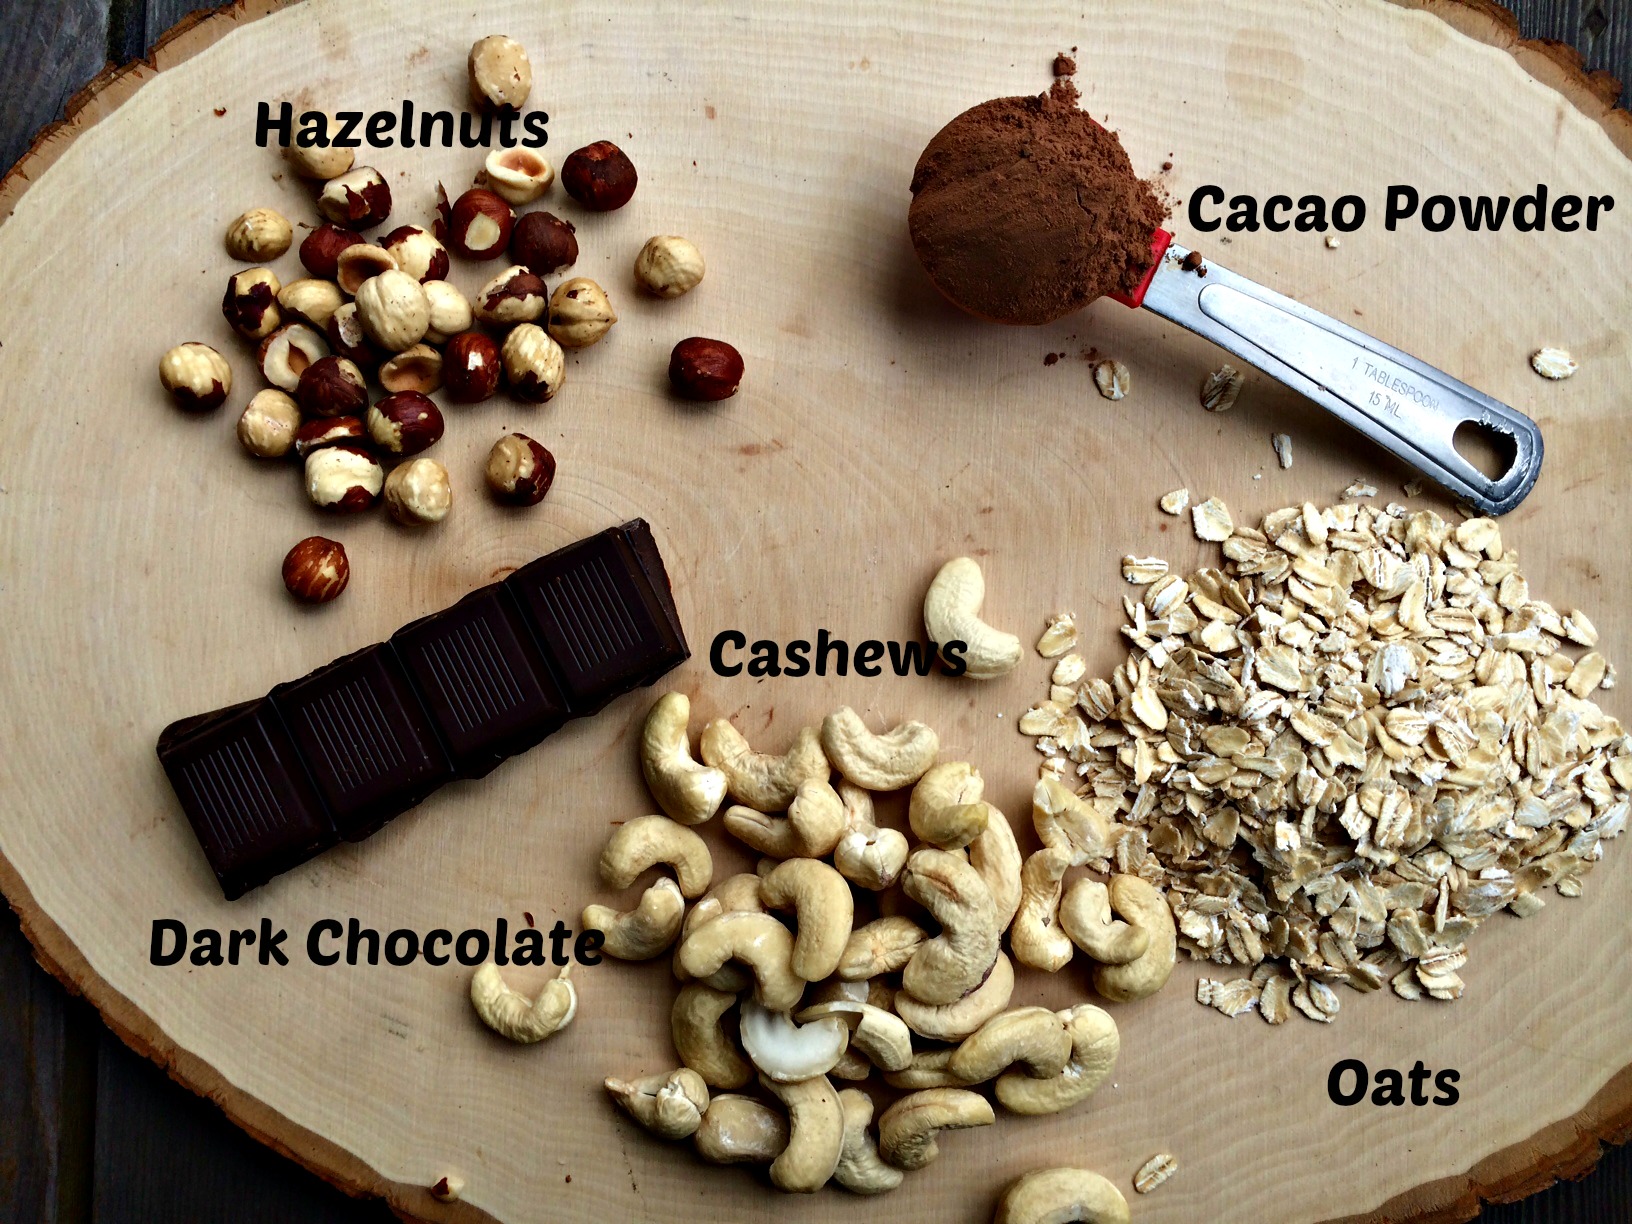
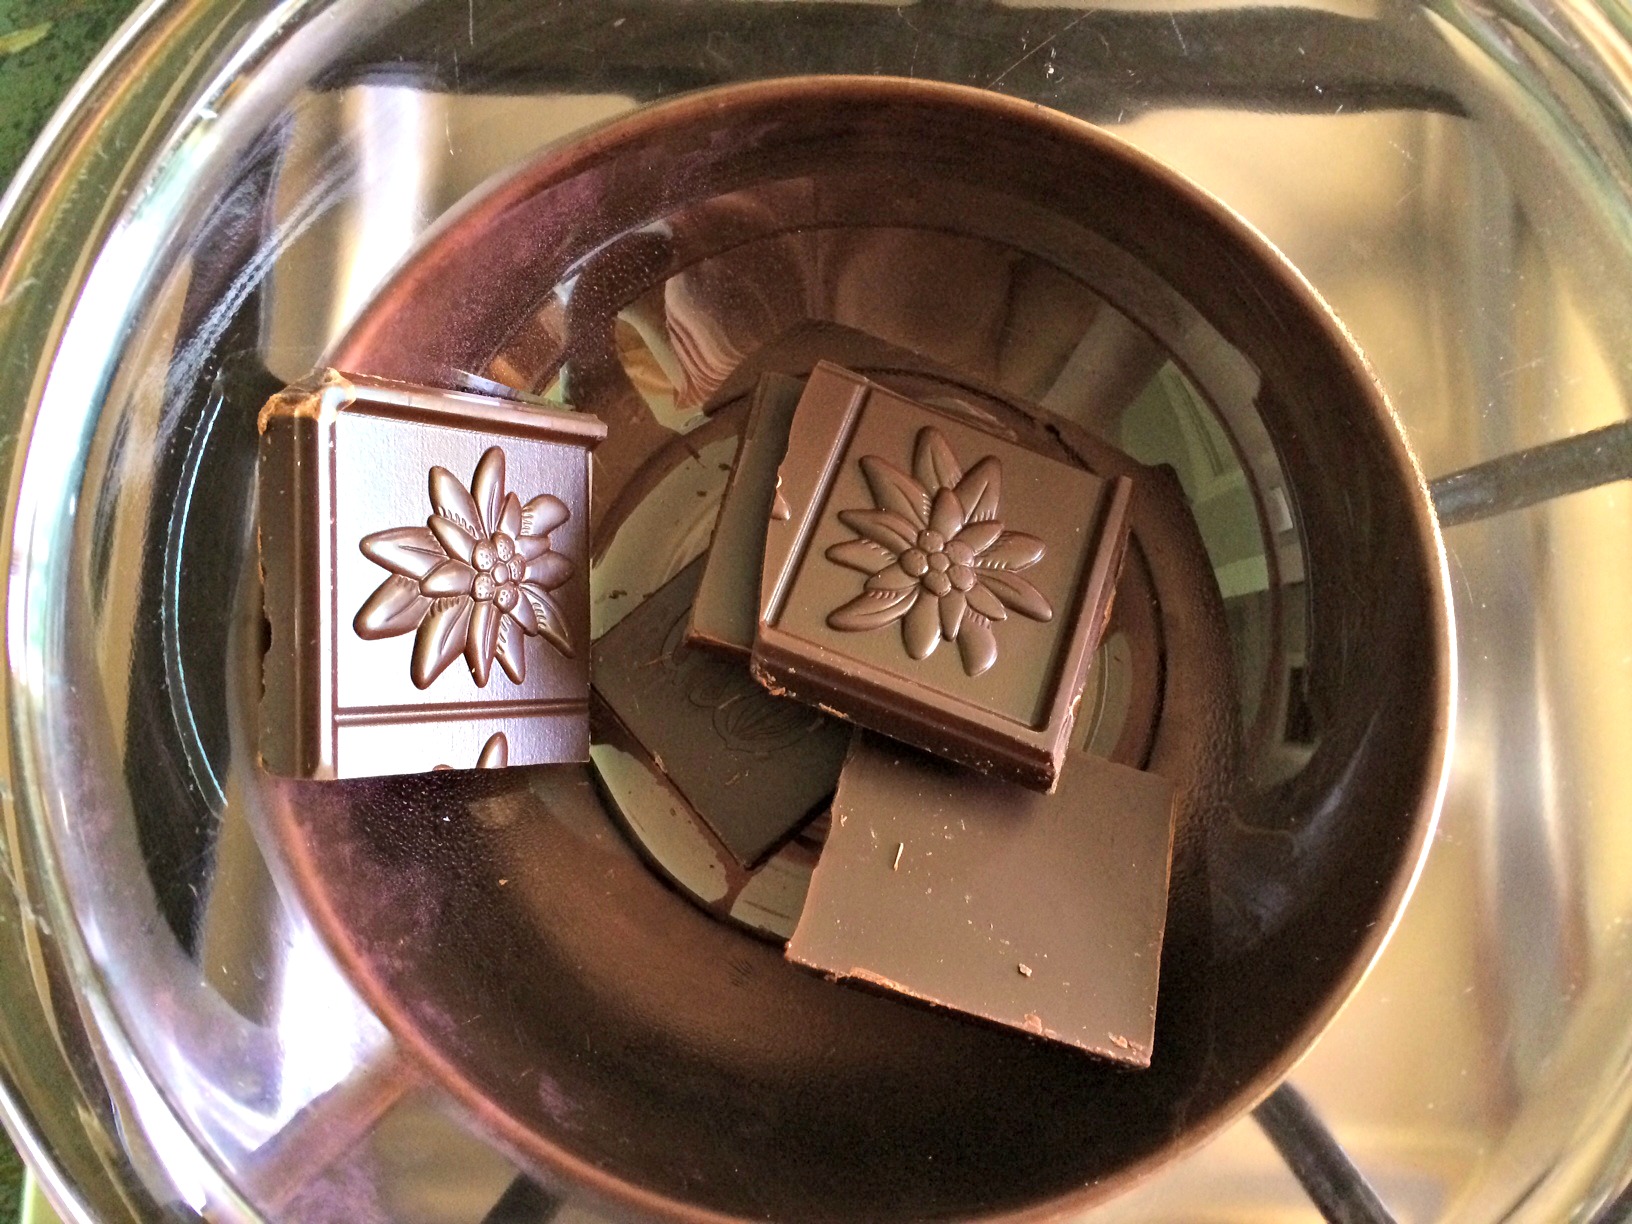
Some of the yummy ingredients that make up this torte.
To make the crust, you combine the hazelnuts, coconut oil, oats and maple syrup in a food processor and pulse until you get a coarse crumb. This coarse crumb is then pressed into the bottom of a nine inch round pan and baked for about 10-13 minutes.

Crust before being pressed into the pan.
After removing the crust from the oven, allow it to cool before adding the filling.
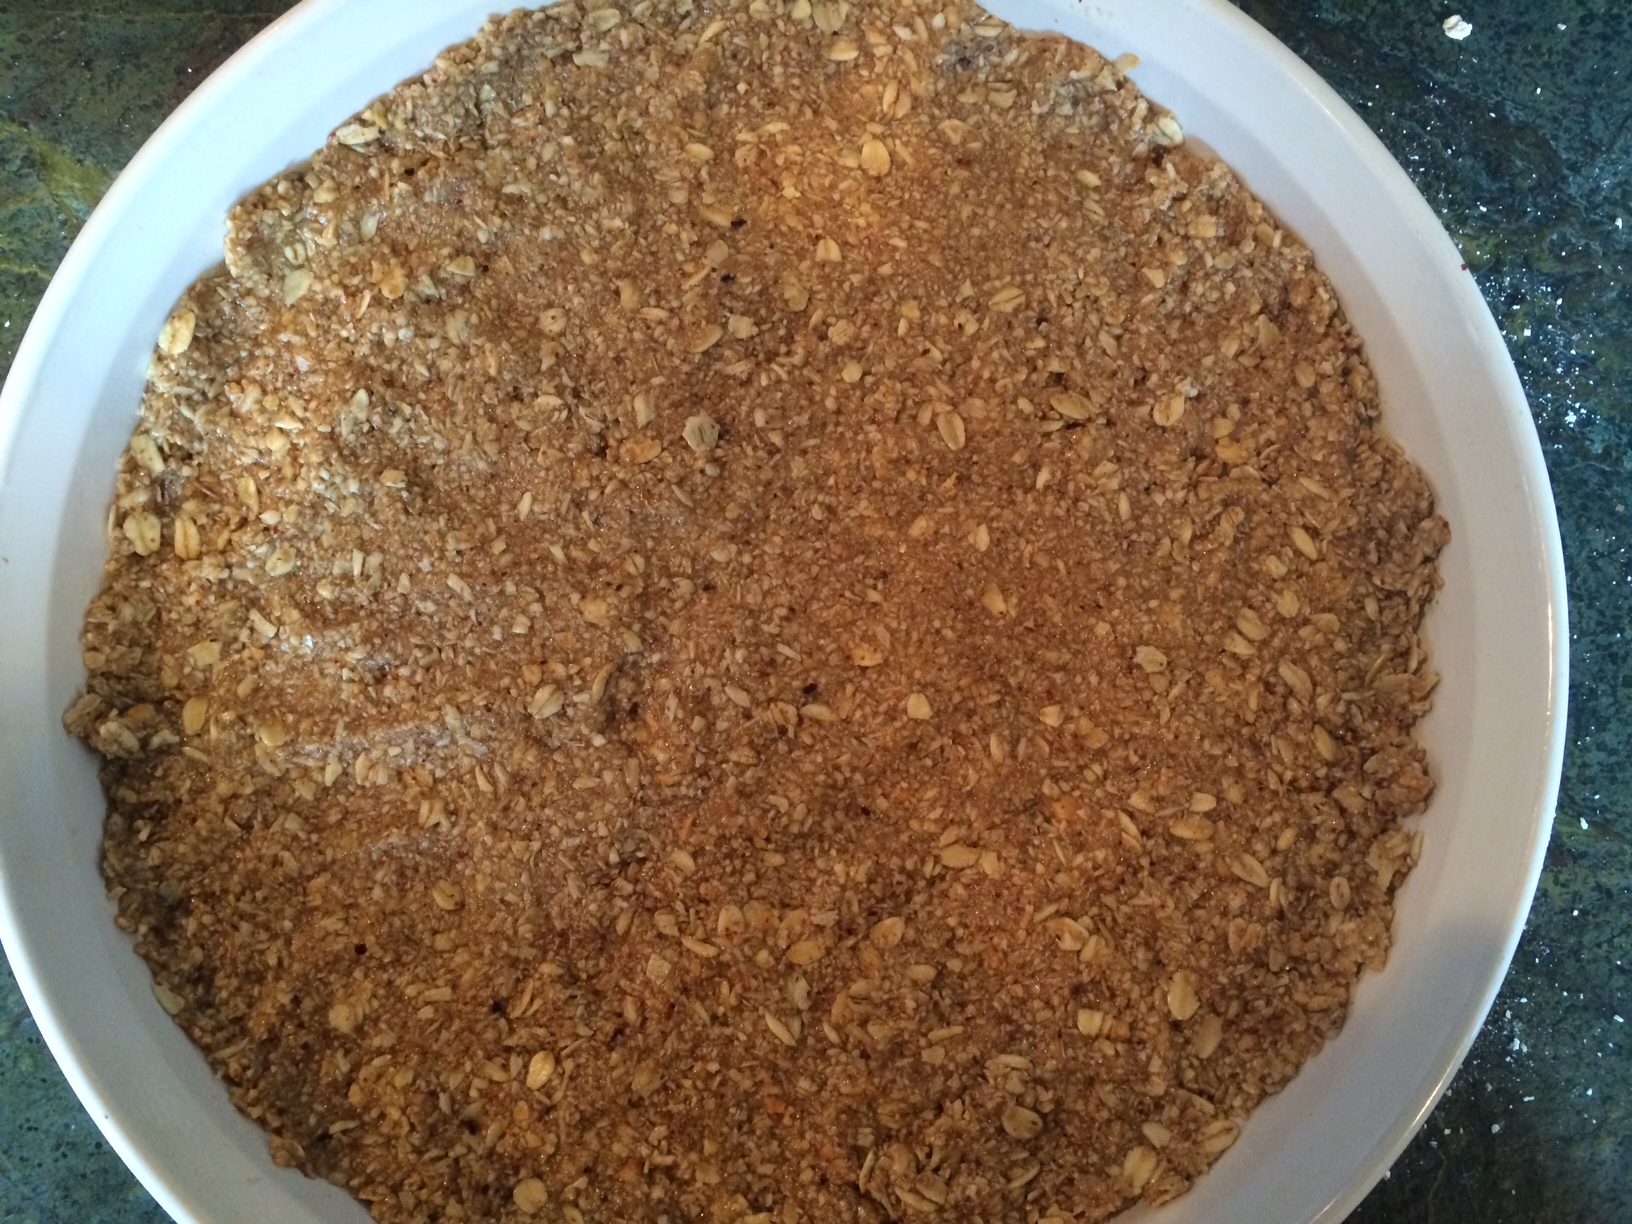
Crust before baking.
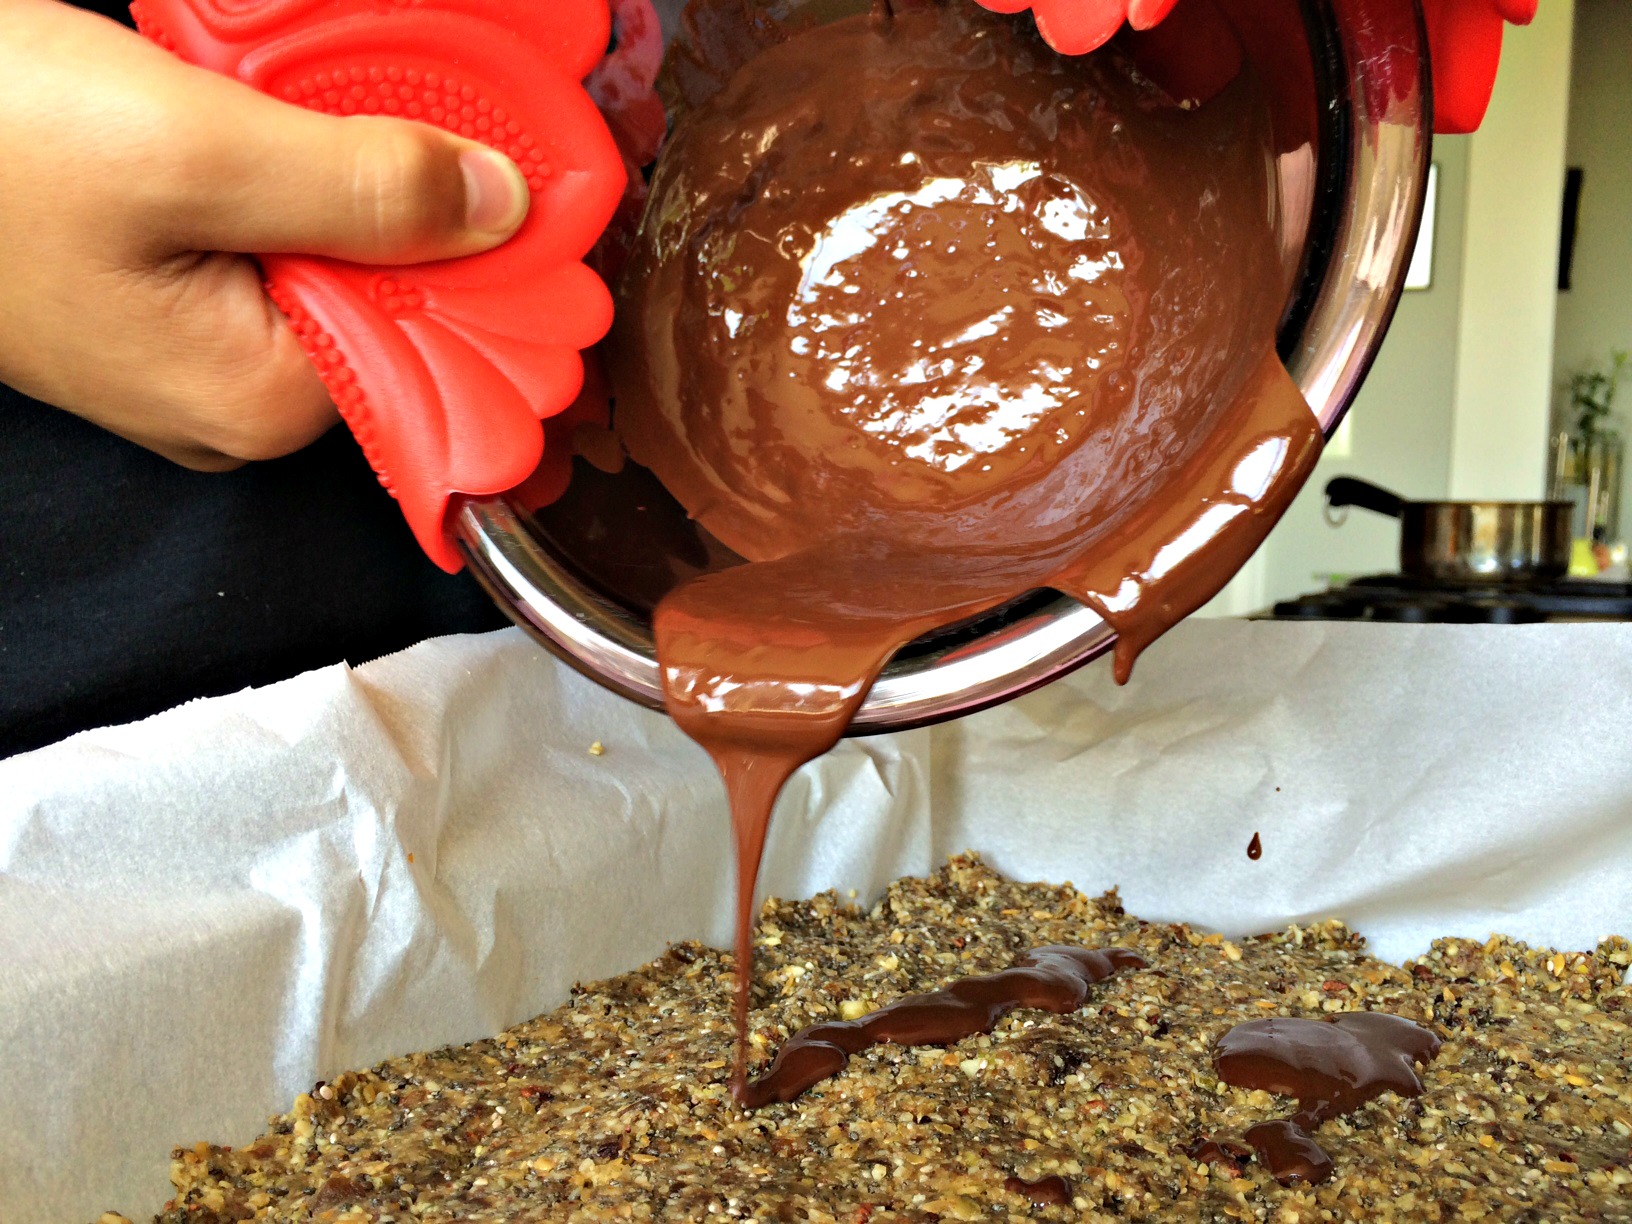
I put all the ingredients for the filling in my Nutri Bullet and gave them a whirl. I had to stop multiple times to scrap down the sides and add a little almond milk. The Nutri Bullet worked awesome to turn those nuts, chocolate and other ingredients into a smooth, creamy, yummy filling.
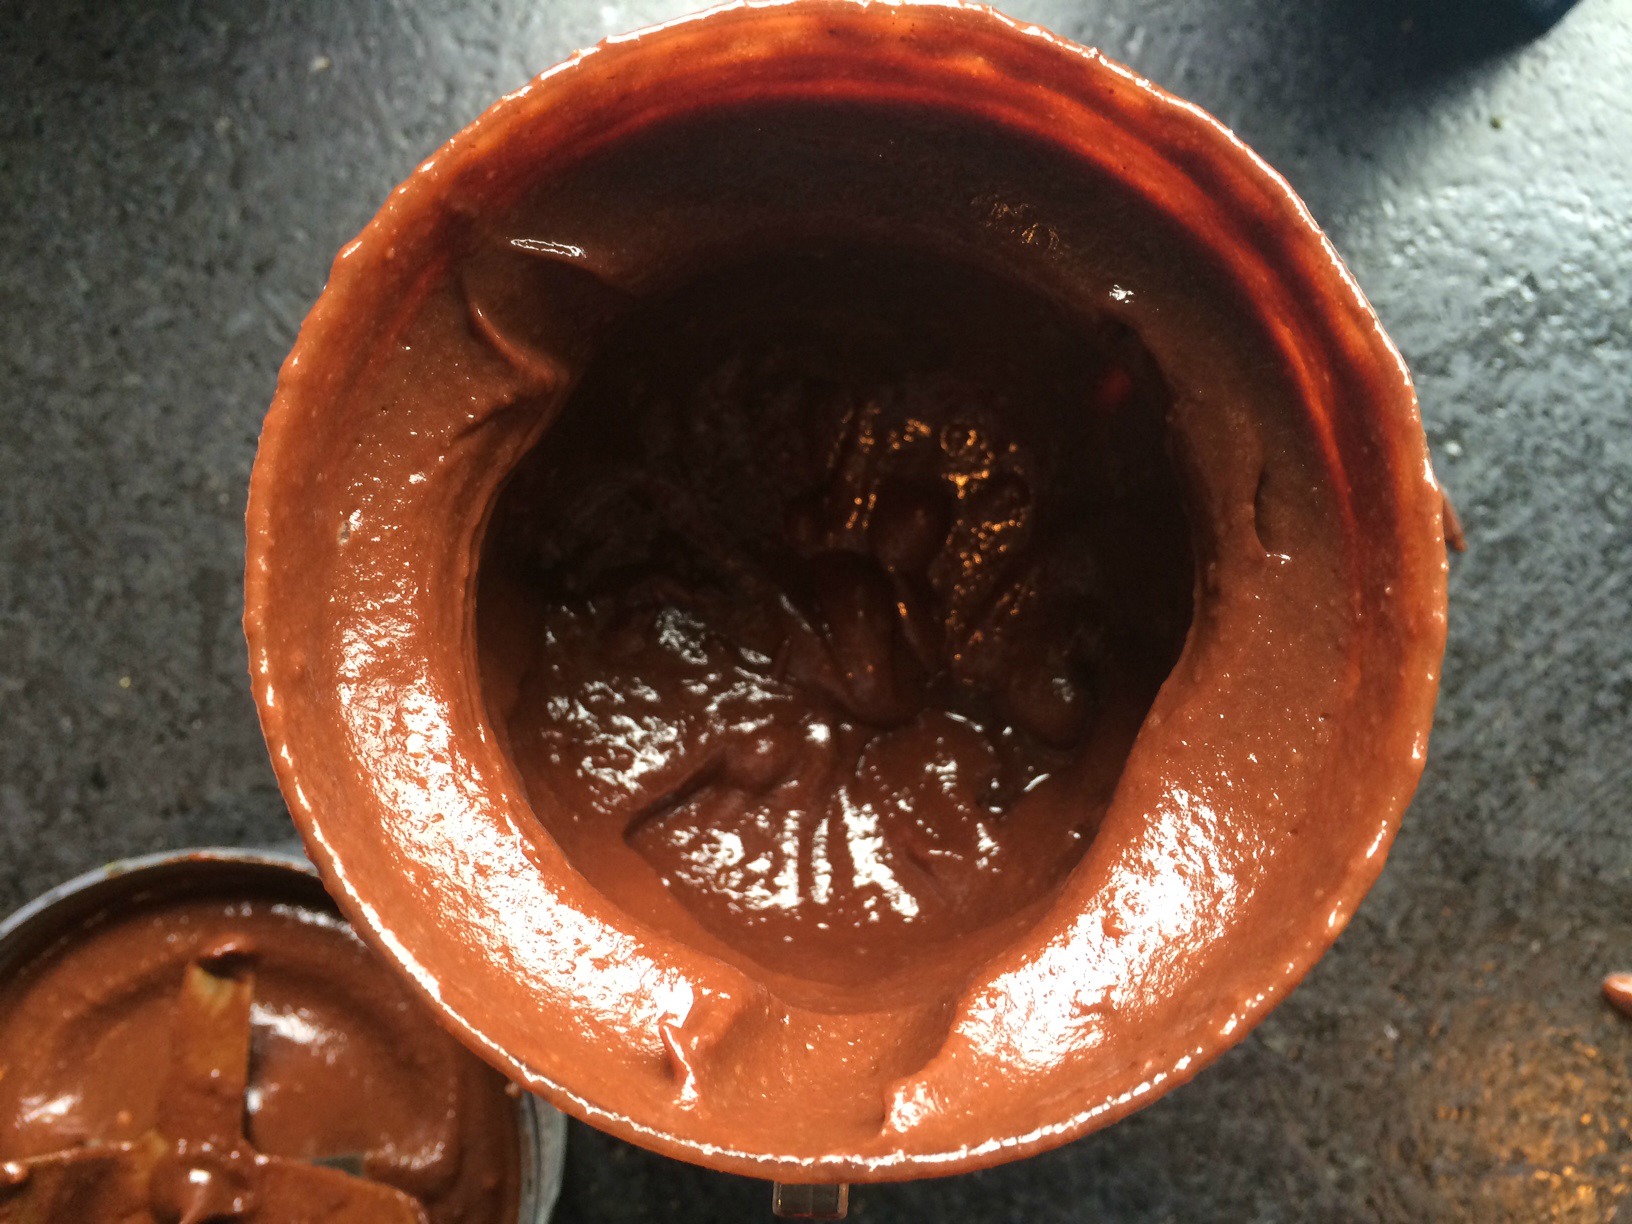
- Filling mixture after being blended together.
Ingredients
- FOR CRUST:
- 3/4 cup raw hazelnuts
- 1/4 cup of coconut oil
- 3 tbs of maple syrup
- 1/4 tsp sea salt
- 1/2 cup gluten free oat flour
- 1 cup gluten free rolled oats
- FOR CHOCOLATE FILLING:
- 1 1/2 cups of cashews soaked overnight or at least 4 hours
- 2/3 cup of agave or maple syrup (I used maple)
- 1/2 cup coconut oil
- 1/3 cup cacao powder
- 1/3 cup of melted dark chocolate chips
- 2 tsp of vanilla
- 1/2 tsp of sea salt
- 1/2 tsp of espresso powder (optional)
Instructions
- Preheat oven to 350 degrees and lightly grease a 9 inch pie dish with coconut oil.
- TO MAKE CRUST:
- In food processor, grind the hazelnuts into a coarse crumb.
- Add the maple syrup, oat flour, salt and coconut oil until the dough starts to stick together.
- Add oats and process until begin to break up but you can still see them.
- Press mixture into the pie pan.
- Place in oven and bake for 10-13 minutes. (Until lightly brown.)
- Allow crust to cool while you make the filling.
- TO MAKE FILLING:
- Drain and rinse the soaked cashews.
- Place cashews and all other filling ingredients in your blender.
- Process the filling on high. Stopping to scrap the sides or add almond milk as needed to keep the blender moving.
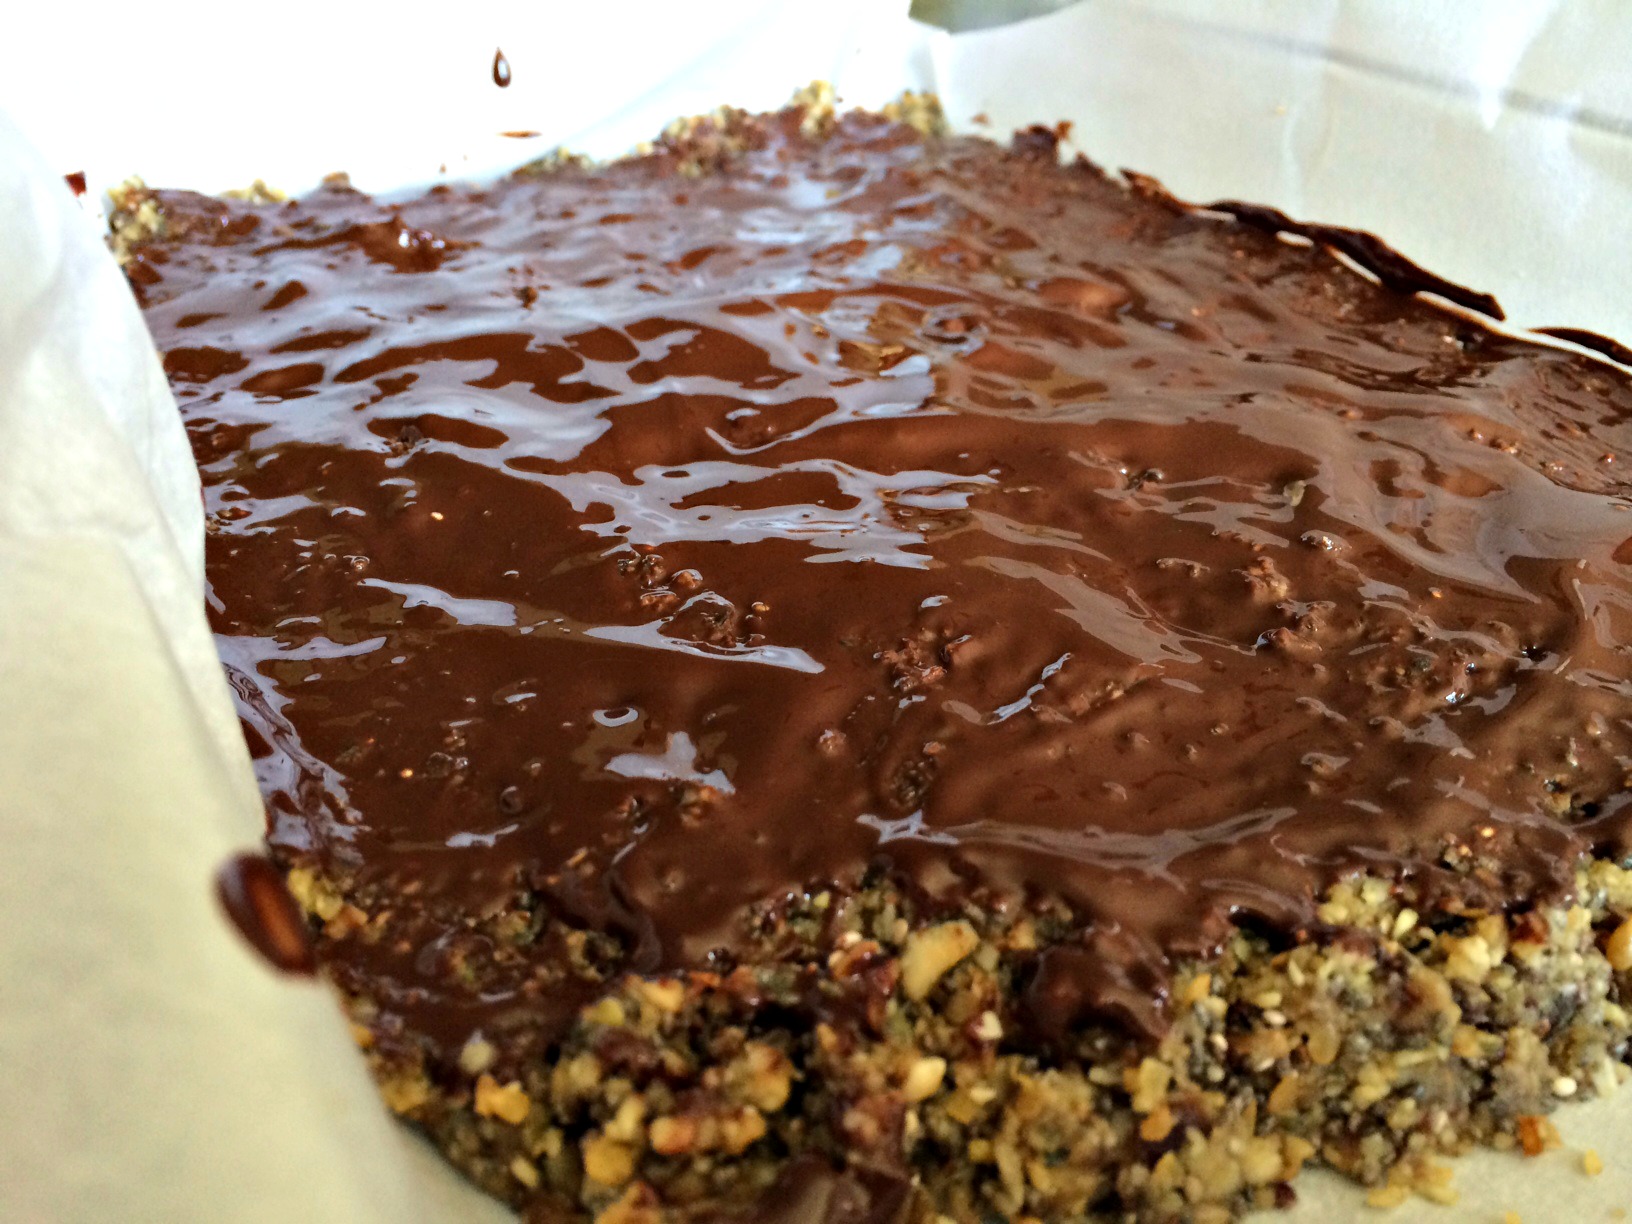
- Once your filling is completely smooth, pour it into the cooled pie crust.
- Smooth filling so it evenly covers the crust.
- I garnished my pie with shaved dark chocolate and chopped hazelnuts. You can skip the garnish all together or add whatever ingredients appeal to you.
- Put uncovered pie in a flat spot in your freezer and freeze for a few hours.
- After a few hours, cover pie with foil and freeze for a minimum of 4-6 hours before serving.
- When ready to serve, remove pie from freezer about 10 minutes before slicing.
- To store pie, cut in individual slices, wrap in foil and keep in the freezer.
- Enjoy!
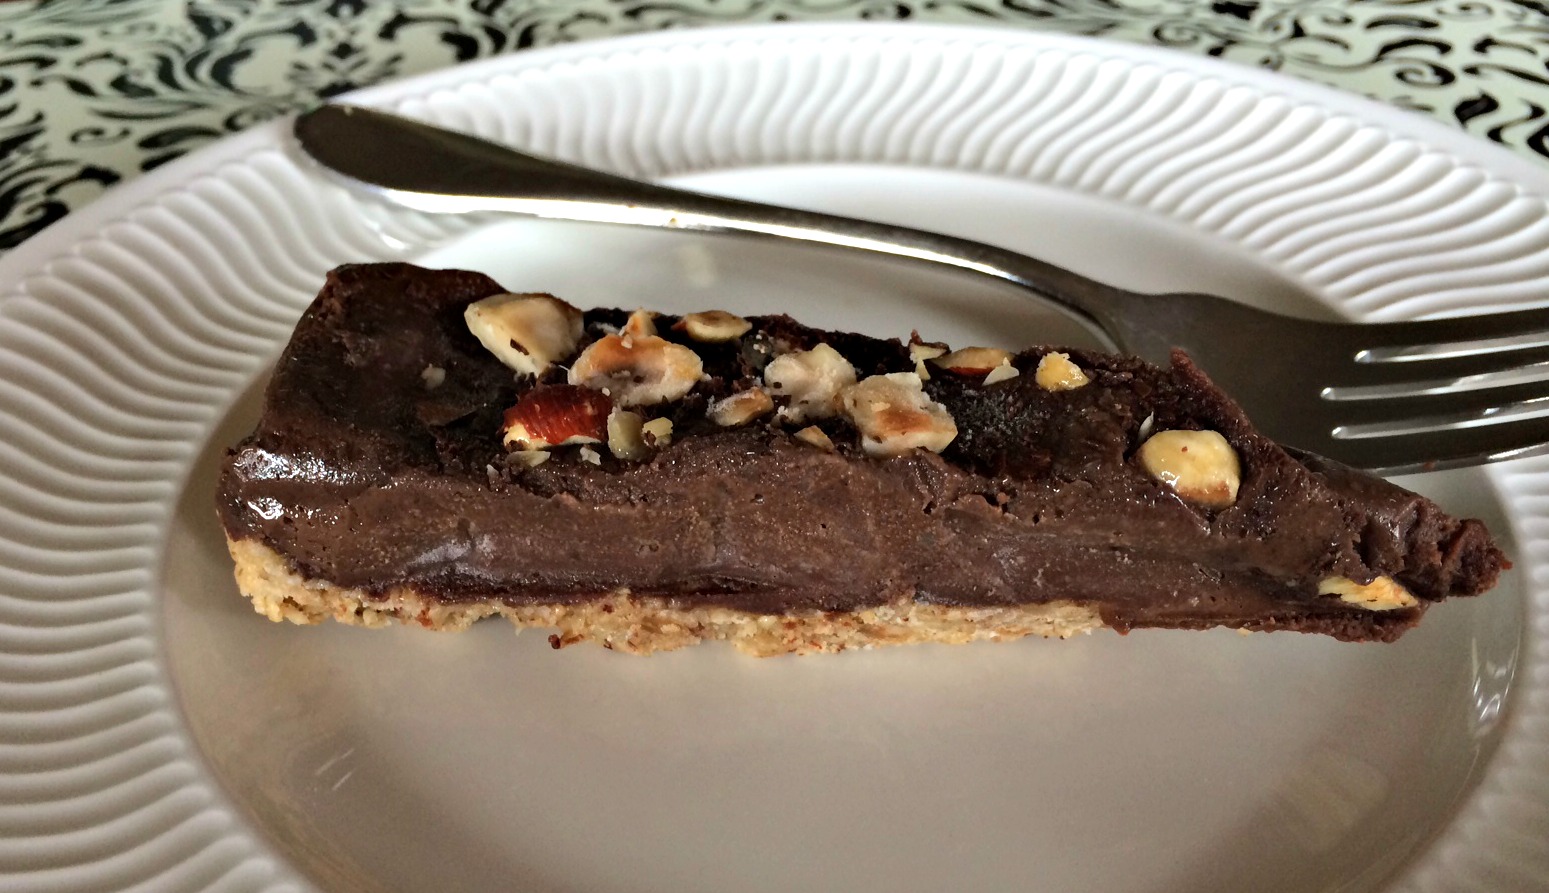
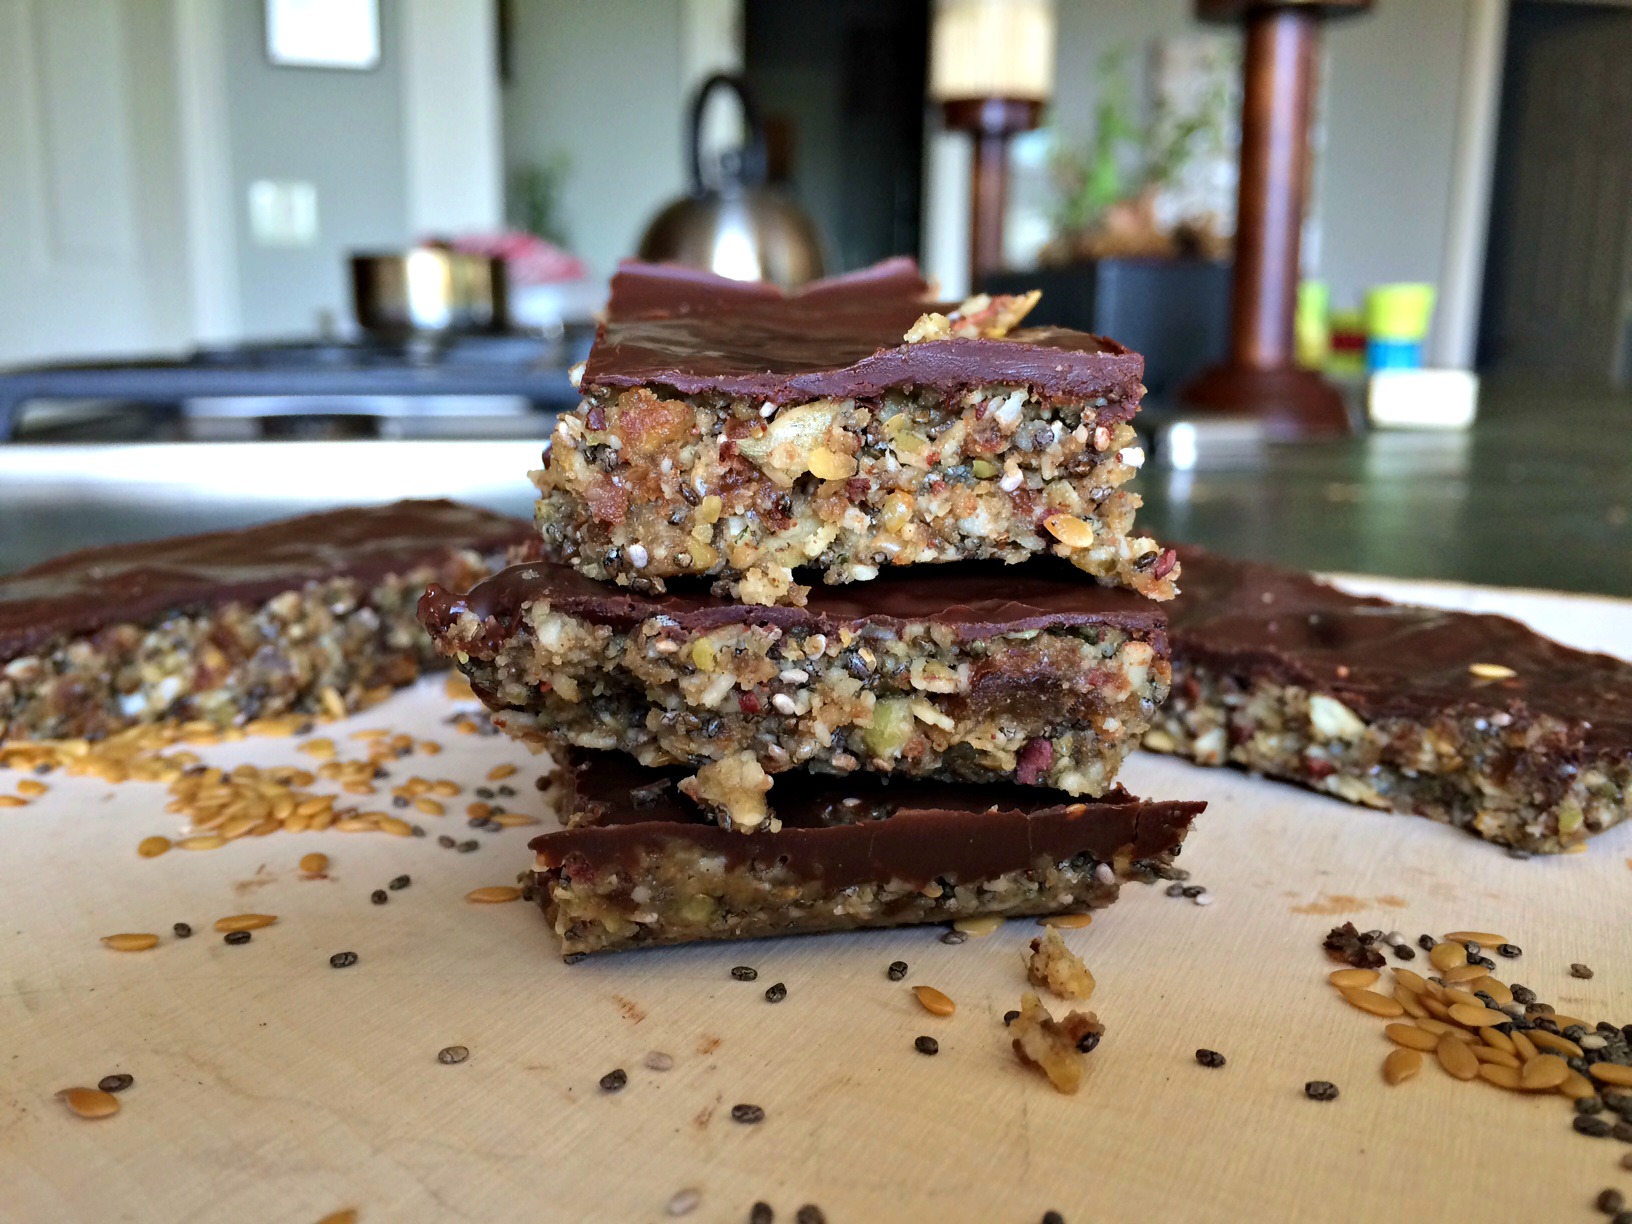
Pie slice.
This pie is really very pretty sliced. (I know this pictured doesn’t do it justice.) Unfortunately, my kids got a hold of the pie before I could cut a nice slice and take a picture of it. Just one more piece of evidence about how delectable this pie is!
Enjoy!
This post contains affiliate links.