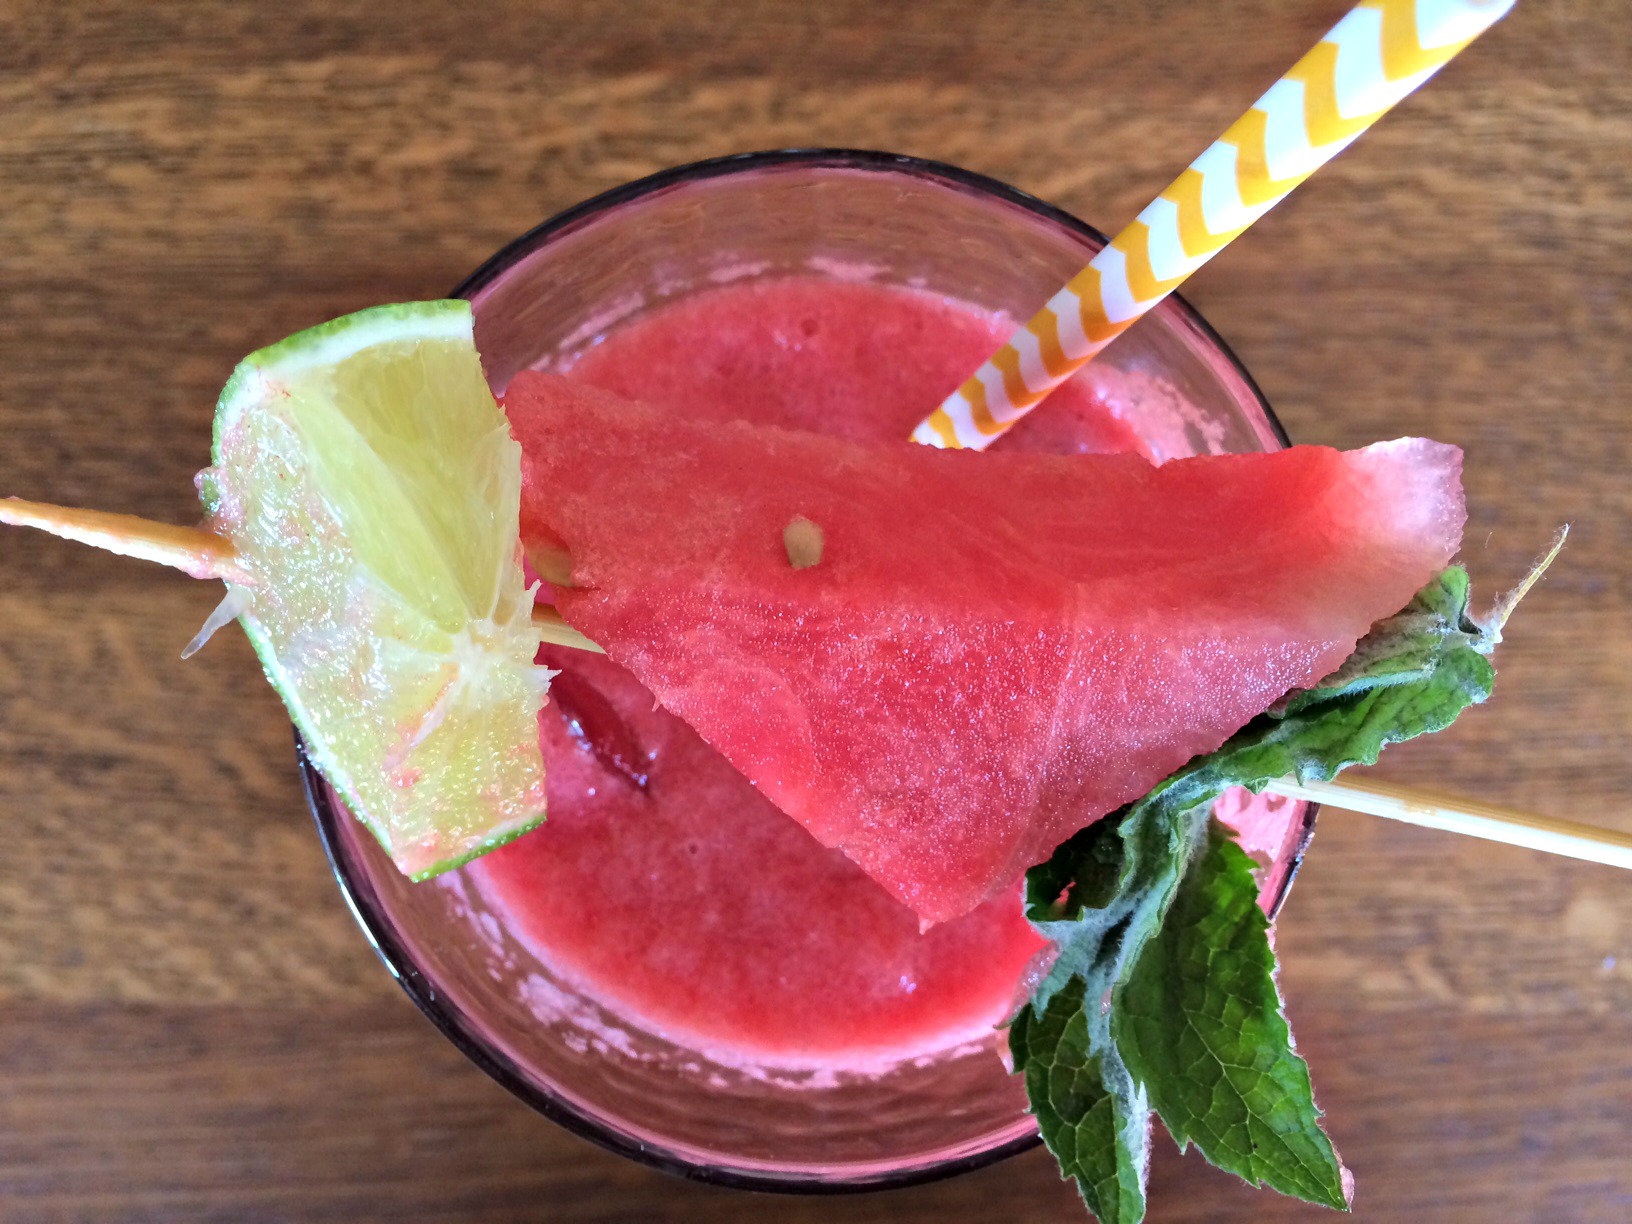
Watermelon Cooler.
In my family, summertime was watermelon time. Almost every night after dinner, my mom would shoo us outside with a bowl of giant watermelon slices to munch on. Now, every year as watermelons start to line the shelves of my grocery store, I feel a longing for those long, sweaty summer days of catching frogs, playing hiding-go-seek and turning brown as a bear from all the hours at the swimming pool.
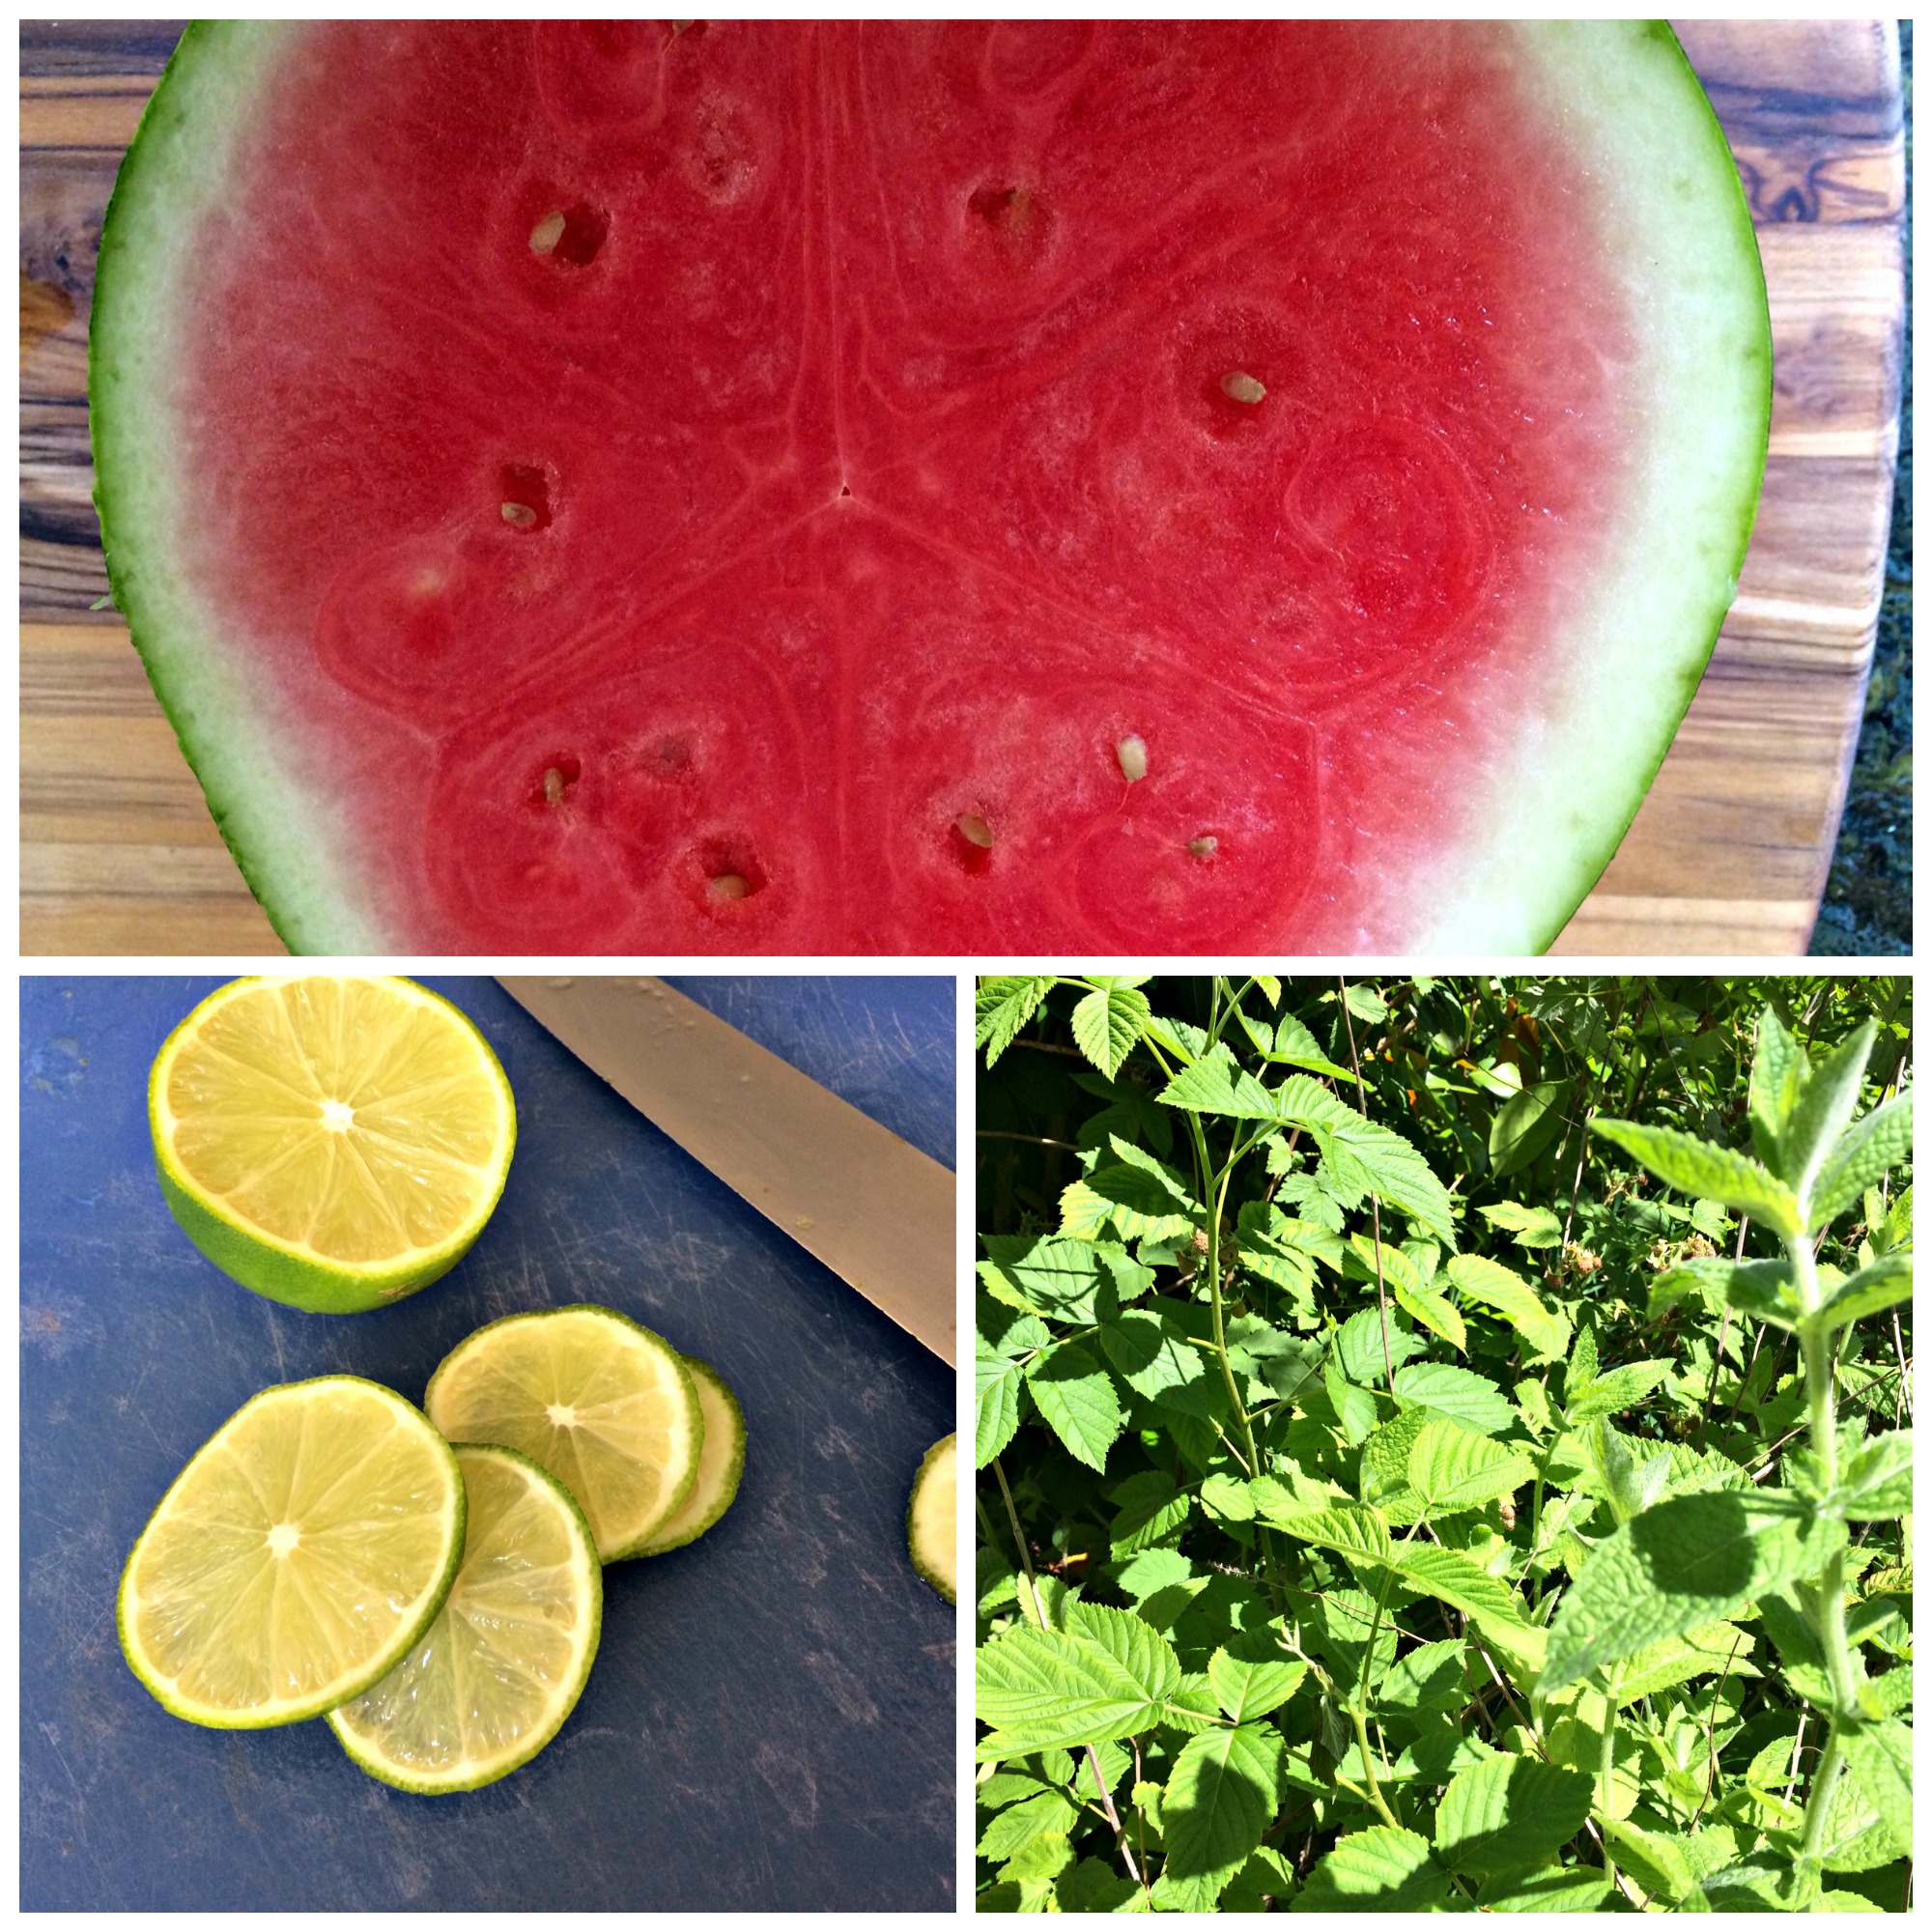
Watermelon Cooler Ingredients
As a child, I only knew how good watermelon tasted. I had no idea it was also good for my body. At over 90% water, watermelon is an excellent source of hydration. (See the importance of hydration here.) Recently, watermelon has been recognized as an excellent source of lycopene, a phytonutrient that’s important for our cardiovascular and bone health. Watermelon is a rich source of L-citrulline an amino acid which helps open up veins and arteries to improve blood flow and reduce blood pressure. L-citrolline has also shown promise in helping to reduce muscle soreness after a hard workout. With its low calorie content, watermelon is an excellent source of Vitamin C, copper and pantothenic acid. With all these amazing health benefits, watermelon should definitely be a part of your diet.
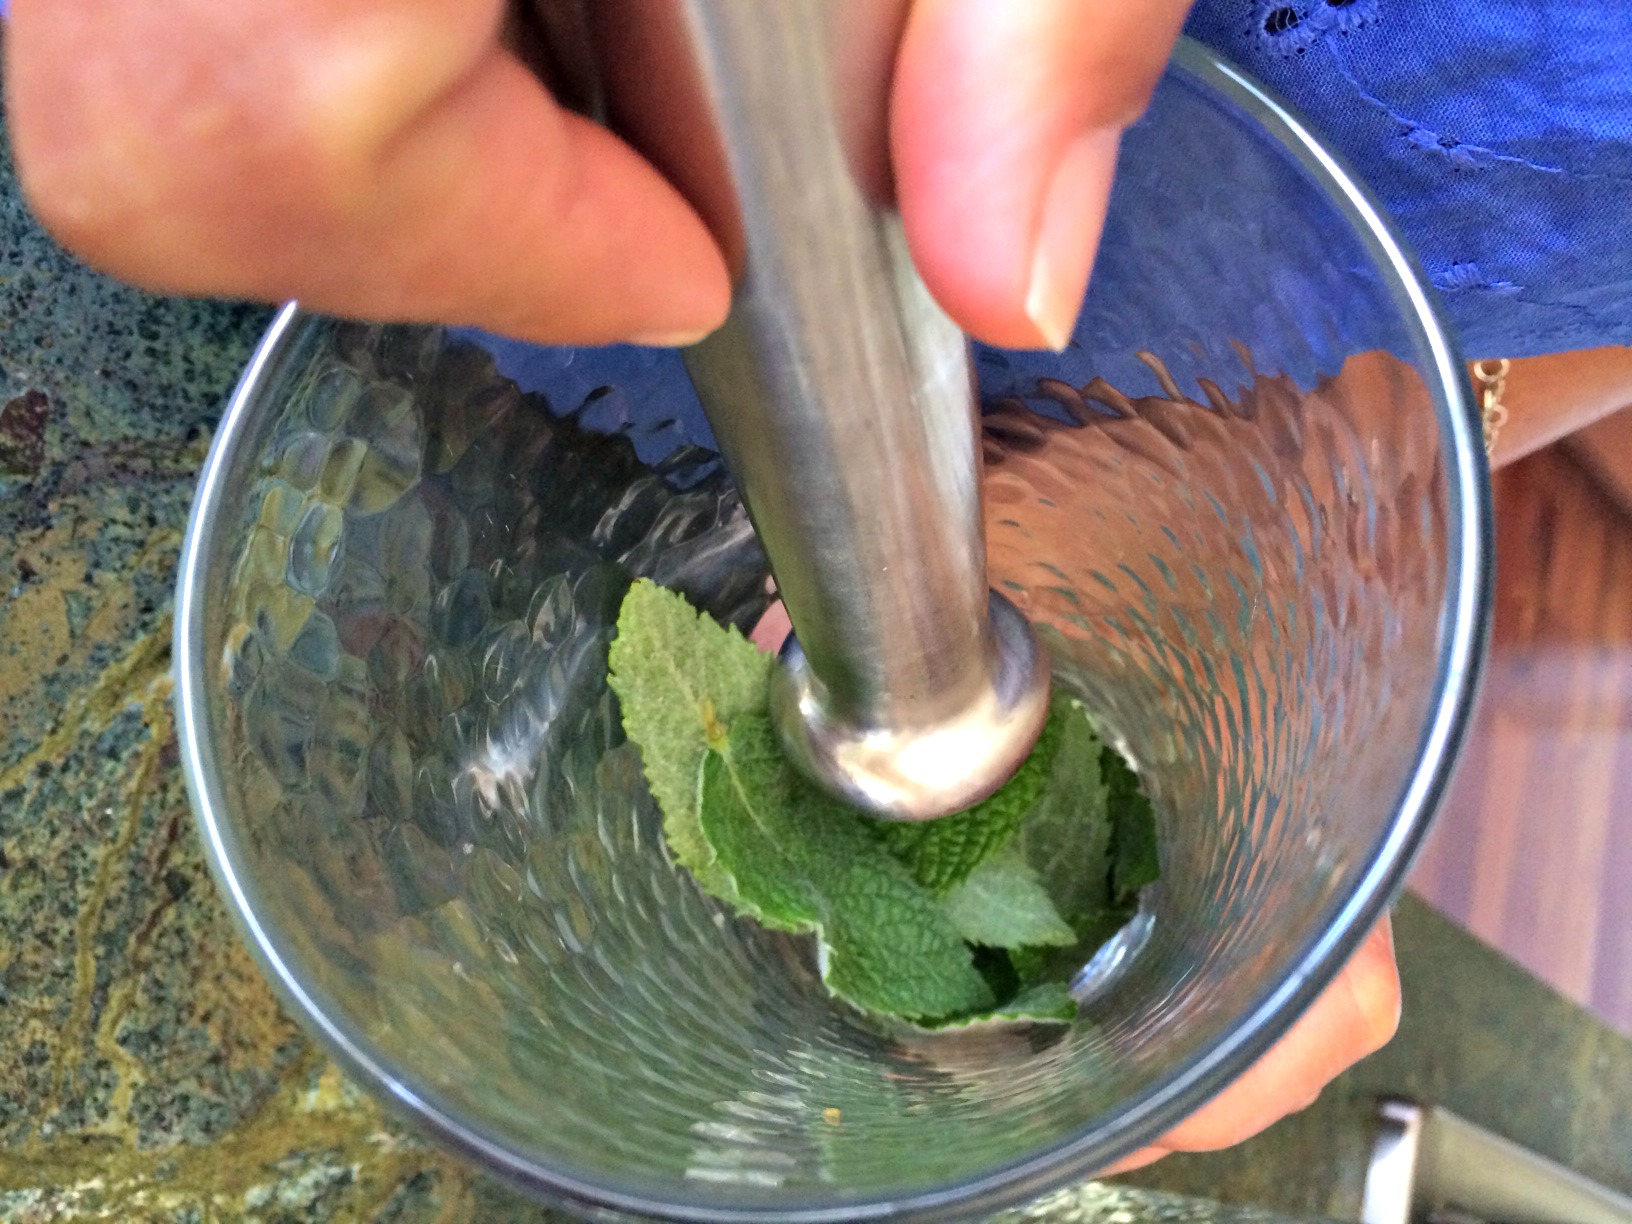
Muddling the lime, sugar and mint.
While I still love to eat watermelon off the rind, I thought it would be fun to try to find a way to drink my watermelon. The following recipe is an adaptation of a traditional Aqua Fresca used in Mexico for hydration.
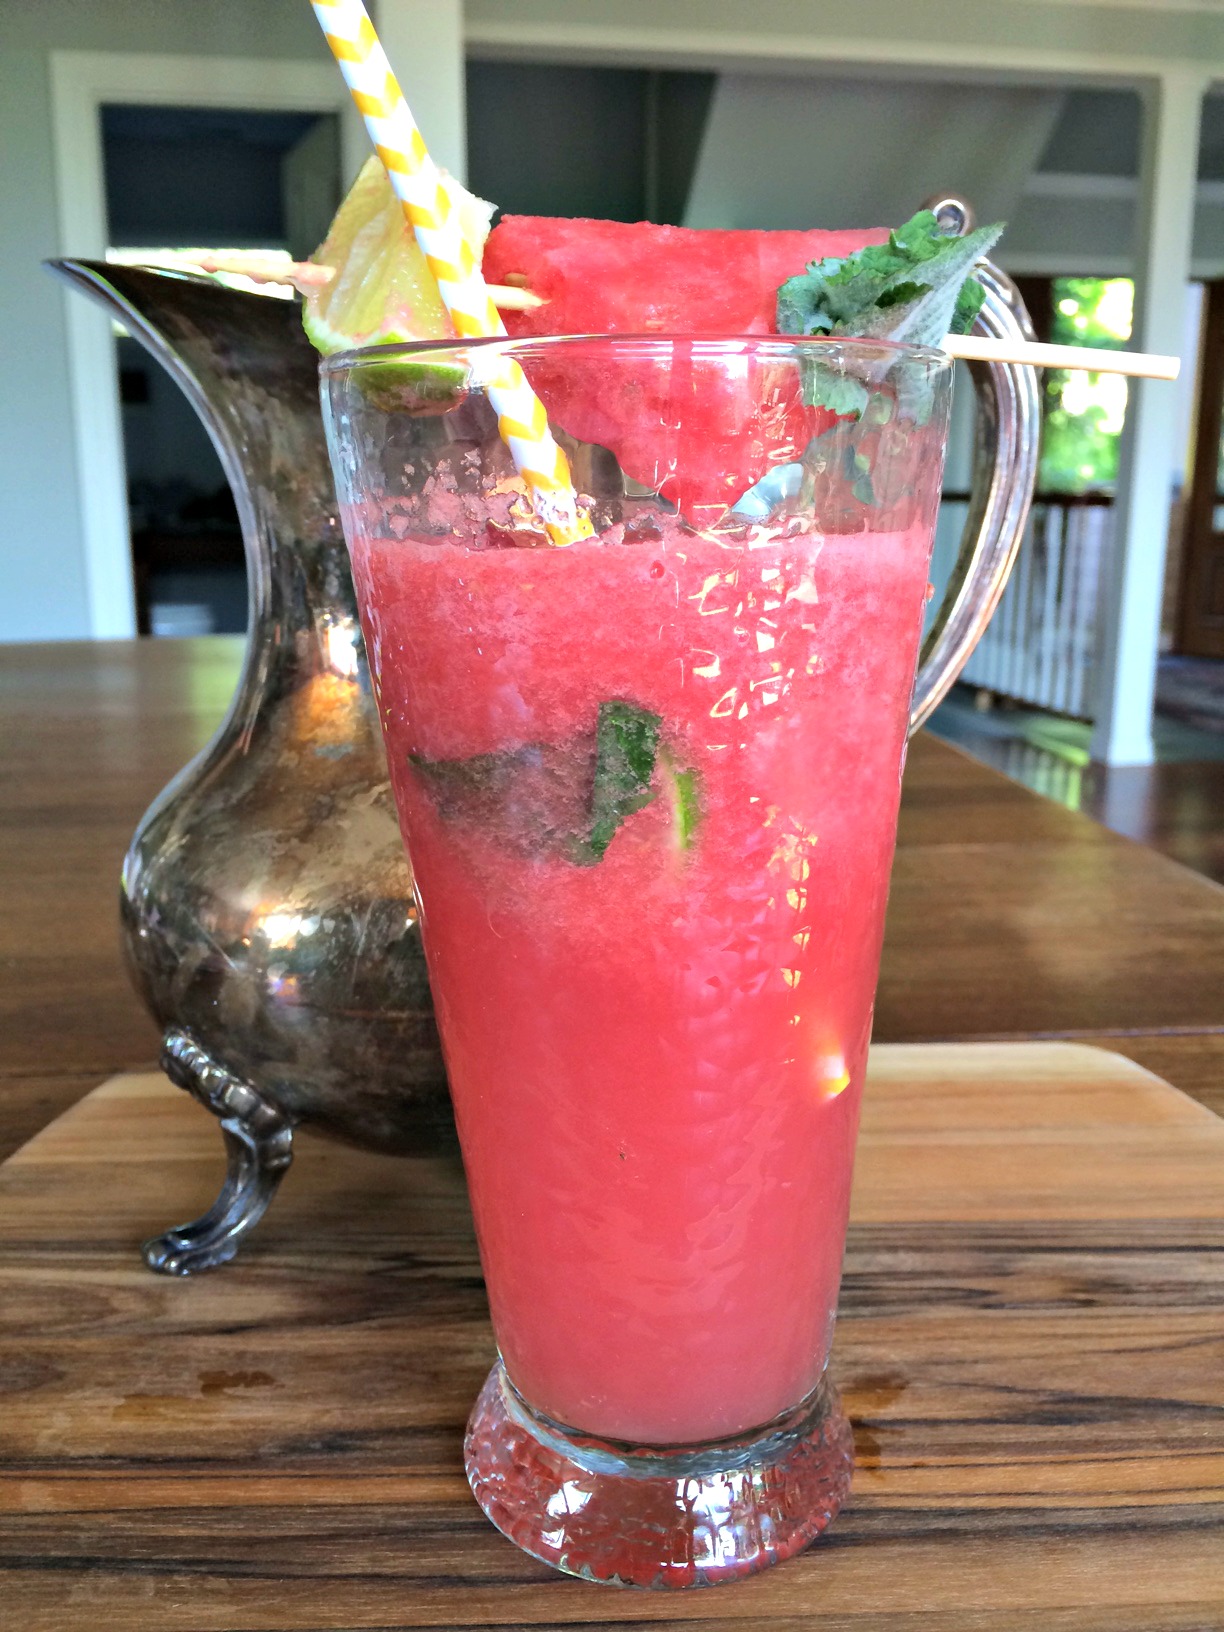
A pitcher of hydrating watermelon coolers.
Ingredients
- 3 cups sliced watermelon
- 3/4 cup of water
- 6-8 mint leaves per glass
- 2-3 thin slices of lime per glass
- 1 tsp sugar per glass (optional)
Instructions
- Place mint leaves, limes and sugar (if using) in the bottom of the glass.
- Muddle leaves, lime slices and sugar until leaves and limes begin to release their juices.
- Put watermelon and water in blender and blend until liquid.
- Put ice in glass.
- Pour watermelon liquid over ice.
- Stir to mix mint, limes and watermelon together.
- Enjoy!
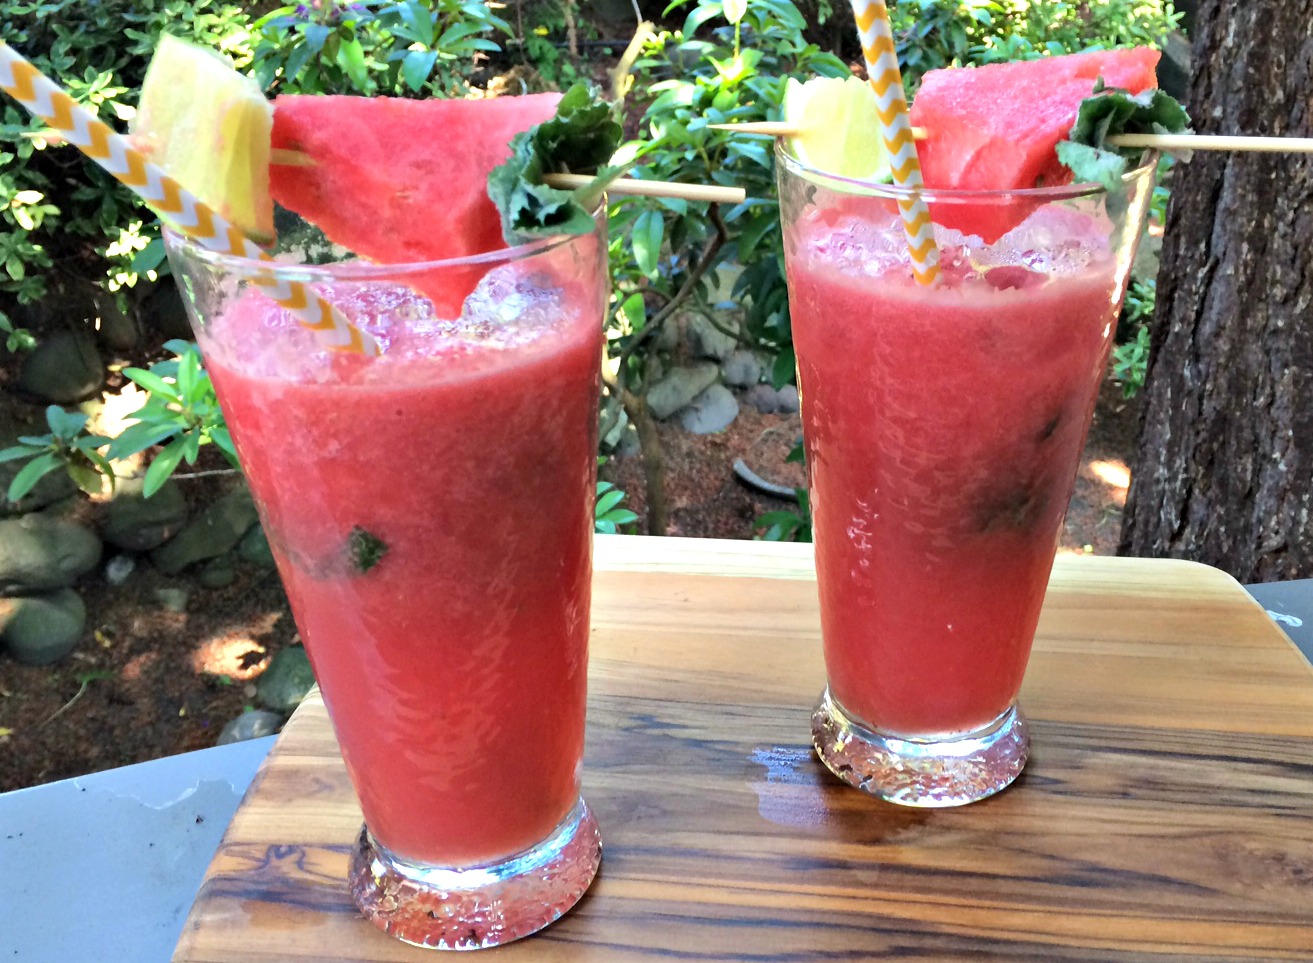
Yum- watermelon coolers. Enjoy!
This post shared on Today’s Creative Blog, Rock My Vegan Socks, Real Food Forager, Urban Naturale, Gluten Free Homemaker, A Southern Fairytale, Turn It Up Tuesday, The Nourishing Gourmet, Natural Living Monday and Food Renegade.