I decided to do something a little different this week. I love Pinterest and spend an amazing number of hours searching for inspiration, recipes, projects, workout advice and anything else I can find there. I know many of you out there also lose many hours pouring over all the pins. I decided this week, I am going to share some of my favorite inspirational finds. I would love if you have a favorite pin that inspires you, you shared it with me!
My first find this week comes from Gaye at Calm, Sexy, Happy. I love this pin and her blog post because I have had this exact conversation with some friends and even myself at times. Wouldn’t the world be a better place if we could all make a commitment to being at least as kind to ourselves as we are to our friends and family.
For the Fourth of July, we were headed up to the Olympic Peninsula to spend time with my in-laws. They live in a somewhat rural area on the Puget Sound. Everyone in the family loves to go up there because not only do we get to spend time with the grandparents but the area is filled with great outdoor activities. Our days are consumed with fishing, kayaking, crabbing, hiking, biking and walking on the beach. The other thing I love about going up there is all the yummy natural food. There are multiple small farmer’s markets within 20 minute of their house. The Sound is filled with fish and crab and the forest has wild blackberries and huckleberries. I love to take advantage of the natural bounty! Usually, when I am there in the summer, I end up making some sort of berry cobbler for my father-in-law’s birthday. Crazily enough, he is one of the few people I know who doesn’t like chocolate so I like to try find desserts that will make him happy.
Before going up there last week, I was cruising around the internet and came upon the beautiful blog, Healthy For Happy. Lisa, the blog’s author, had posted a recipe for a yummy sounding raw, lime, vegan cheesecake. I had made a raw key lime pie before using the recipe from the I Am Grateful: Recipes and Lifestyle of Cafe Gratitude cookbook. It was super tasty, particularly the crust. I decided to combine the two recipes to make my own raw vegan cheesecake. (I also knew that most of the people at my in-laws DID like chocolate, so I decided to make half mini lime cheesecakes and half mini chocolate cheesecakes.)
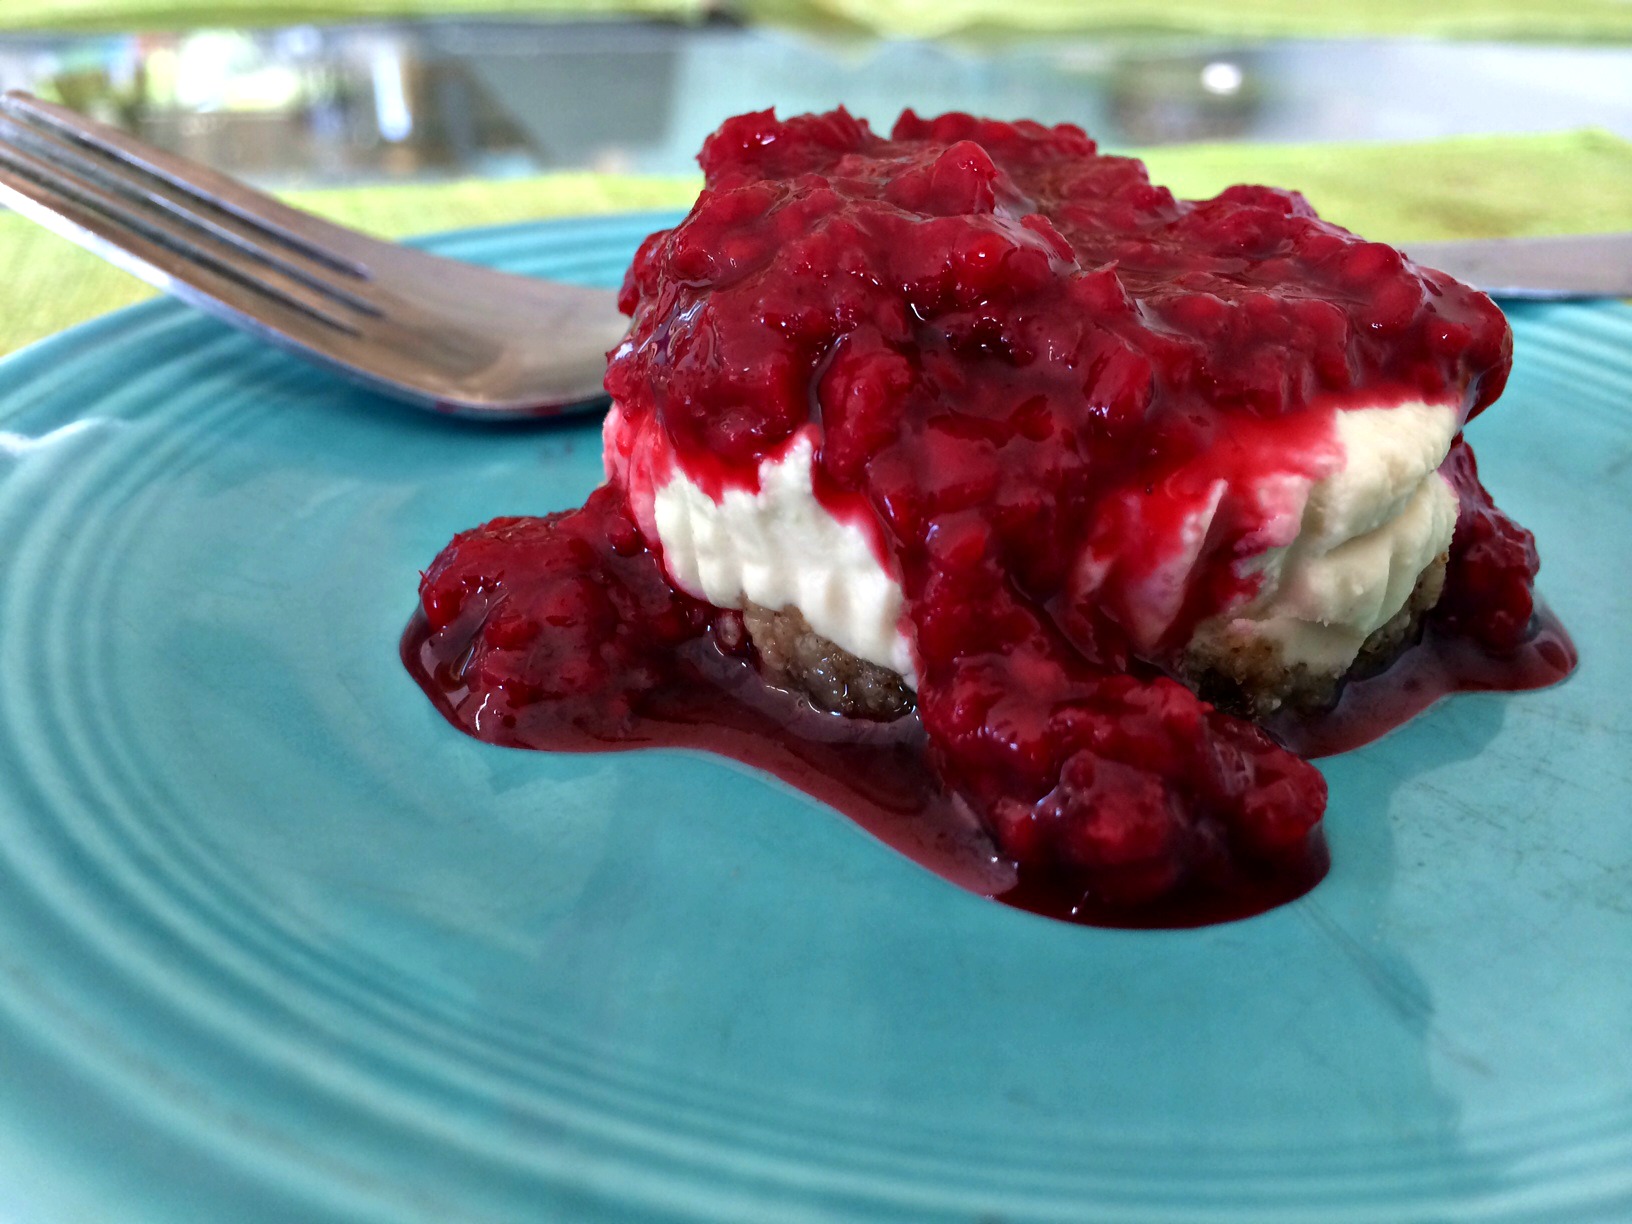
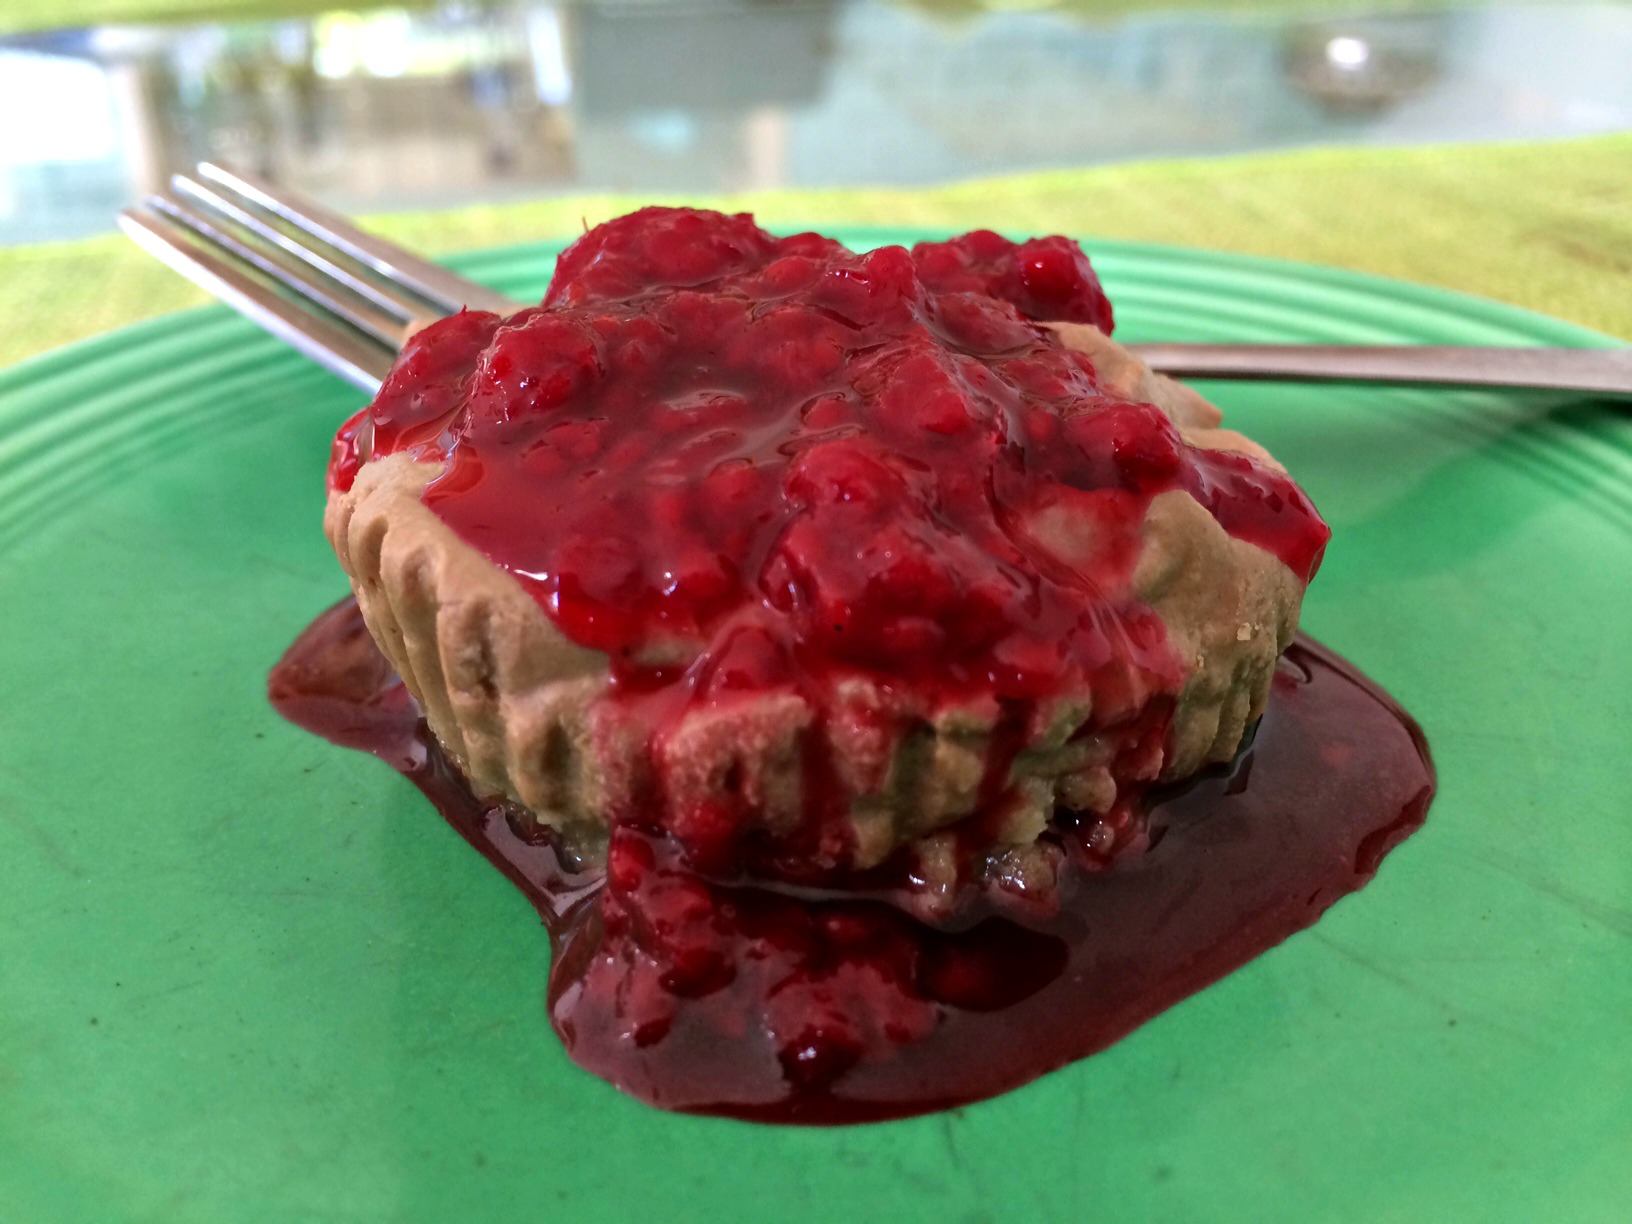
Chocolate, raw, vegan cheesecake with raspberry sauce.
2 cups cashews soaked overnight (or at least 4 hours) and then rinsed and drained
1 tsp vanilla
1/3 cup of maple syrup
1/3 cup of melted coconut oil
small amount of almond milk as needed
Juice of 1-2 limes depending on how juicy they are
zest of 1 lime
1 tbs of cacao powder
couple of squares of dark chocolate, melted
Instructions
To make the crust, put all crust nut ingredients in a high speed blender or food processor.
Process until nuts are small and crumbly.
Slowly add dates while continuing to process nut mixture.
Crust will begin to stick together.
Press crust mixture into muffin tins lined with paper liners.
The crust should hold together well in bottom of tins.
I made two different types of cheese cake so I had to divide all the filling ingredients in 1/2. If you are only going to make one type, you can pour all the ingredients into the blender at the same time.
To make the filling, add 1/2 the cashews, 1/2 the vanilla, 1/2 the maple syrup, juice from 1 lime, lime zest and 1/2 the coconut oil to a blender.
Blend until smooth.
Taste to see if it is limey enough.
If not, gradually add more juice until it tastes as limey as you want.
Once the filling tastes as limey as you like, add lime filling to half of the prepared muffin tins.
Clean out the blender.
Add other half of the ingredients, plus the cacao and melted dark chocolate to the blender.
Process until smooth.
If not getting creamy, you can add small amounts of almond milk to help your blender process the nuts.
Taste to see if chocolaty enough. If not add more cacao to the blender.
Once all the nuts are ground up, spoon filling into the prepared muffin tins.
Smooth top of the cheesecakes.
Place in the fridge for a few hours to firm up and then ENJOY!
You can serve them with a raspberry sauce if you like. Recipe to follow.
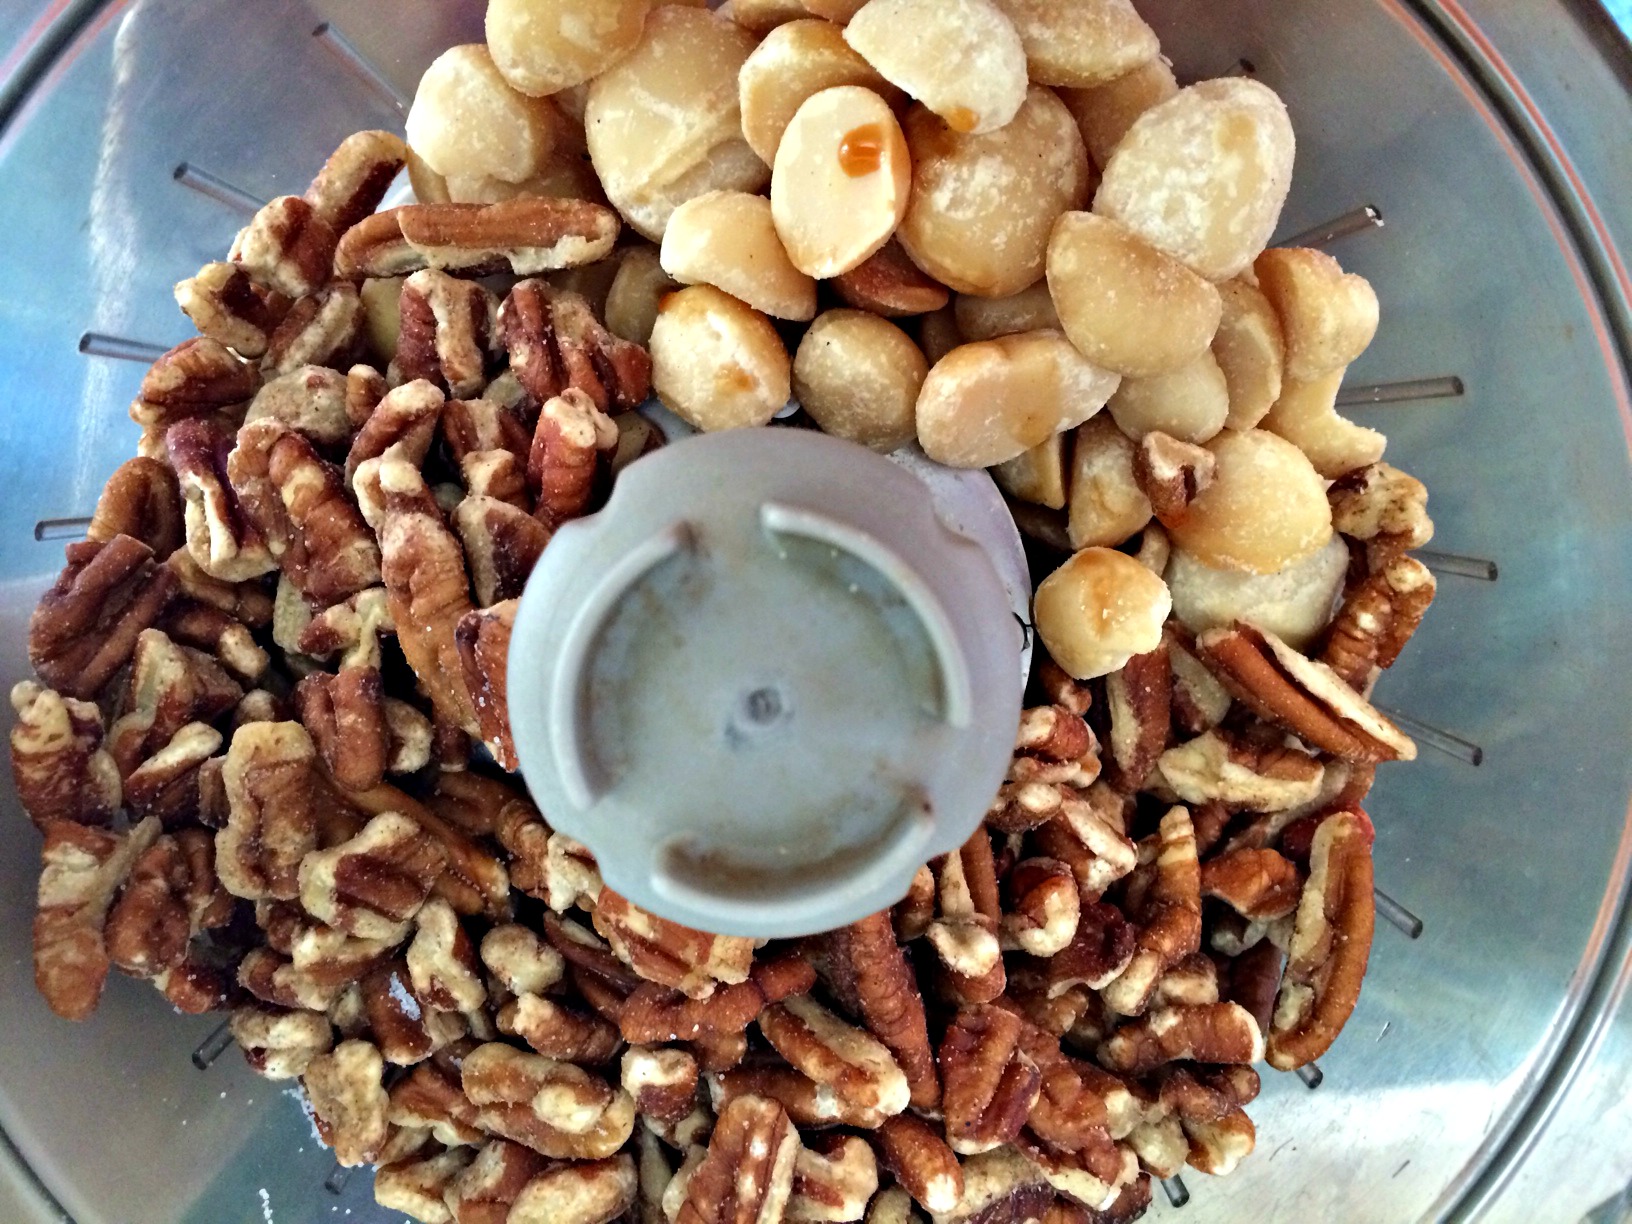
Here is a picture of all the nuts for the crust before they get chopped up.
Pecans and macadamias before they become crust.
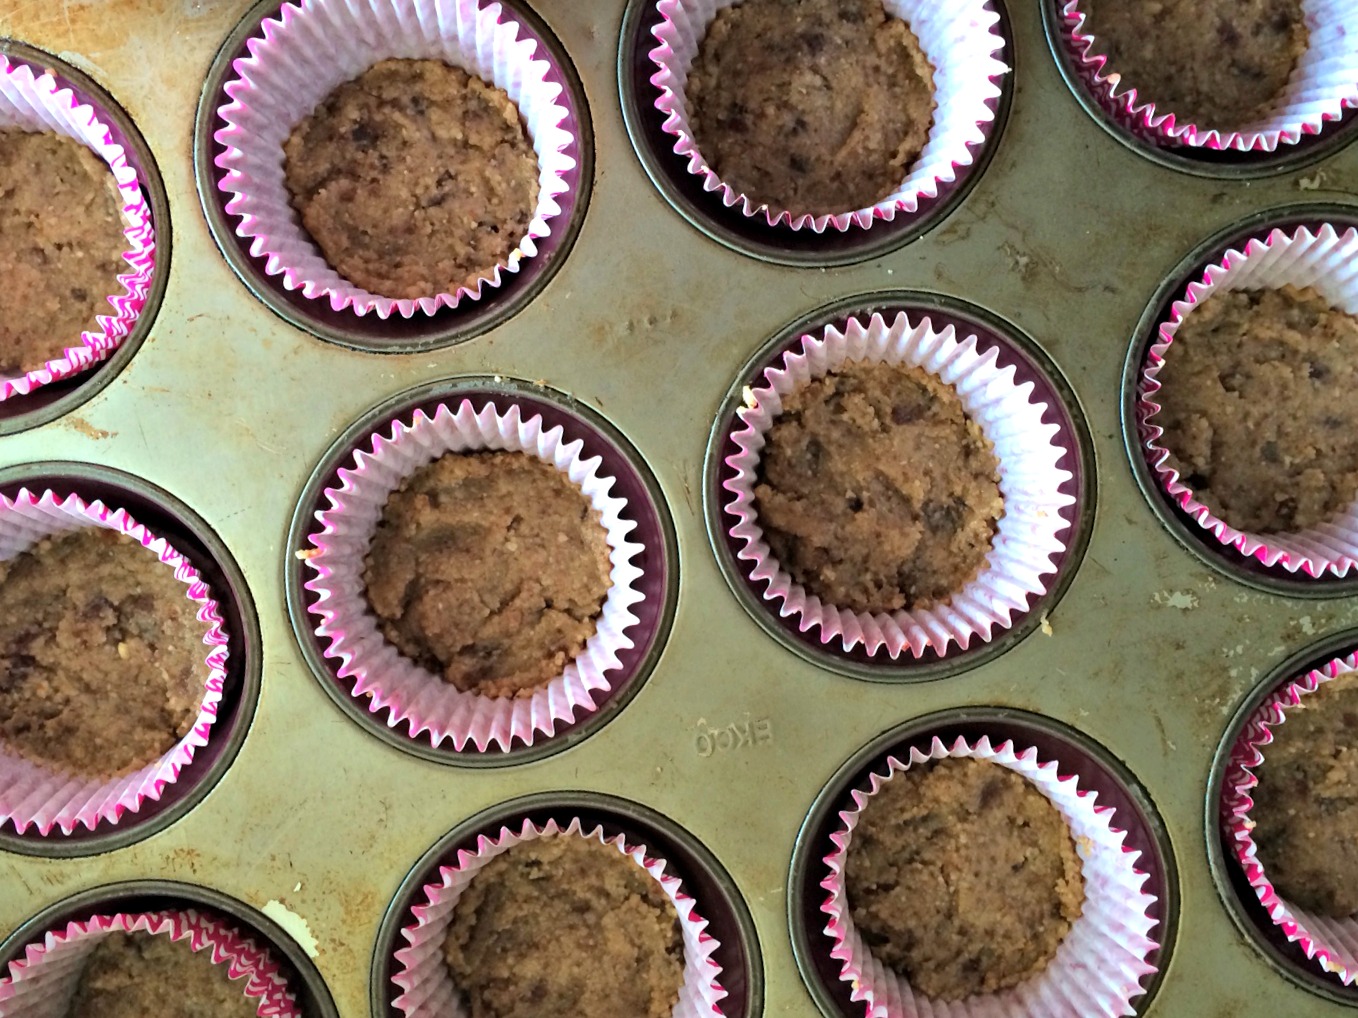
Below is a pic of the nuts, processed into the crust mixture and then pressed into the cup cake pan. They are just waiting for the filling to be ready.
Crust before filling.
A pic of the muffin tin with the chocolate and lime fillings added. Everything is now ready to go into the fridge.
Chocolate and lime raw vegan cheesecakes.
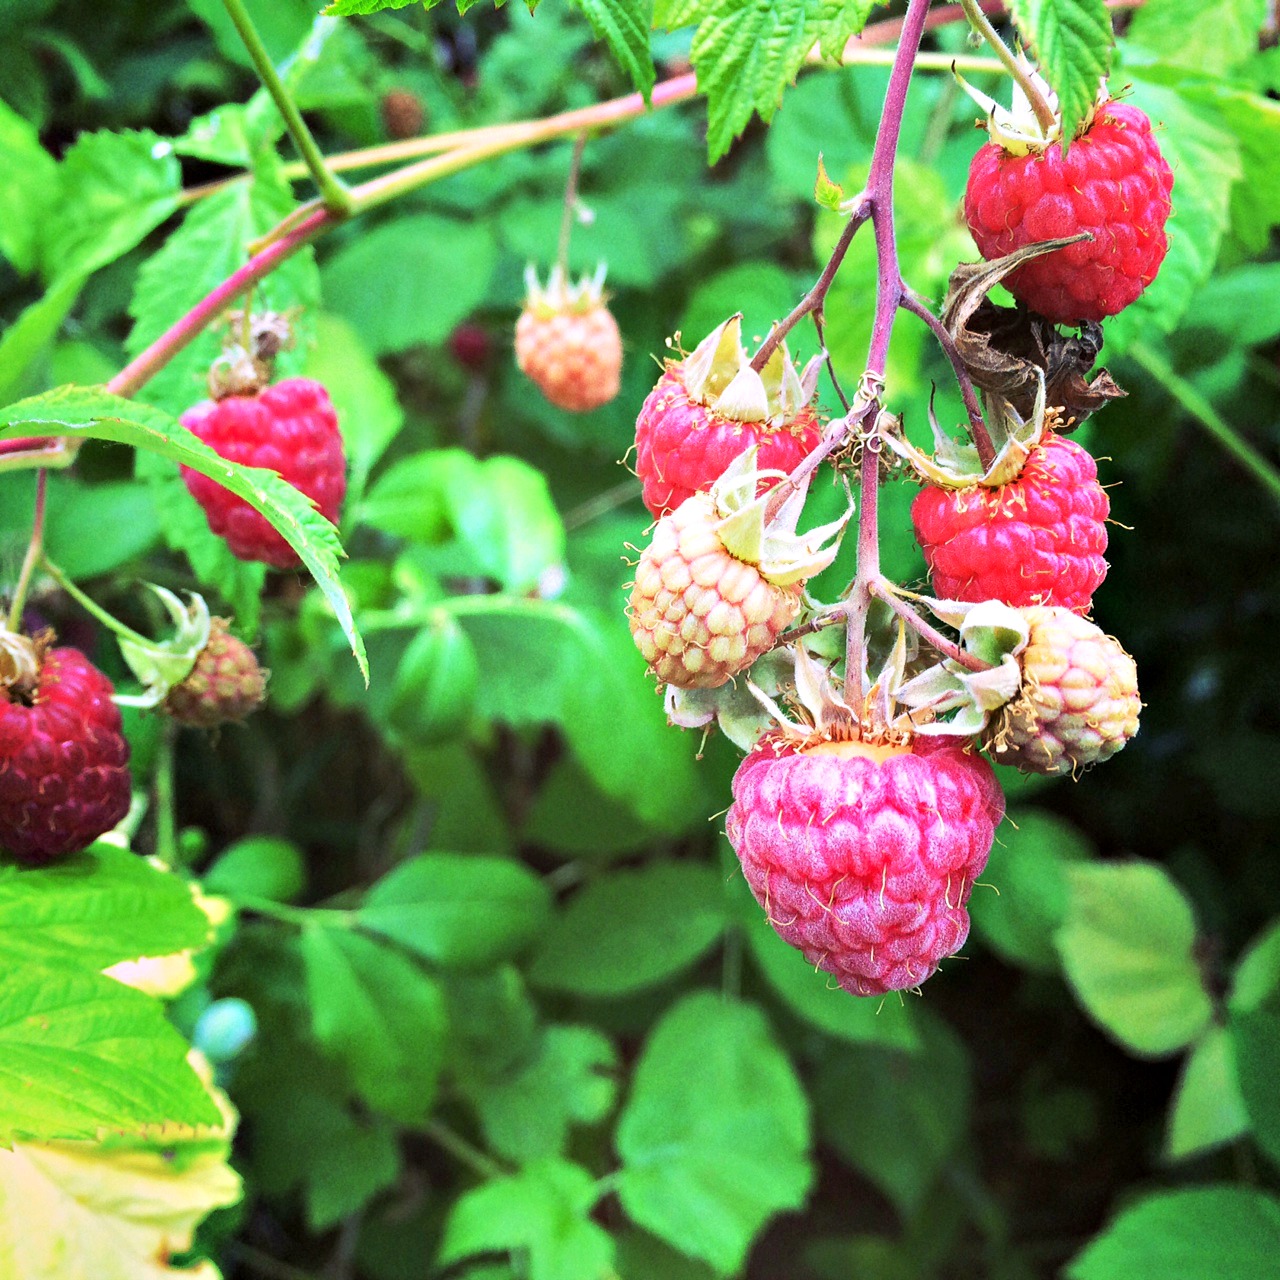
I have a crazy amount of raspberry bushes in my yard and last week the were filled with berries. I decided to use some of the berries to make a raspberry sauce to go on the cheesecakes. The cheesecakes are super yummy without the sauce but if you want to add a little extra zing, this is one way to do it.
Summer has definitely hit and it seems everyone is on the move. People are visiting family, headed to the beach or checking out the National Parks. I can’t wait til we get to hit the road. Beyond the hassles of packing, boarding the dog and planning the trip, one of my biggest concerns is what to bring for car snacks. I don’t want to undue all the healthy eating we have been doing at home by failing to be prepared!! It never fails that we have barely made it out of the driveway and the kids are already asking what we have to eat. I have been giving this a lot of thought and this year I am prepared. Here are five snacks I will be packing.
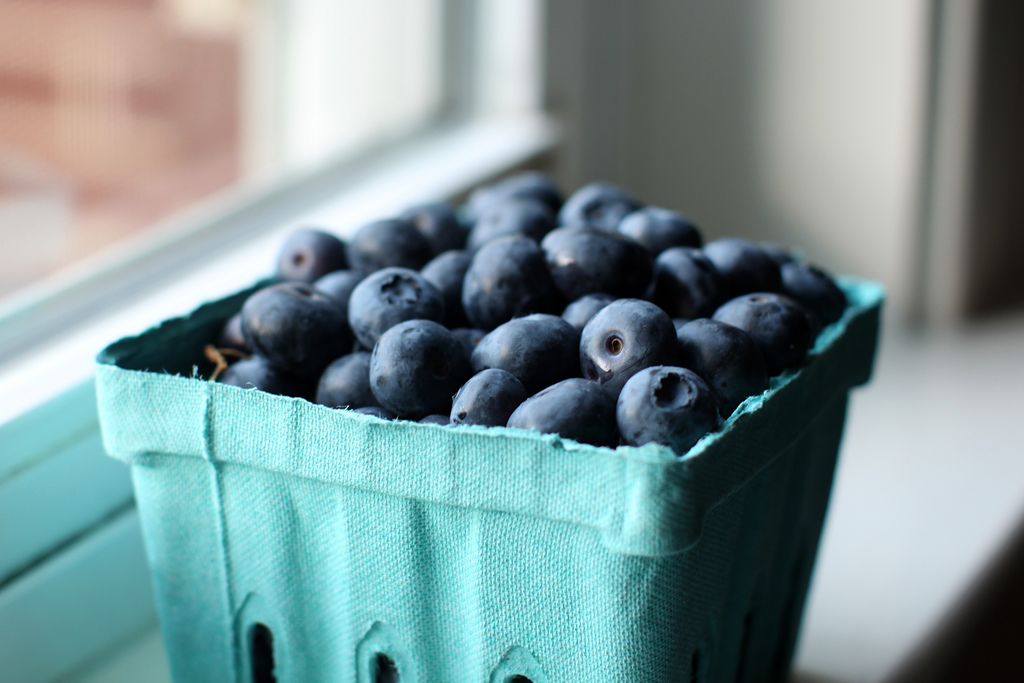
Blueberries.
Blueberries. Blueberries are an amazing car snack. Pick or buy them, wash them and then store them in your container of choice. They are a tasty, healthy, sweet alternative to candy and other junk food you might be tempted to pack. Plus they provide a shot of anti-oxidants, vitamin C and fiber. Perfect to keep you regular when your routine is out of whack. Read more about the benefits of eating berries here.
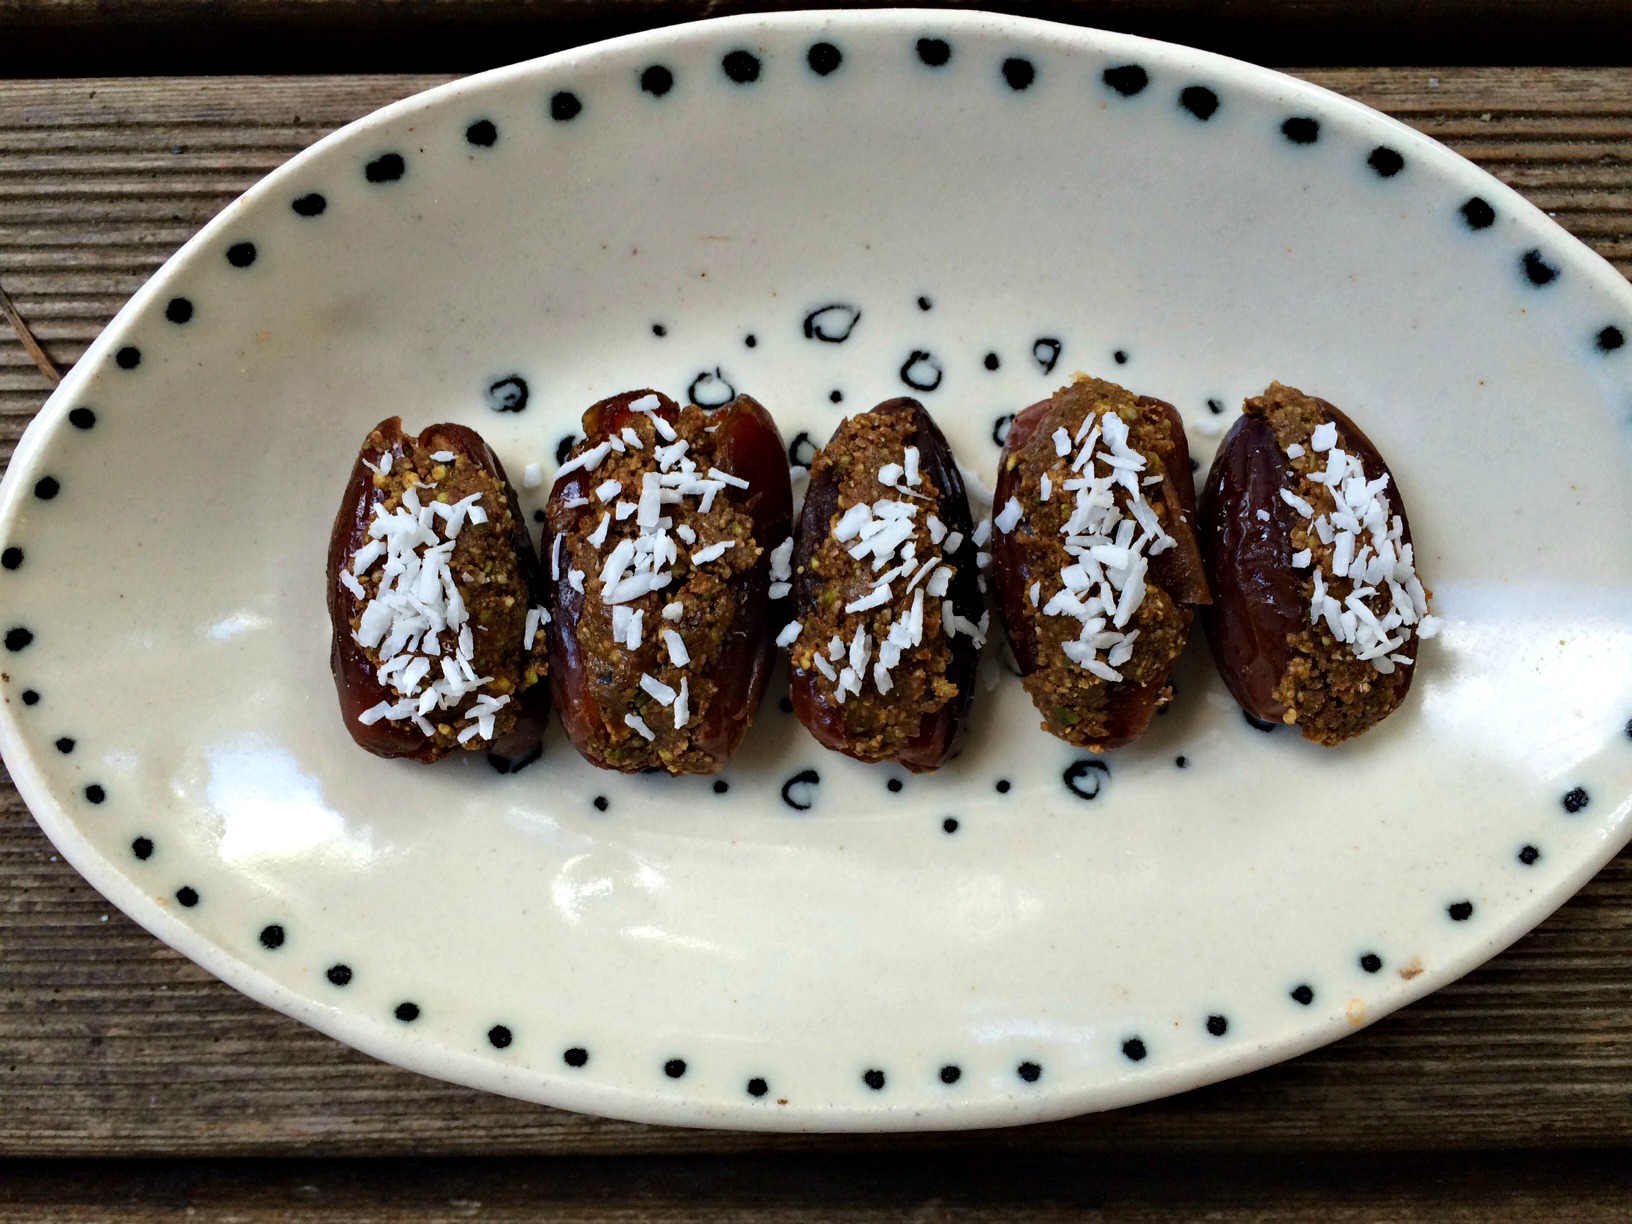
Nut butter stuffed Dates
Nut Butter Stuffed Dates. These portable little beauties offer a hint of sweetness with a little bit of salty thrown in. There are currently so many options for different nut butters. I often use pistachio but experiment with what is your favorite. Here is a recipe but they are so simple to create. Just slice the date down one side, remove the pit and then stuff with the nut butter of your choice.
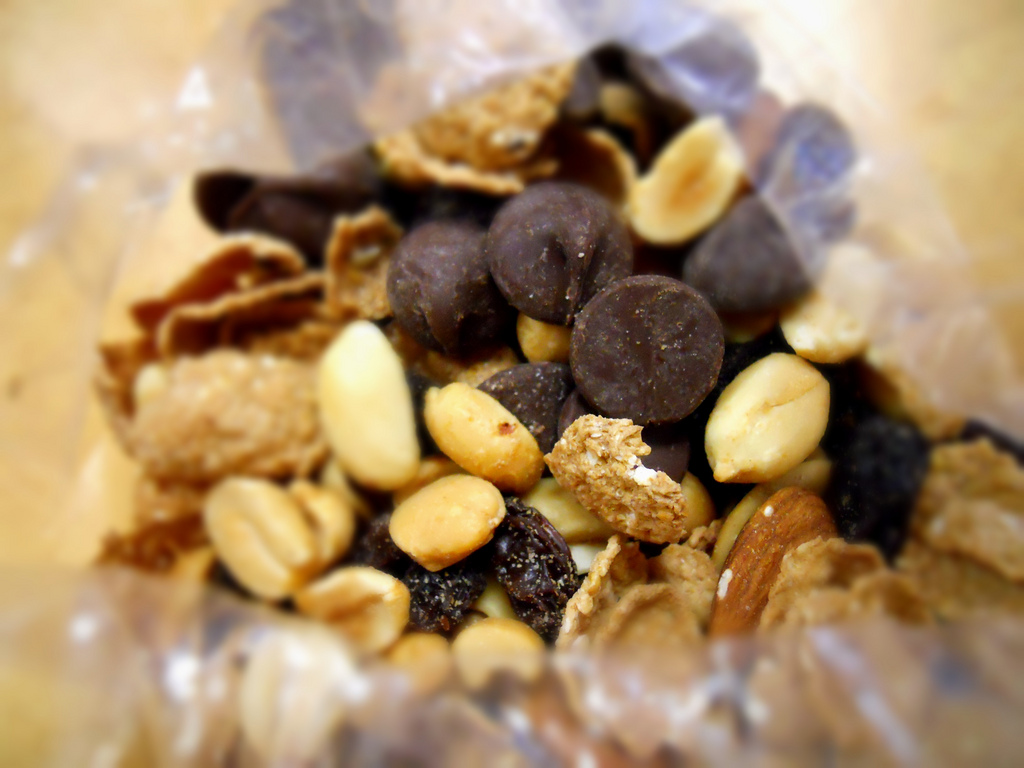
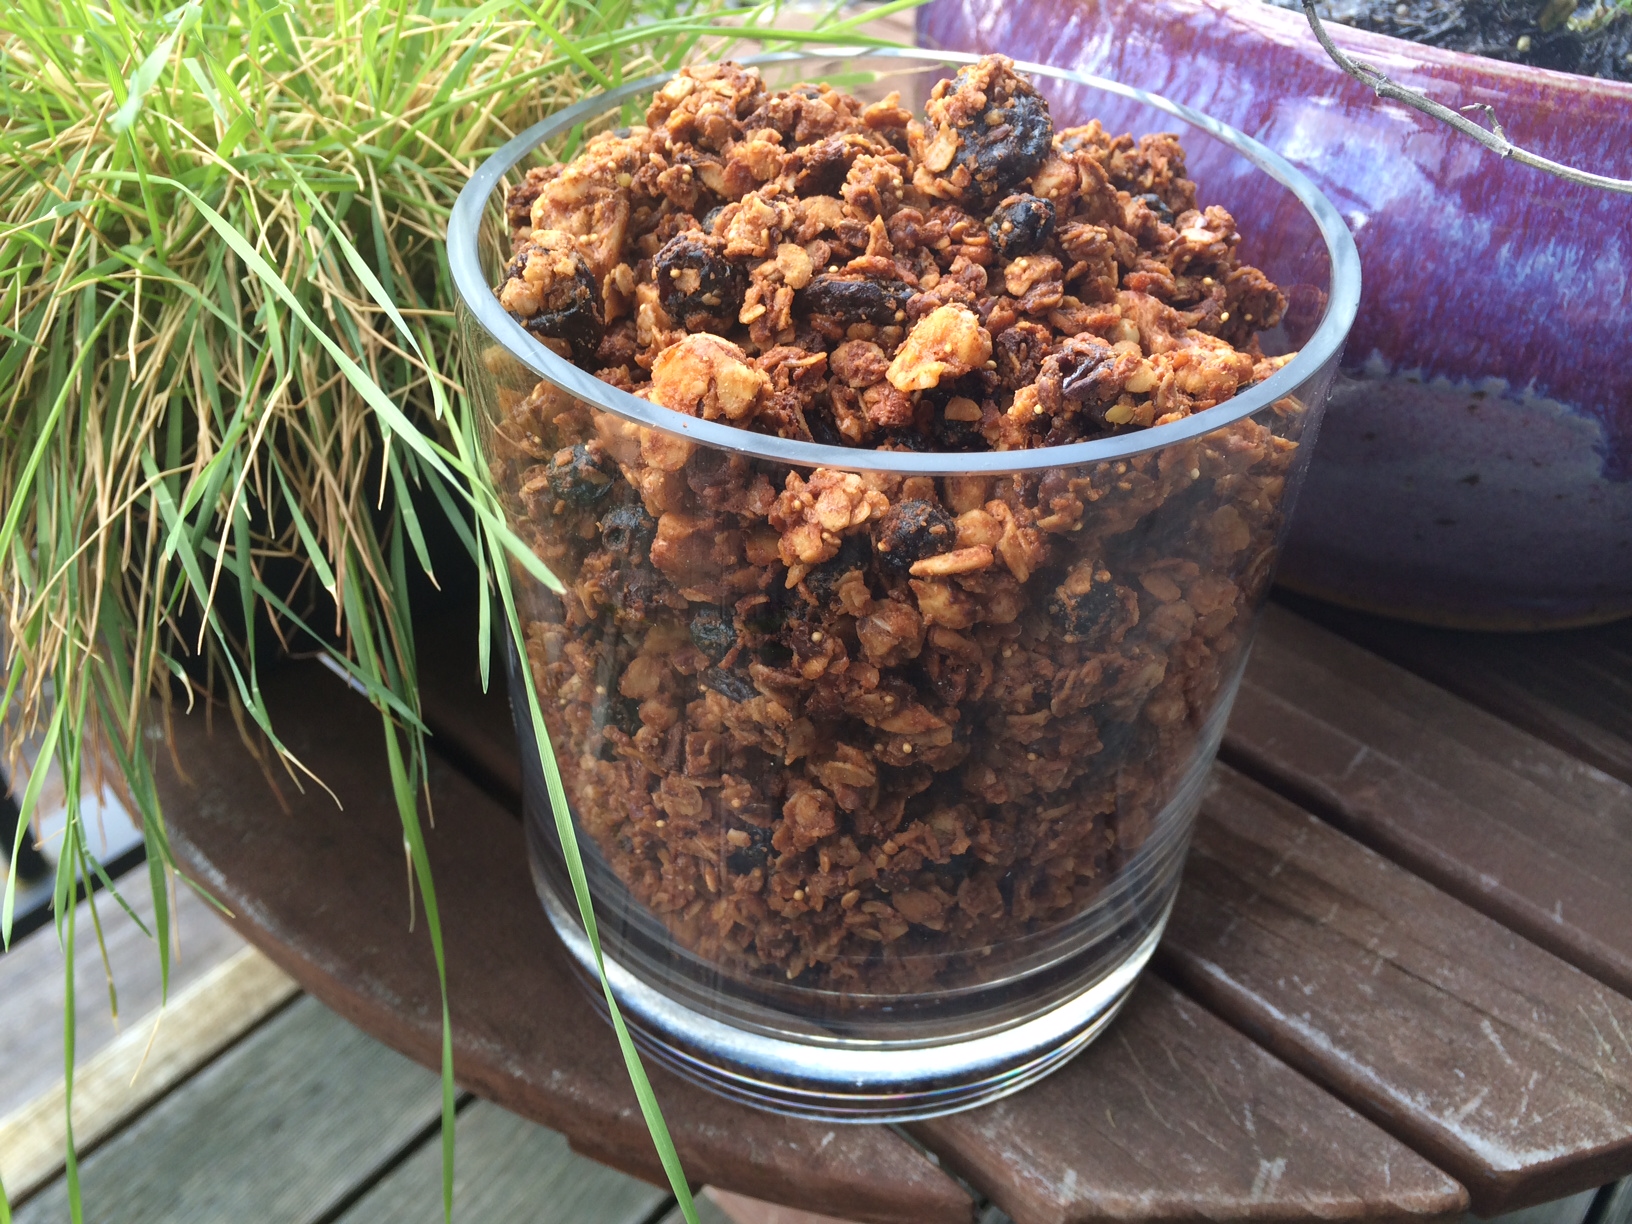
Trail Mix.
Trail Mix. The great thing about trail mix is it can be completely customized to your own individual taste. Take the kids to a store with bulk bins and let them choose what they would like in their own “special” trail mix. Chocolate chips, nuts, dried fruit, sesame crackers- it is all good! Just be aware that some dried fruits have added sugar. Once the kids have chosen their ingredients, you can pack each kid their own bag of “special” mix.
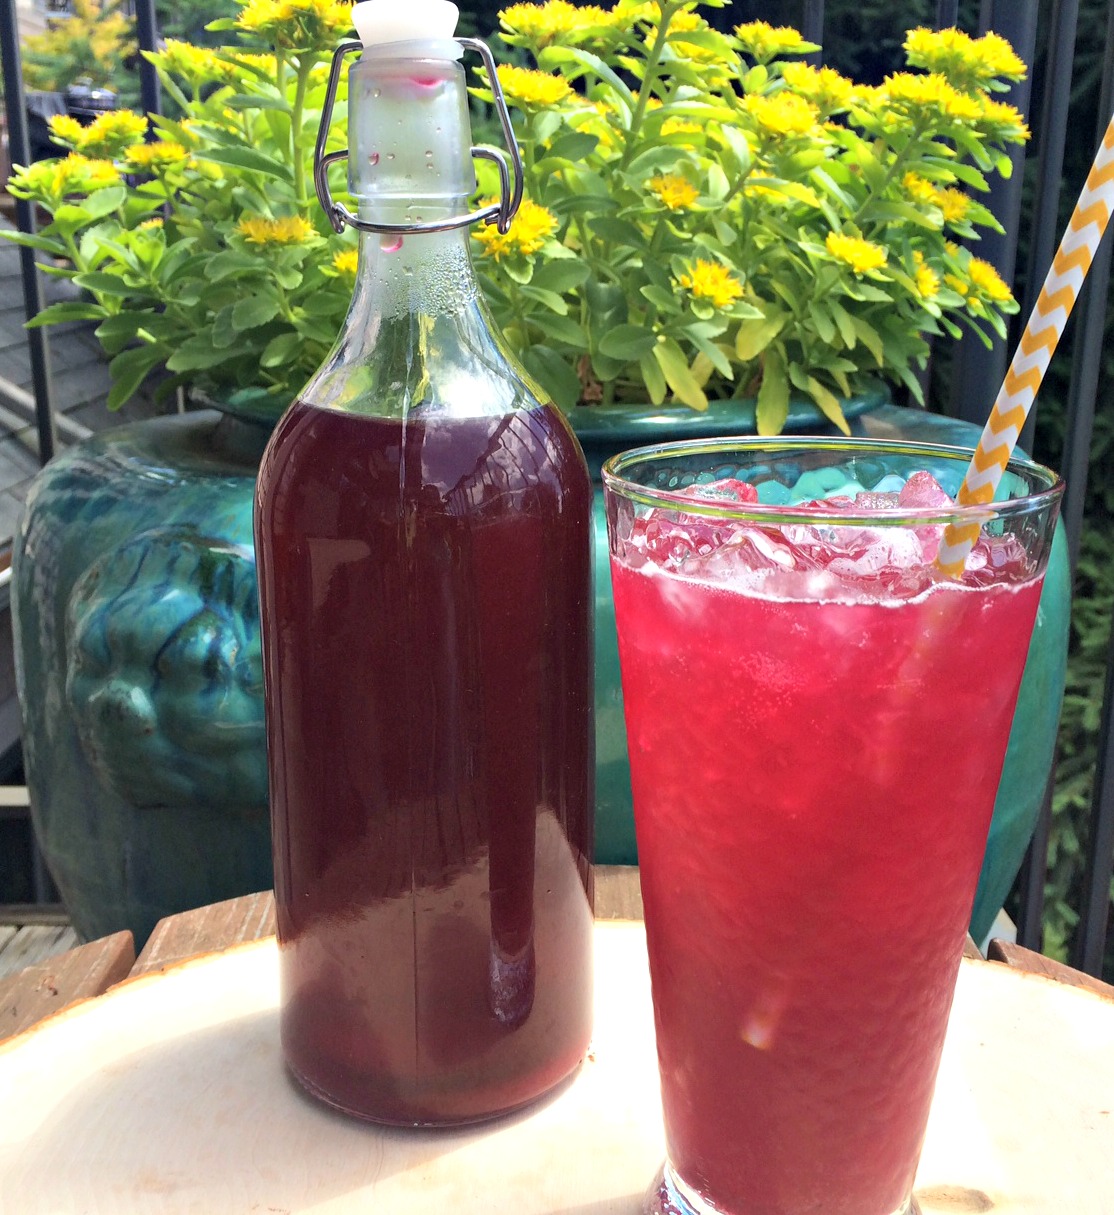
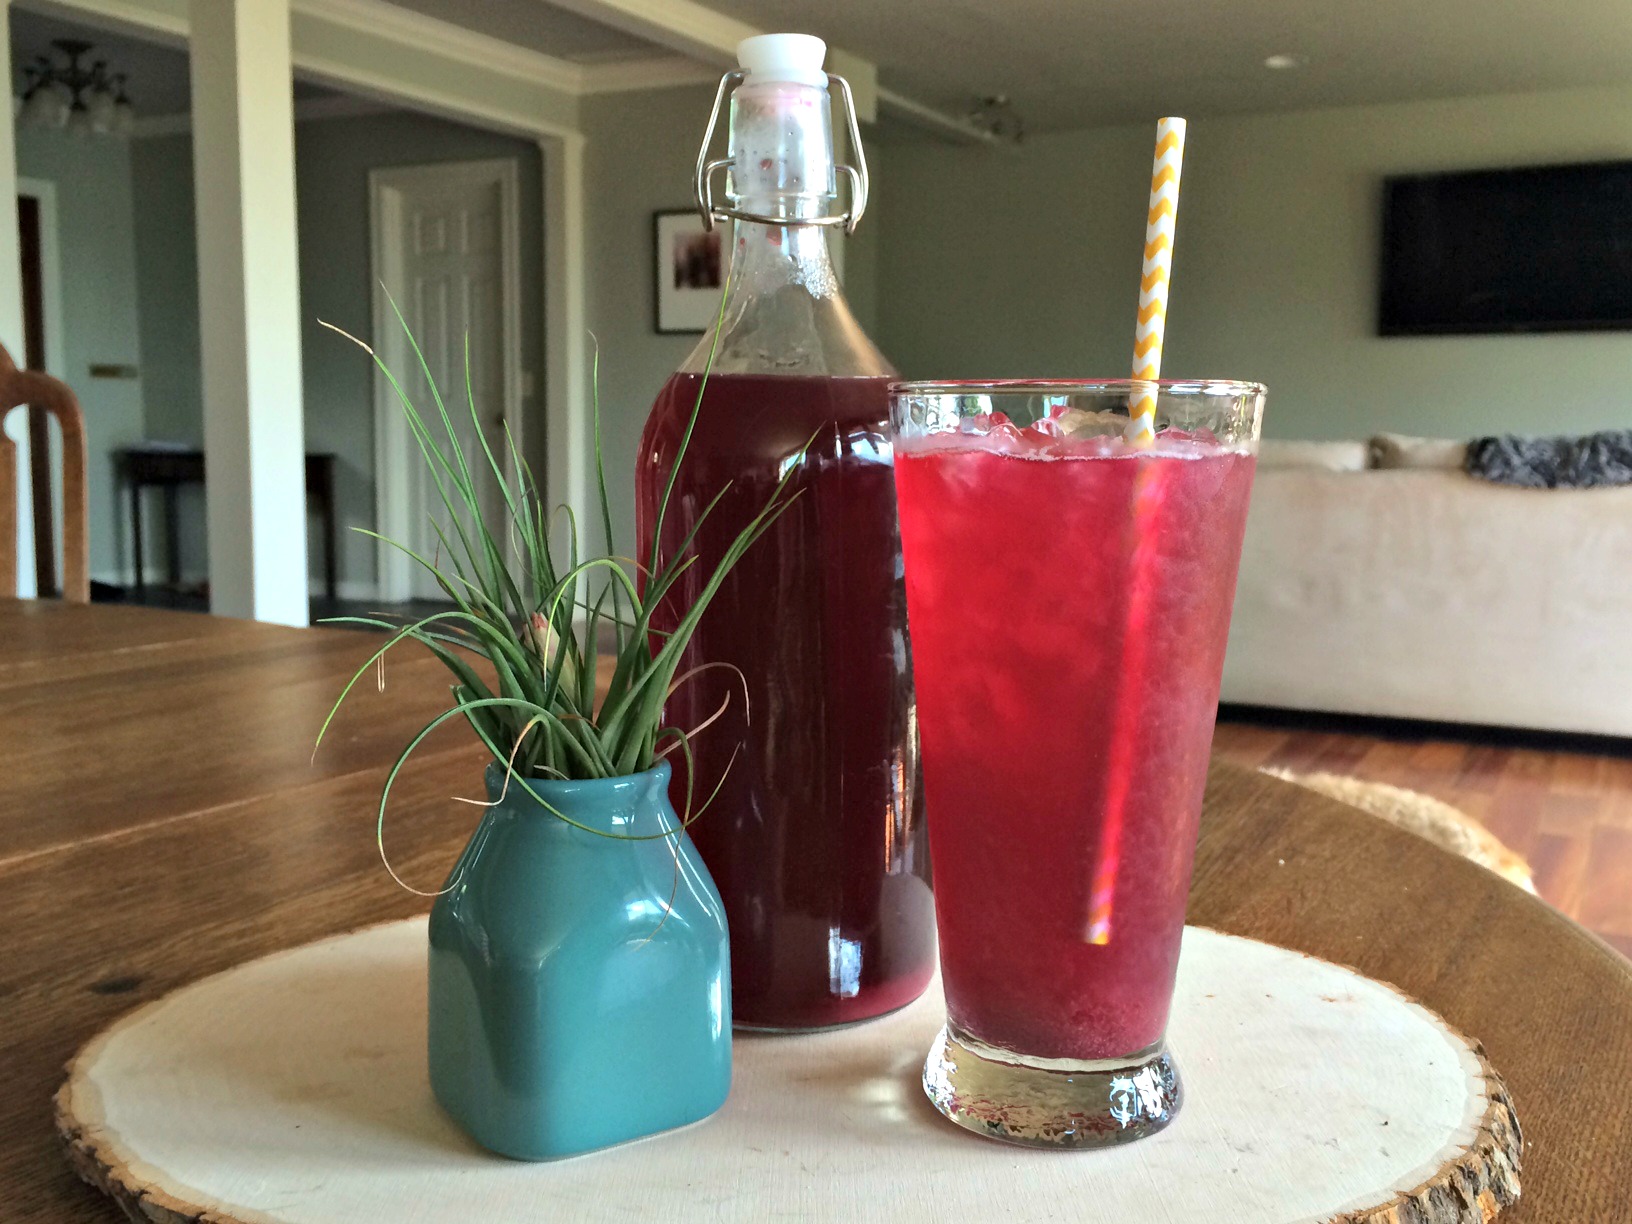
Fermented Blueberry Ginger Soda. This snack takes a little more planning because creating the ingredients for the ginger bug takes about a week. However, having a cool, refreshing, healthy alternative to soda while on the road is well worth it. Plus it will provide your gut with healthy probiotics while you are traveling. Here is the recipe for Fermented Ginger Blueberry Soda.
I have not been shy about my love for the The Oh She Glows Cookbook: Over 100 Vegan Recipes to Glow from the Inside Out cookbook. Every thing I have made from it has been absolutely delicious so when it came time for me to host book club, I knew exactly where I was going to search for a recipe to serve for dessert.
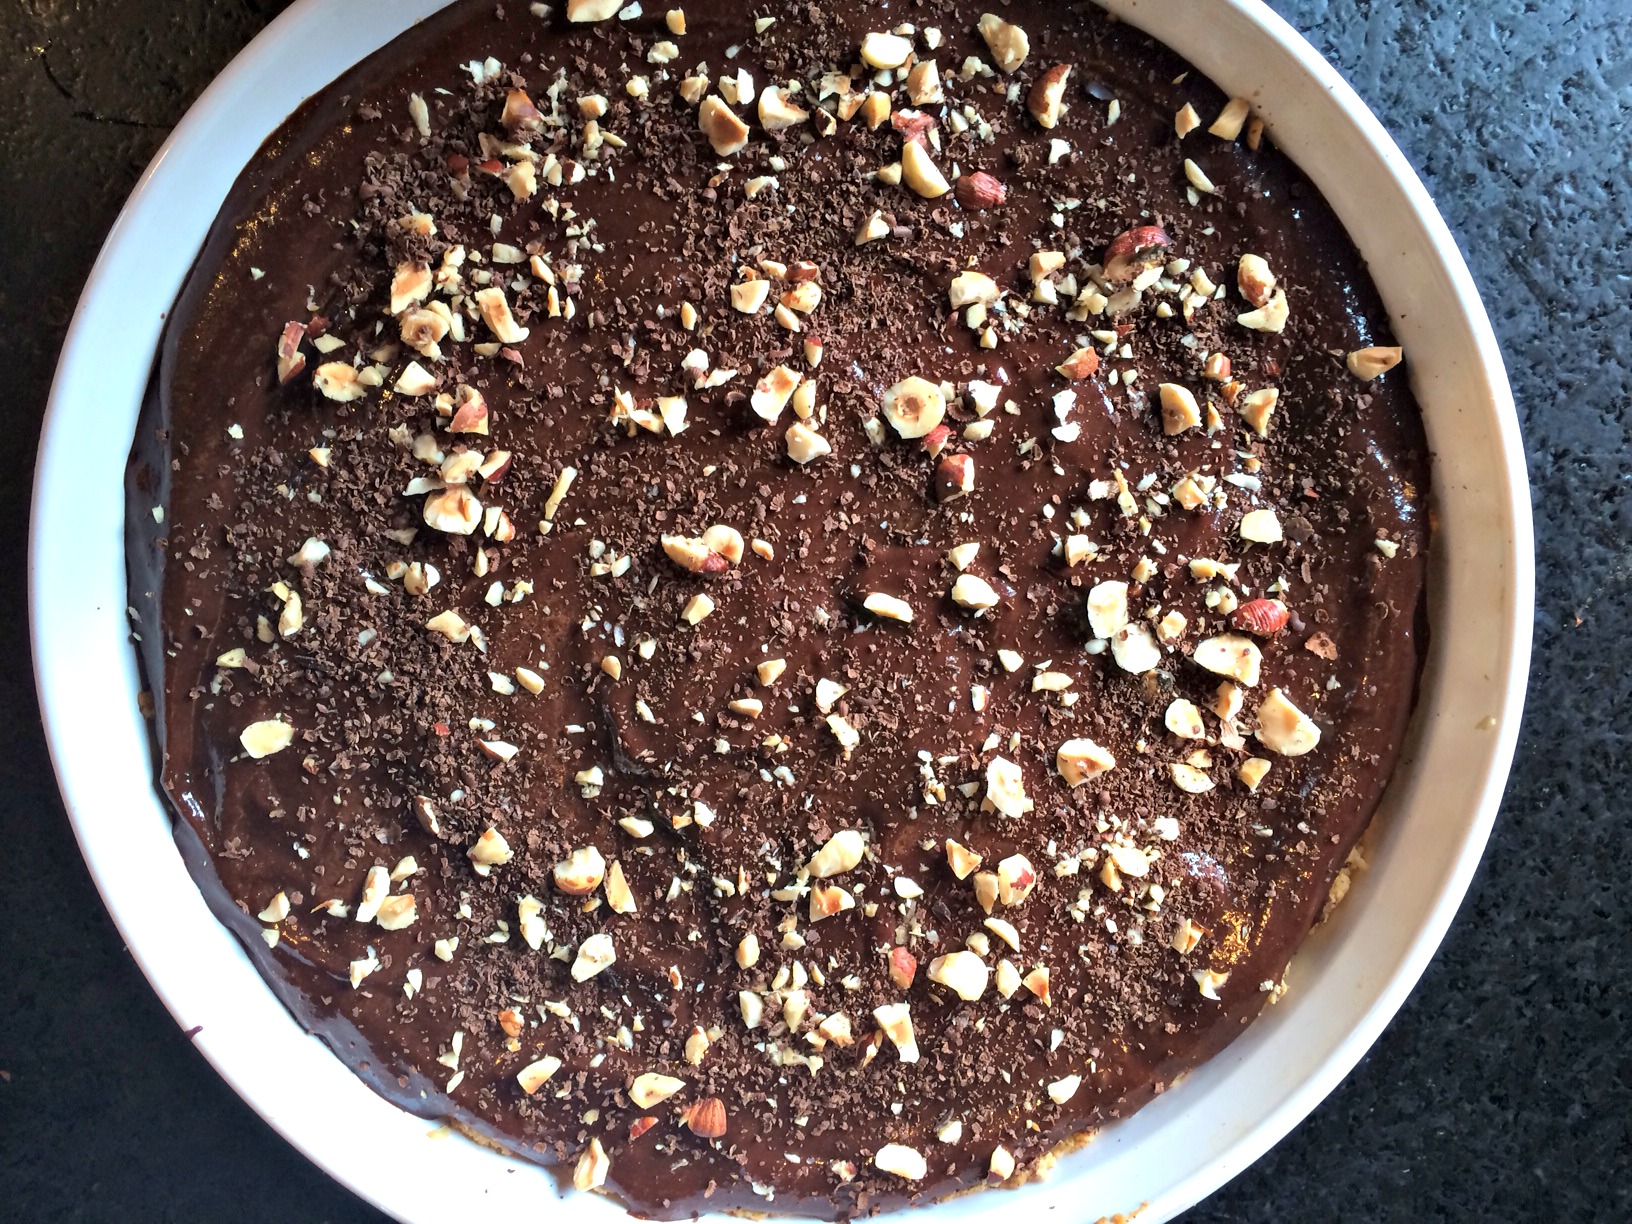
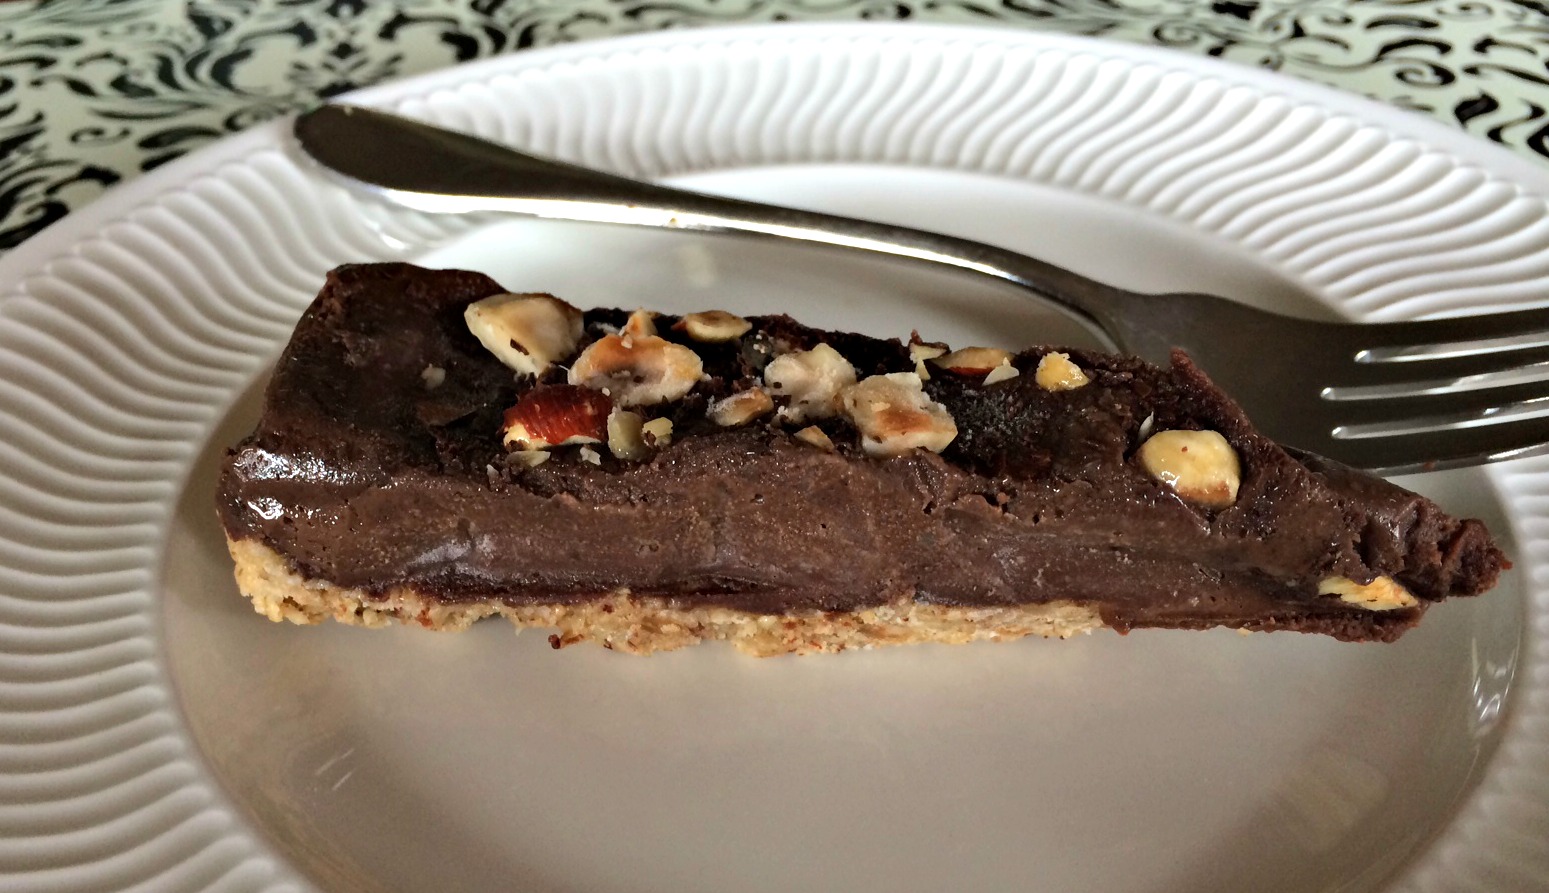
Finished pie.
Our book club is fairly simple and until the last meeting not very focused on the book. If you are the hostess, you are responsible for choosing the book and serving wine and dessert. Until the last book club, we did not spend much time actually discussing the books we had read. Most of our time was spent drinking wine and talking about what was going on in each other’s lives. However, with this meeting, we decided the hostess would be responsible for having some questions about the book to help spark discussion.
I choose Me Before You: A Novel by JoJo Moyes and printed off a list of questions from the web. This book turned out to be a great choice for our first meeting with questions. It themes were so universal that even the people who had not read the book were able to participate in the conversation. It sparked a lot of conversation about how you live your life and the choices you might make around death. I highly recommend this book.
In the original The Oh She Glows Cookbook recipe, it calls for espresso powder to be used in the filling. I was out of espresso powder so I decided to omit it from the recipe. I am sure it would be super tasty with the espresso powder but I thought it was very yummy and decadent without it. Even though this dessert is dairy and gluten free, it still wowed everyone at book club. It does, however, take a bit of planning because you need to soak the cashews for at least 4 hours (and overnight is even better) before you can make the filling. This planning is well worth the end result!!
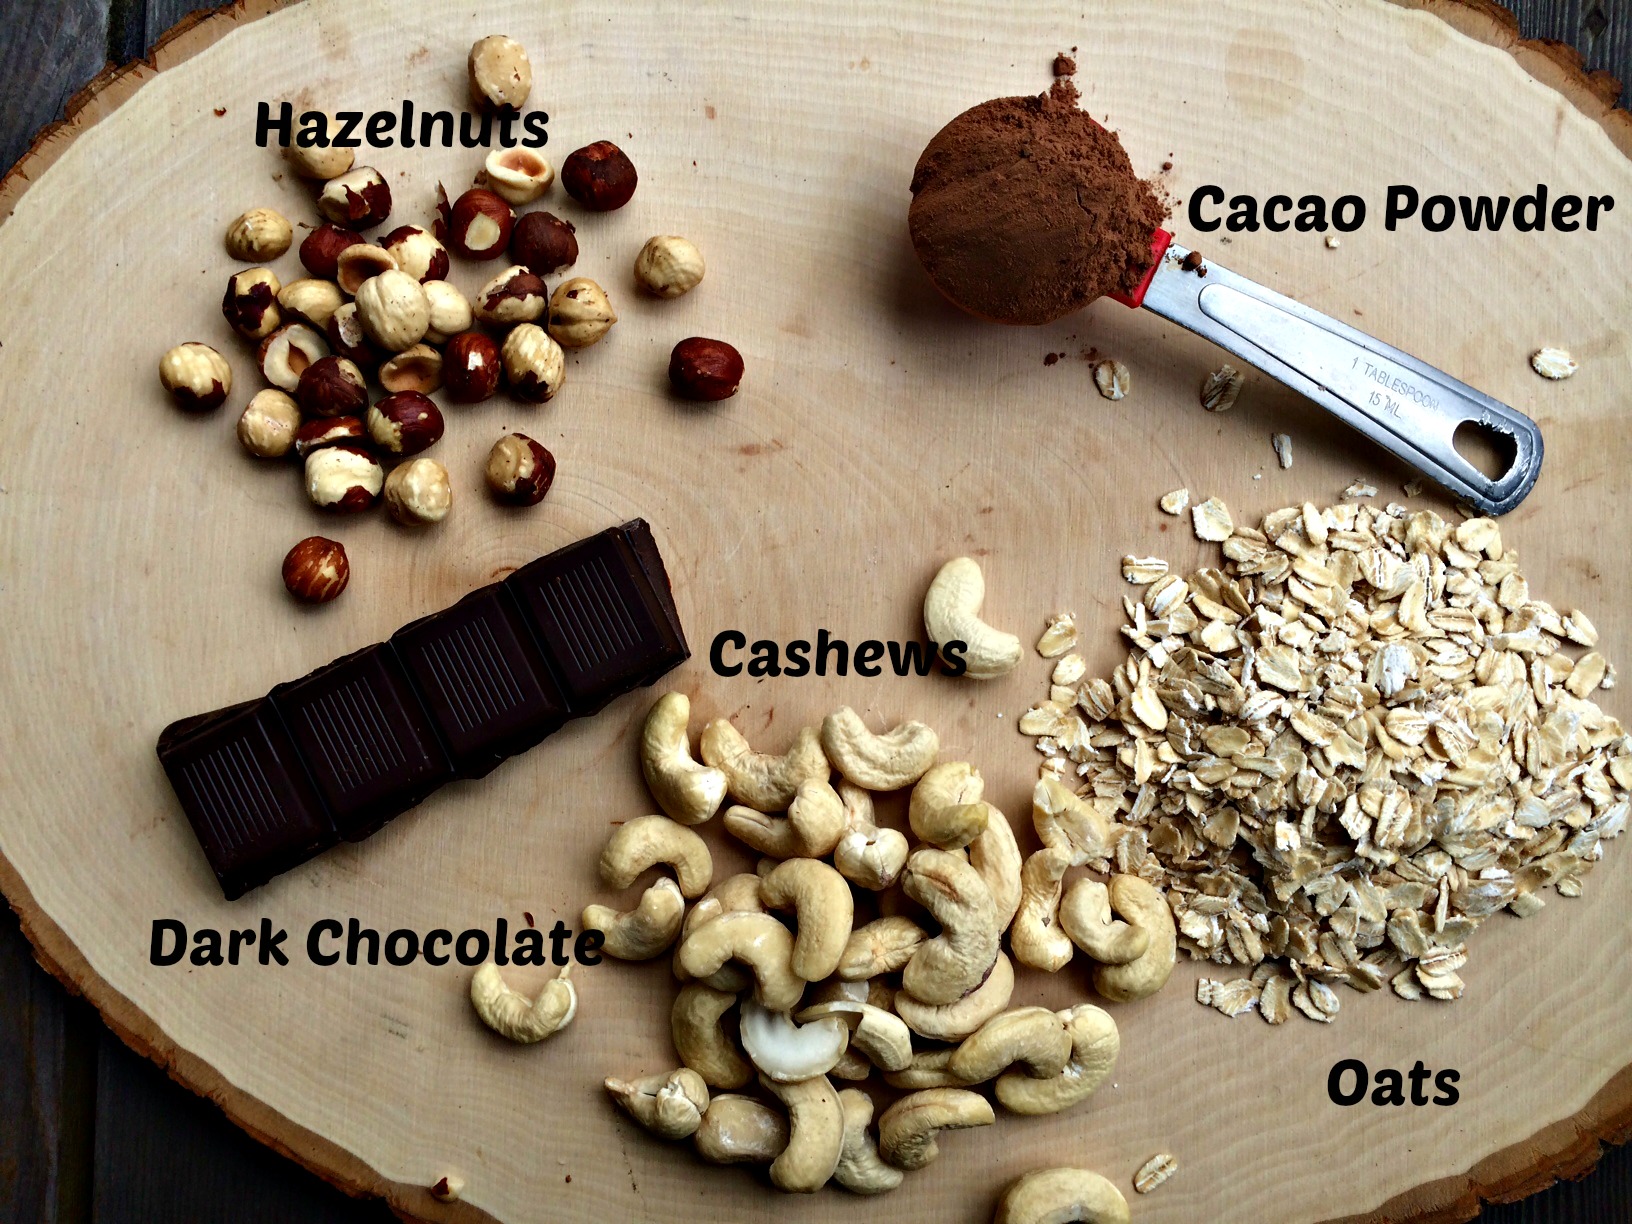
Some of the yummy ingredients that make up this torte.
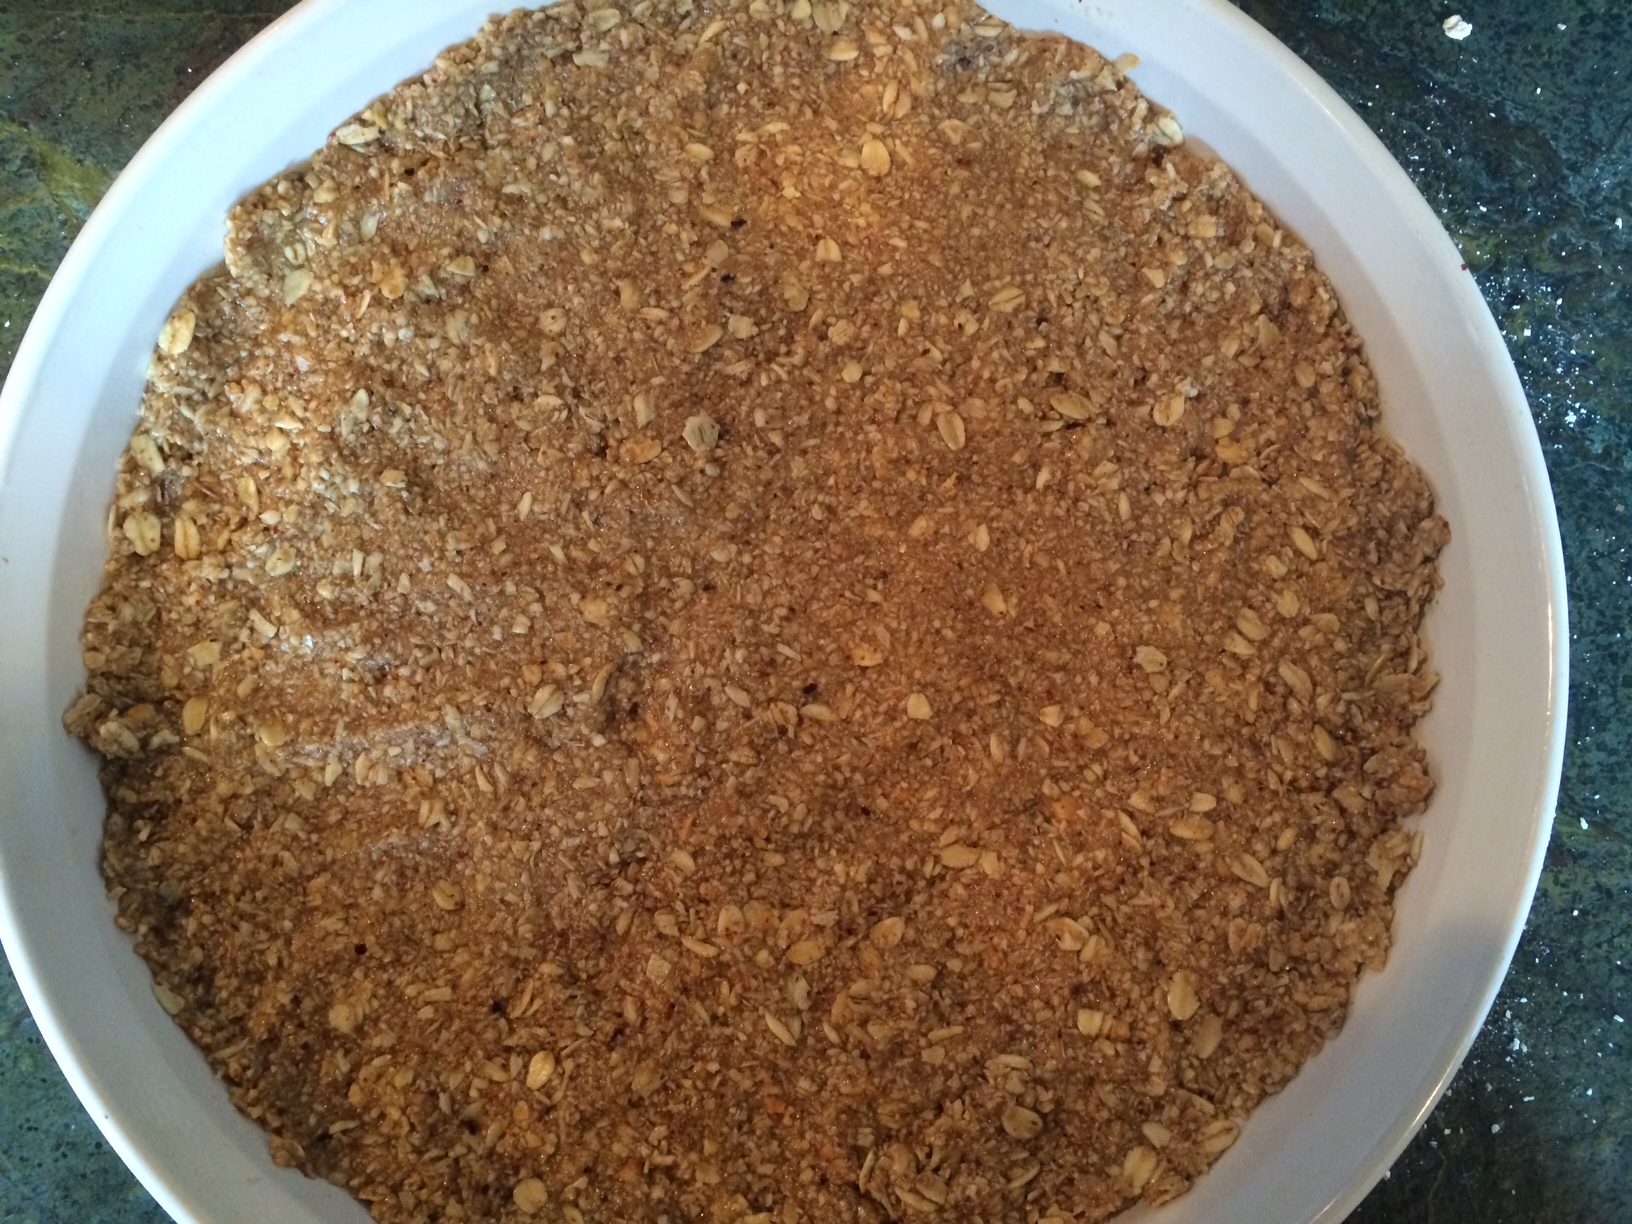
To make the crust, you combine the hazelnuts, coconut oil, oats and maple syrup in a food processor and pulse until you get a coarse crumb. This coarse crumb is then pressed into the bottom of a nine inch round pan and baked for about 10-13 minutes.
Crust before being pressed into the pan.
After removing the crust from the oven, allow it to cool before adding the filling.
Crust before baking.
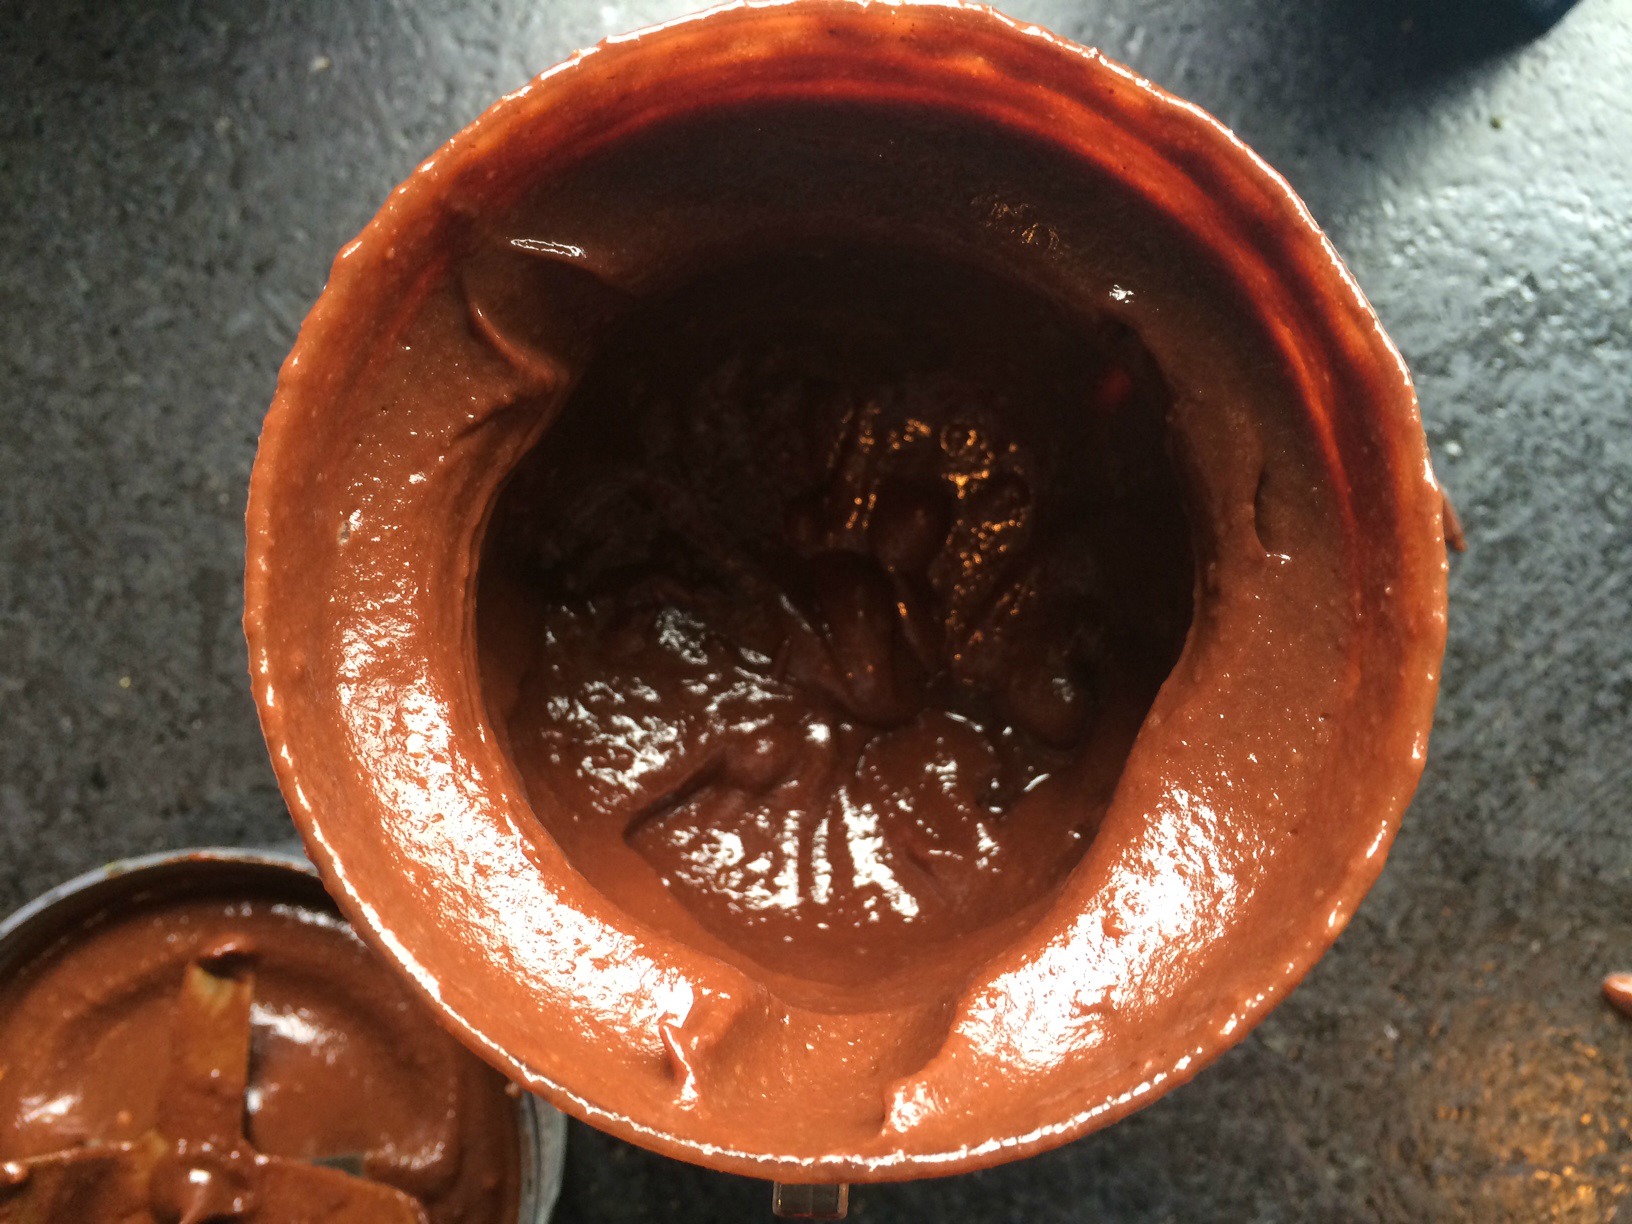
I put all the ingredients for the filling in my Nutri Bullet and gave them a whirl. I had to stop multiple times to scrap down the sides and add a little almond milk. The Nutri Bullet worked awesome to turn those nuts, chocolate and other ingredients into a smooth, creamy, yummy filling.
This pie is really very pretty sliced. (I know this pictured doesn’t do it justice.) Unfortunately, my kids got a hold of the pie before I could cut a nice slice and take a picture of it. Just one more piece of evidence about how delectable this pie is!
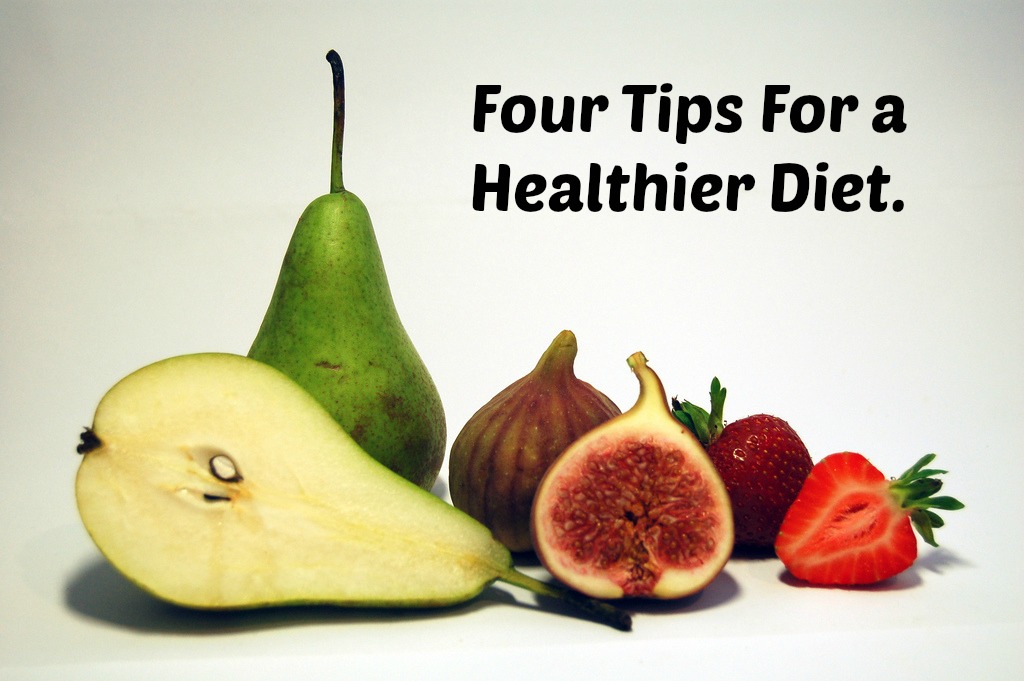
It seems there is a lot of contradictory information out there about healthy diets. Many people have incredibly strong feelings about how they fuel their bodies and they are not afraid to share their opinions. It can be hard to keep up with the latest research because the information is always changing. One minute, carbs are good- the next, carbs are bad. First you hear, don’t eat fat then you hear eat all the fat you want. It can be confusing because new research is always being released. However, here are 4 tiny tips I think most everyone can agree on.
Eat whole foods. Try to make the majority of calories you consume come from whole foods. Eat foods you recognize with a minimum of ingredients- all of which you can pronounce. Avoid food that comes in a box or package. Food in its natural state is the best.
Eat healthy fats. Your body needs fat to survive. Fat is necessary for absorption of the fat soluble vitamins D, E, K and A, for insulation for your organs and to help keep your body warm. Fat helps produce hormones and biochemicals and is in every cell in the body. However, not all fat is healthy. Avoid trans fats like those found in baked goods or processed foods. Get your fats from real food sources like seeds, nuts, avocados, fatty fish, meat and eggs.
Eat a variety of foods every day. Try to eat as many different colors of natural foods as possible. Blue blueberries, red apples, dark green leafy greens, vibrant orange butternut squash and purple eggplant all offer different essential vitamins and minerals.
Move your body. The Center for Disease Control recommends 150 minutes a week of moderate-intensity aerobic activity and muscle strengthening activities on 2 or more days a week. These recommendations do not mean you have to go sweat it out in the gym- any kind of activity which gets your heart rate up will qualify. It doesn’t matter if it is gardening, running, boot camp or ballroom dancing. Just be sure to choose something you like so you are motivated to keep doing it. Consistency is key!!
I have become obsessed with making fermented sodas and other drinks. I have been making kombucha and water kefir for a while but only recently became interested in trying to make fizzy sodas for my kids. Unfortunately, my kids have not been fans of either my kombucha or the water kefir so I am hoping to increase their consumption of fermented foods by appealing to the soda loving part of them. (However, if you love kombucha, go here for easy kombucha making instructions.)
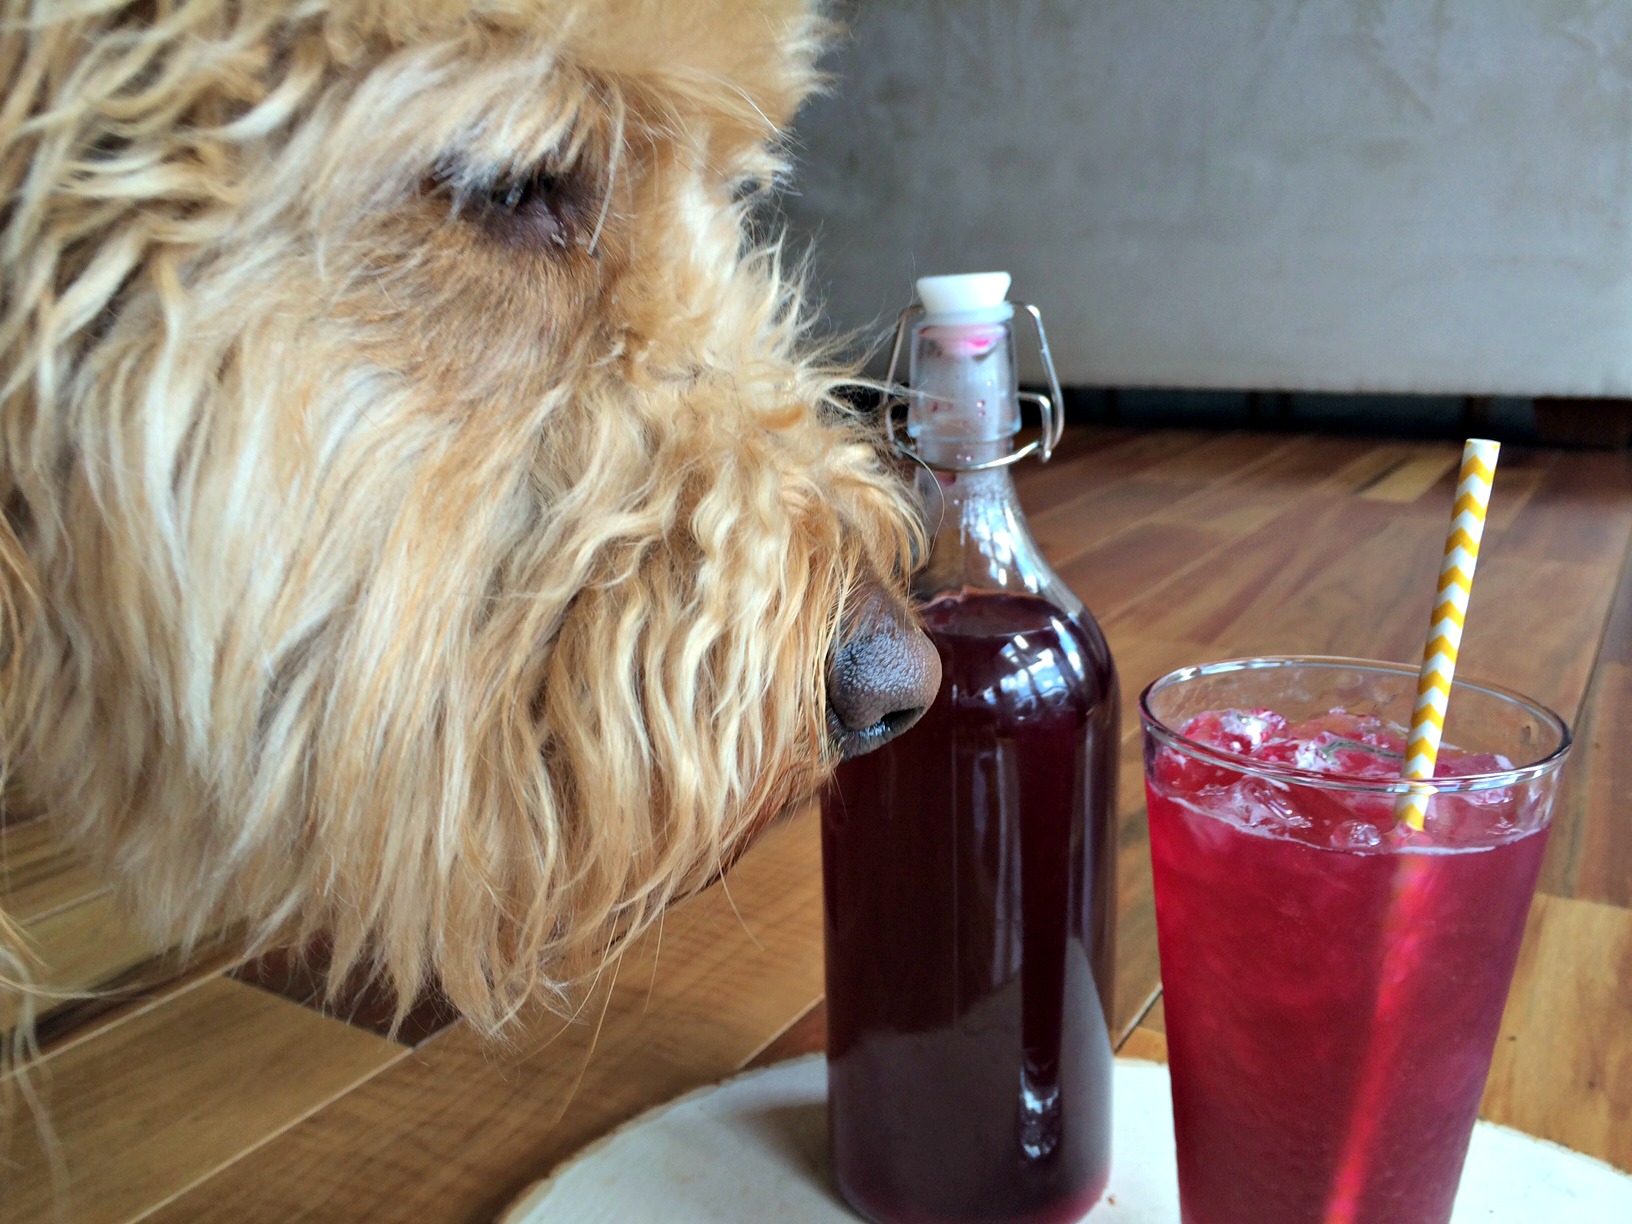
Even my dog, Roxie, is interested in improving her gut health with fermented soda.
I was interested in trying to do a wild ferment using a ginger bug and found a great recipe for ginger bugs on The Holistic Squid. When I first read the term ginger bug, I was a little intimidated to try to make one but it really turned out to be very easy. The only thing about ginger bugs is they require time. They take about one week to fully ferment so if you are in a hurry, you will need to explore a different soda making method. (I will be posting a recipe for raspberry soda soon, which I am fermenting using champagne yeast. It is quicker.)
Above is a picture of the ginger bug on the seventh day. You can see the bubbles near the top of the jar. You can also see the blueberries in the background. I used organic frozen blueberries but fresh works just as well.
Once the bug was done, I used a recipe from Learning Herbs to make my blueberry soda.
Add your blueberries to the pot and allow the water to come back to a boil.
Boil for 10 minutes.
Taste to see if tastes fruity. If you want a fruitier taste, let it boil longer.
Pour boiled liquid into the gallon jar and fill jar a few inches from top with more filtered water. (I put a metal knife in the jar to draw out some of the heat and keep the jar from cracking.)
Allow liquid to cool completely.
Strain ginger bug to remove particles of ginger.
Add ginger bug.
Cover with cheese cloth held down with rubber band or you can use paper coffee filters.
Place jar in warm spot but not in direct sunlight.
Allow to sit for at least 3 days. Stir each day 2-3 times.
After 3 days, taste your liquid, if it has the right balance of sweet and tart for you, then it is ready to be bottled. (This could take up to 7 days.)
You want to strain your liquid to remove all the berry solids.
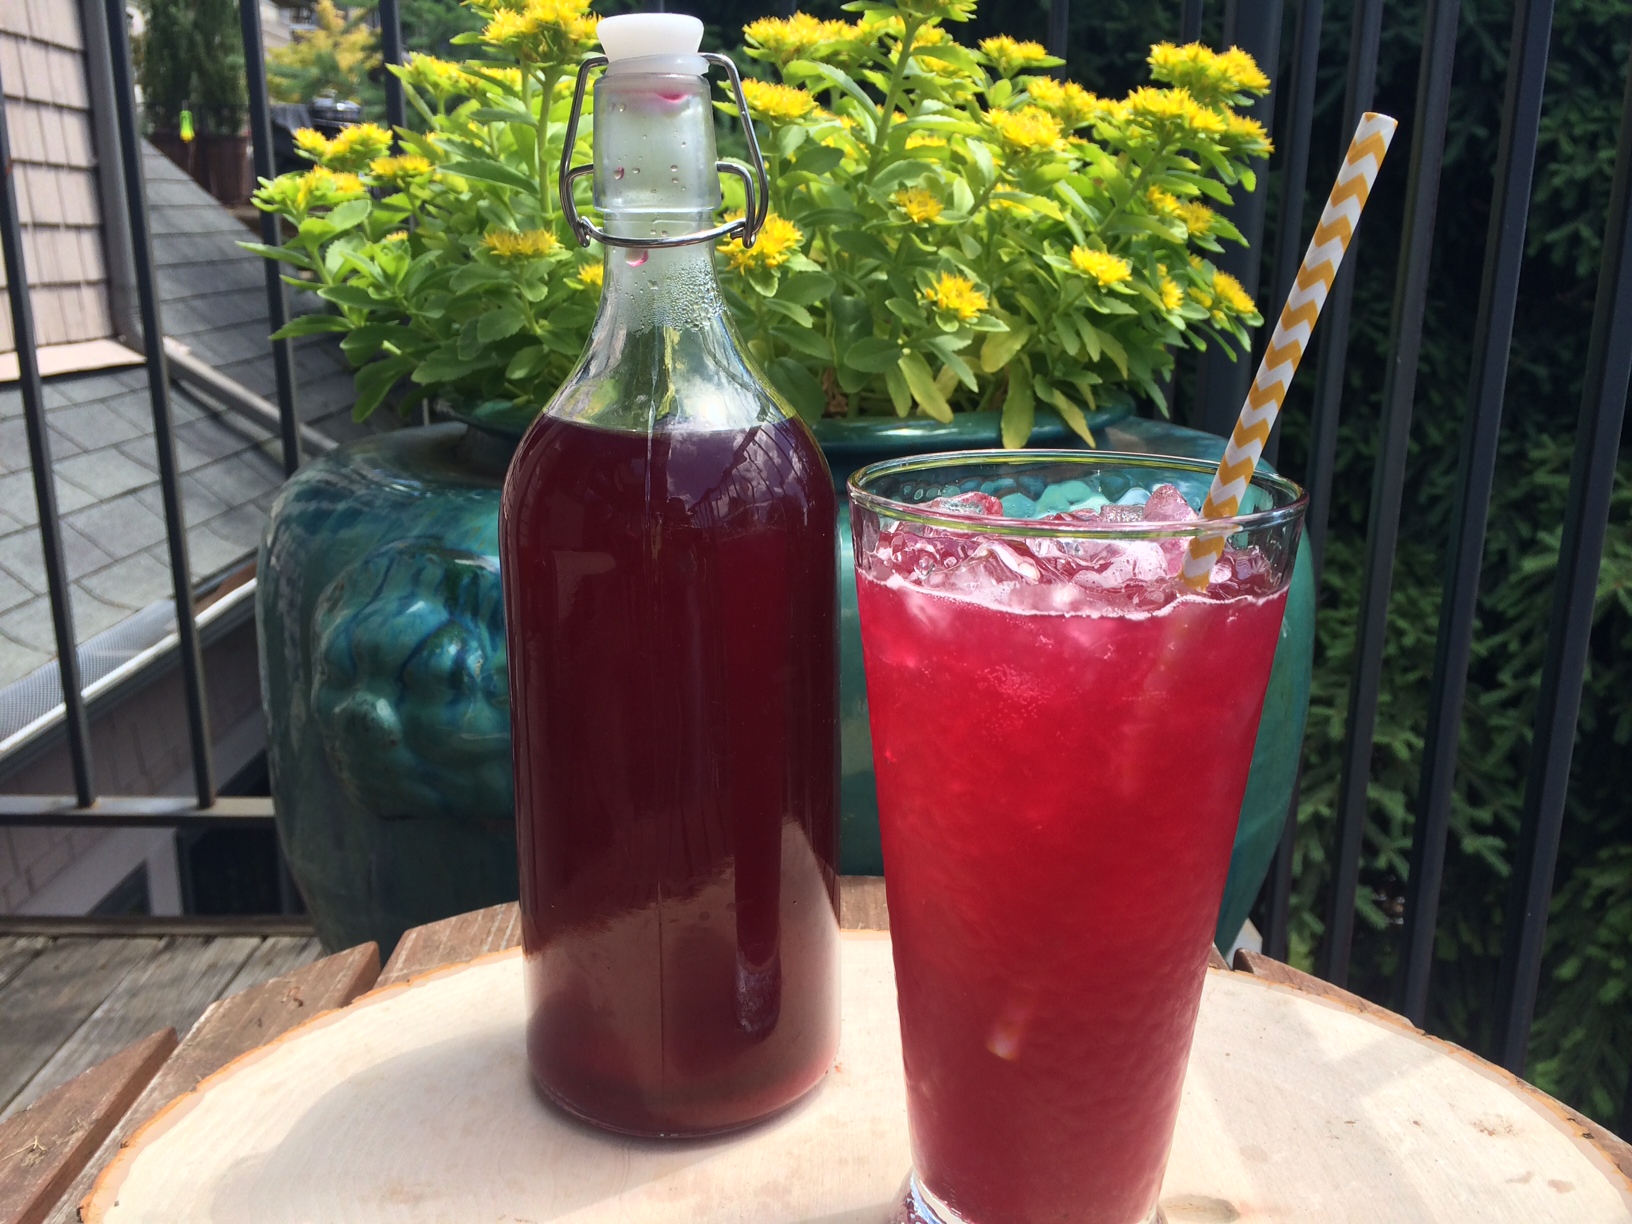
Place strained liquid into small, capped bottles. (I used some flip top bottles I found at Ikea and some recycled glass kombucha bottles.)
Allow to sit out for another day to increase the fizziness of the soda.
When it is a bubbly as you want, move it to the fridge to stop the fermentation process.
I am happy to say that even my kids like this blueberry soda. In fact, they kept hunting for more even after it had all been consumed! I was happy because my mission to get them to consume more ferments was accomplished. (Read more about the importance of fermented foods here.) The soda was fruity and fizzy but not too sweet. It tasted very refreshing on the hot summer days.
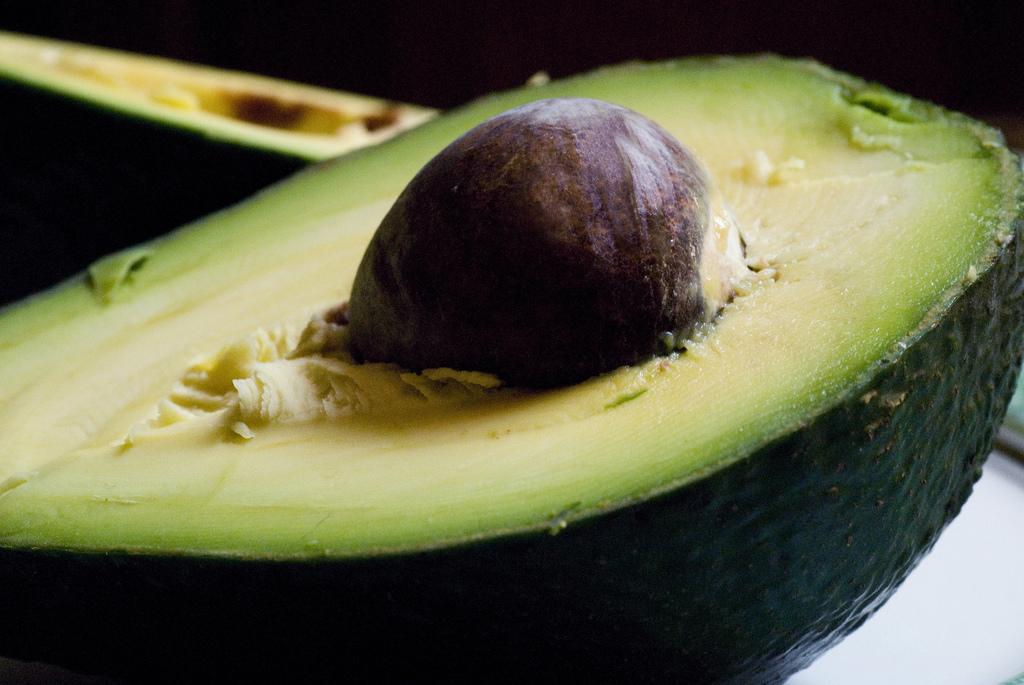
Recently, I have noticed an increased interest in avocados. It seems they are the new super food. In the past, back in the low fat crazed days, avocados were avoided due to their high fat content but now that people are realizing how necessary fat is for our bodies, avocados are enjoying a popularity surge. Even though avocados are high in fat, most of that fat is oleic acid, a mono-saturated fatty acid. Oleic acid helps our digestive tract form transport molecules for fat that can increase our absorption of fat-soluble nutrients like carotenoids. Mono-saturated fats also help lower our risk of heart disease. Avocados also contain phytosterols, which are invaluable in lowering inflammation, especially in arthritis. Avocado is an excellent source of carotenoid lutein, which known to help protect against age-related macular degeneration and cataracts. They contain lutein which helps fight macular degeneration and their high fiber content helps keep blood sugar level. Avocados are a particularly rich source for potassium, Vitamin E, folate, Vitamin K, Copper and Vitamin C. With all these amazing health benefits, it is easy to see why avocados are the new darlings of the nutrition world. Throw some on a salad to increase your absorption of fat soluble vitamins. Grind one into a smoothie to add a thick, rich, satisfying texture. Mix one with some honey and smear on your face for a moisturizing mask. The possibilities are endless. What is your favorite way to enjoy avocados?
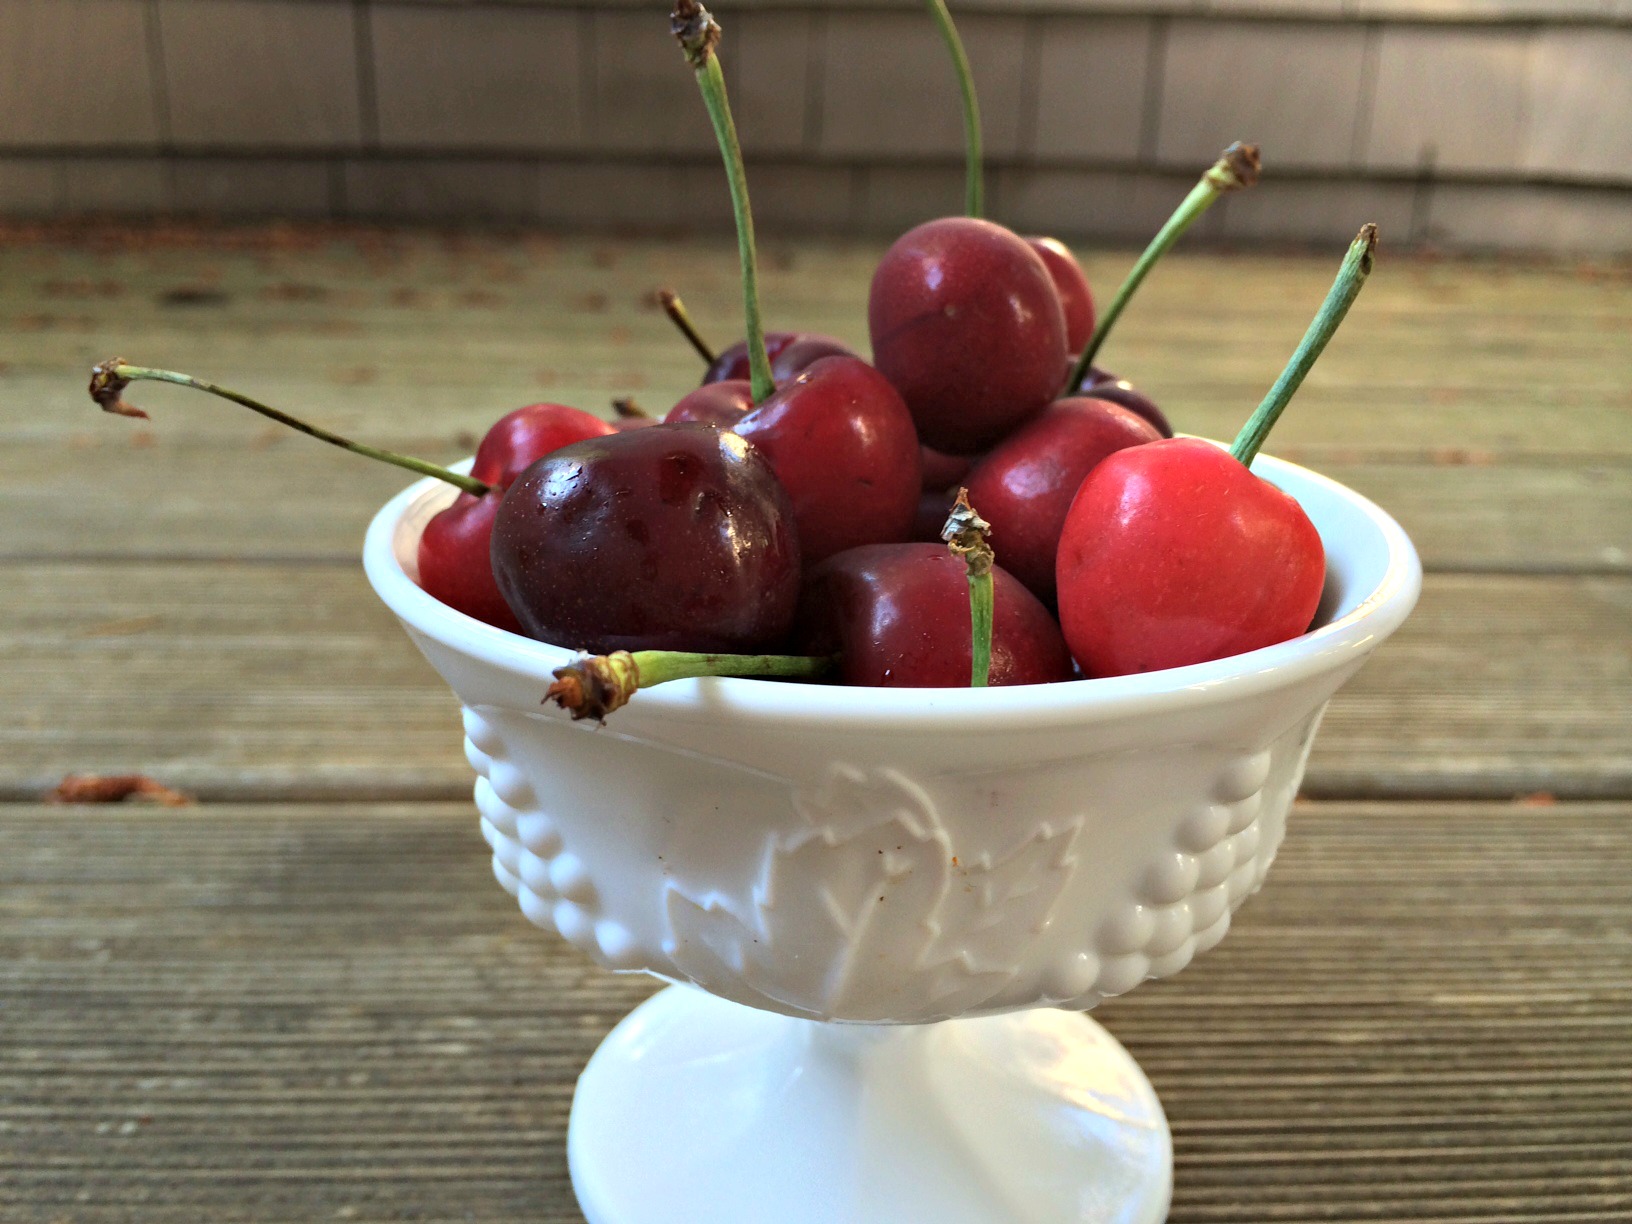
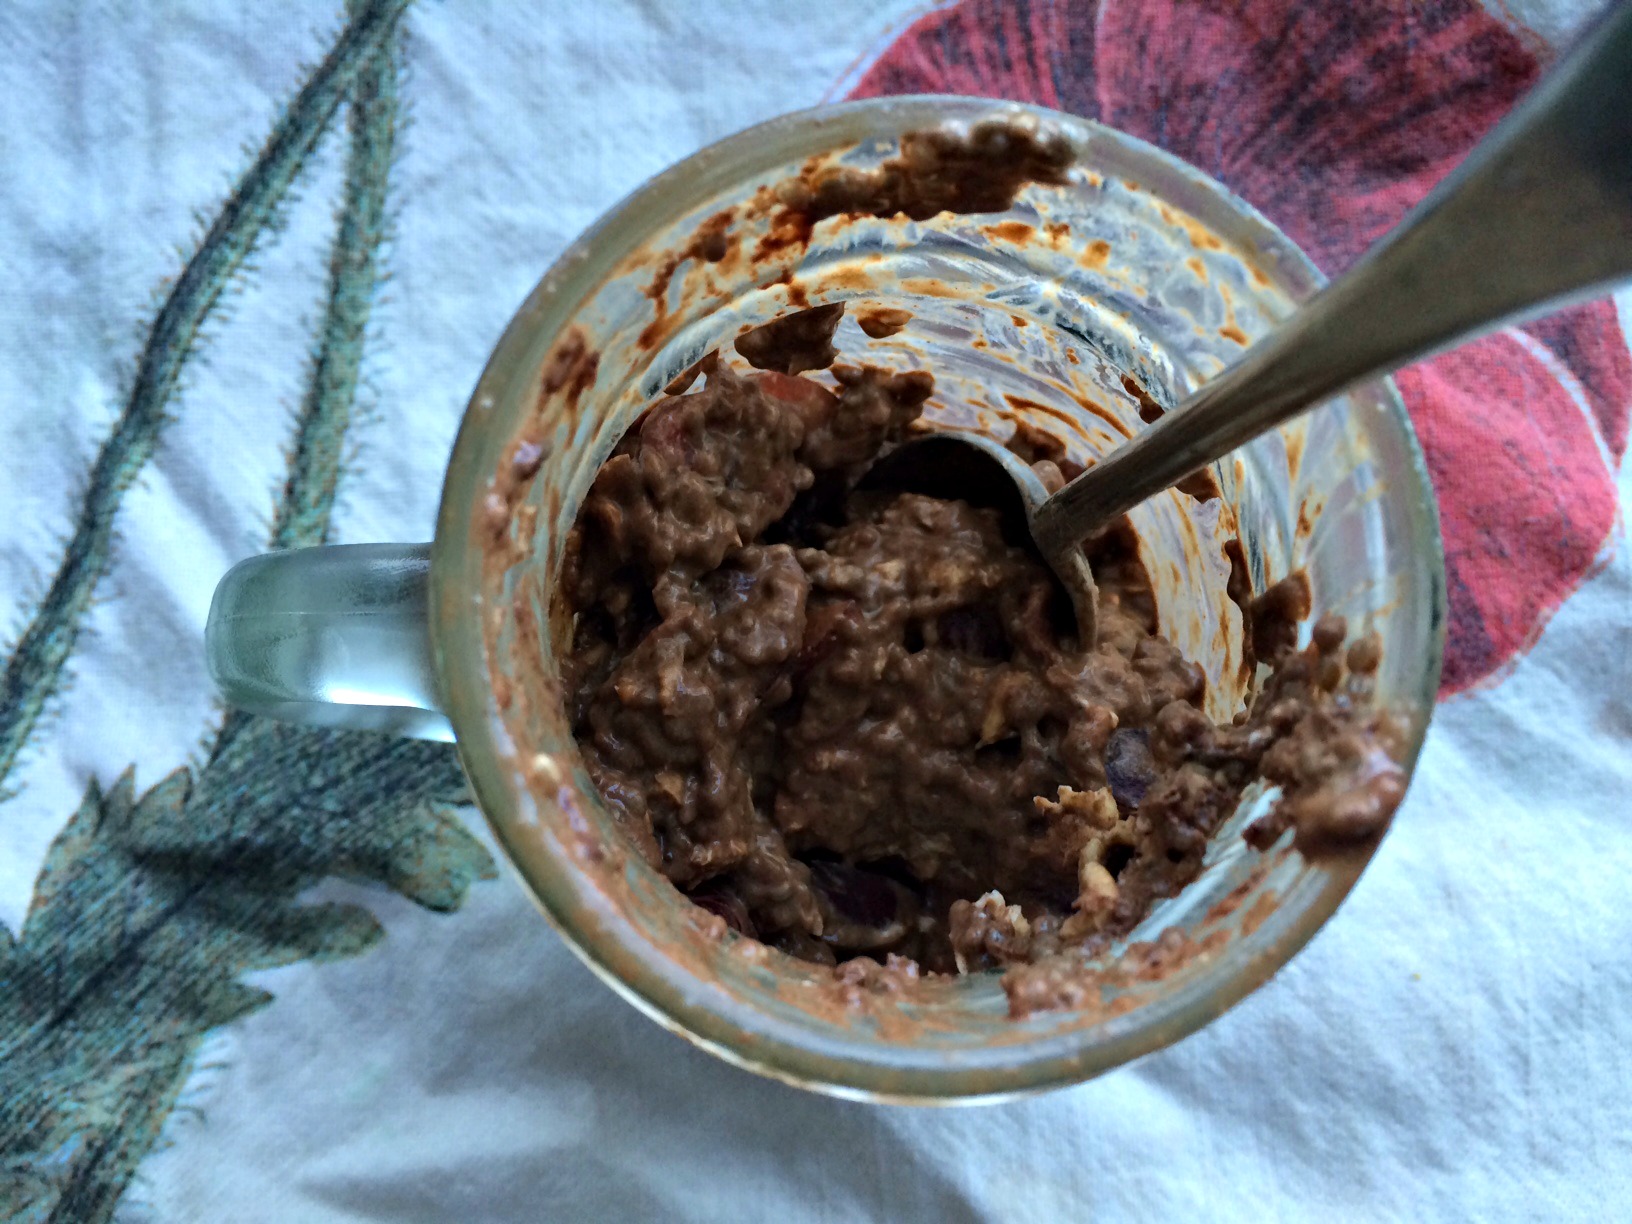
Every Friday morning, I sweat my way through an amazing boot camp class at The Refinery here in Portland. Each week features a different series of moves designed to torture us. While I am usually exhausted by the end of it, I LOVE it! It is fun, challenging and awesome to see what my body can and can’t do each week. Before each class, I have to think carefully about how I am going to fuel my body to get through the workout. I don’t want to be too weighed down but also want to be sure I have enough fuel to finish. The last few weeks, I have been relying on versions of 24 hour oats. With cherry season upon us, these Chocolate Cherry Chia Oats are my new favorite.
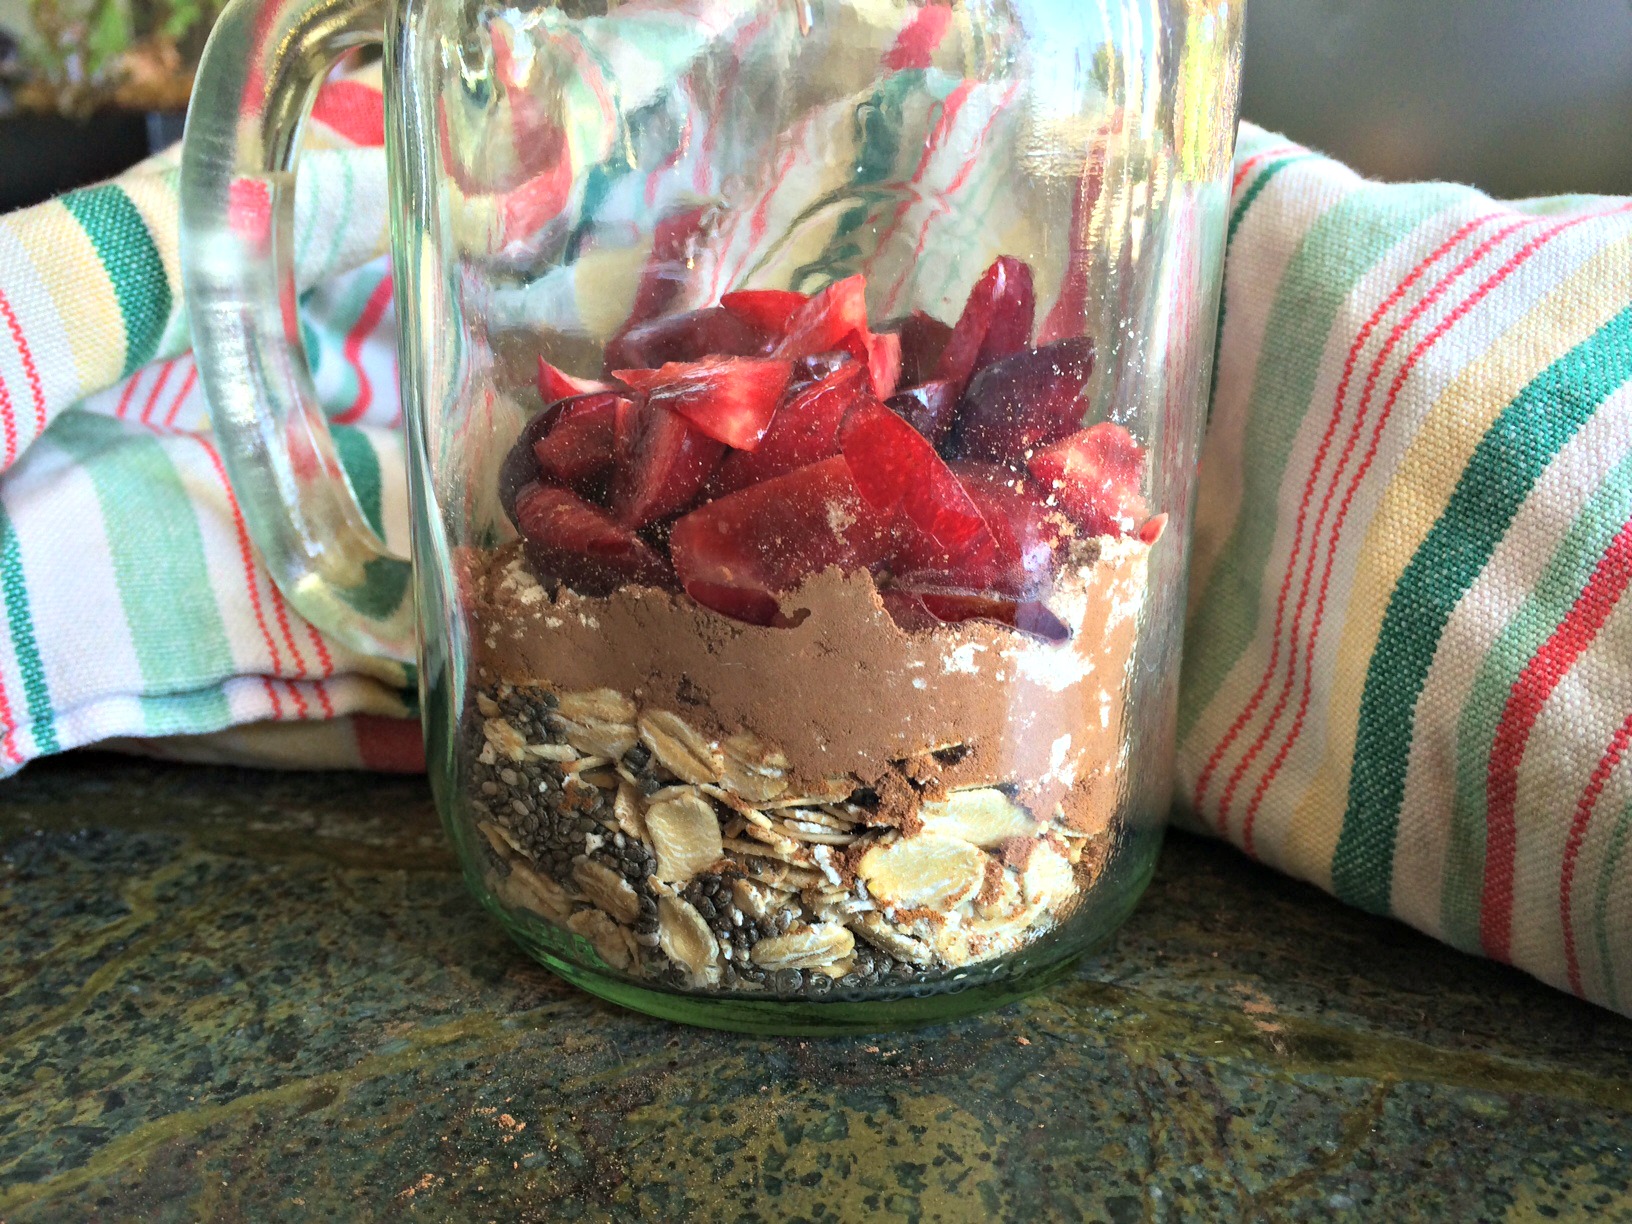
All the ingredients before adding the almond milk.
I added a scoop of vegan vanilla protein powder to my oats because I wanted the extra protein with such a hard workout but you can leave it out if you aren’t interested in extra protein.
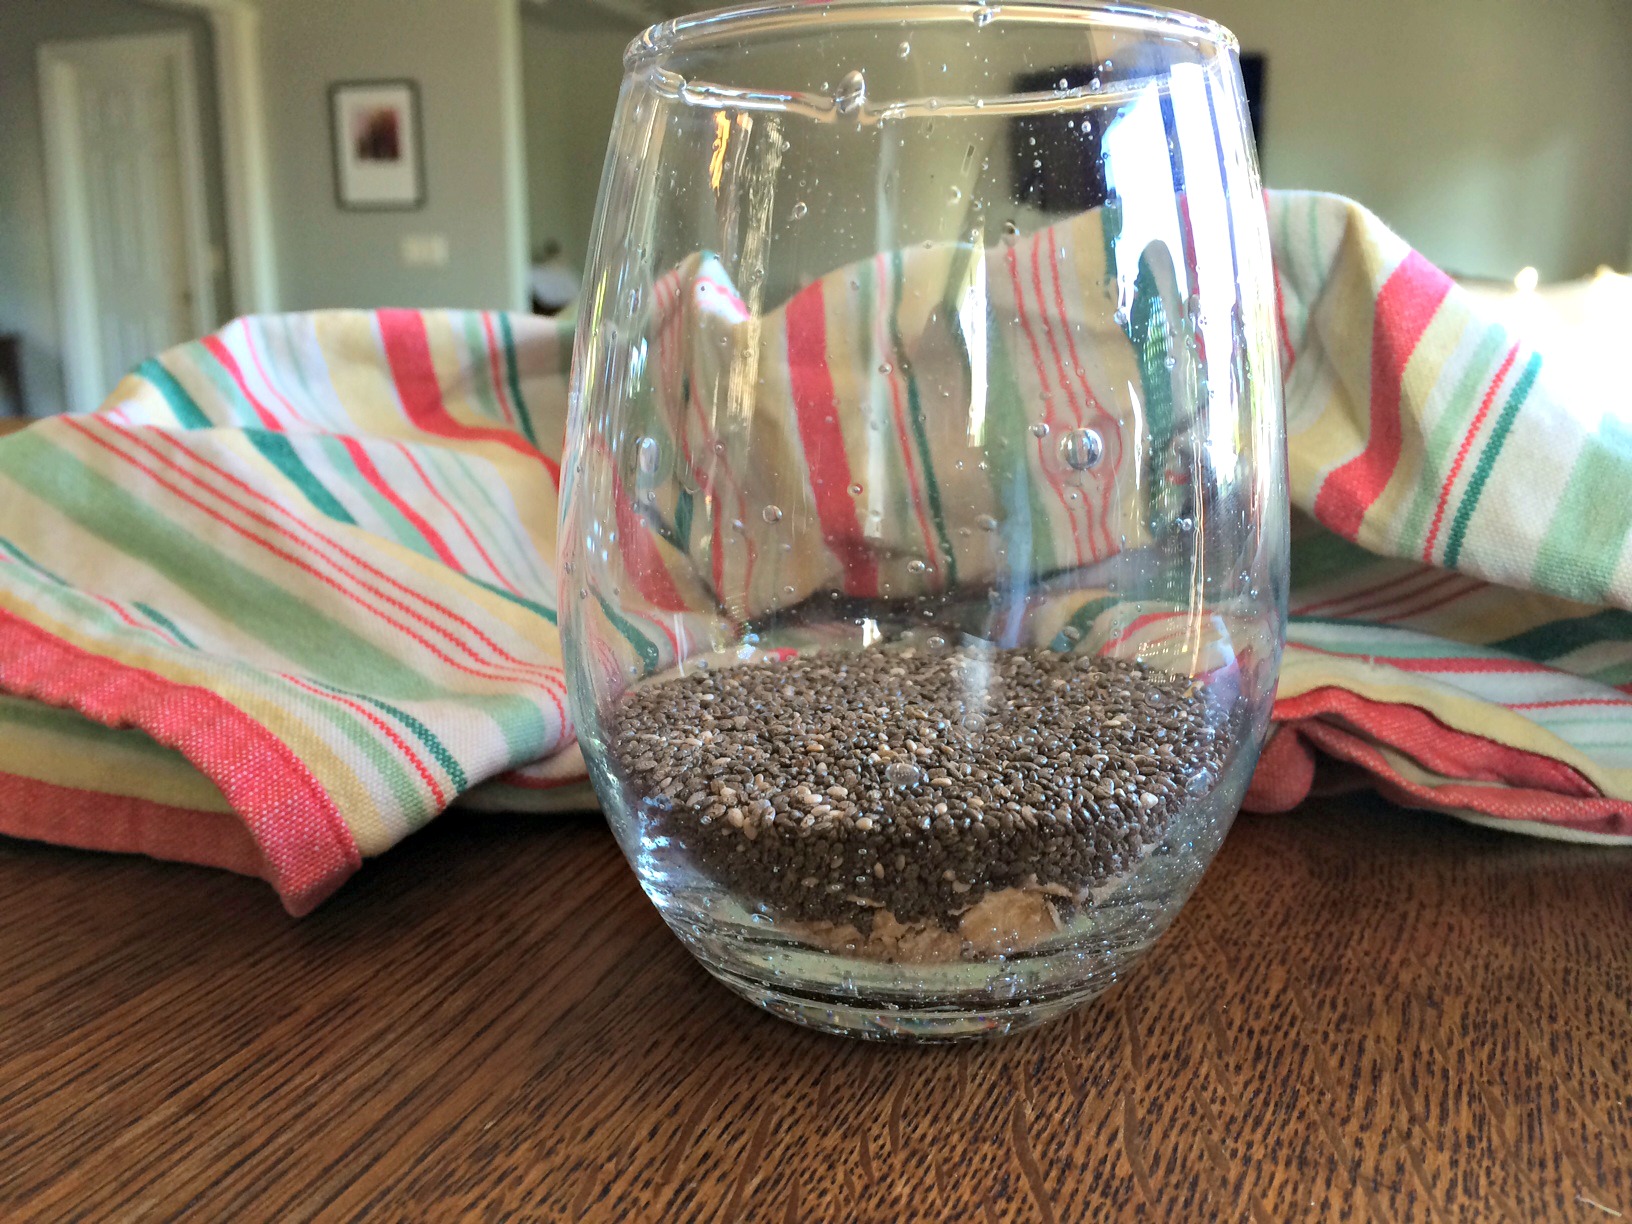
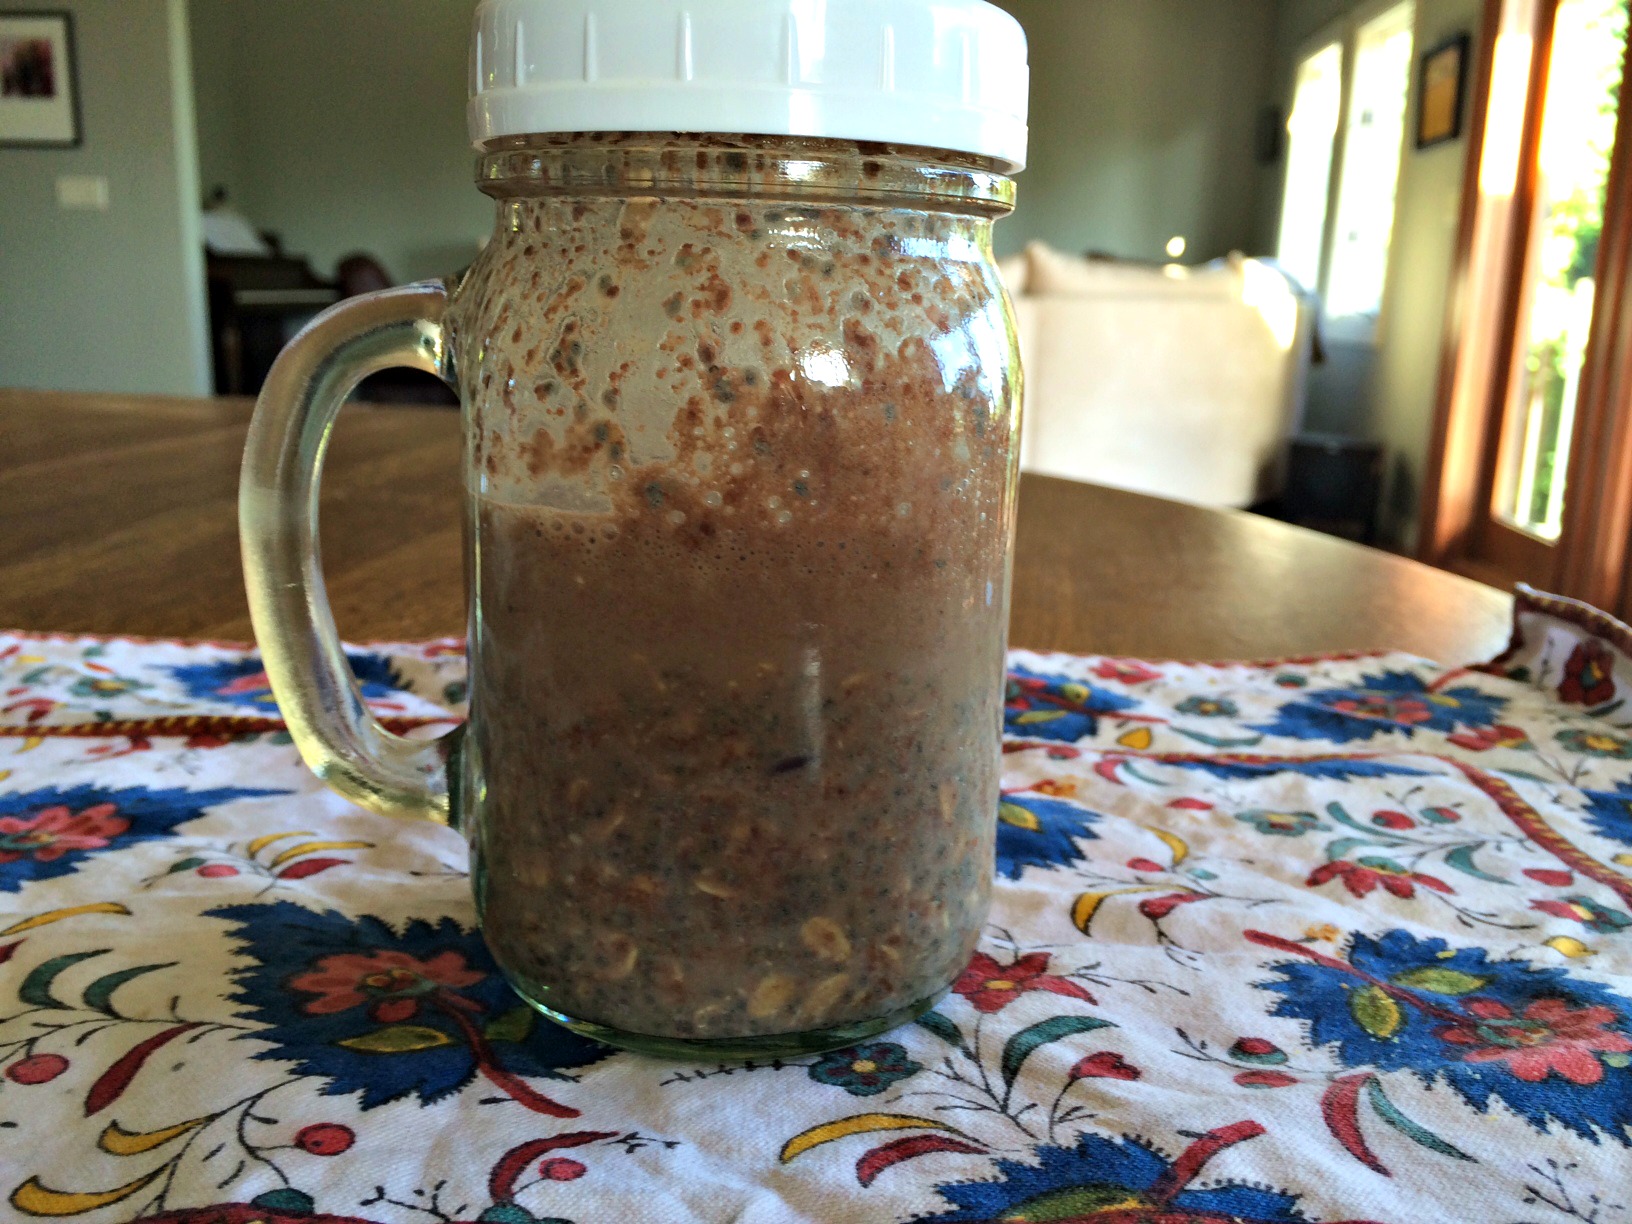
These oats are great because you prep them the night before and then just grab them and go in the morning. They offer healthy omega-3 fats with the chia seeds, fiber filled oats and a dose of Vitamin C from the cherries. As you can see from the picture below, it is not a pretty breakfast but it sure tastes good.
I usually add a couple of tablespoons of some sort of nut butter for even more flavor and protein. You can omit it if you want or use whatever type of nut butter you have on hand.
Summer is definitely here in the Northwest and the Farmer’s Markets are loaded with berries. Right now, you can fill your fridge with raspberries, blueberries and strawberries and blackberries are just around the corner. Why is this such good news for those of us interested in our health? Because these four berries are at the top of the list for providing antioxidants. Their bright, vibrant colors are a sign of their antioxidant’s powerful ability to stop free radical damage. Berries also contain a pain fighting anti-inflammatory called COX-2, found in come scientific studies to be more effective than ibuprofen.
Each of these berries offers their own particular health benefits so I diet rich in all four is optimal. Strawberries are loaded with Vitamin C, manganese and potassium. Blueberries also have Vitamin C and fiber. Blackberries have a little protein plus Vitamin E, Vitamin K and omega-3 fats. Raspberries offer fiber as well as copper, vitamin K, pantothenic acid, biotin, vitamin E, magnesium, folate, omega-3 fatty acids, and potassium. With all these amazing health benefits, adding berries to your diet is a delicious must do!
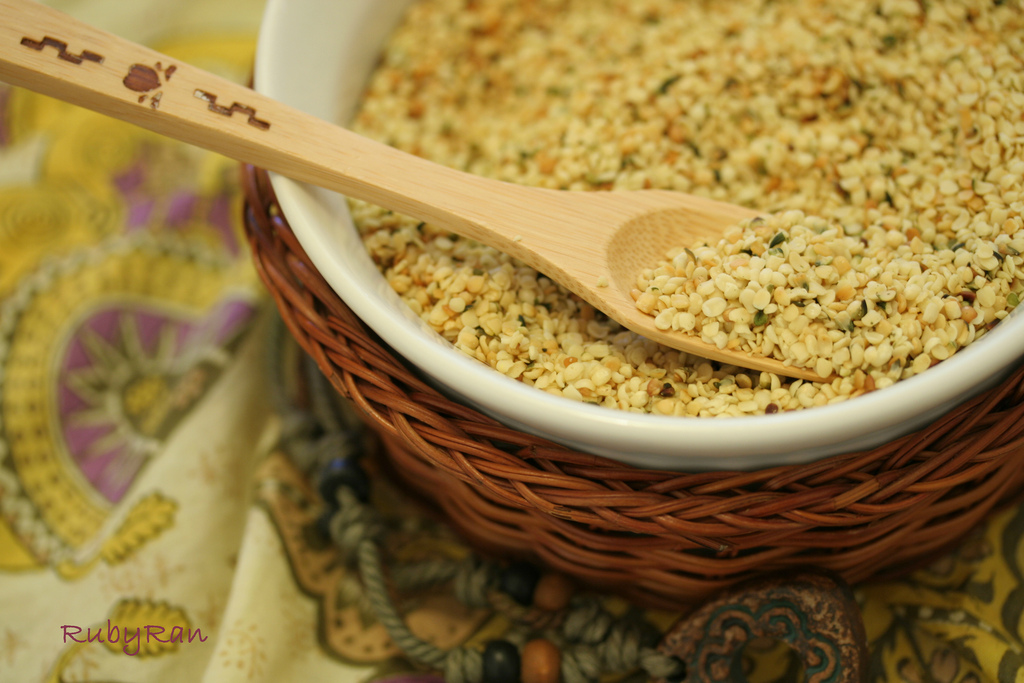
Hemp seeds are one of the new darlings of the health food world and when you take a look at their nutritional profile, you understand why. Hemp is known for its ideal concentrations of omega-3 and omega-6 fatty acids(1-3 ratio) which have the potential to beneficially influence heart disease and improve overall health. Hemp seeds contain all of the essential and non-essential amino acids making it a complete protein- a perfect vegan protein source. (In fact, 3 tablespoons of hemp seeds contain 11 grams of protein.) They contain GLA (gamma linolenic acid), a building block of anti-inflammatory hormones. Hemp seeds are chock full of disease-fighting, plant-based phytonutrients and anti-aging antioxidants such as vitamin E. It also adds vitamins and minerals including Vitamin A, Vitamin D, zinc, calcium, phosphorous, magnesium and iron.
Hemp seeds have a mild flavor similar to chopped walnuts. They are excellent in both smoothies and baked goods, sprinkled on salads or in yogurt and are often made into a source for vegan protein powder. They are an incredibly versatile source of nutrition. Tell me about your favorite recipes for hemp seeds.