Dark Chocolate Nut and Seed Blasts- Good for your Heart!
I have been so intrigued by all the raw truffle recipes on Pinterest. Every time I see a recipe for truffles or energy balls, I have to click over to the actual website to see how they are made. I can’t believe how many different versions there are! After reading so many recipes and dreaming about how yummy they all sounded, I decided to try to make some of my own.
Since I am always looking for ways to get more nutrition into my kids, I wanted to be sure my nut and seed bombs offered some health benefits. Given how each nut and seed has it’s own distinct nutritional benefits, I decide to try to incorporate as many different types of nuts as possible. I used walnuts for their short chain omega-3 alpha linolenic acid to benefit the heart and give copper and manganese. I include pistachios for their high fiber content and carotenoids. Almond butter was used for almond’s high vitamin E, manganese, copper and fiber content. Finally, hemp seeds were included for another dose of omega-3’s
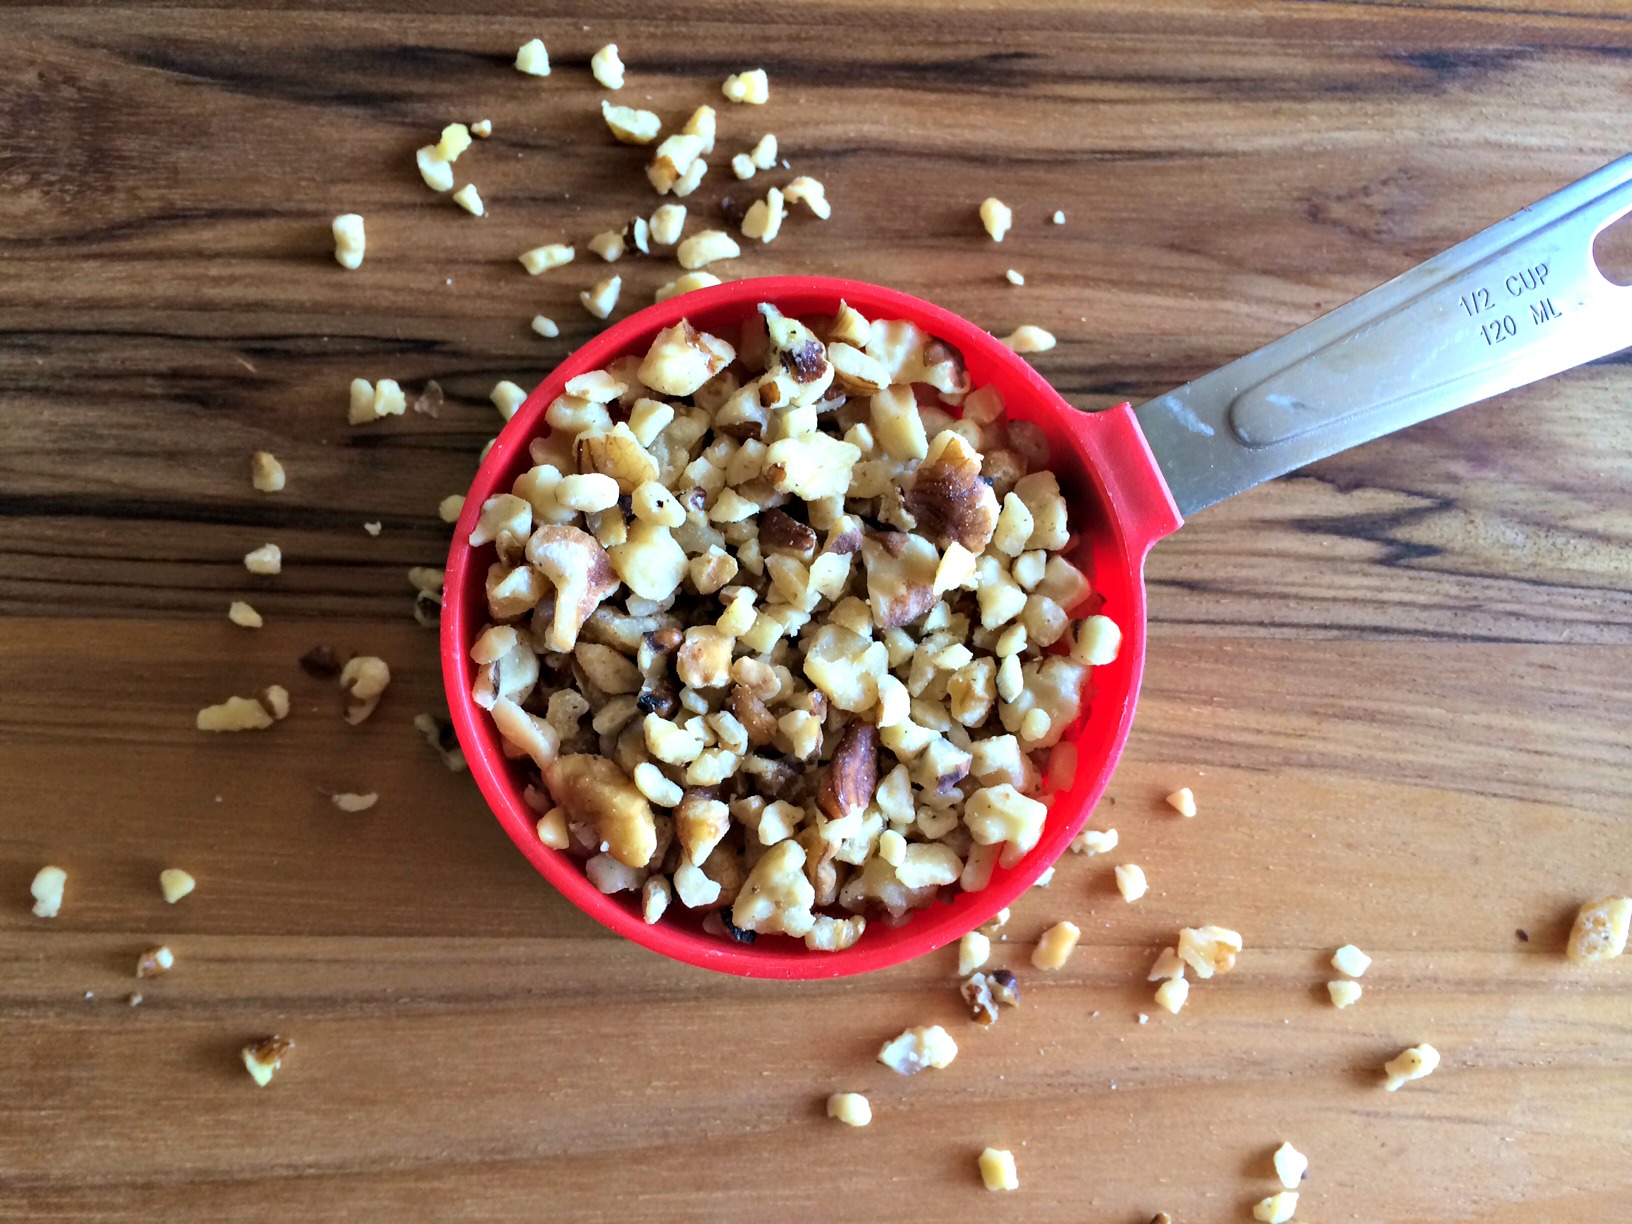
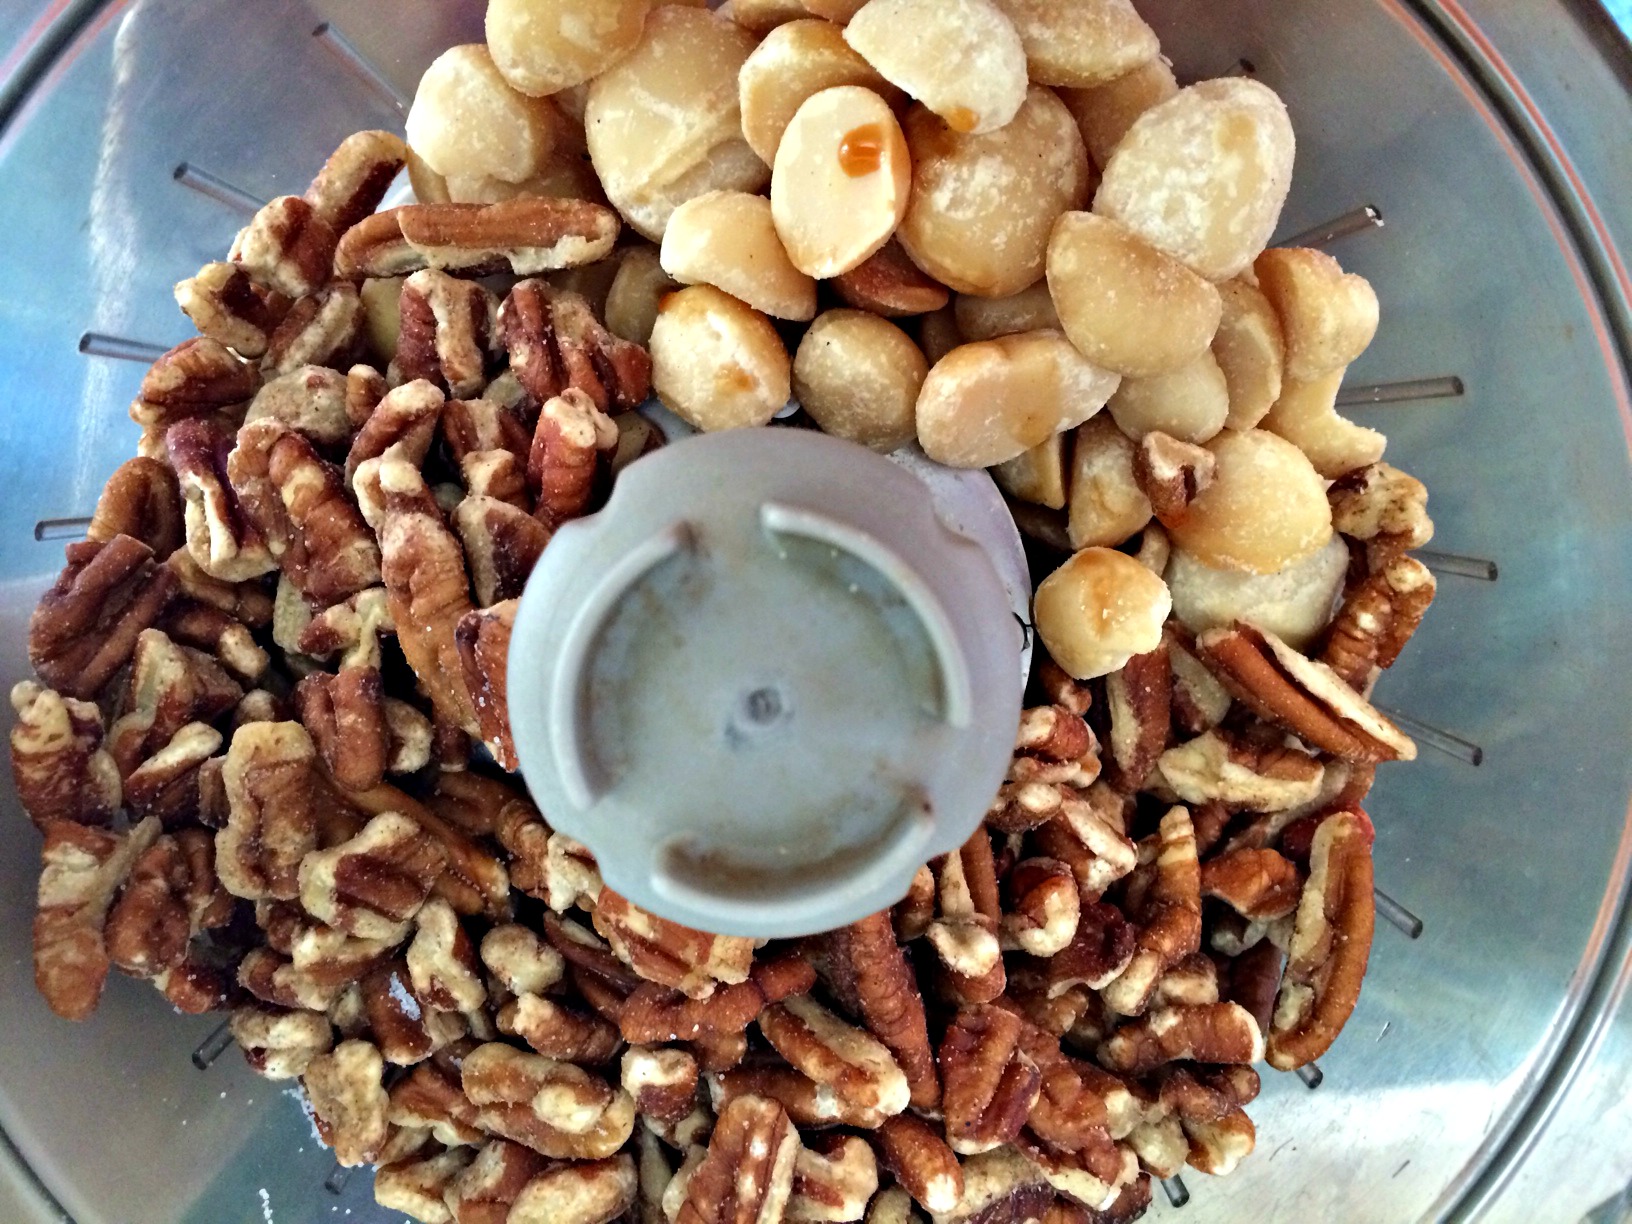
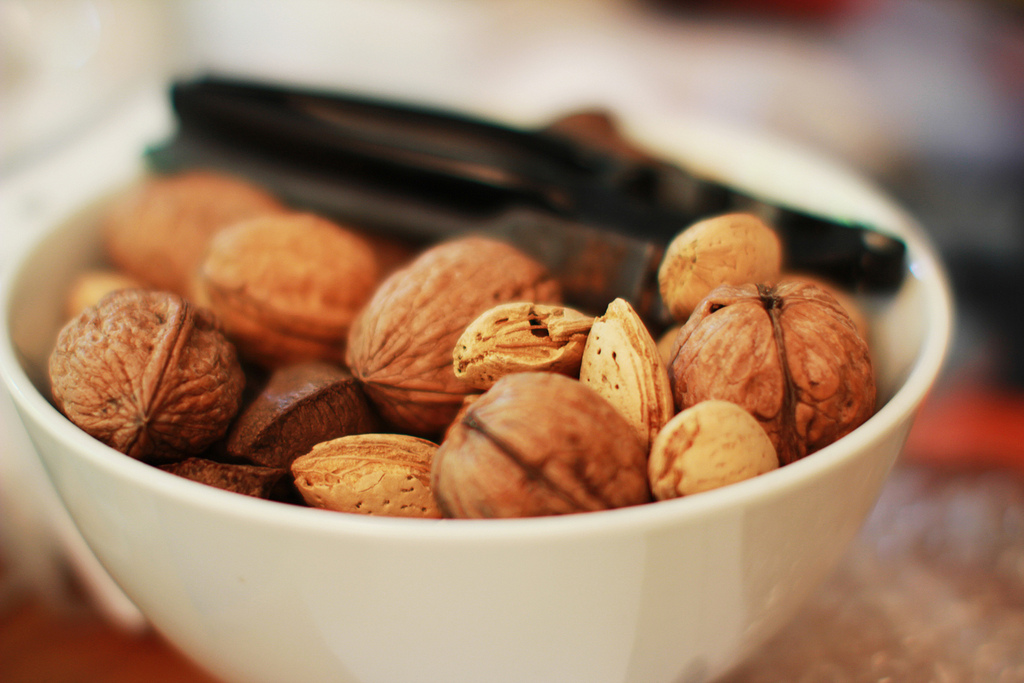
Chopped walnuts for healthy omega-3’s.
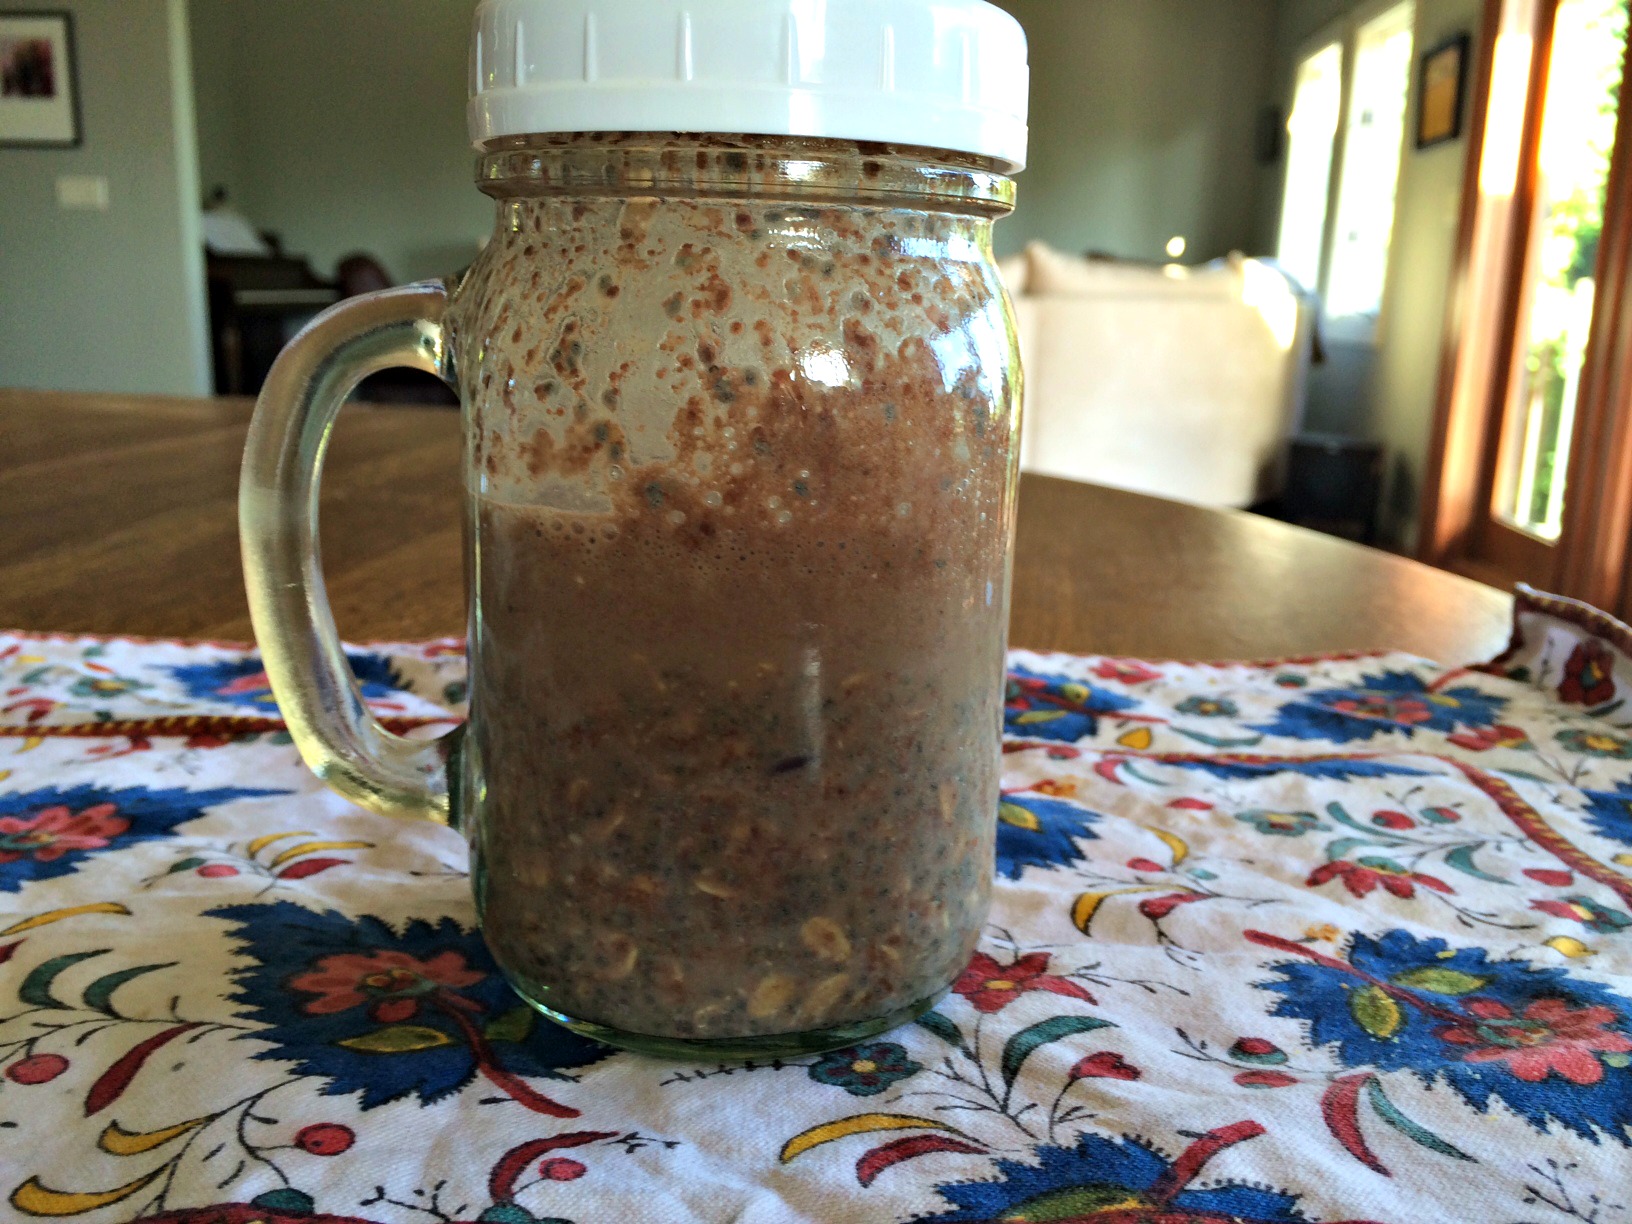
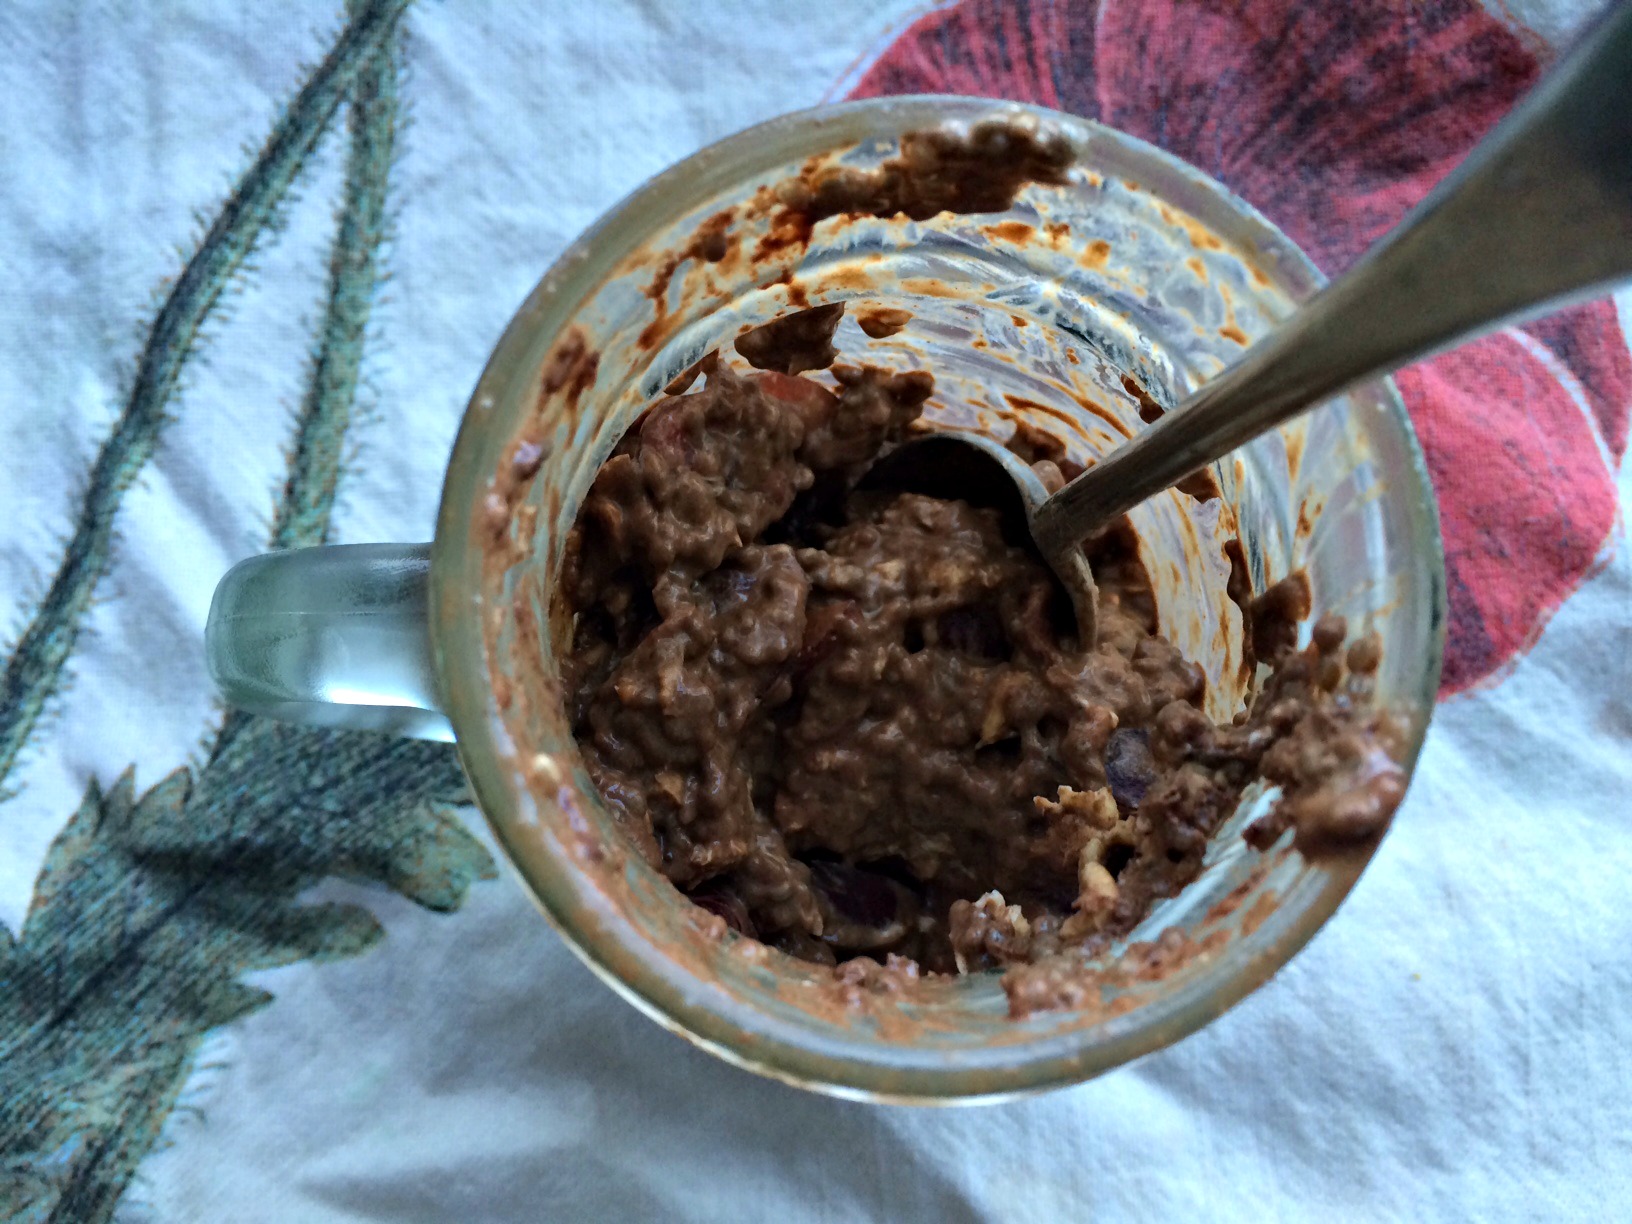
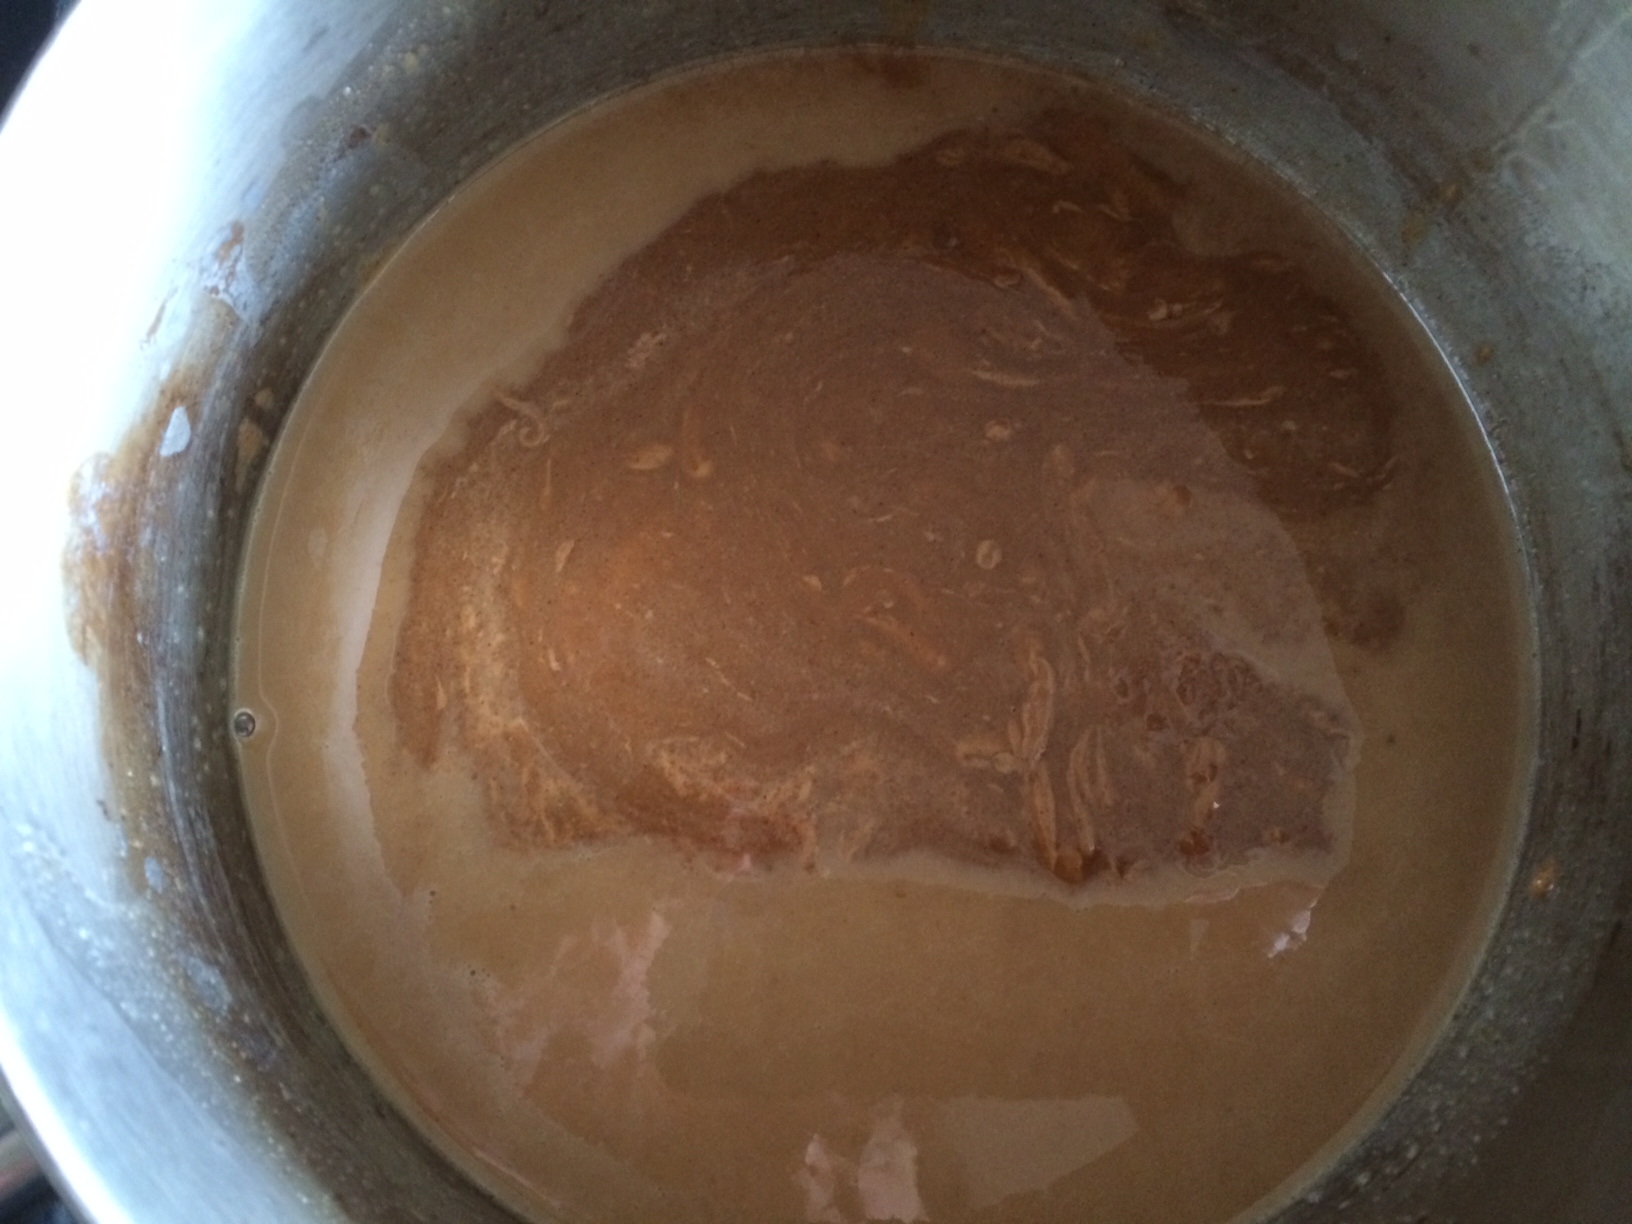
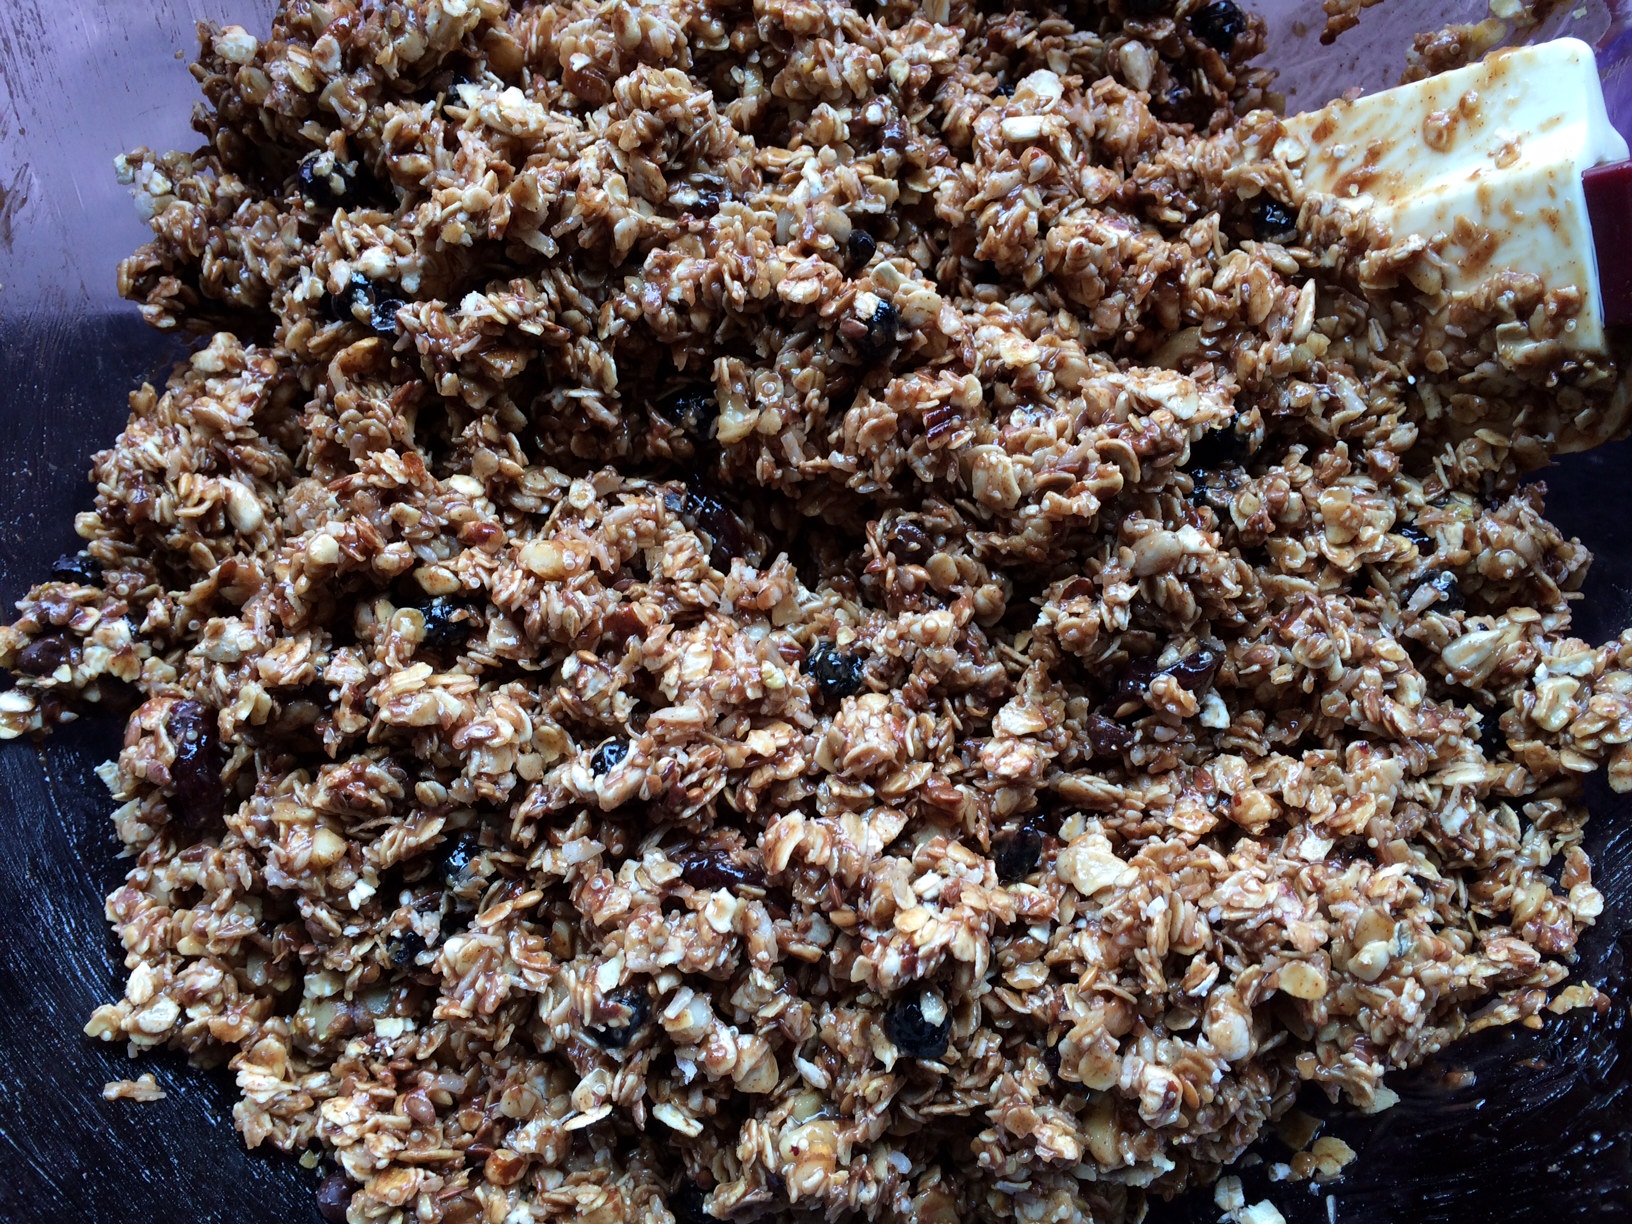
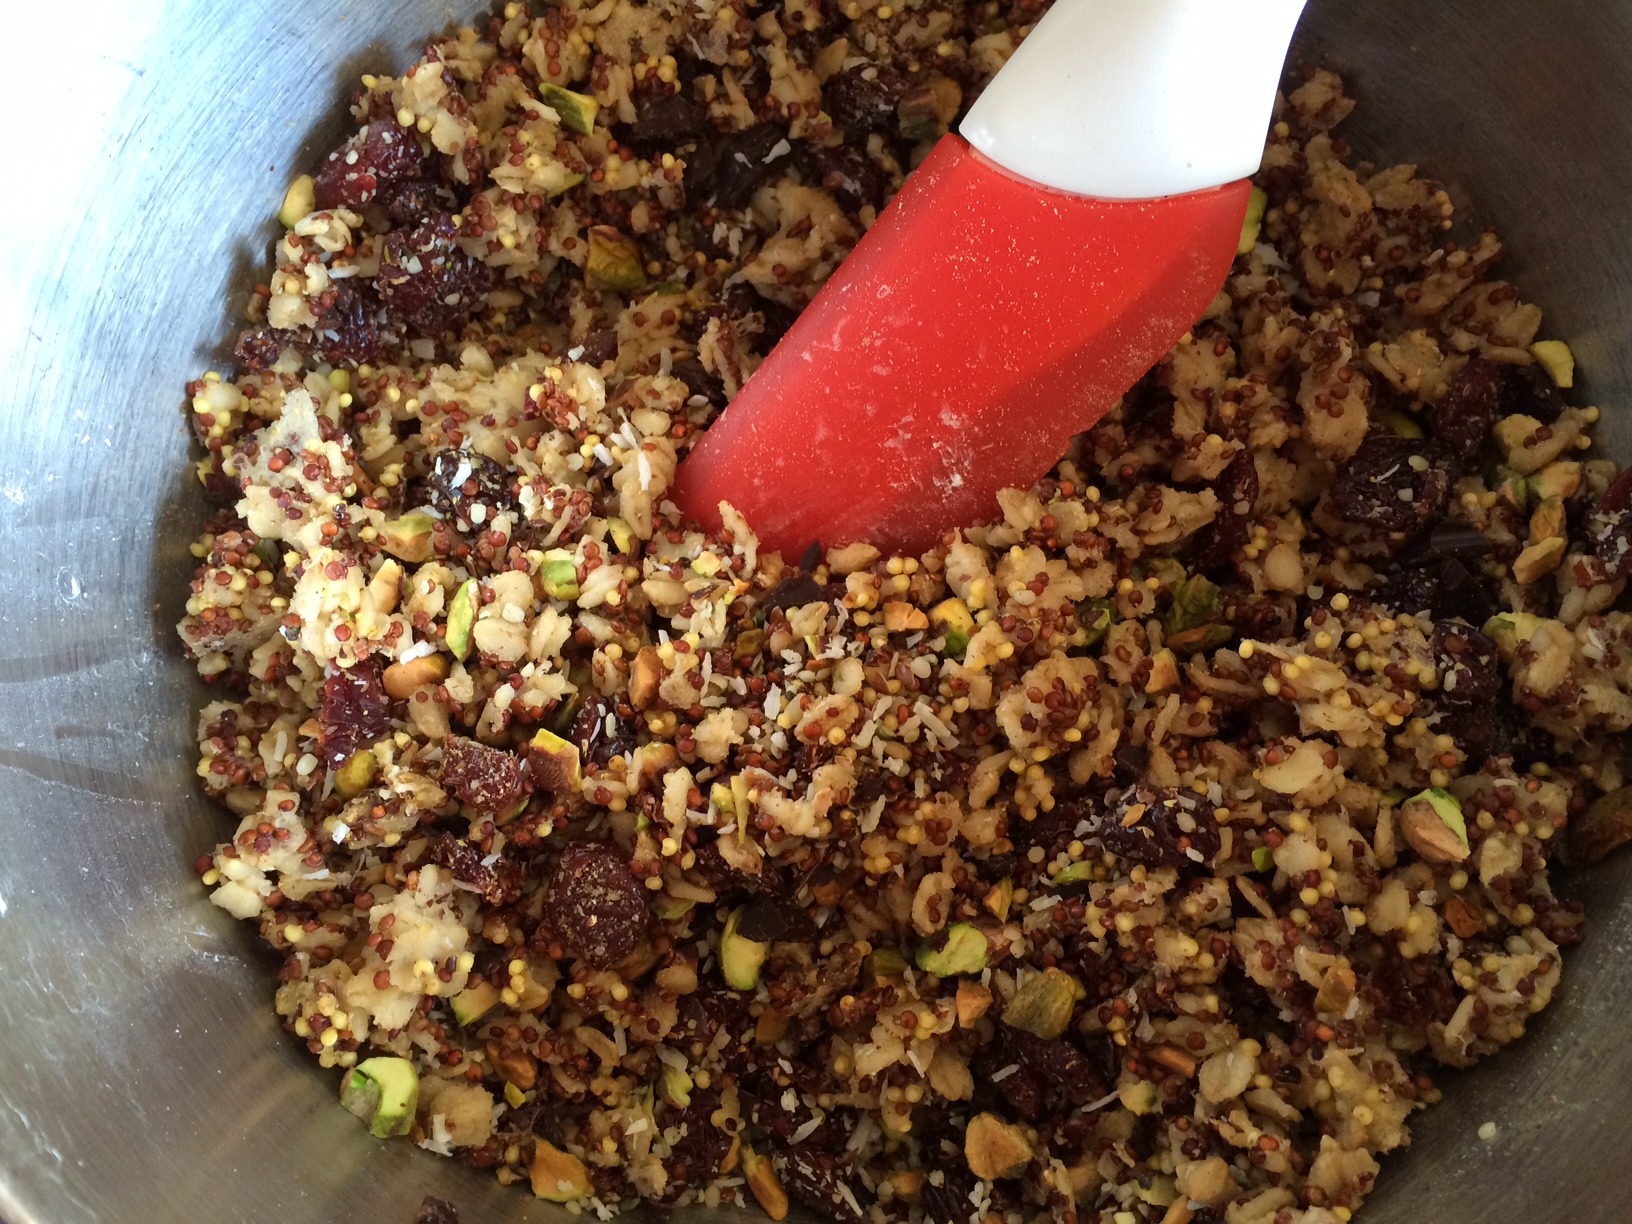
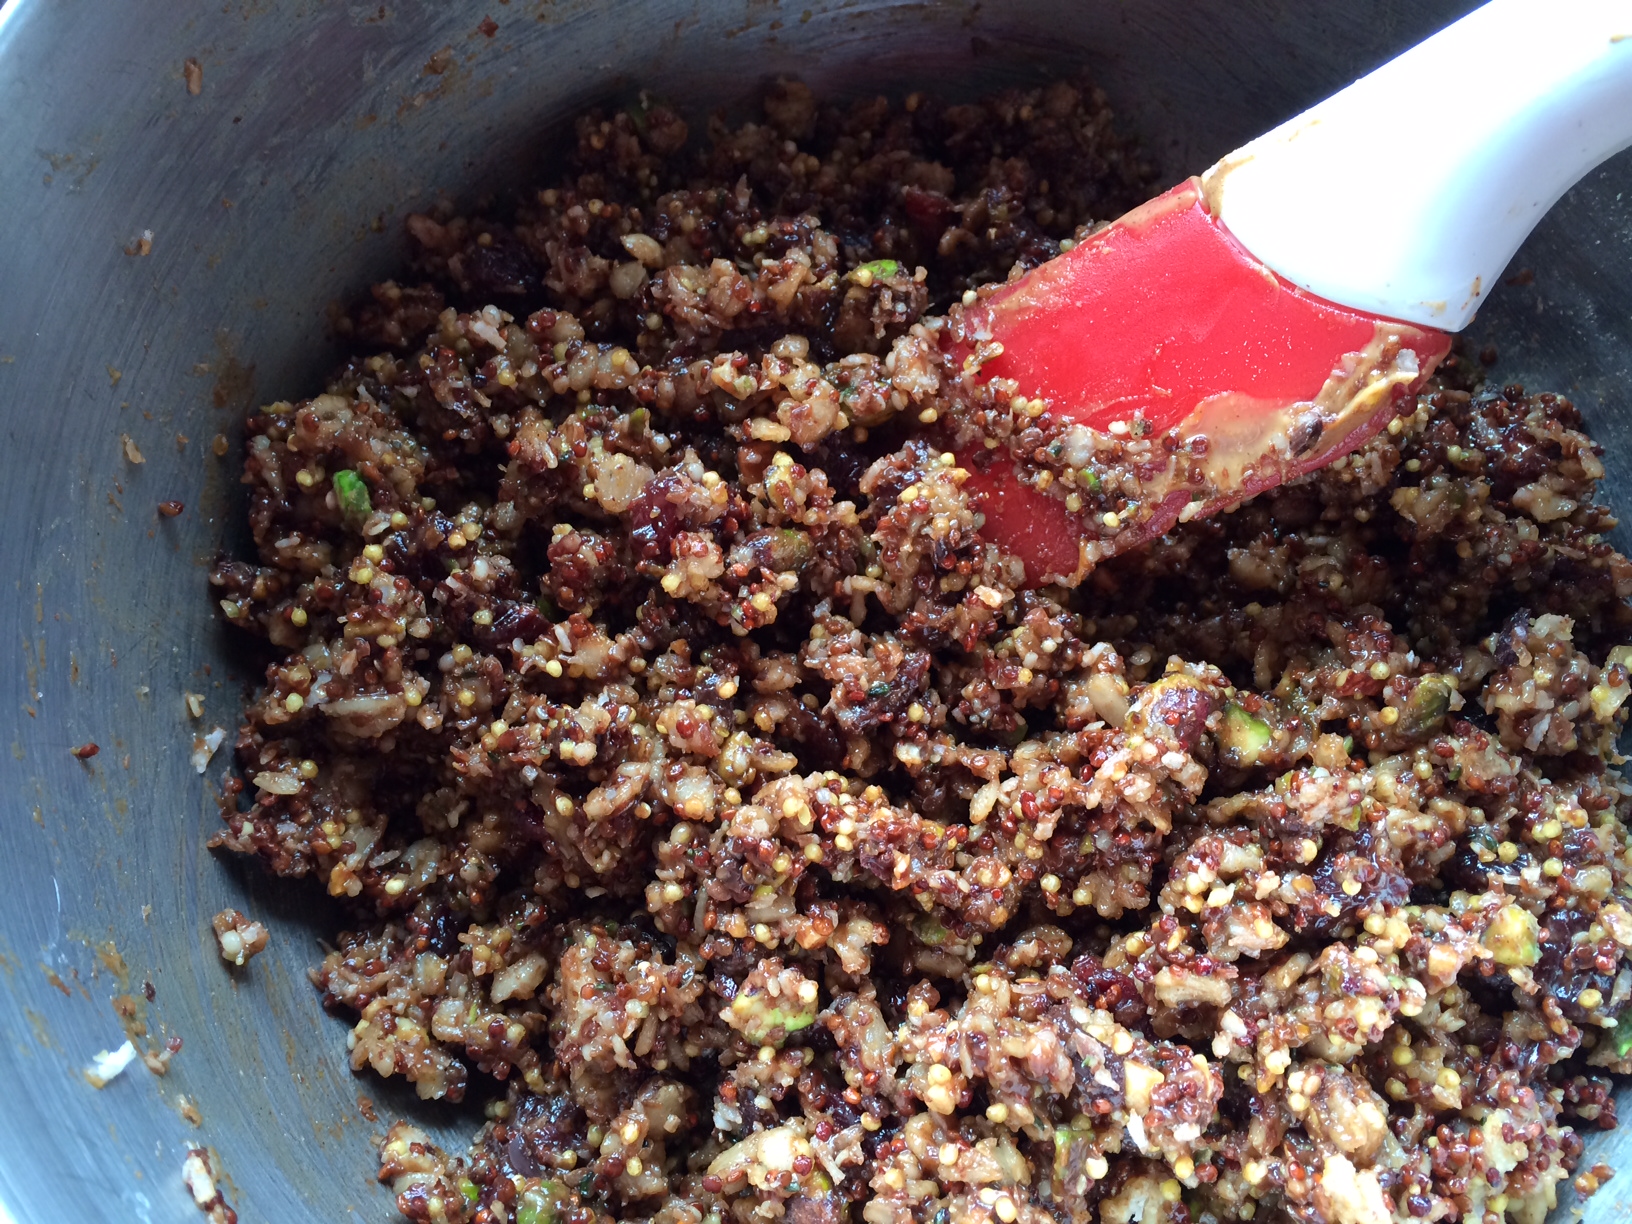
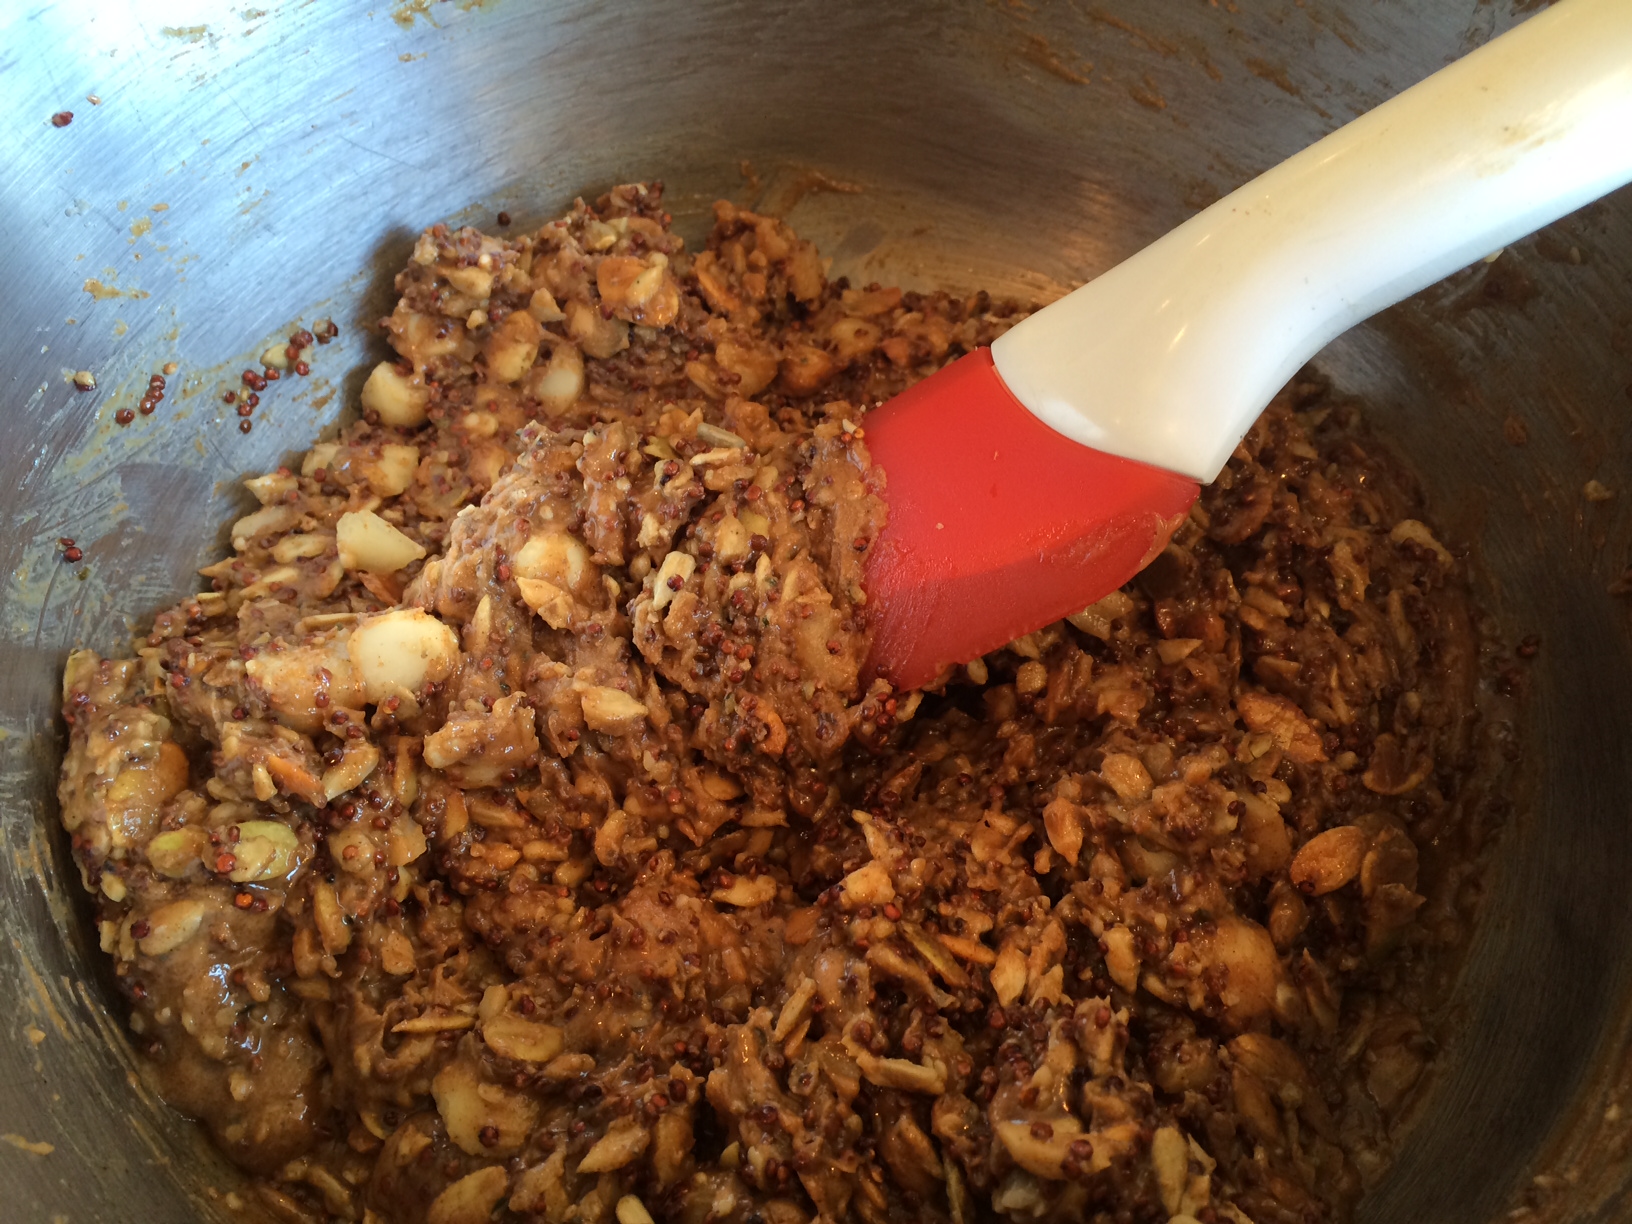
After grinding up the dates, nuts and seeds, I added the melted dark chocolate. The dough turned a beautiful, rich brown color and tasted so yummy!
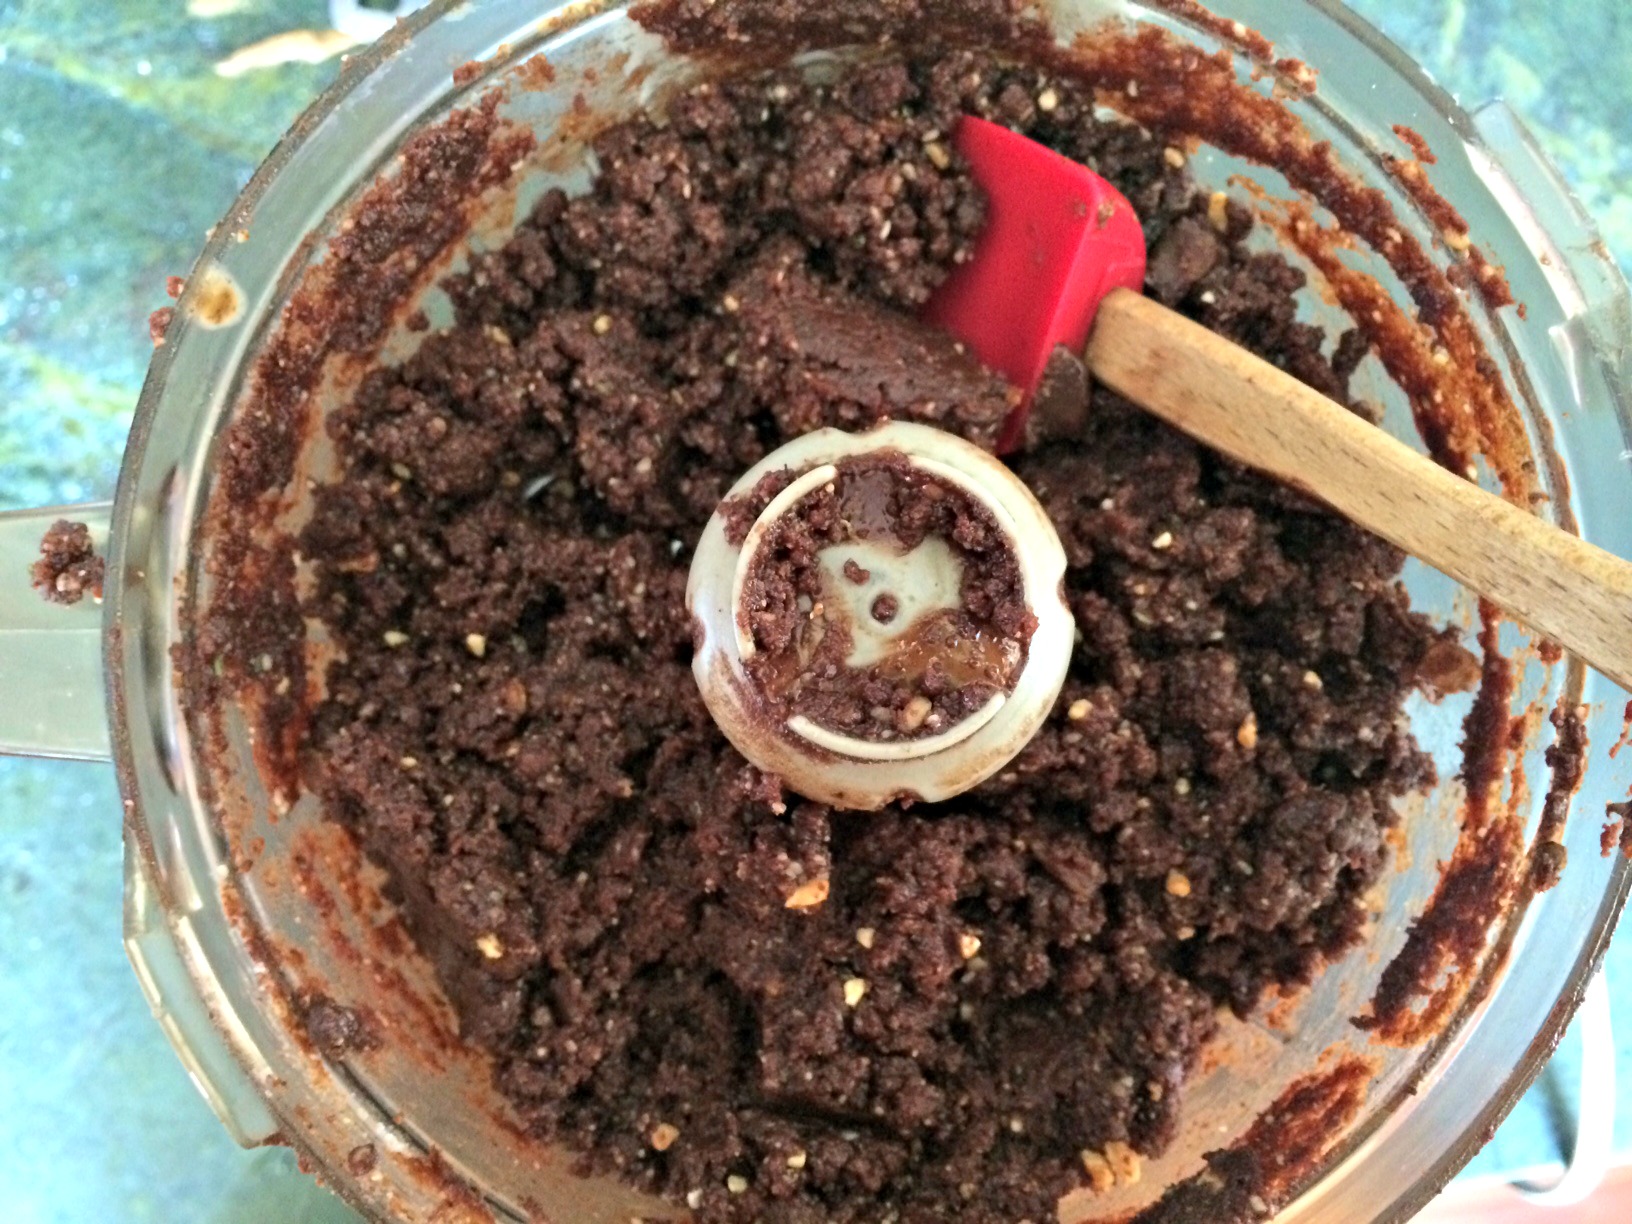
Dough all ground up before heading to fridge.
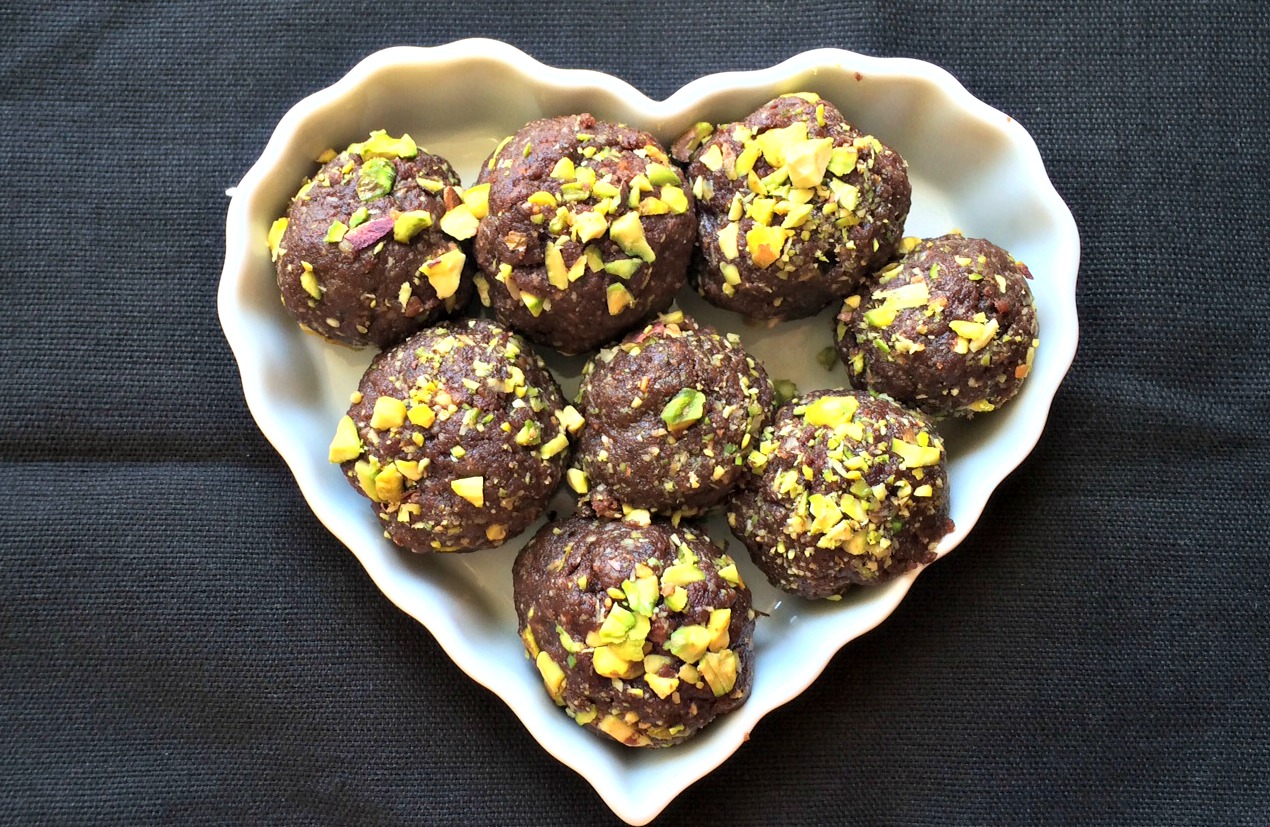
I found the balls rolled the easiest by squishing them into loose balls and then rolling them in the chopped pistachios. After they were lightly covered with pistachios, I would roll them into tighter balls. (Unfortunately, my ball rolling skills aren’t perfect- the balls are a little lopsided but they still taste delicious!) It also seemed best to VERY finely chop the pistachios. They adhered the best when finely chopped!
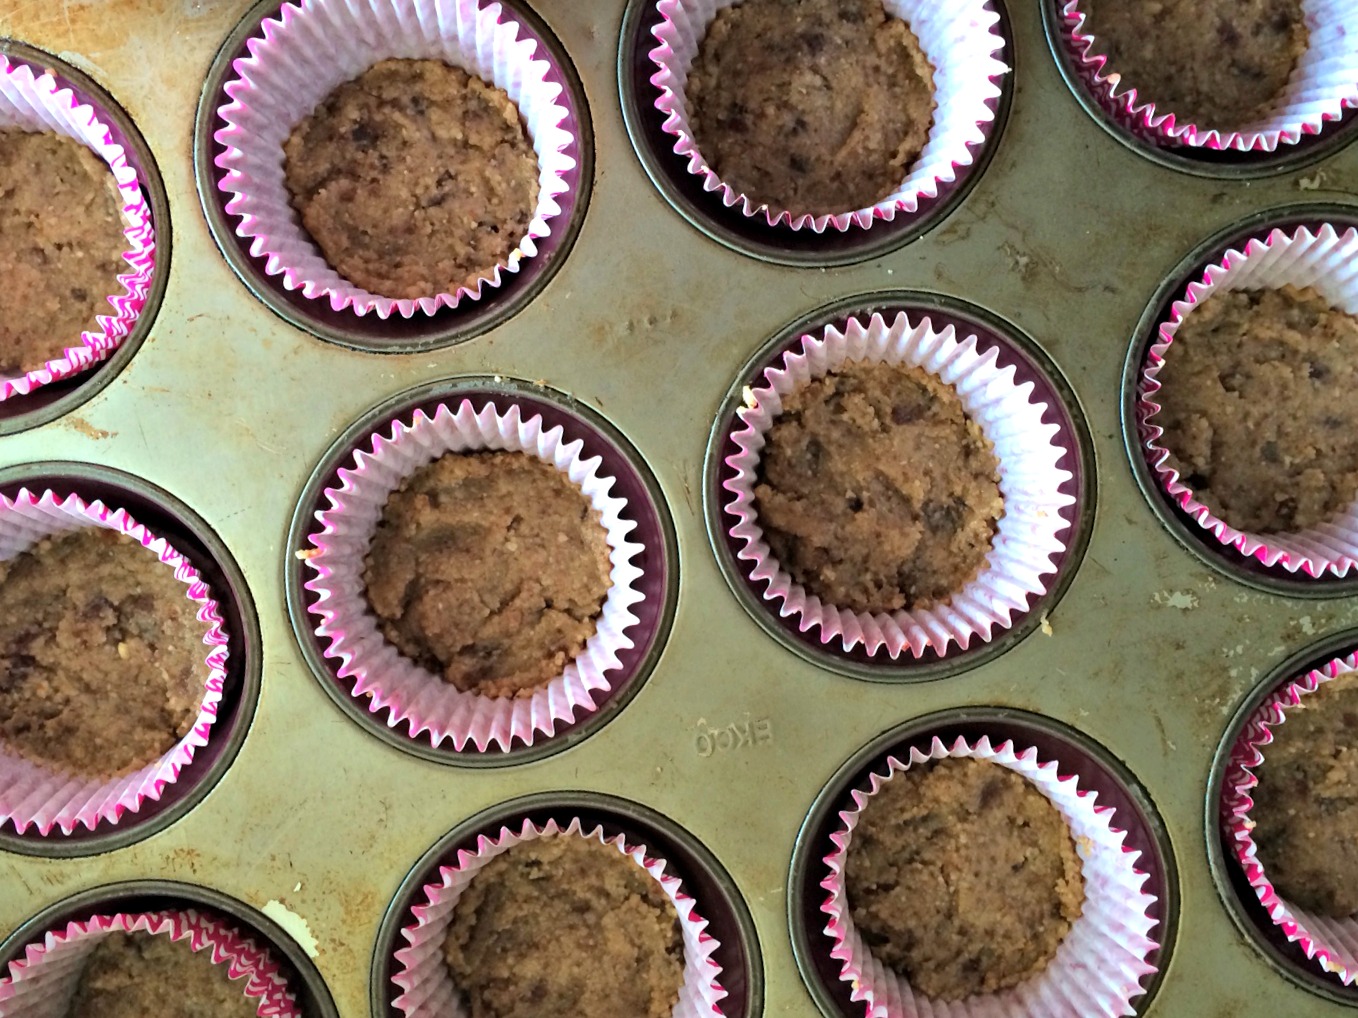
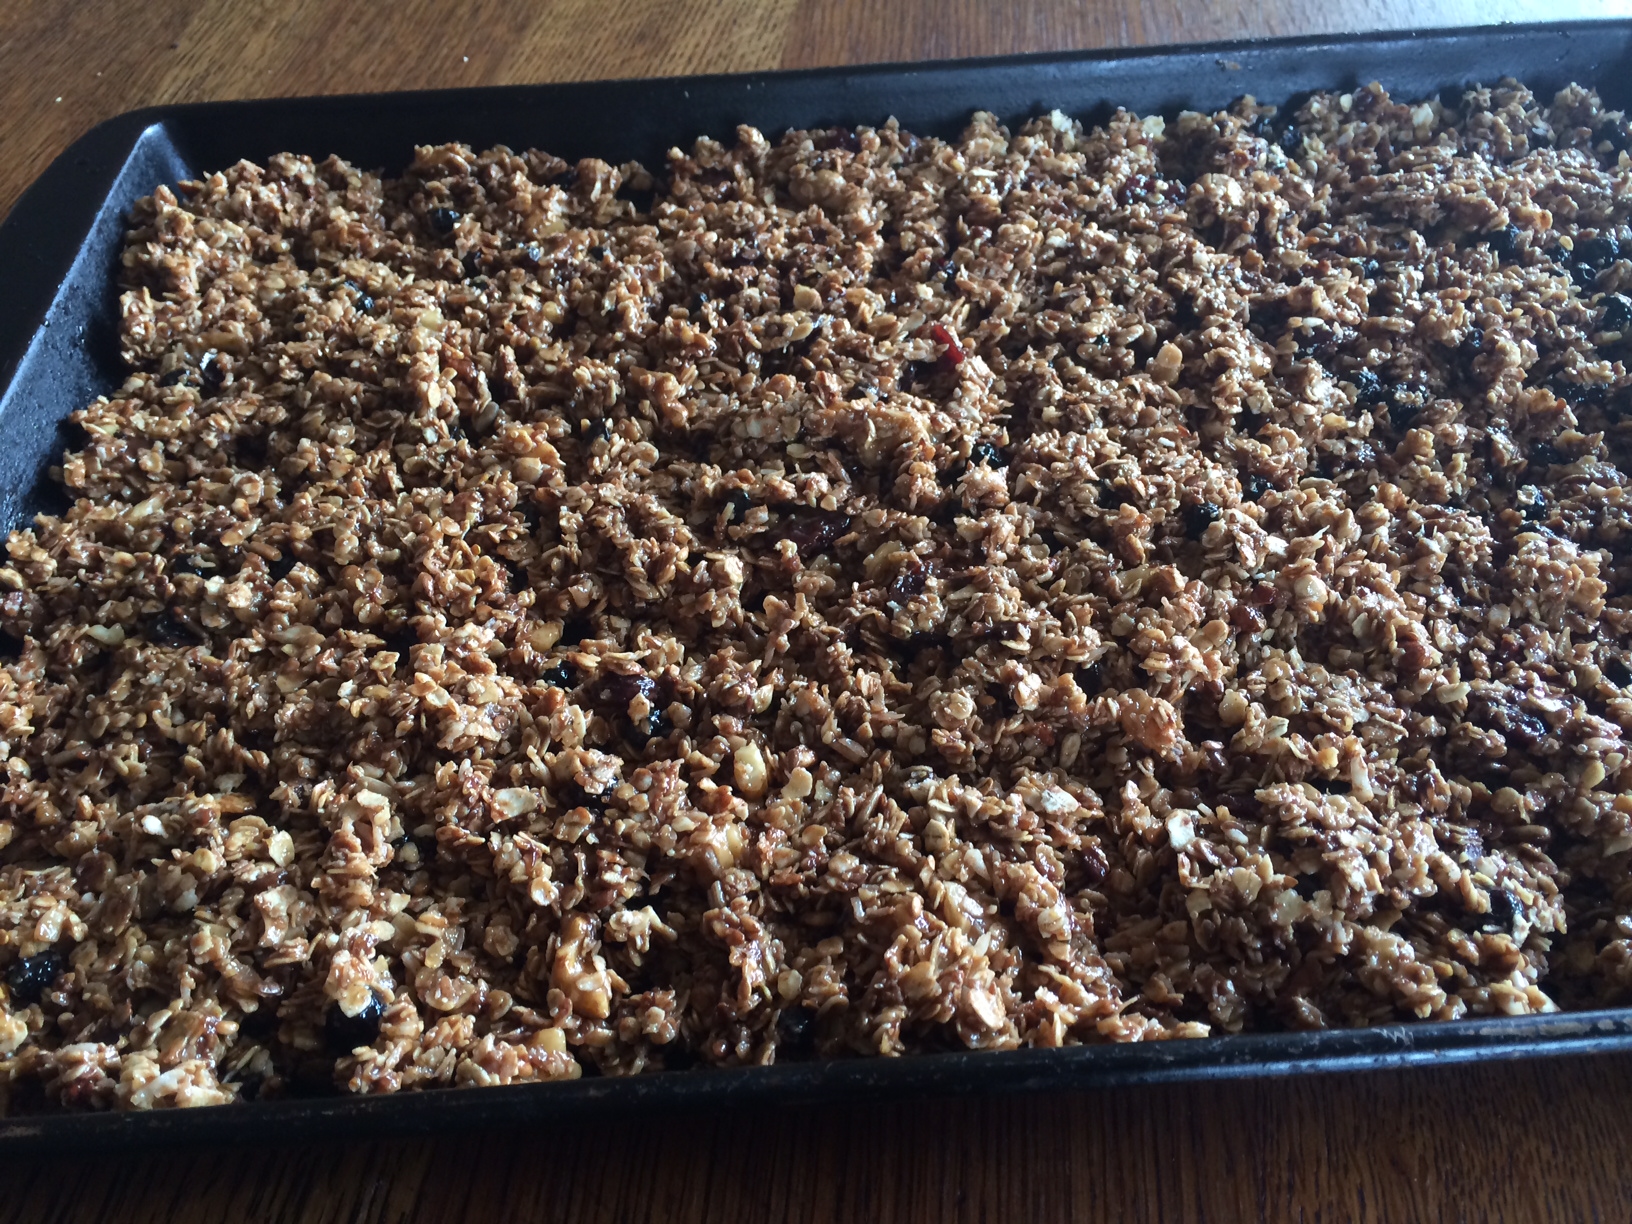
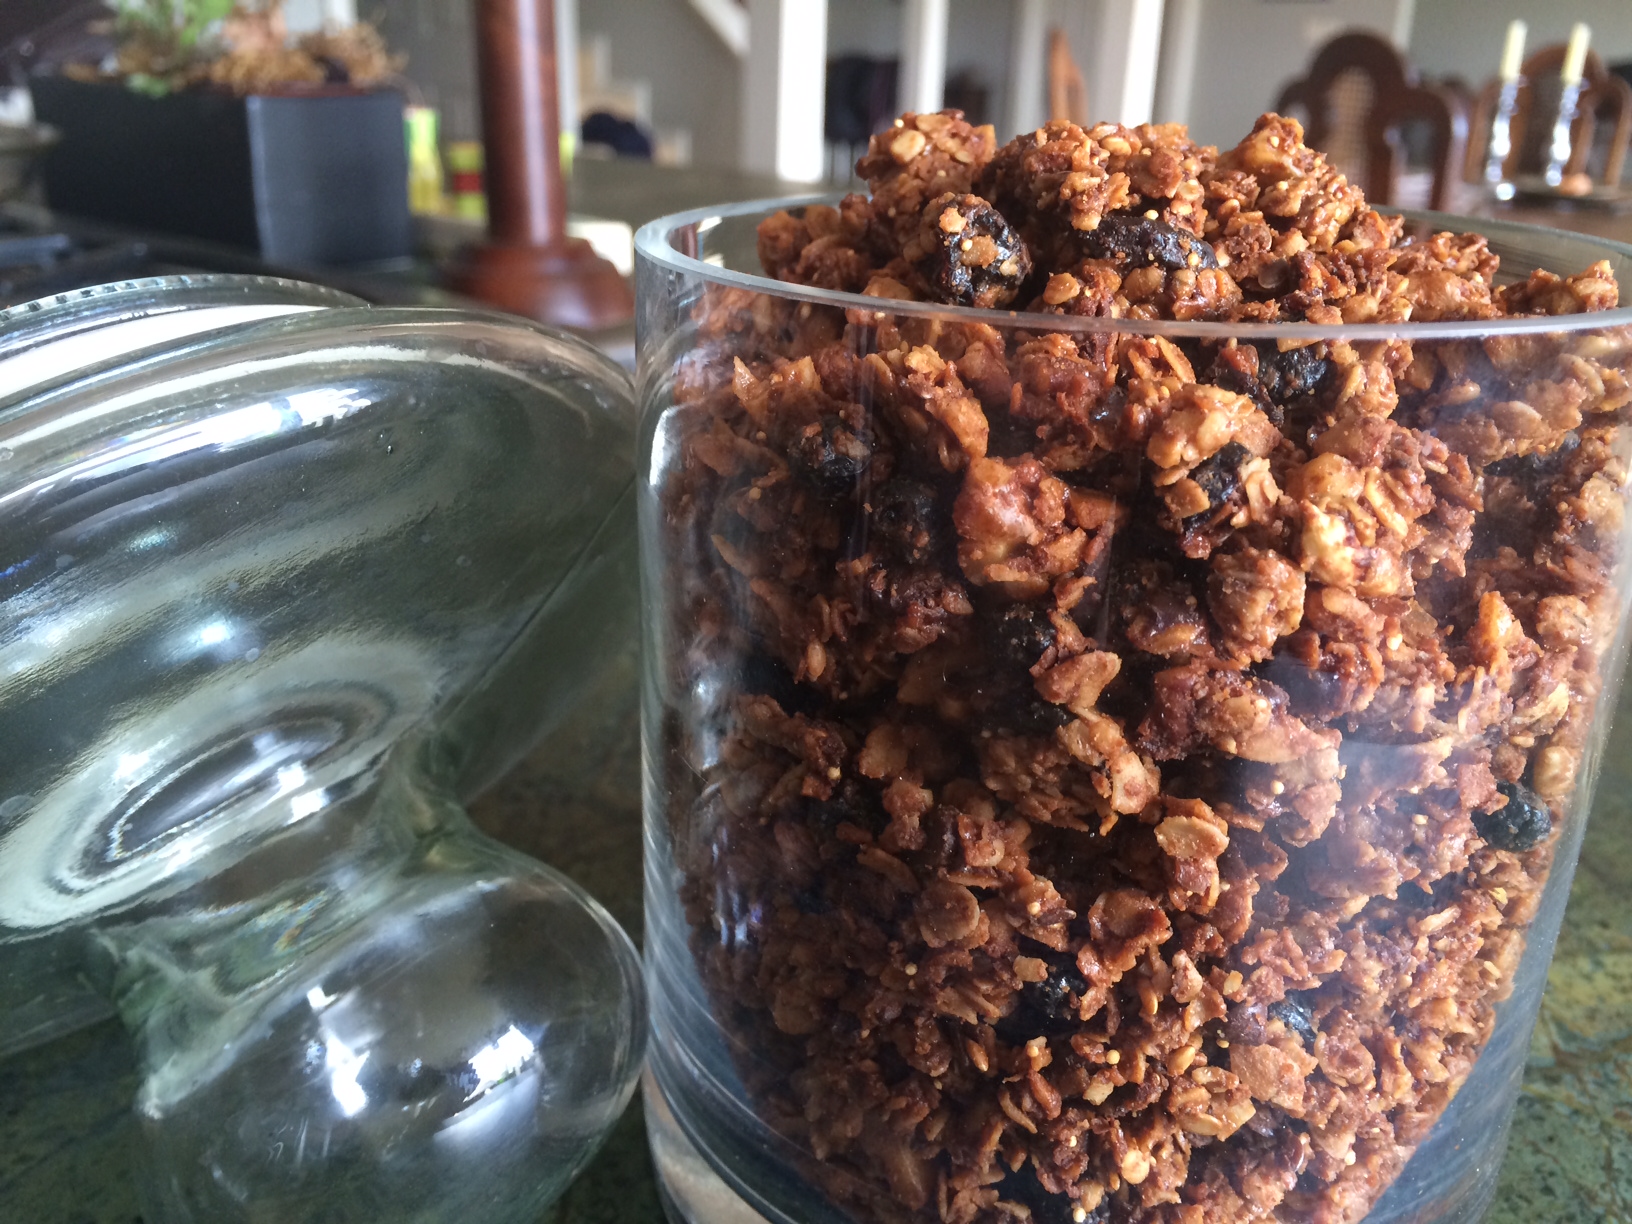
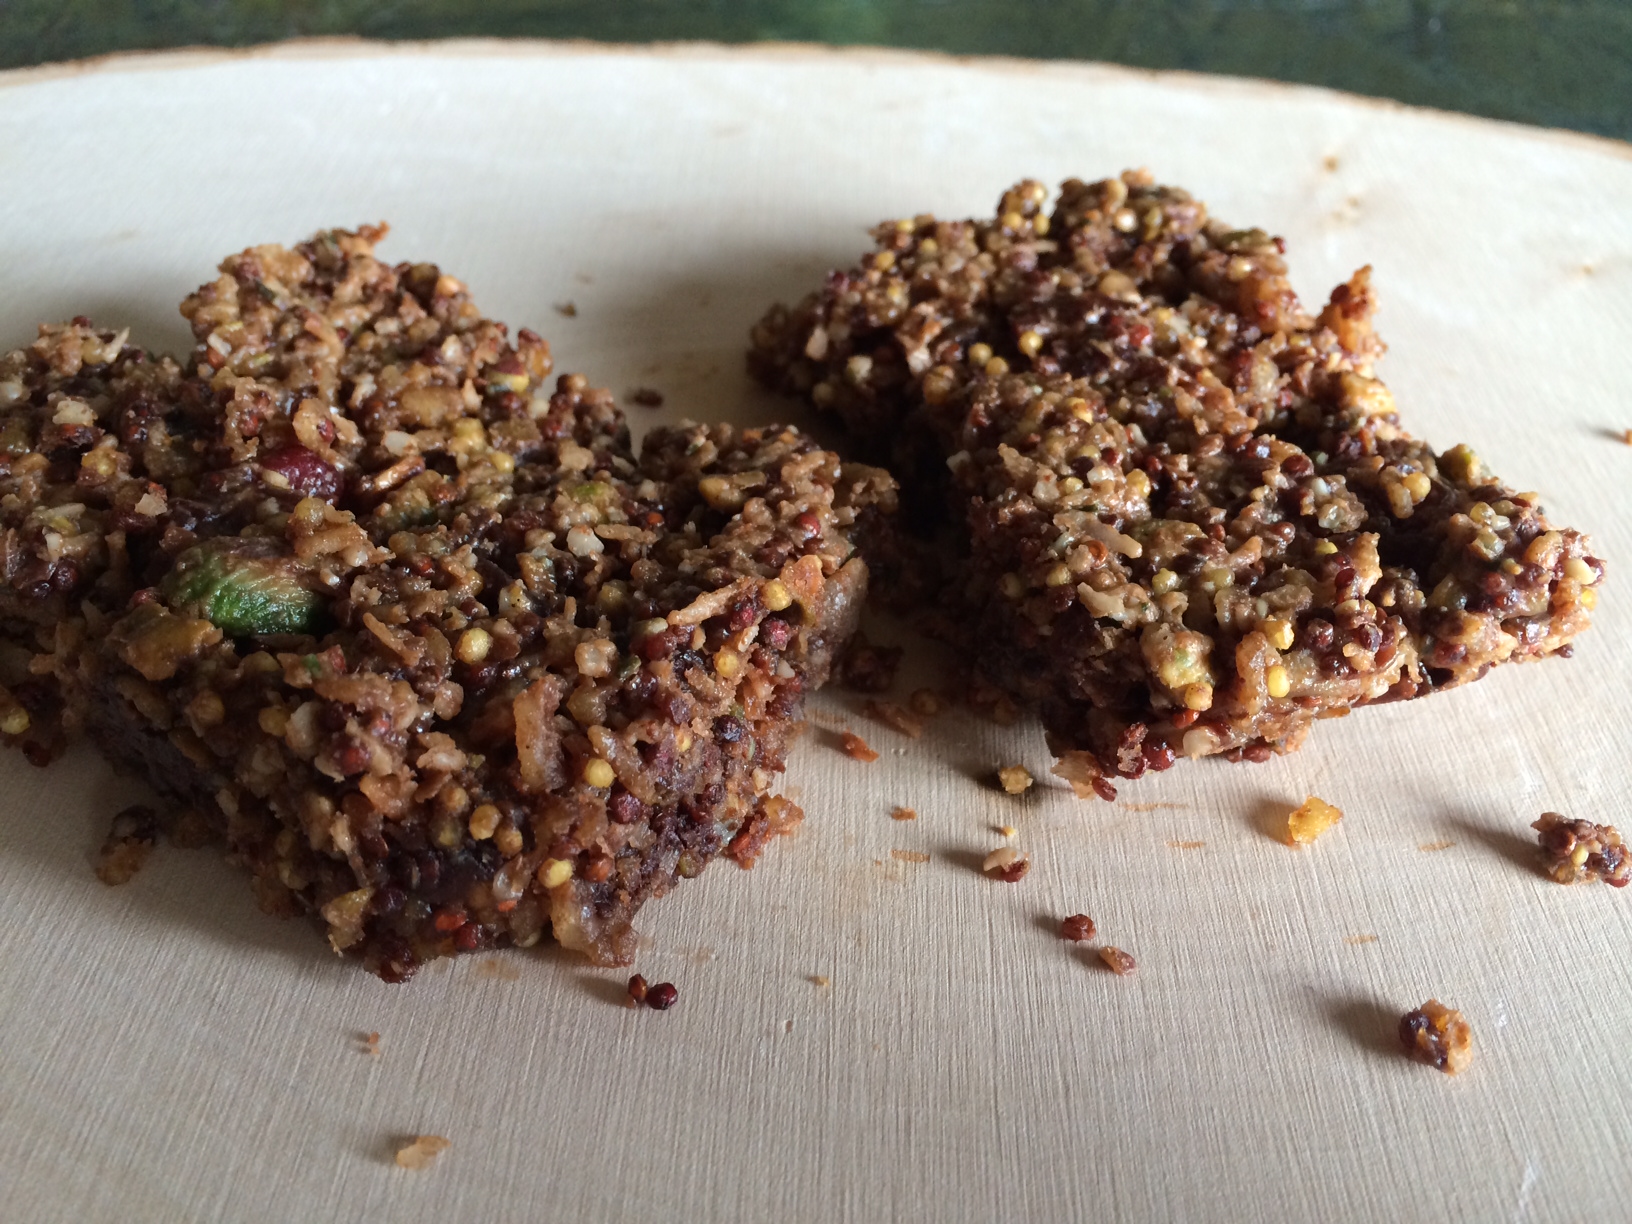
Blasts all ready to eat.
Ingredients
- 20 dates ground into a paste
- 1/3 cup of almond butter
- 1/3 cup of hemp seeds
- 1 3.5 oz dark (70% or above) chocolate bar, melted
- 1 tsp vanilla almond milk
- 1/2 tsp sea salt
- 1/2 tsp cinnamon
- 1/2 tsp of cardamon
- 1/2 cup raw walnuts
- 1/4 cup of pistachios, finely chopped
Instructions
- Grind pitted dates in a food processor fit with an s-blade until a paste forms.
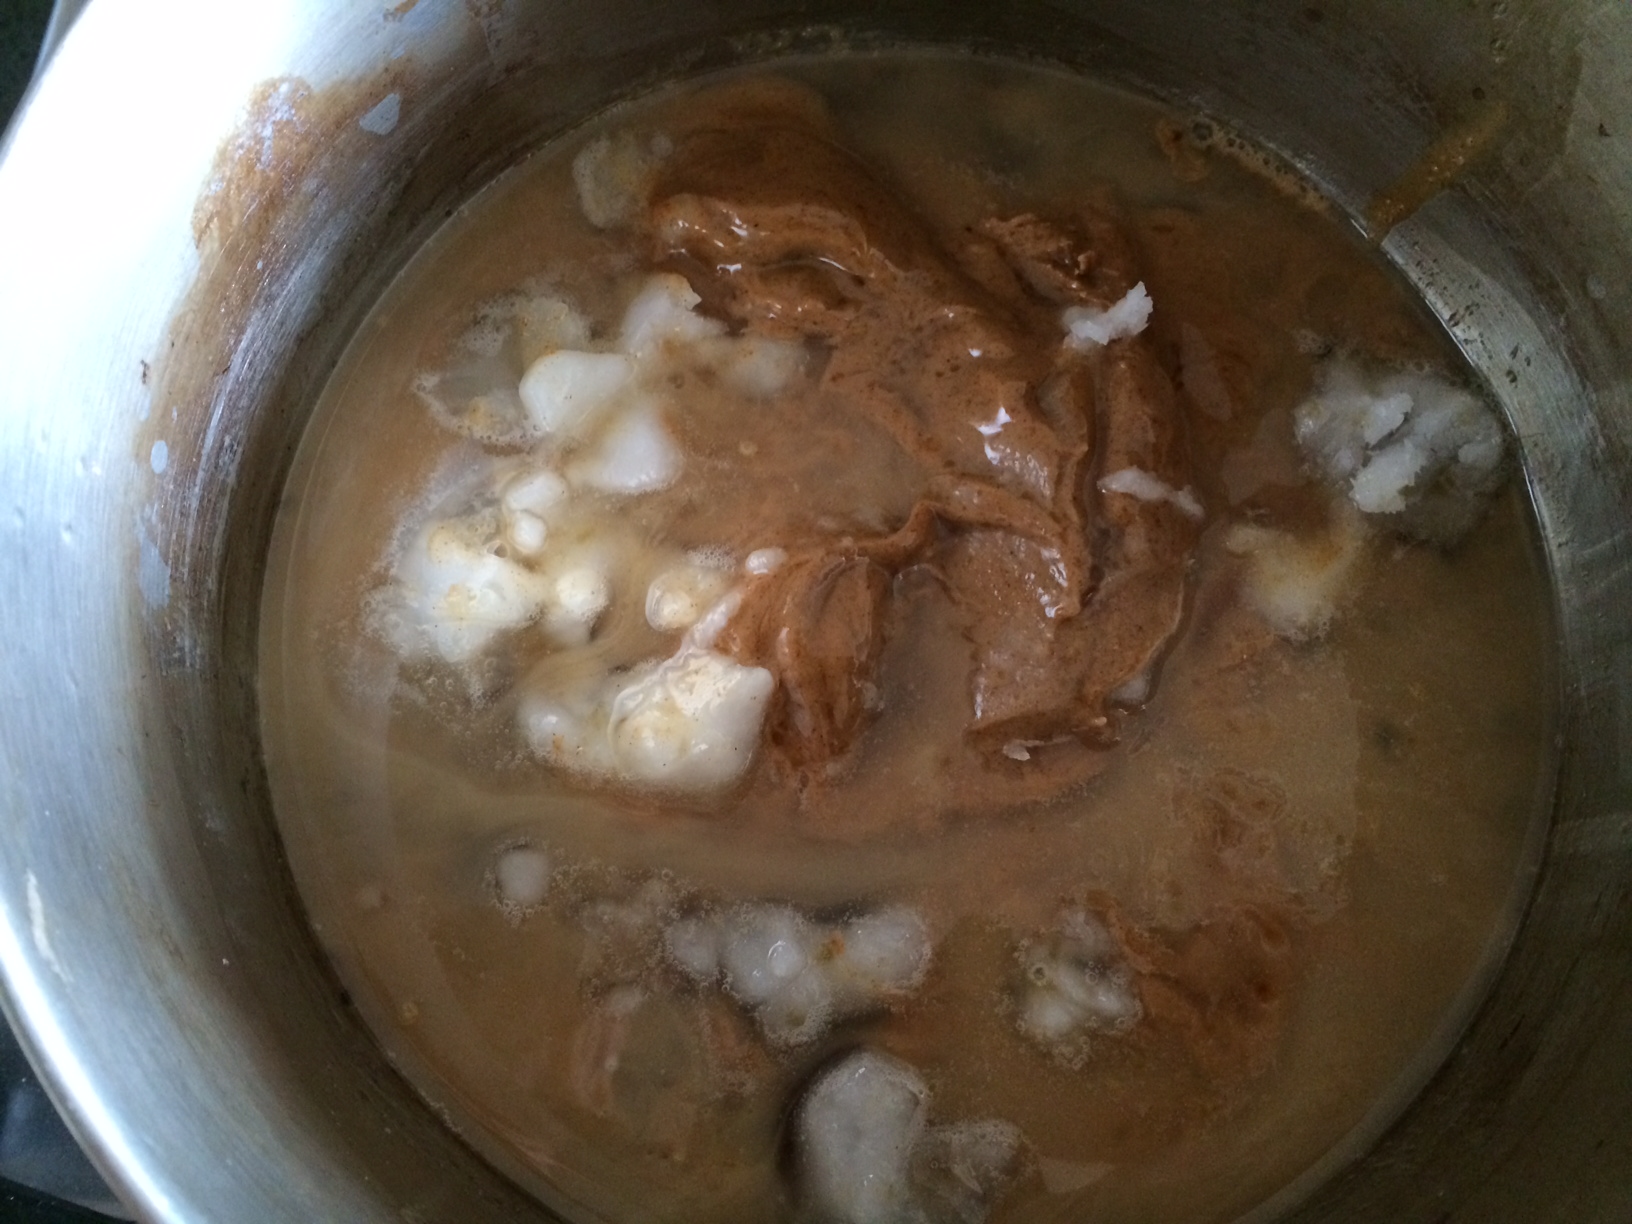
- Place chocolate in a double boiler over low heat, stirring occasionally until melted.
- Add walnuts and pulse until combined.
- Add hemp seed, almond milk, cinnamon, cardamon and sea salt. Pulse until well combined.
- Add in melted chocolate and pulse until well mixed with the nuts and dates. You may have to stop and scrape the sides a couple of times.
- Place food processor bowl in the fridge for about 20 minutes.
- Take nut mixture out of fridge and carefully roll the dough into balls.
- The balls can be rolled in chopped pistachios or other nuts according to your tastes.
- (I found it was easier to lightly squeeze the dough into balls and then roll them in the pistachios and then roll them some more to make the balls stay together.)
- Enjoy!
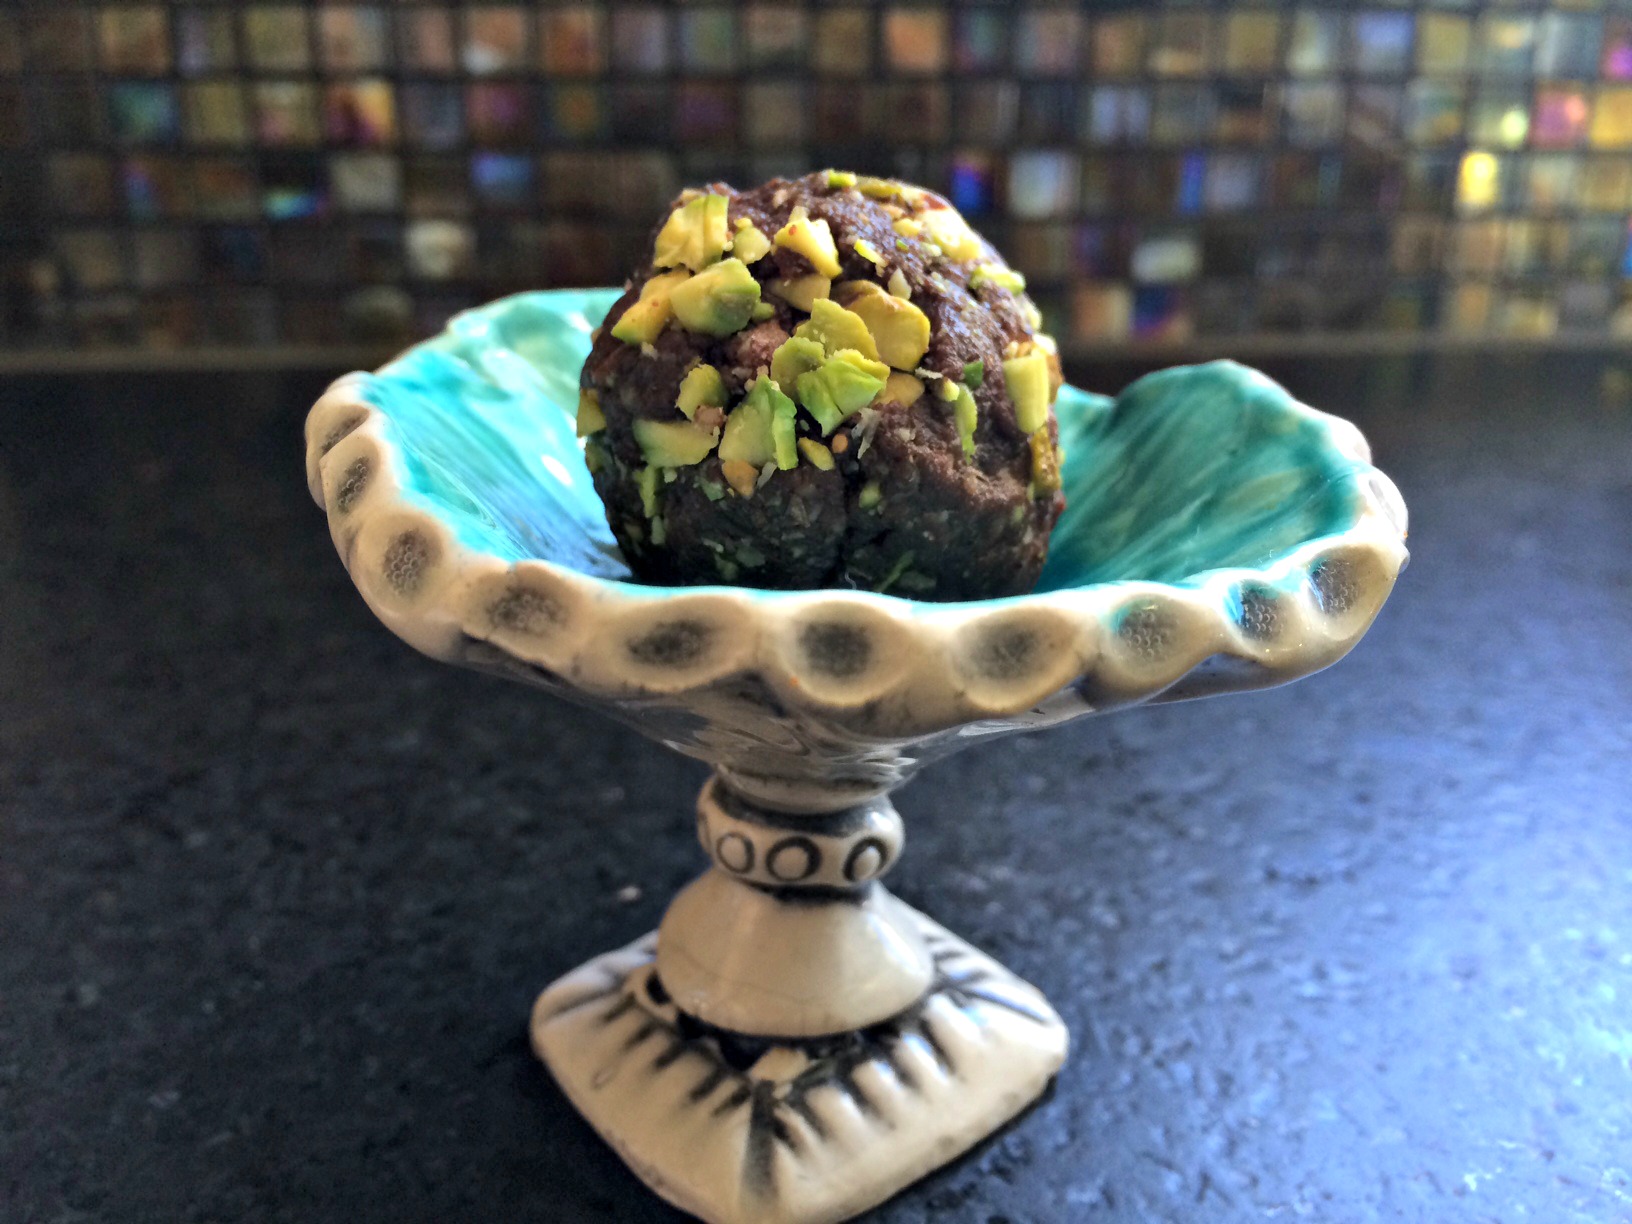
A single blast of nutty goodness.
I love the bright green of the pistachios contrasted with the brown of the chocolate! It is so pretty!
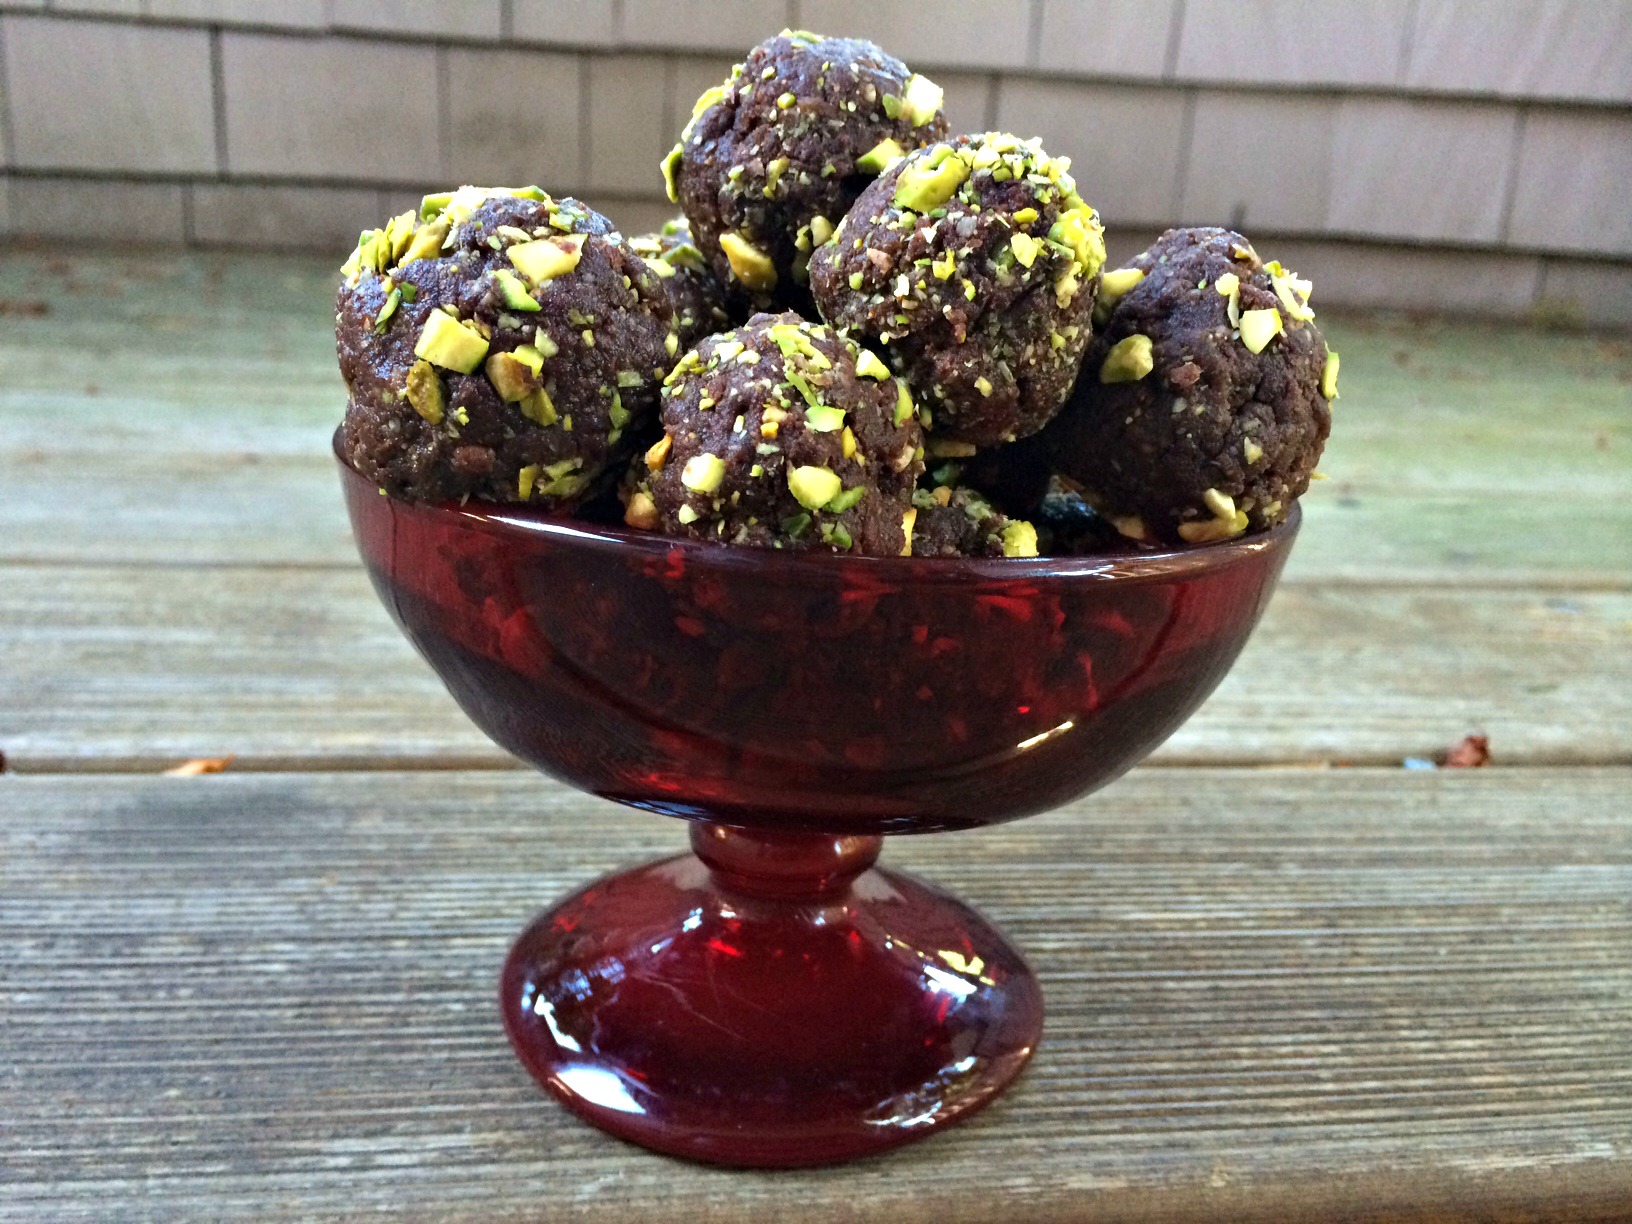
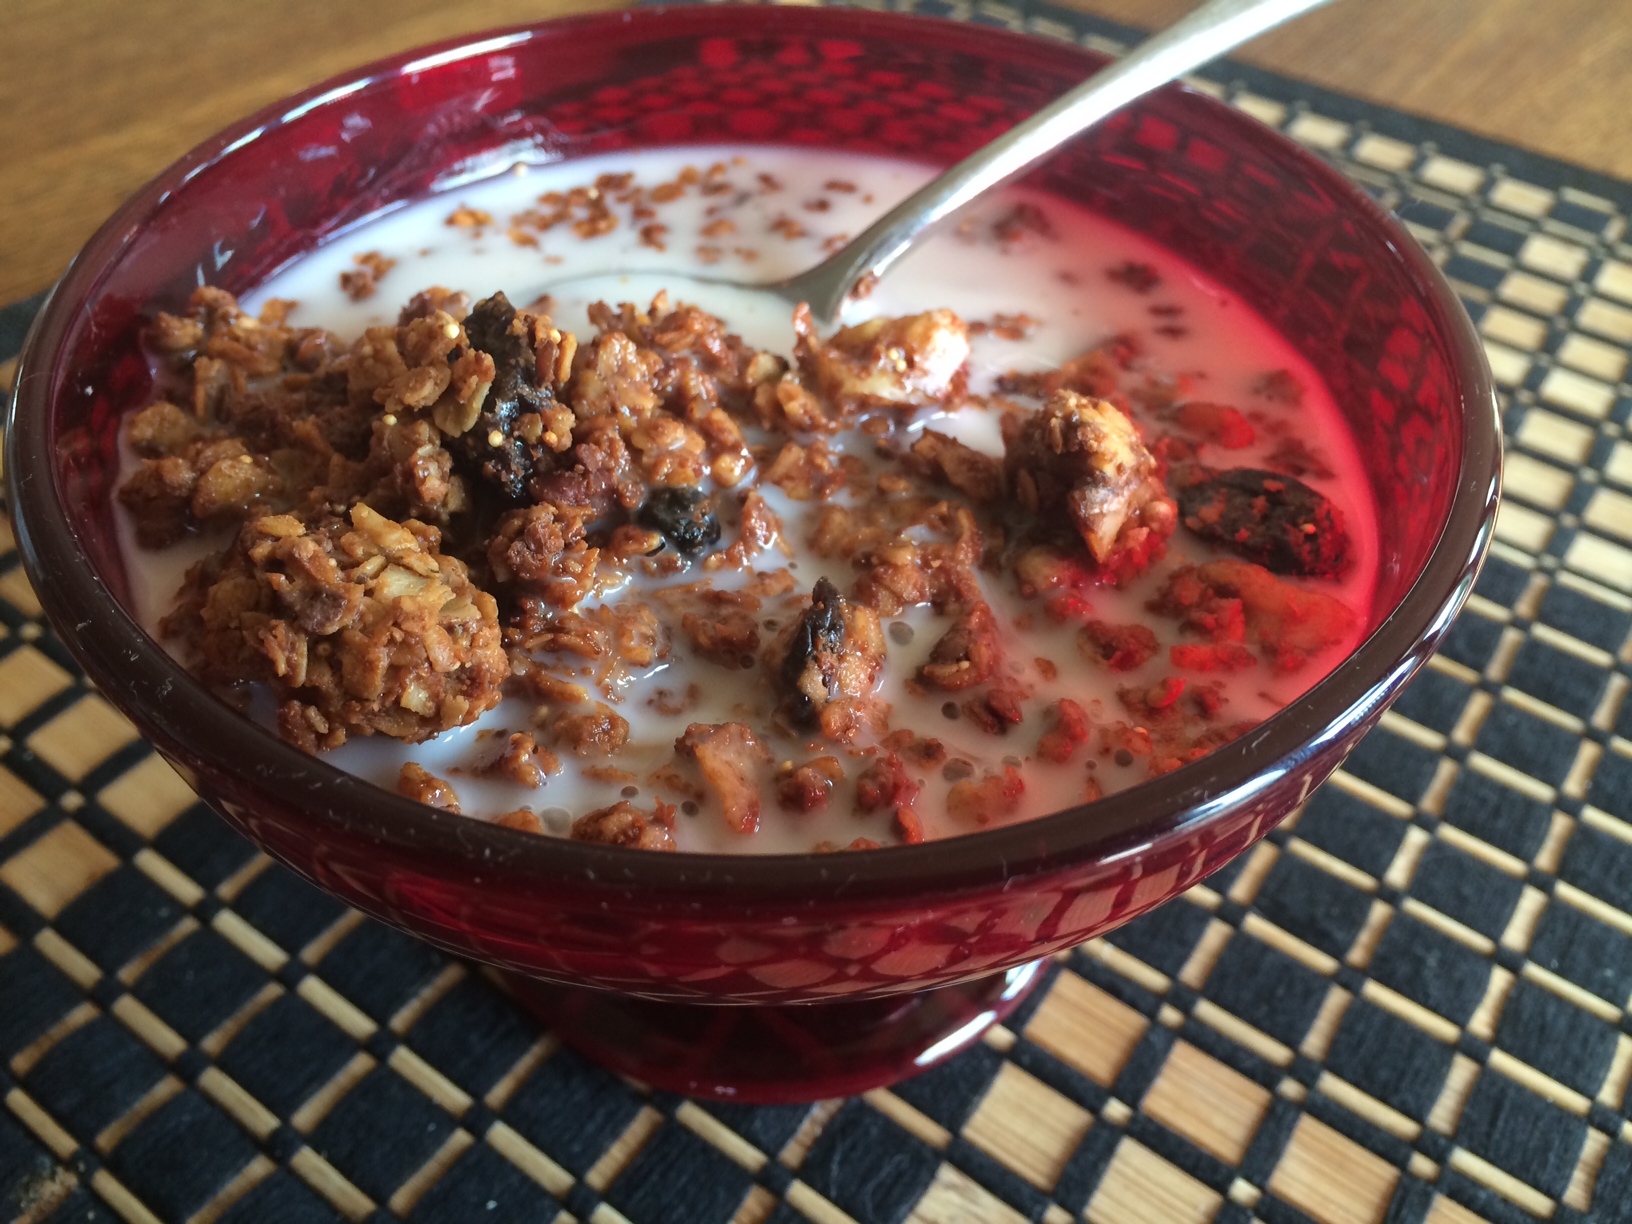
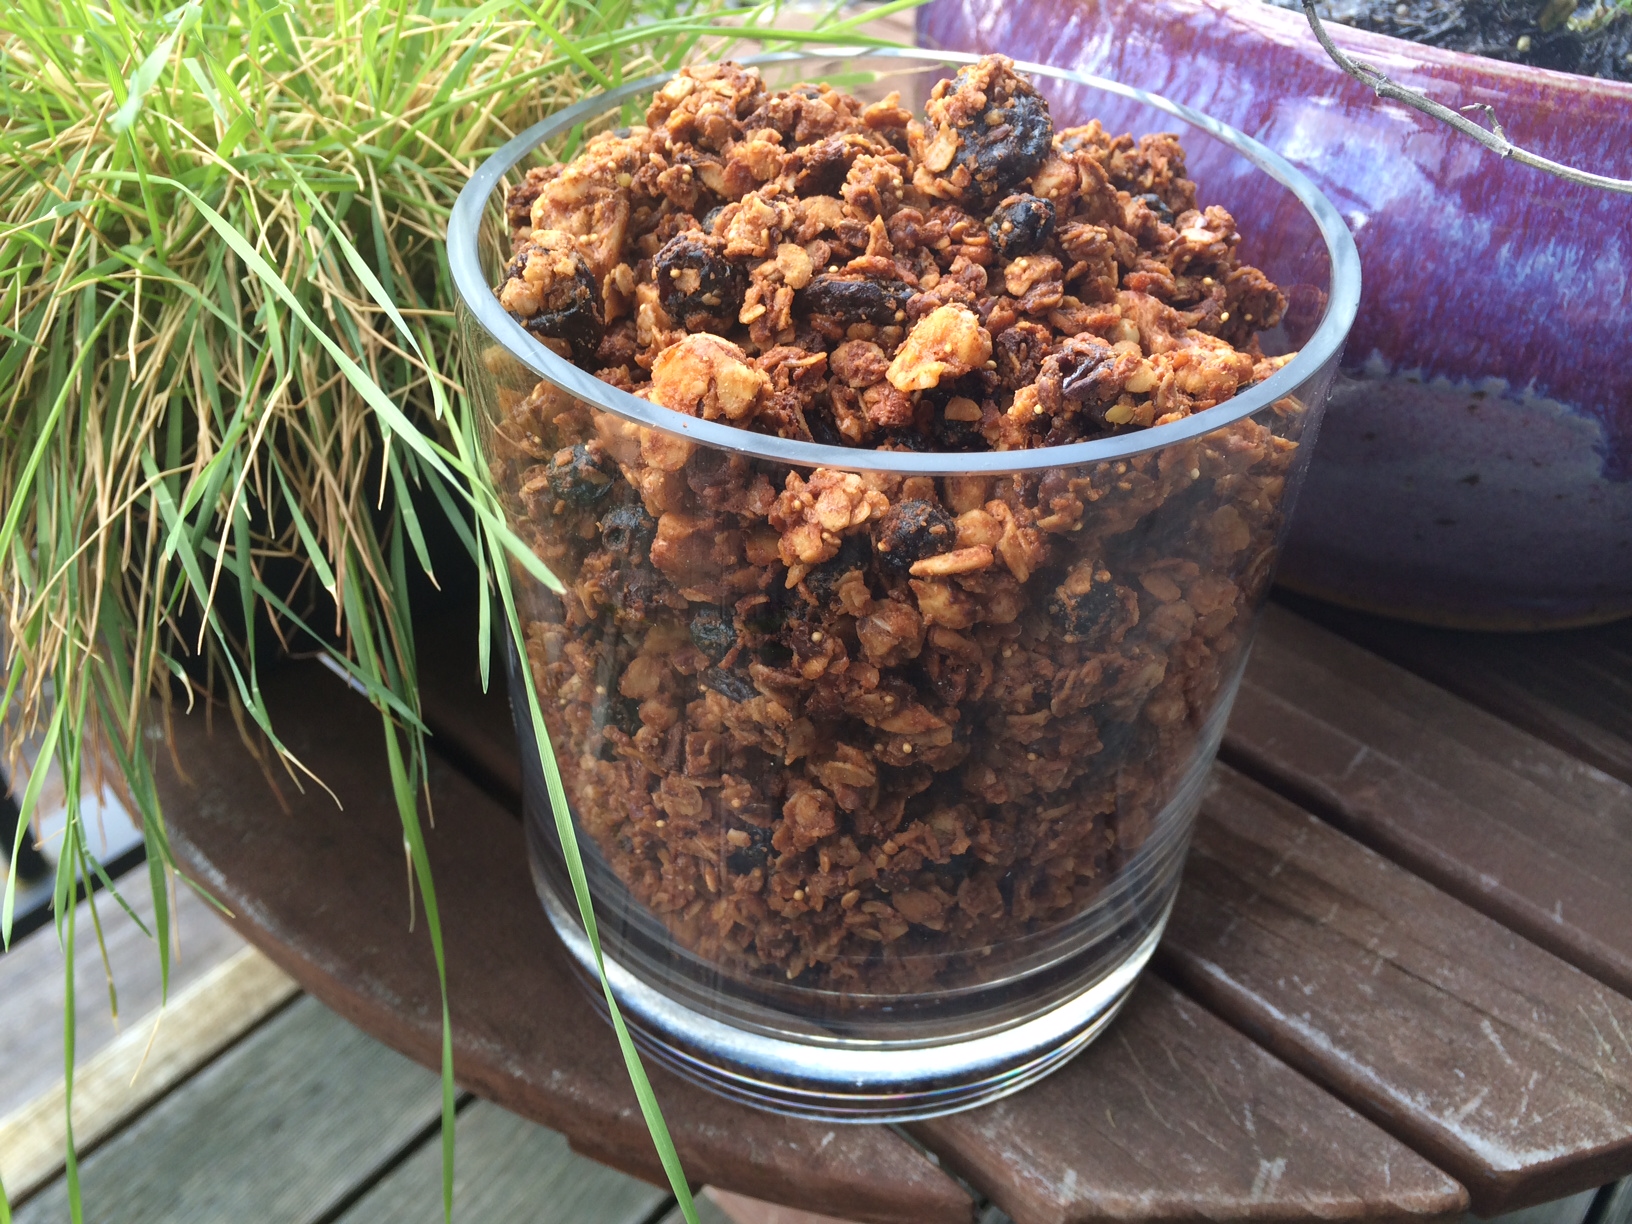
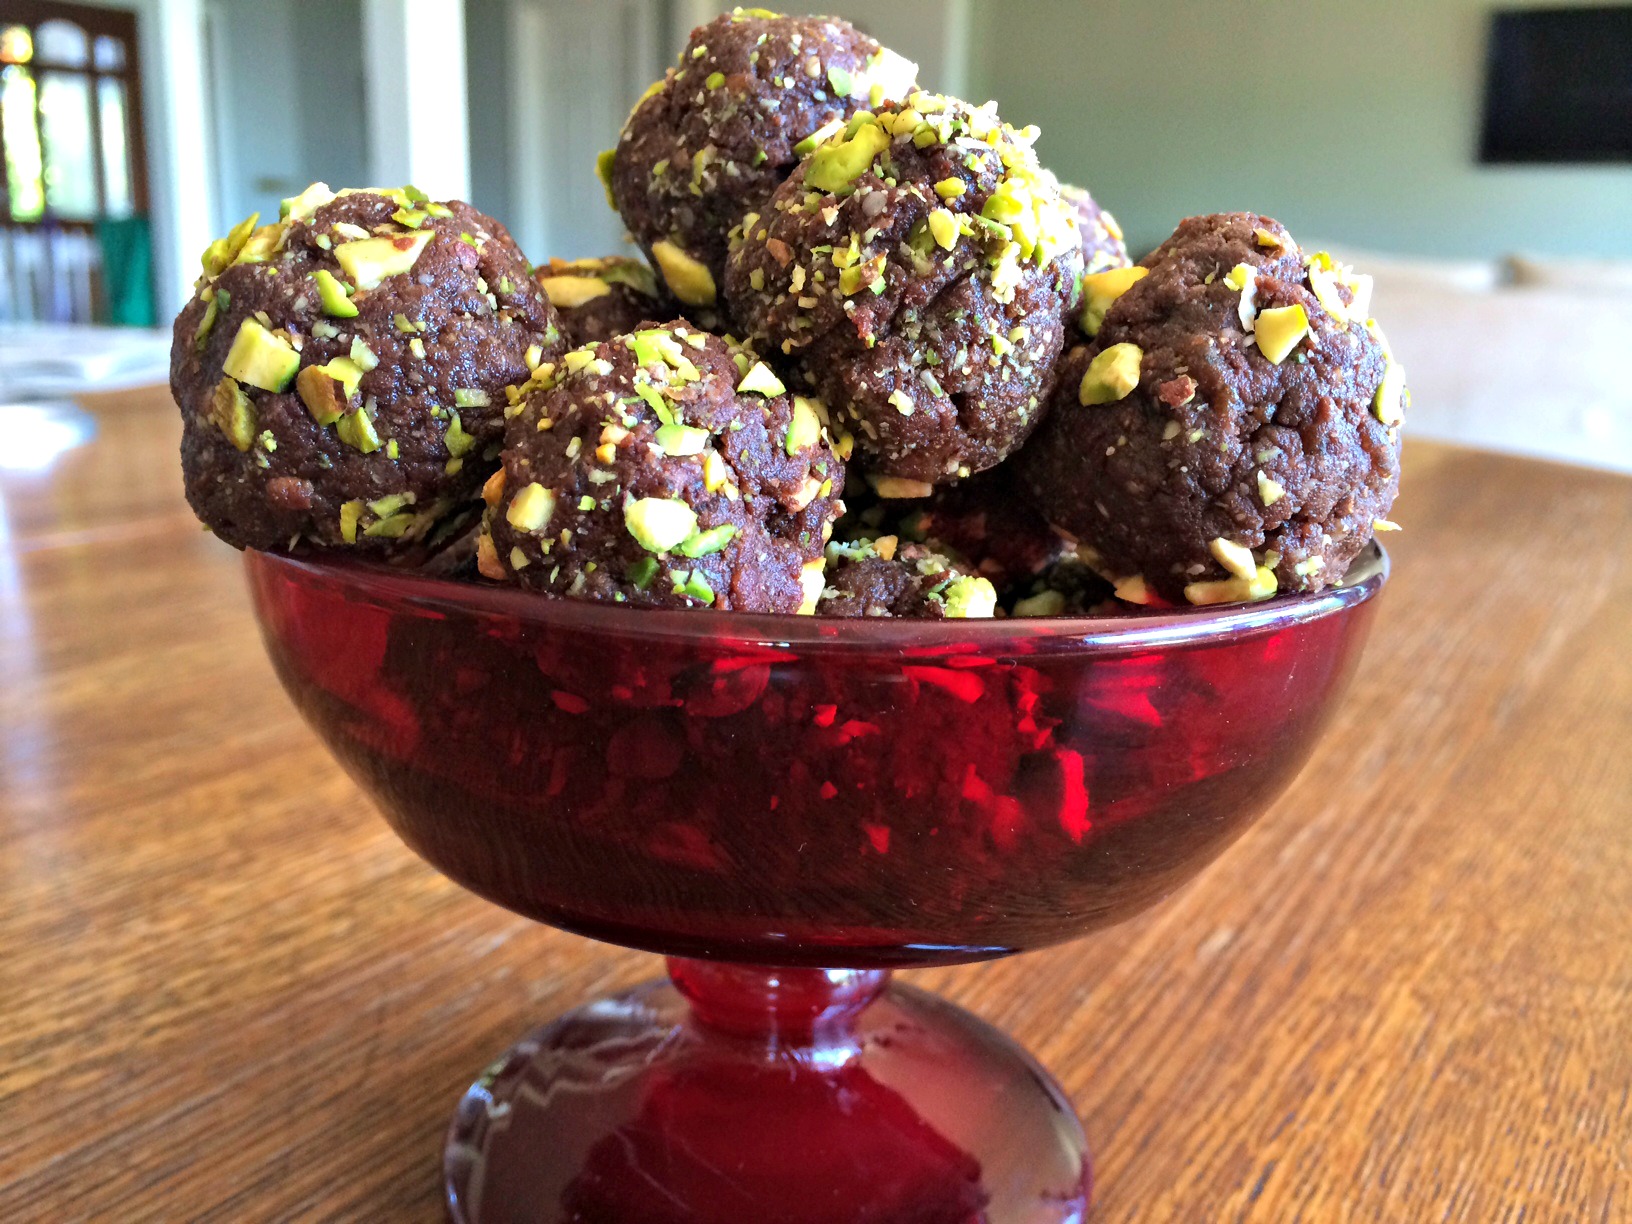
A whole bowl of nutty goodness.
Feel free to substitute different nuts or nut butters for any of the ingredients. I think you can never go wrong with a nut. Enjoy!
Shared with Rock My Vegan Socks, Girl Meets Nourishment, Today’s Creative Blog, The Novice Gardner and Real Food Fridays.