Tag Archives: chocolate

Valentine’s Day Rich Chocolate Mousse

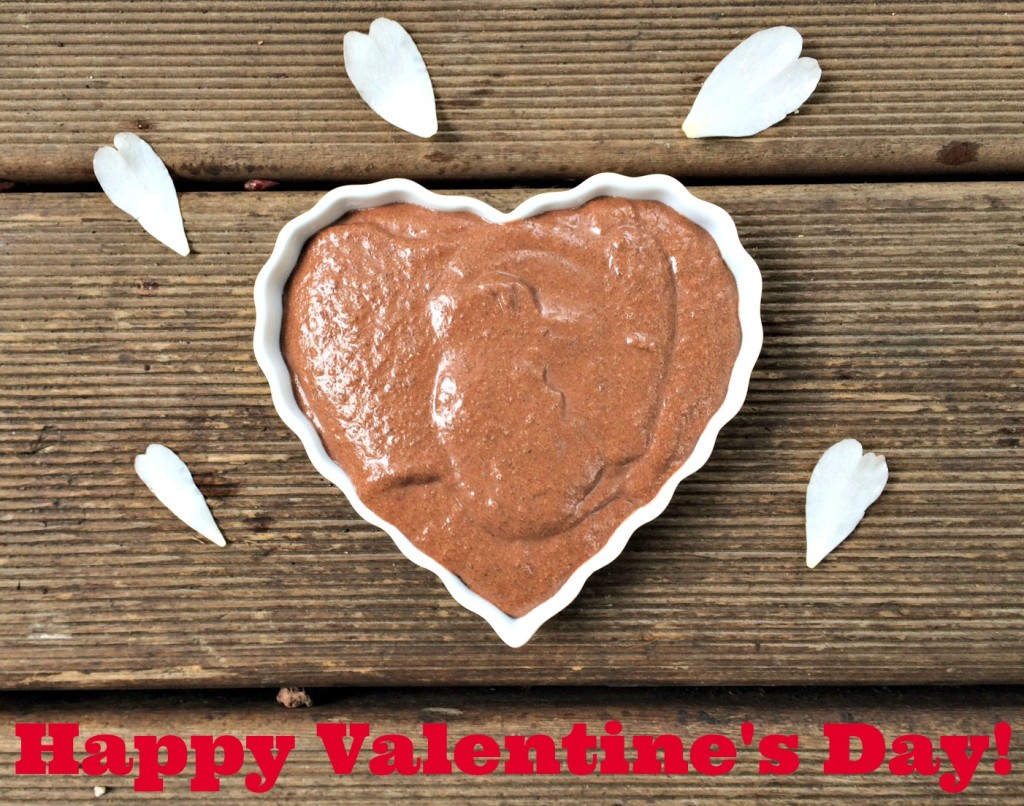
IMG_1172In my family, we are usually not big celebrators of Valentine’s Day but I found these really cute heart shaped ramekins at the Goodwill and  felt like I couldn’t let them go to waste.  I experimented high and low looking for a tasty, but healthy chocolaty dessert to fill those adorable hearts. After I tried a chia recipe that my husband said tasted “leafy” and my chocolate loving son refused to eat, I knew my search was not over.  Then I remembered that while visiting Bend, Oregon in June, I had tasted a chocolate avocado pudding.  After my failed chia attempt and a few other experiments that will go unmentioned, I decided to try to recreate the avocado experience.

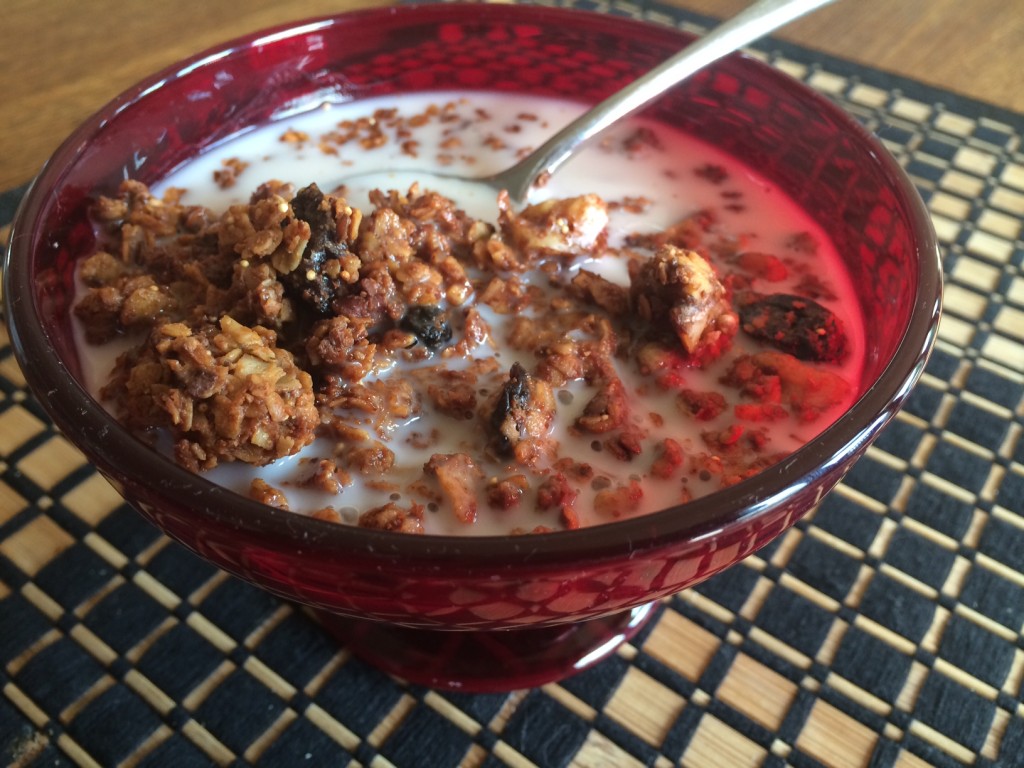
After all my failed attempts, this pudding mousse concoction came out way better than I had hoped- a little sweet, super creamy and VERY chocolaty!  I used Navitas Naturals Organic Raw Cacao Powder to give it that amazing chocolate flavor.  I love this product and use it almost every day in my Nature’s Path Qi’a Chia Buckwheat and Hemp Cereal  along with a scoop of Thorne MediPro Vegan Shake– such a yummy and filling breakfast!  But I digress!

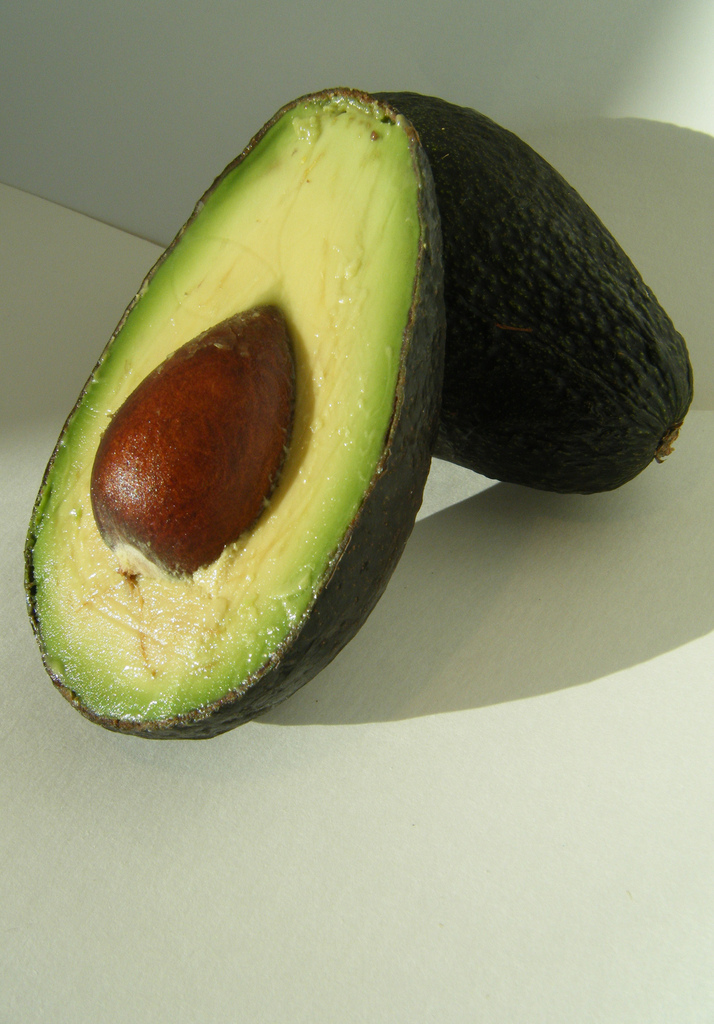
4426009647_fcb4514aba_b

The bulk of this mousse is avocado.  I love avocados because they are a particularly rich source for potassium, Vitamin E, folate, Vitamin K, Copper and Vitamin C.  (Read more about all the benefits of avocados here). I love this mousse because it was so easy- just a few whirls of all the healthy ingredients in my NutriBullet  and a few hours in the fridge and then it was ready to be devoured.

IMG_1170

Valentine’s Day Rich Chocolate Mousse

Ingredients

  • 16 Medjool dates, pitted and coarsely chopped
  • 3 ripe avocados
  • 1 cup of unsweetened almond milk
  • 1 cup of cacao
  • 1/4 cup of maple syrup
  • 1 tbs of coconut oil
  • 1 tsp of vanilla
  • pinch of sea salt

Instructions

  1. Soak the dates in warm water until soft- 5-10 minutes. Drain.
  2. Put all ingredients in the blender or nutribullet and blend until smooth and creamy.
  3. Place in the fridge until well chilled.
  4. Garnish with raspberries or other fruit or serve plain.
  5. Enjoy!
http://www.nourishedrootspdx.com/blog/valentines-day-rich-chocolate-mousse/

Enjoy this rich and creamy dessert!

Recipe taken from Eating Well Magazine.

Avocado picture from Anna under Creative Commons license.

This post contains affiliate links.

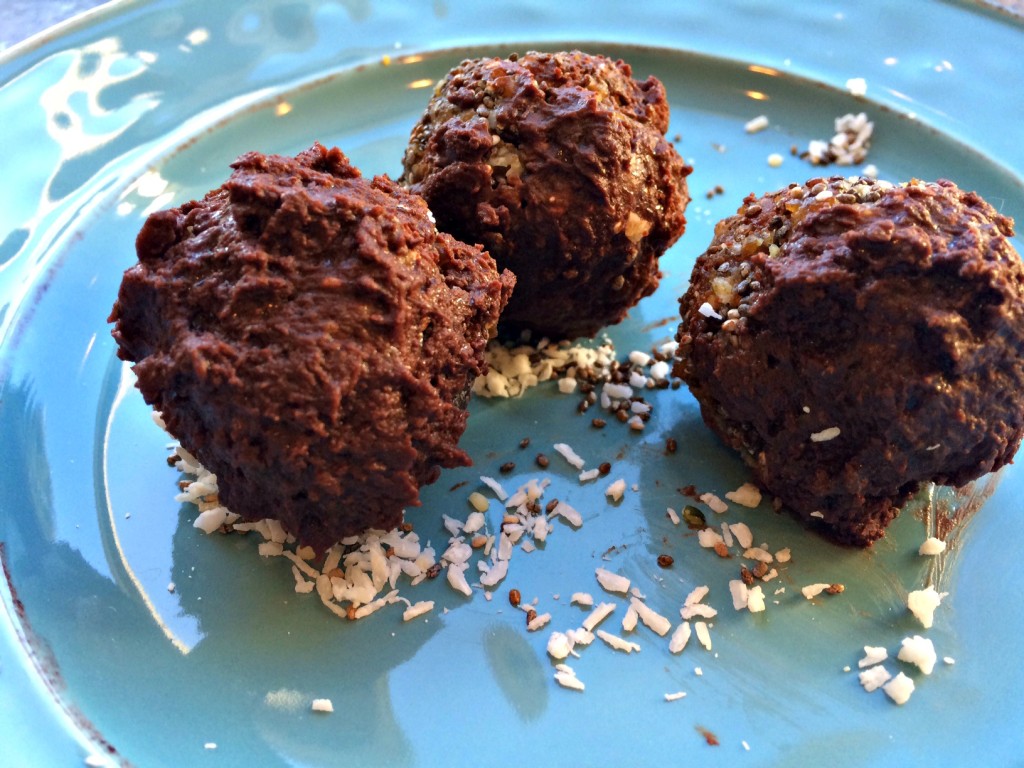
Chocolate Apricot Seed Balls

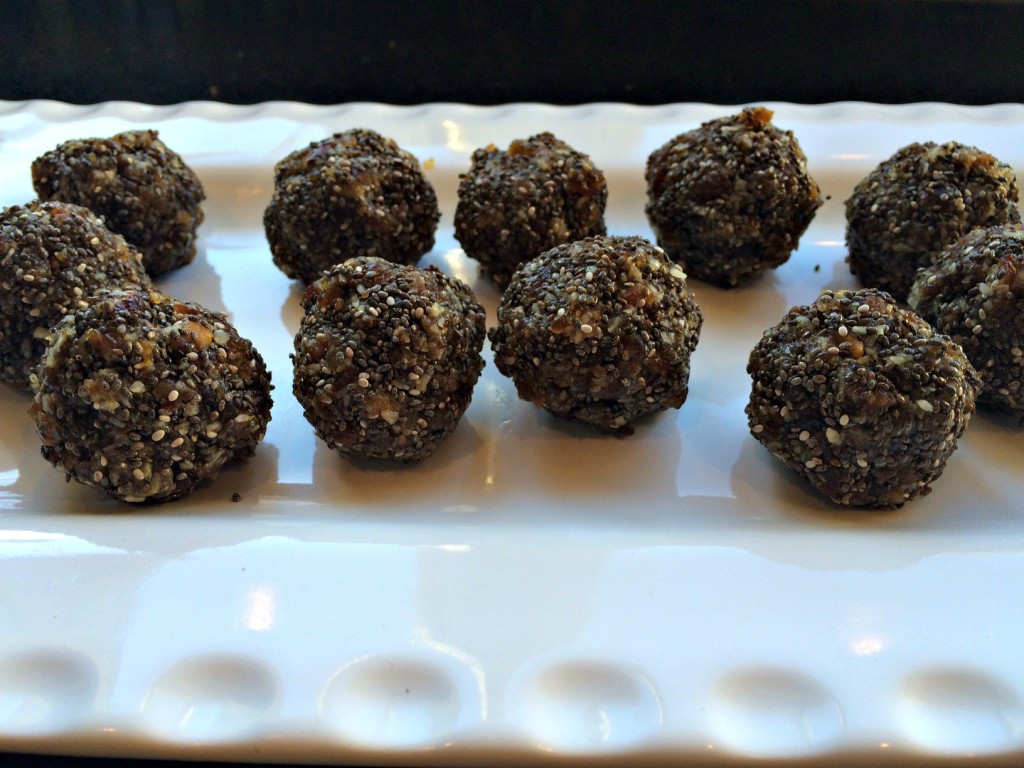
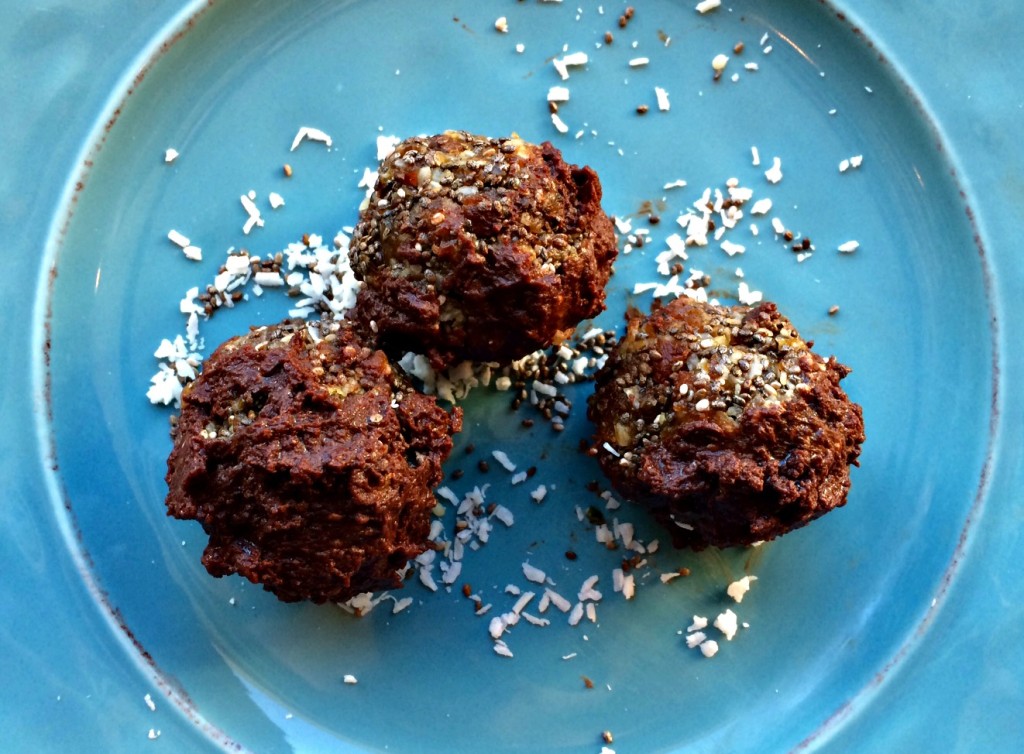
Balls all ready for snacking.

Balls all ready for snacking.

As I continue on my real foods journey, I find one of the aspects I struggle the most with is finding good quality, quick snacks.  My kids are still stuck in the “it has to be in a box to qualify for a snack” mode.  It is incredibly disheartening to go to the store, read package labels and realize how much crap is in the food marketed to kids!  Even food under the “health halo” of  gluten free or organic is often loaded with sugar listed in different forms to disguise how much sugar is actually lurking.  IT DRIVES ME CRAZY!

I was recently wandering around the internet looking for new snack ideas when I stumble upon My Darling Lemon Thyme’ s recipe for Raw Apricot, Dark Chocolate and  Coconut  Bites .  These sounded amazingly yummy to me but I wondered about tweaking them a little bit to add some protein.  I am incredibly obsessed with chia and hemp seeds right now so I immediately thought about incorporating them.

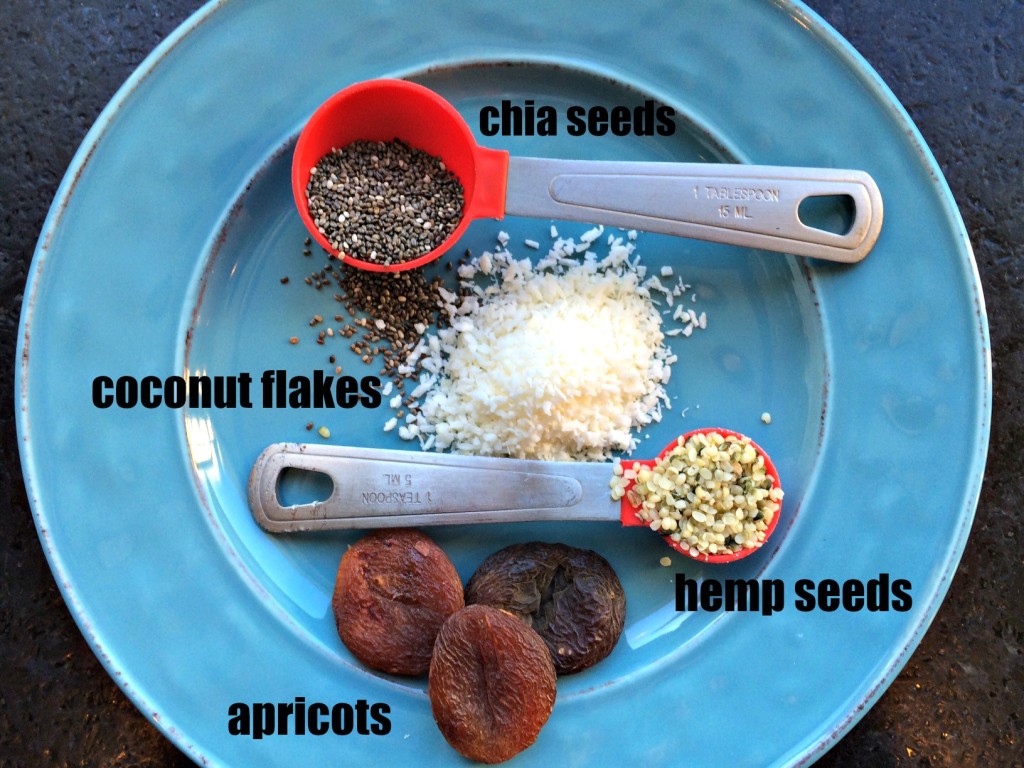
I am use to using dates in many of my raw snacks so I was intrigued with the idea of trying apricots for a different taste.  I try to find unsulfured apricots because the preservatives tend to give me a headache and upset my stomach.  I bought  Dried APRICOTS here.  I know they look discolored and a little unappetizing but I promise they taste just as good as the sulfured ones! I eat Hemp Hearts  and Organic Raw Chia Seeds every day for breakfast so they were a natural addition to these balls.

Ingredients.

Ingredients.

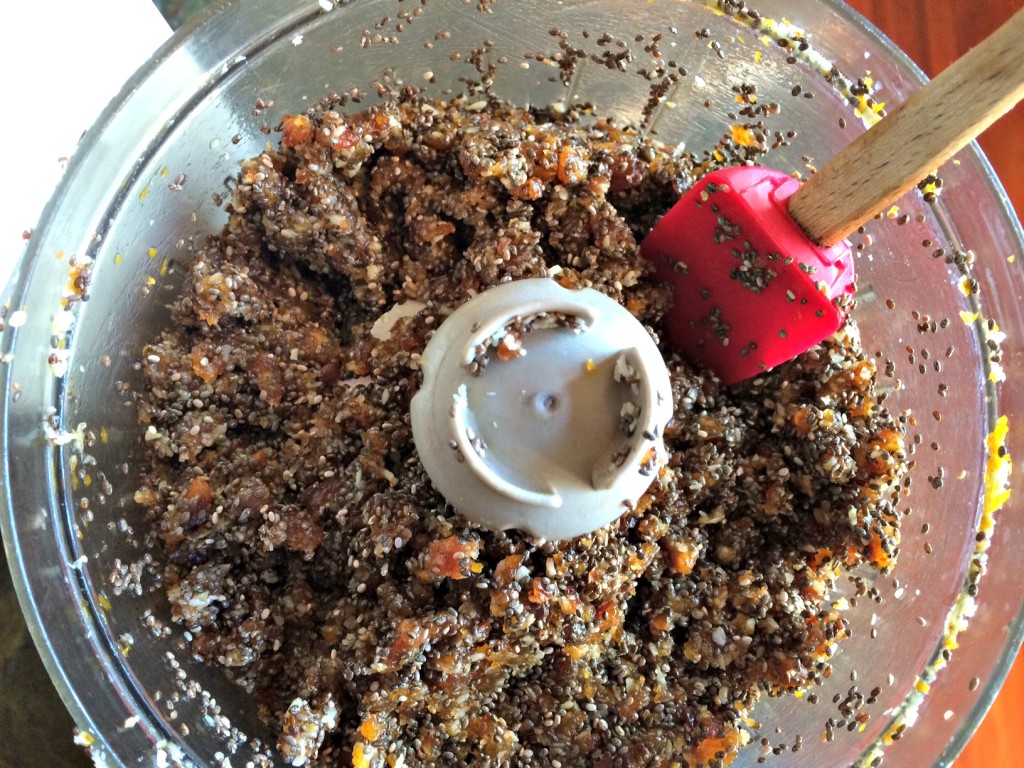
Into the food processor everything went.

IMG_1106It was important to keep grinding and grinding to break down the apricots and to get a paste to form.  Be sure to scrape down the sides of the food processor as needed.  Gradually adding a little water also really helped the balls hold together.  Checkout all that seedy goodness in the photo down below.

Balls before going into the freezer.

Balls before going into the freezer.

I know these are not the most visually appealing snacks but they definitely taste better than they look!  The raw chocolate on these balls is so yummy and not too sweet!  It is amazing combined with the orange flavor from the zest.

IMG_1110

Chocolate Apricot Seed Balls

Ingredients

  • 1 1/2 cups unsulfered apricots
  • 3/4 cup of coconut
  • 1/4 cup of chia seeds
  • 2 tbs of hemp seeds
  • 1 tbs of orange zest
  • 11/2 tbs of melted coconut oil
  • For Raw Chocolate
  • 3 tbs of melted coconut oil
  • 3 tbs of cacao powder
  • 2 tbs of maple syrup
  • pinch of sea salt

Instructions

  1. Place apricots, coconut, seeds, zest and 1 1/2 tbs of oil in the food processor.
  2. Grind until a paste forms and mixture holds together when rolled into a ball.
  3. (I added a little warm water to help this process along.)
  4. Roll into balls.
  5. Place balls in freezer for 10-15 minutes to firm up.
  6. While balls are freezing, mix ingredients for raw chocolate together.
  7. Remove balls from freezer and roll in the chocolate.
  8. (You can completely cover the balls or cover only half of them depending on your taste.)
  9. Enjoy immediately or store in fridge for later snacking.
http://www.nourishedrootspdx.com/blog/chocolate-apricot-seed-balls/

These balls turned out super yummy and I have been snacking on one or two of them a day for the last few days. Even though they are small, I find they give me sustained energy.   The boys also declared them a winner- which is great, but then I have to share them!  I would love to have readers share any of their snack ideas.

This post contains affiliate links.

Lime and Chocolate Cashew Cream Cheesecakes

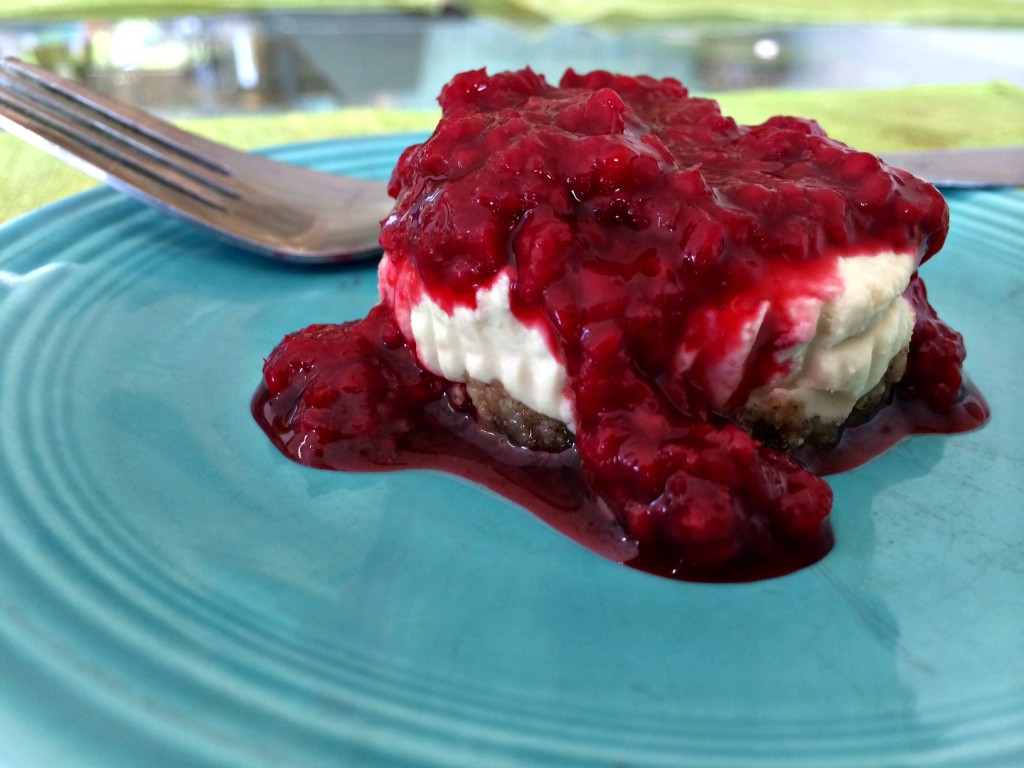
Lime, raw, vegan cheesecake with raspberry sauce.

Lime, raw, vegan cheesecake with raspberry sauce.

For the Fourth of July, we were headed up to the Olympic Peninsula to spend time with my in-laws.  They live in a somewhat rural area on the Puget Sound.  Everyone in the family loves to go up there because not only do we get to spend time with the grandparents but the area is filled with great outdoor activities.  Our days are consumed with fishing, kayaking, crabbing, hiking, biking and walking on the beach.  The other thing I love about going up there is all the yummy natural food.  There are multiple small farmer’s markets within 20 minute of their house.  The Sound is filled with fish and crab and the forest has wild blackberries and huckleberries.  I love to take advantage of the natural bounty!  Usually, when I am there in the summer, I end up making some sort of berry cobbler for my father-in-law’s birthday.  Crazily enough, he is one of the few people I know who doesn’t like chocolate so I like to try find desserts that will make him happy.

Before going up there last week, I was cruising around the internet and came upon the beautiful blog, Healthy For Happy.  Lisa, the blog’s author, had posted a recipe for a yummy sounding raw, lime, vegan cheesecake.  I had made a raw key lime pie before using the recipe from the I Am Grateful: Recipes and Lifestyle of Cafe Gratitude cookbook.  It was super tasty, particularly the crust.  I decided to combine the two recipes to make my own raw vegan cheesecake.  (I also knew that most of the people at my in-laws DID like chocolate, so I decided to make half mini lime cheesecakes and half mini chocolate cheesecakes.)


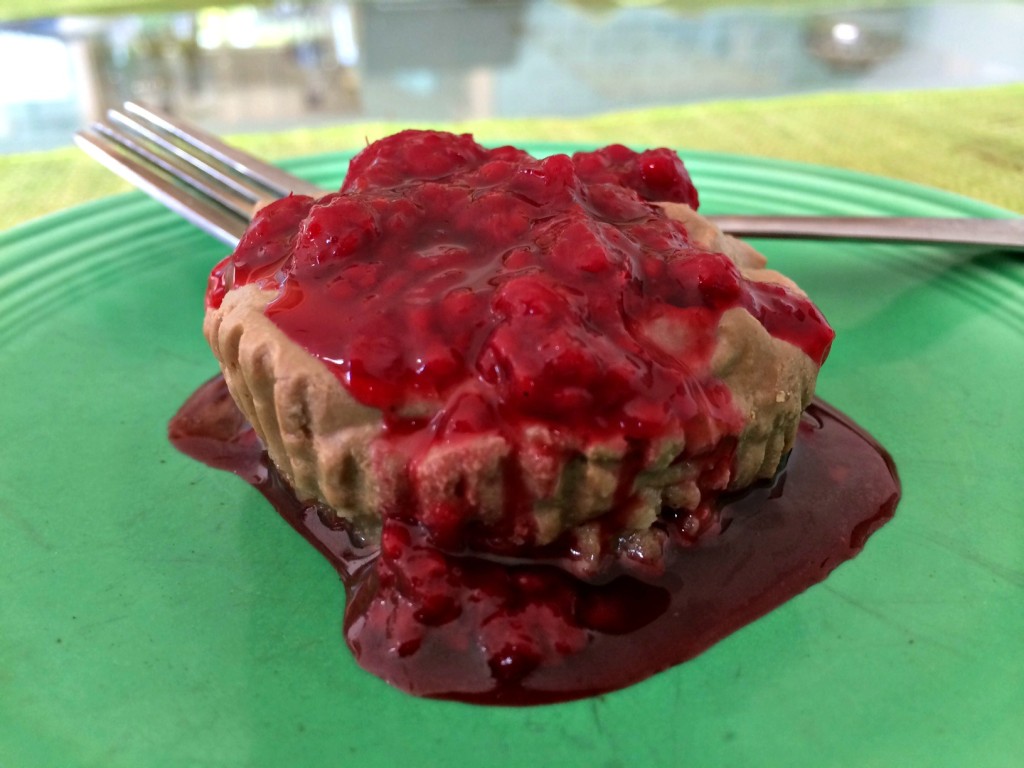
Chocolate, raw, vegan cheesecake with raspberry sauce.

Chocolate, raw, vegan cheesecake with raspberry sauce.

Lime and Chocolate Cashew Cream Cheesecakes

Ingredients

  • FOR CRUST:
  • 11/4 cup of macadamia nuts
  • 11/4 cup of pecans
  • 1/4 cup of packed dates
  • 1/4 tsp vanilla
  • 1/8 tsp of salt
  • FOR FILLING:
  • 2 cups cashews soaked overnight (or at least 4 hours) and then rinsed and drained
  • 1 tsp vanilla
  • 1/3 cup of maple syrup
  • 1/3 cup of melted coconut oil
  • small amount of almond milk as needed
  • Juice of 1-2 limes depending on how juicy they are
  • zest of 1 lime
  • 1 tbs of cacao powder
  • couple of squares of dark chocolate, melted

Instructions

  1. To make the crust, put all crust nut ingredients in a high speed blender or food processor.
  2. Process until nuts are small and crumbly.
  3. Slowly add dates while continuing to process nut mixture.
  4. Crust will begin to stick together.
  5. Press crust mixture into muffin tins lined with paper liners.
  6. The crust should hold together well in bottom of tins.
  7. I made two different types of cheese cake so I had to divide all the filling ingredients in 1/2. If you are only going to make one type, you can pour all the ingredients into the blender at the same time.
  8. To make the filling, add 1/2 the cashews, 1/2 the vanilla, 1/2 the maple syrup, juice from 1 lime, lime zest and 1/2 the coconut oil to a blender.
  9. Blend until smooth.
  10. Taste to see if it is limey enough.
  11. If not, gradually add more juice until it tastes as limey as you want.
  12. Once the filling tastes as limey as you like, add lime filling to half of the prepared muffin tins.
  13. Clean out the blender.
  14. Add other half of the ingredients, plus the cacao and melted dark chocolate to the blender.
  15. Process until smooth.
  16. If not getting creamy, you can add small amounts of almond milk to help your blender process the nuts.
  17. Taste to see if chocolaty enough. If not add more cacao to the blender.
  18. Once all the nuts are ground up, spoon filling into the prepared muffin tins.
  19. Smooth top of the cheesecakes.
  20. Place in the fridge for a few hours to firm up and then ENJOY!
  21. You can serve them with a raspberry sauce if you like. Recipe to follow.
http://www.nourishedrootspdx.com/blog/lime-and-chocolate-cashew-cream-cheesecakes/

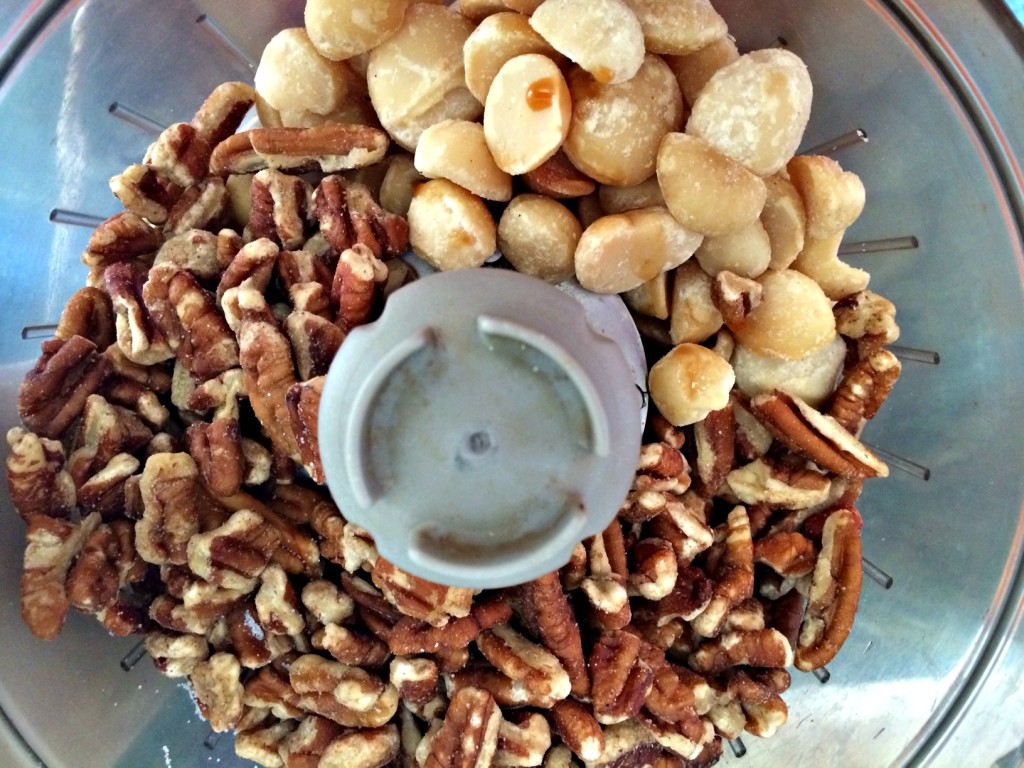
Here is a picture of all the nuts for the crust before they get chopped up.

Pecans and macadamias before they become crust.

Pecans and macadamias before they become crust.

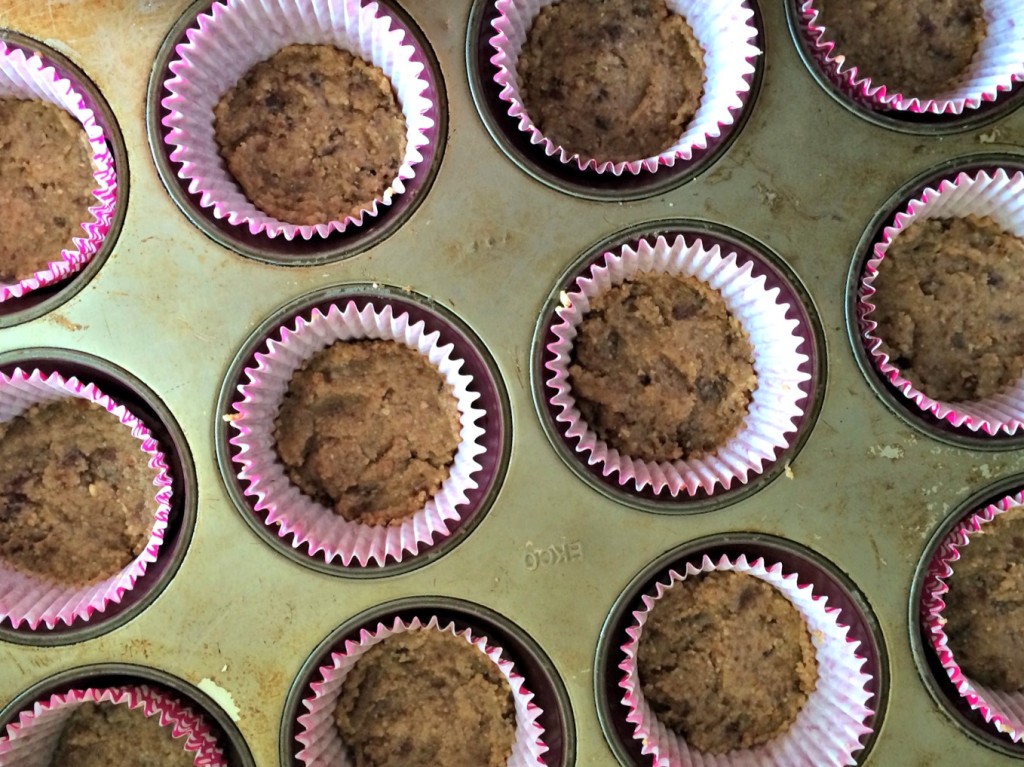
Below is a pic of the nuts, processed into the crust mixture and then pressed into the cup cake pan.  They are just waiting for the filling to be ready.

Crust before filling.

Crust before filling.

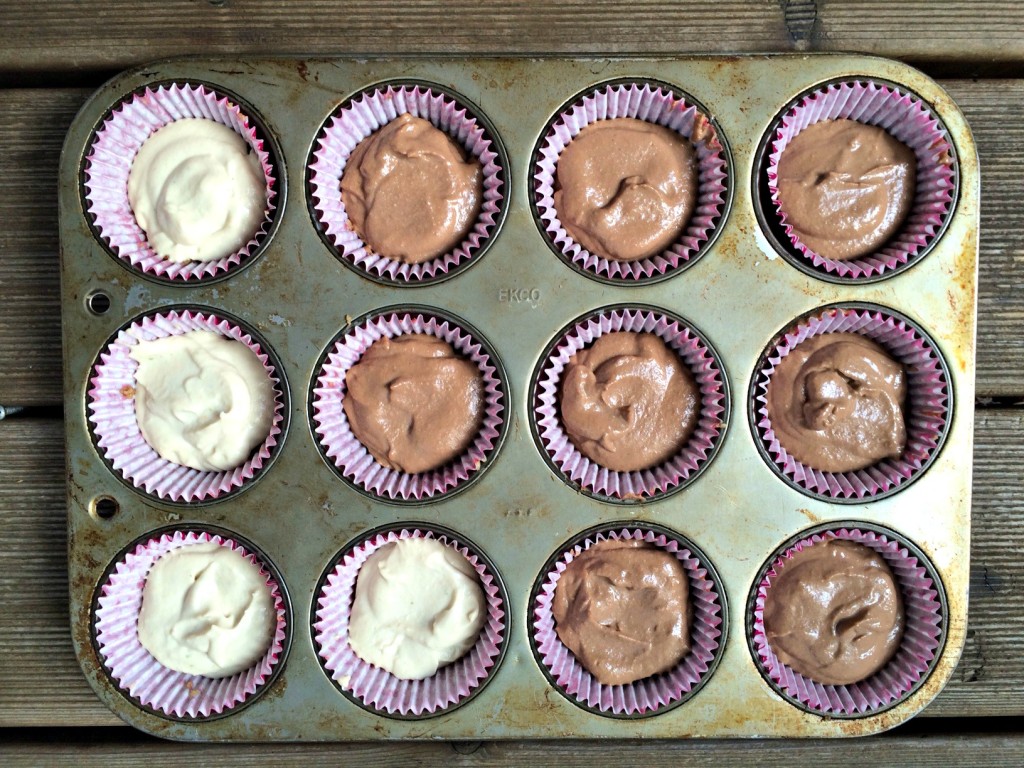
A pic of the muffin tin with the chocolate and lime fillings added.  Everything is now ready to go into the fridge.

Chocolate and lime raw vegan cheesecakes.

Chocolate and lime raw vegan cheesecakes.

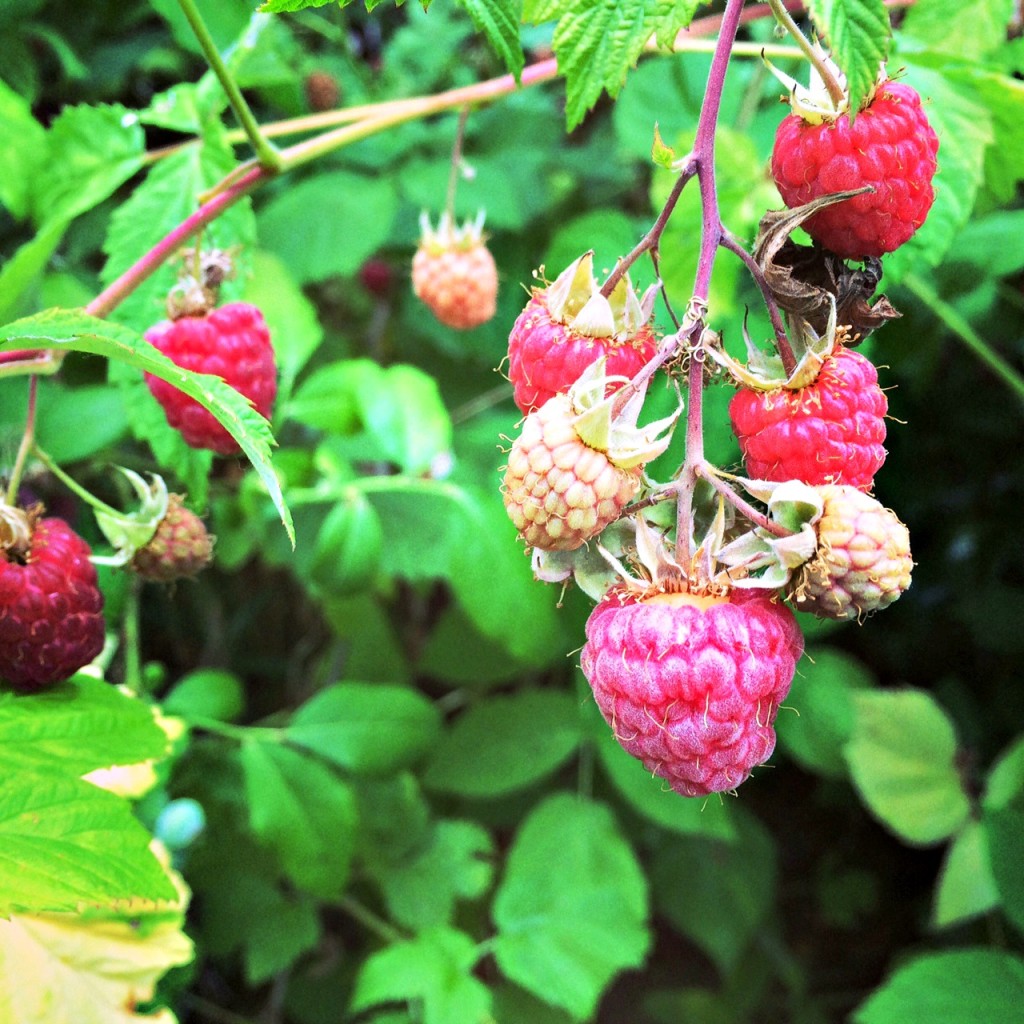
I have a crazy amount of raspberry bushes in my yard and last week the were filled with berries.  I decided to use some of the berries to make a raspberry sauce to go on the cheesecakes.  The cheesecakes are super yummy without the sauce but if you want to add a little extra zing, this is one way to do it.

Raspberry on the vine in my yard.

Raspberry on the vine in my yard.

Homemade Raspberry Sauce

Ingredients

  • 2 cups of fresh raspberries (I am sure frozen would work too)
  • 1/4 cup of agave syrup
  • juice from 1 lemon
  • zest of 1 lemon

Instructions

  1. Put all ingredients in a pot on the stove over low heat.
  2. Stir frequently to prevent burning or sticking.
  3. When raspberries are broken down and the sauce starts to thicken, turn off stove.
  4. Allow to cool.
  5. Put in glass jar and store in the fridge.
http://www.nourishedrootspdx.com/blog/lime-and-chocolate-cashew-cream-cheesecakes/

Enjoy!

Shared on the Plant Based Pot Luck Party, Live Laugh Rowe, A Glimpse Inside, Real Food Fridays, Gluten Free Homemaker and the Nourishing Gourmet.

Chocolate Cherry Chia 24 Hour Oats

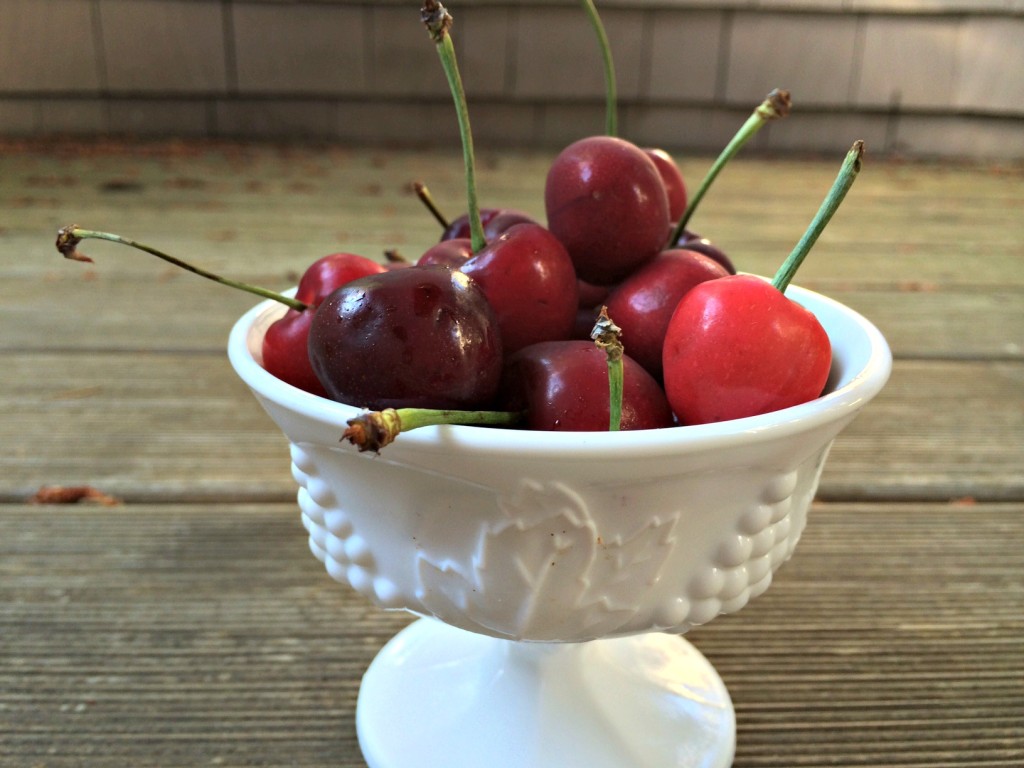
Cherries.

Cherries.

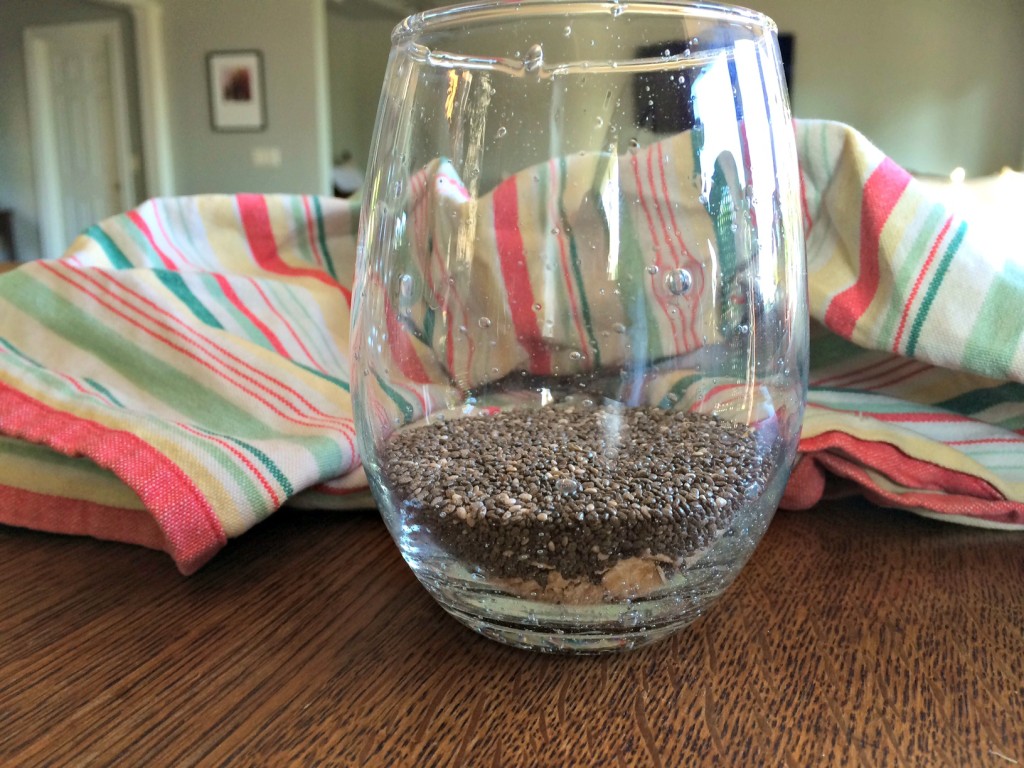
Healthy Chia Seeds.

Healthy Chia Seeds.

Every Friday morning, I sweat my way through  an amazing boot camp class at The Refinery here in Portland.  Each week features a different series of moves designed to torture us.  While I am usually exhausted by the end of it, I LOVE it!  It is fun, challenging and awesome to see what my body can and can’t do each week.  Before each class, I have to think carefully about how I am going to fuel my body to get through the workout.  I don’t want to be too weighed down but also want to be sure I have enough fuel to finish.  The last few weeks, I have been relying on versions of  24 hour oats.  With cherry season upon us, these Chocolate Cherry Chia Oats are my new favorite.

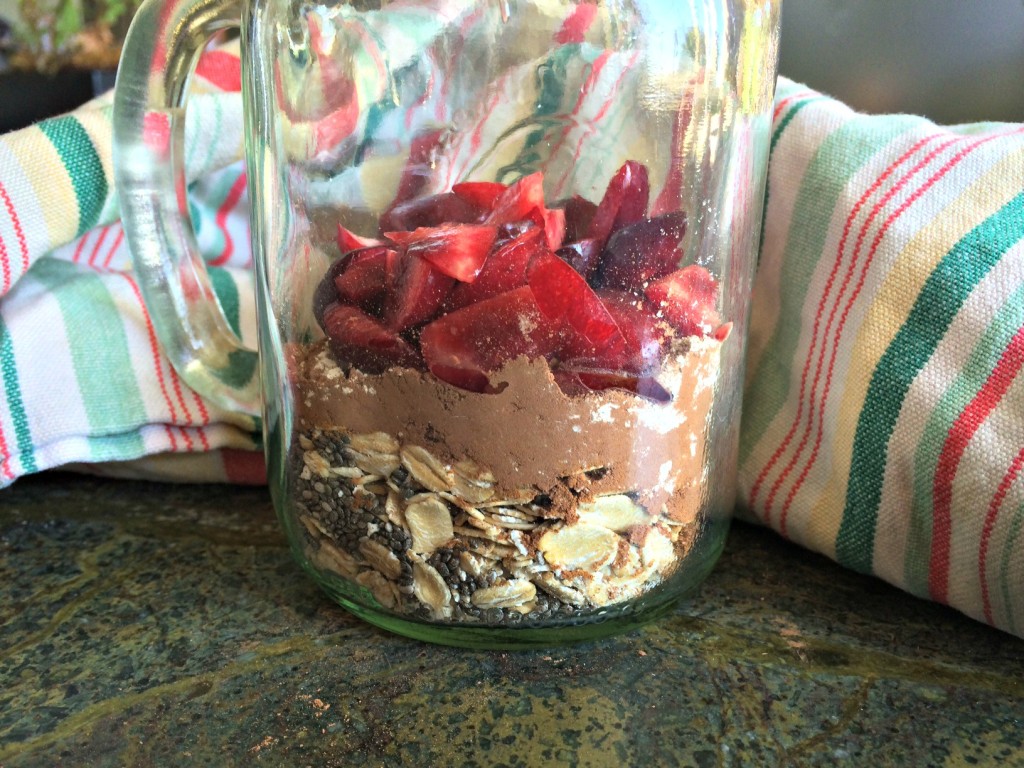
All the ingredients before adding the almond milk.

All the ingredients before adding the almond milk.

I added a scoop of vegan vanilla protein powder to my oats because I wanted the extra protein with such a hard workout but you can leave it out if you aren’t interested in extra protein.

We use this protein powder Garden of Life Raw Organic Protein, 622 Grams.

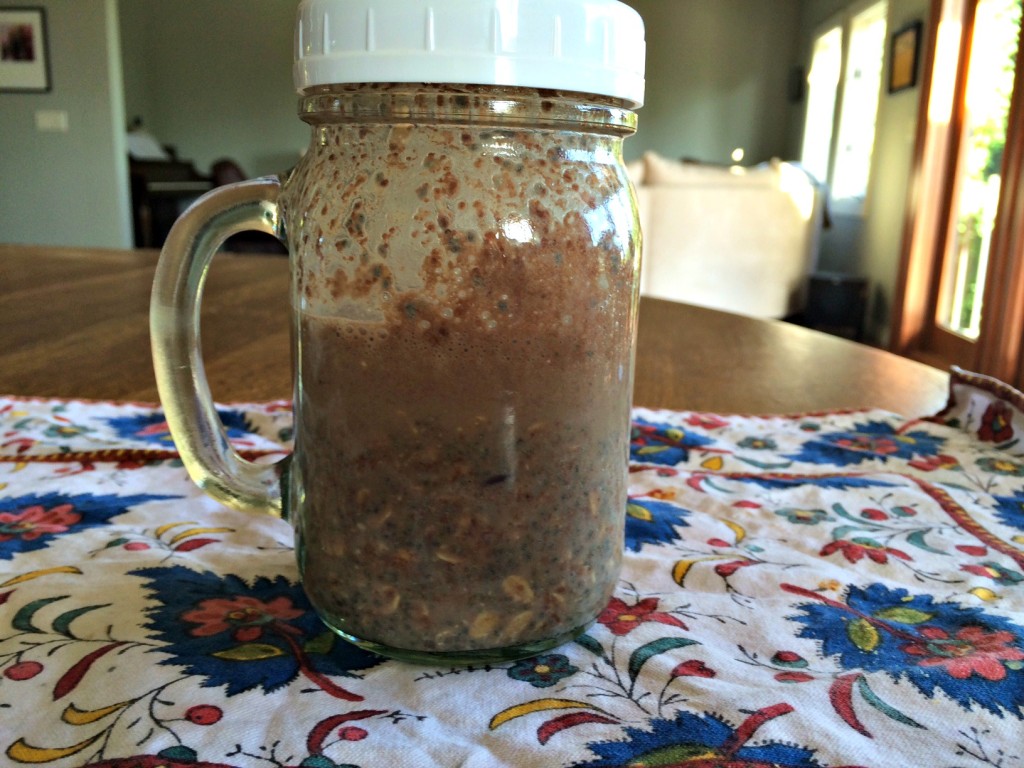
Shaken Oats Ready to Go In the Fridge.

Shaken Oats Ready to Go In the Fridge.

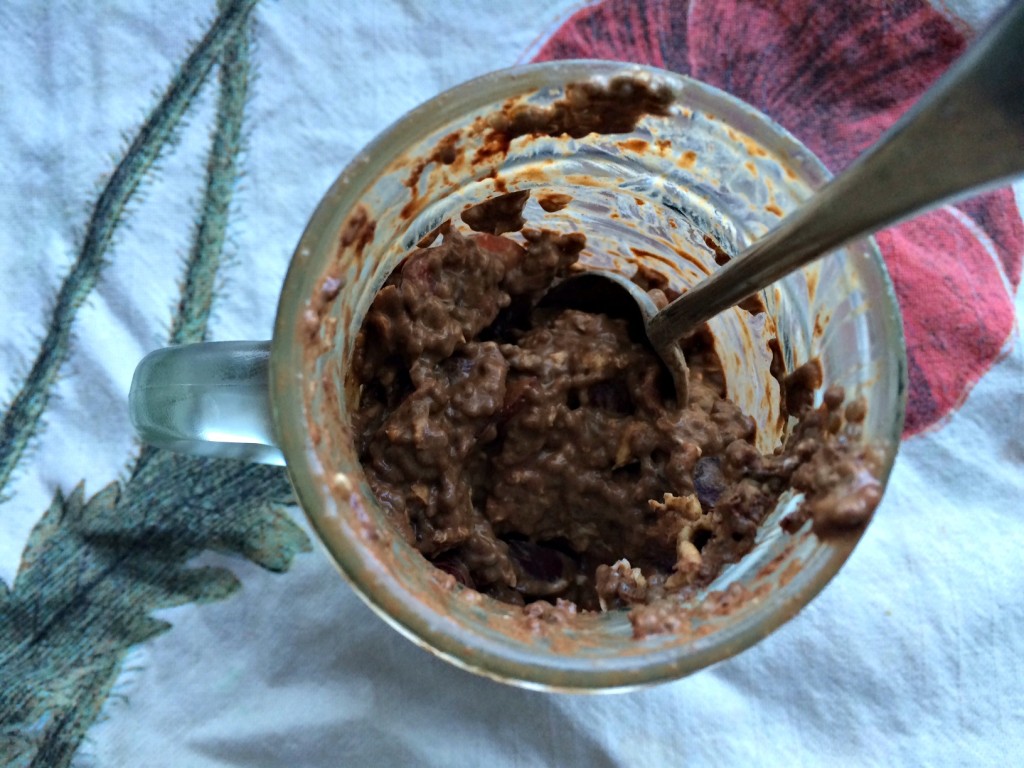
These oats are great because you prep them the night before and then just grab them and go in the morning.  They offer healthy omega-3 fats with the chia seeds, fiber filled oats and a dose of Vitamin C from the cherries.  As you can see from the picture below, it is not a pretty breakfast but it sure tastes good.

Oats ready to eat after 24 hours in the fridge.

Oats ready to eat after 24 hours in the fridge.

Chocolate Cherry Chia 24 Hour Oats

Ingredients

  • 3 tbs of oats
  • 2 tbs of chia seeds
  • 1 tbs of cacao powder
  • 1 tbs of protein powder (optional)
  • shake or two of cinnamon
  • 1/2 cup of pitted and chopped cherries
  • 1 cup of vanilla almond milk or milk of your choice
  • Maple syrup or other sweetener to taste

Instructions

  1. Place all ingredients in a mason jar.
  2. Cover.
  3. Shake until well combined.
  4. (You may have to open and stir with a spoon to be sure everything gets mixed together.)
  5. Place in the fridge overnight.
  6. In the morning, add sweetener of choice and enjoy.
http://www.nourishedrootspdx.com/blog/chocolate-cherry-chia-24-hour-oats/

I usually add a couple of tablespoons of some sort of nut butter for even more flavor and protein.  You can omit it if you want or use whatever type of nut butter you have on hand.

This post shared with Live, Laugh, RoweThe Nourishing Gourmet, A Glimpse InsideUrban Naturale, Rock My Vegan Socks, Fat TuesdayMary’s Kitchen, Girl Meets Nourishement and Homespun Oasis.

This post contains affiliate links.
Glo Bar Obsession

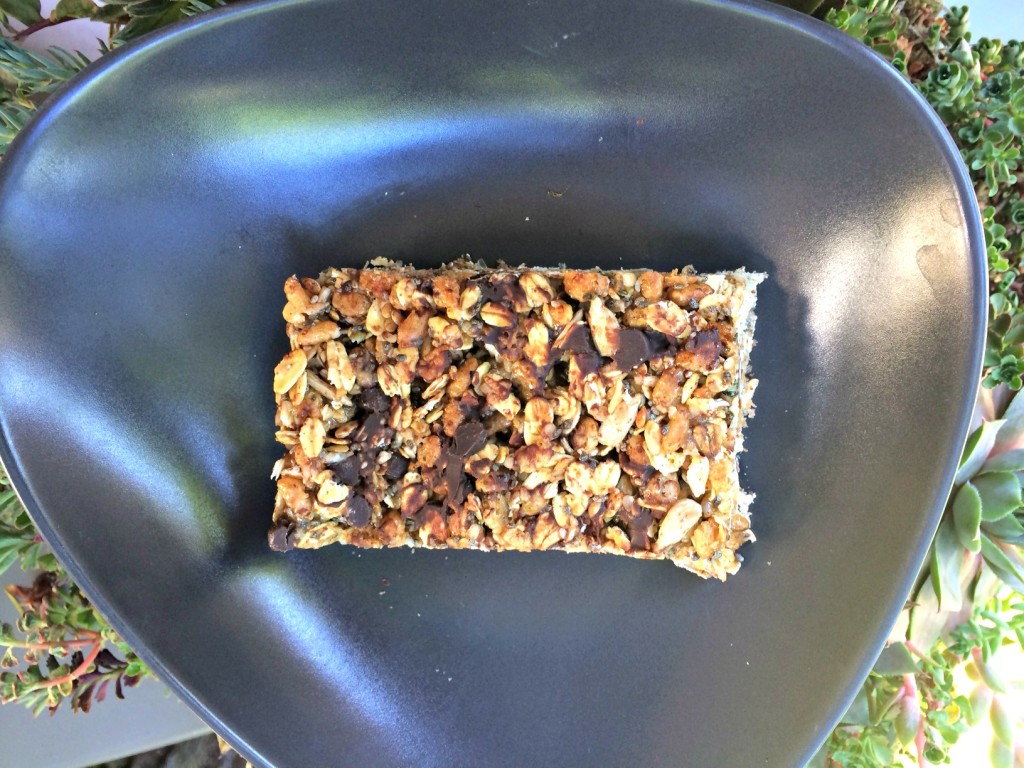
Glo Bars all ready to eat.

Glo Bars all ready to eat.

About  a week ago, I picked up Angela Liddon’s The The Oh She Glows Cookbook: Over 100 Vegan Recipes to Glow from the Inside Out
.  Since then I have become totally obsessed with making recipes out of this book.  Now, neither I nor my family are vegan but it has not mattered.  Everything I have made from this book has been super yummy!  As I have stated before, I am always on the hunt for healthier snack bars to feed my family so when I saw the recipe for her Glo Bars, I knew I had to make them.  Usually I make some substitutions or additions to recipes but these sounded so good I made no changes.
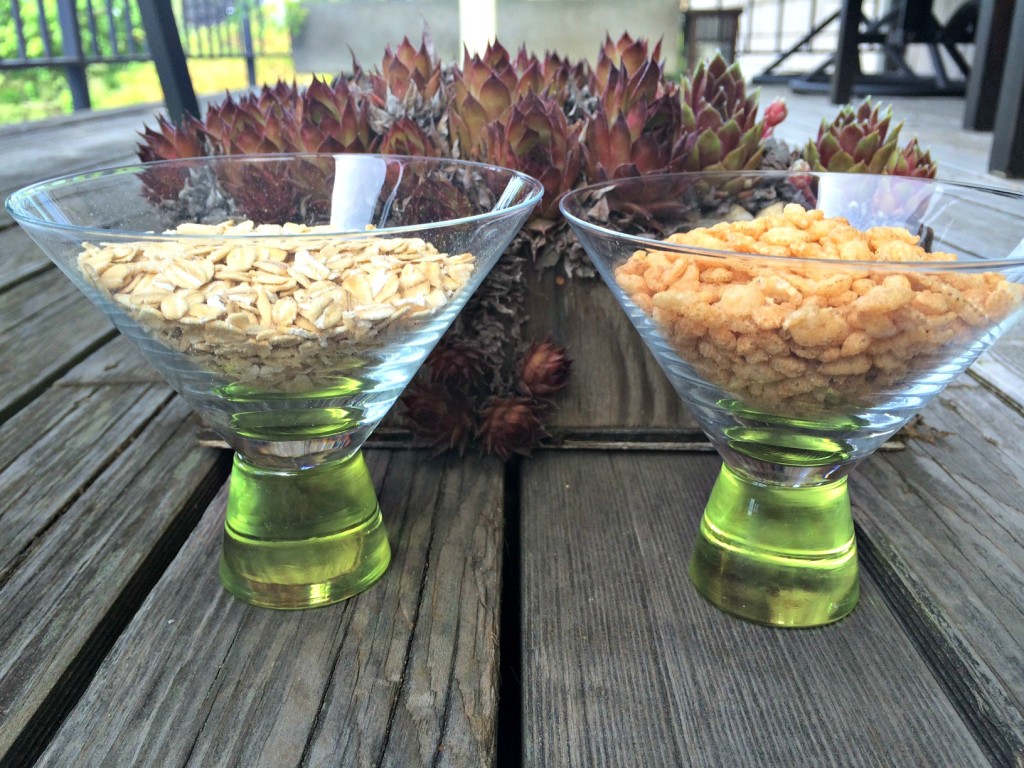
Oats and crispy rice cereal- the two main components of the bars.
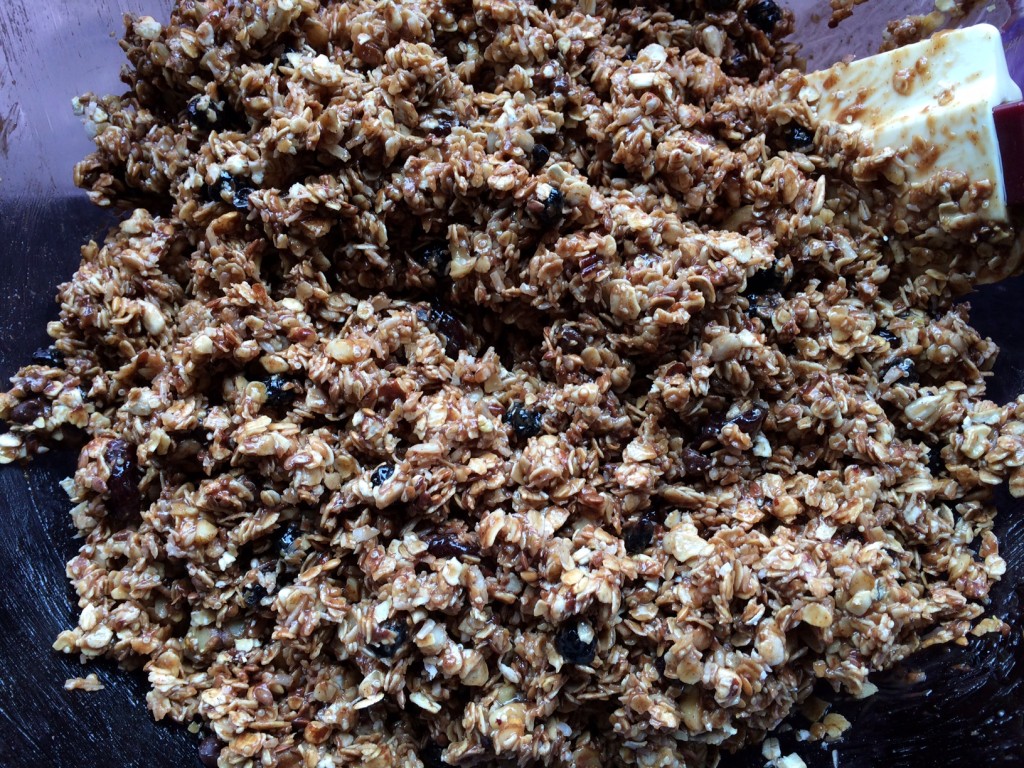
Oats and crispy rice cereal- the two main components of the bars.

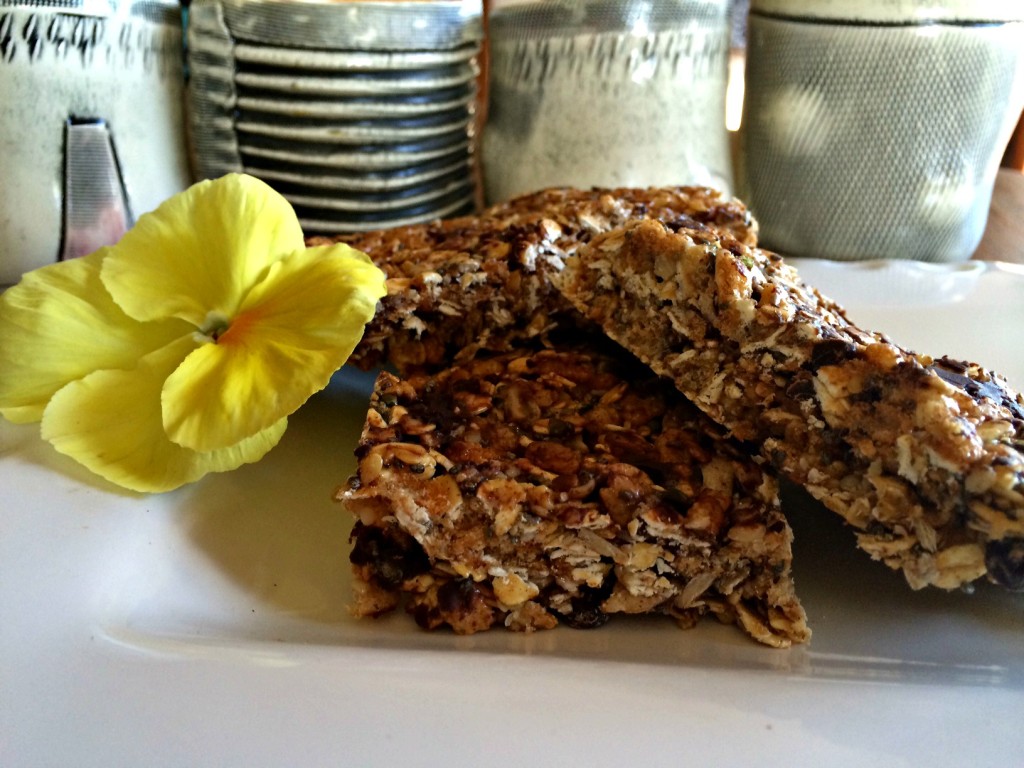
These bars were very easy and required very little time spent actually cooking- right up my alley.  These bars are gluten free, no bake, refined sugar and oil free- yummy!!

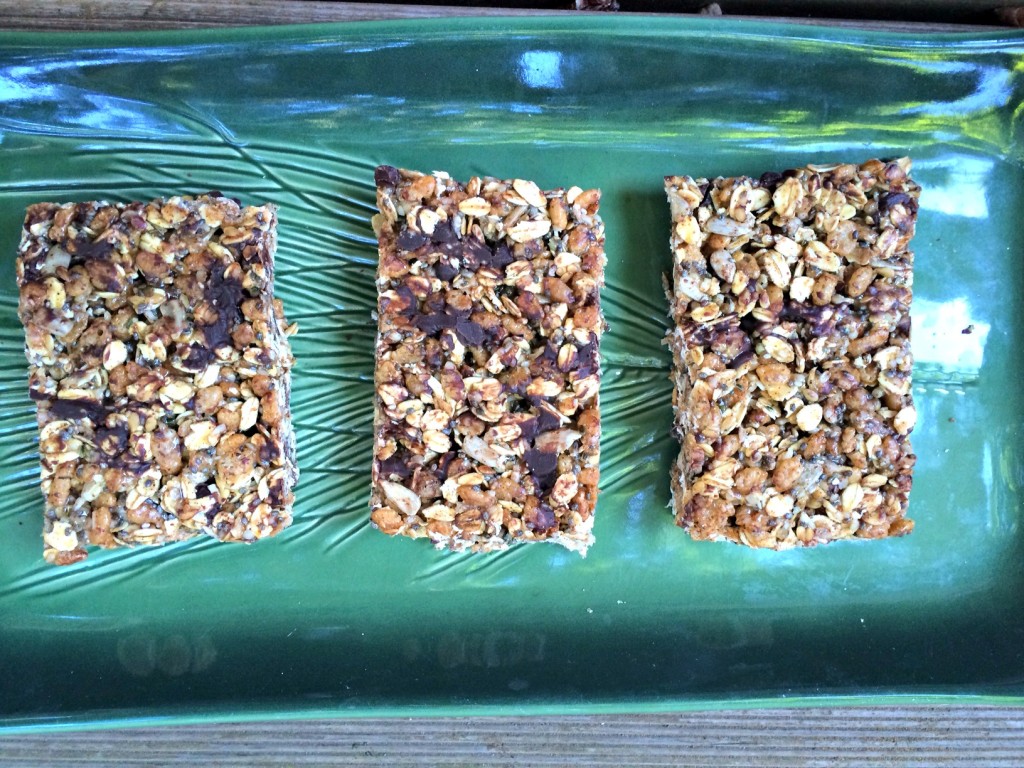
Finished bars.

Finished bars.

Glo Bar Obsession

Ingredients

  • 1 1?2 cups gluten-free rolled oats
  • 1 1?4 cups rice crisp cereal
  • 1?4 cup hemp seeds
  • 1?4 cup sunflower seeds
  • 1?4 cup unsweetened shredded coconut
  • 2 tablespoons sesame seeds
  • 2 tablespoons chia seeds
  • 1?2 teaspoon ground cinnamon
  • 1?4 teaspoon fine-grain sea salt
  • 1?2 cup, plus 1 tablespoon, brown rice syrup
  • 1?4 cup roasted peanut butter or almond butter (I used almond butter.)
  • 1 teaspoon pure vanilla extract
  • 1?4 cup mini non-dairy chocolate chips (such as Enjoy Life brand) (optional)

Instructions

  1. Combine ingredients through sea salt in a large bowl.
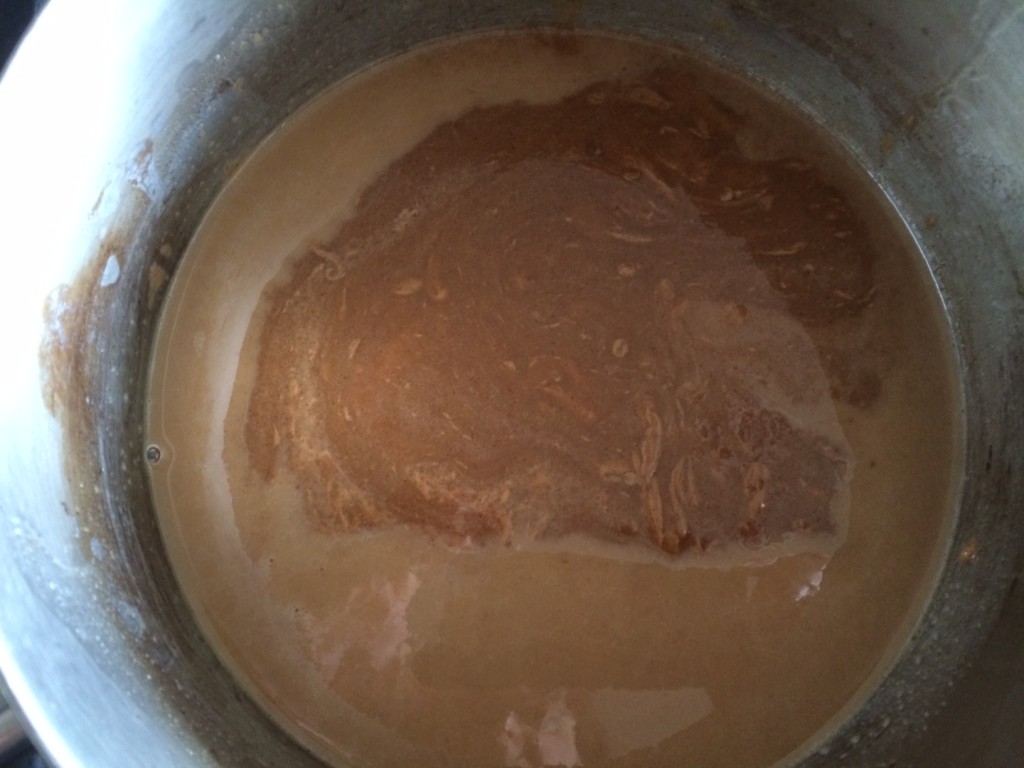
  2. Place brown rice syrup and nut butter on the stove until begins to liquefy.
  3. Watch carefully and stir frequently.
  4. Pour hot liquids over the dry ingredients.
  5. Stir well till all dry ingredients are coated with syrup mixture.
  6. Stir in chocolate chips after mixture cools a bit. (I got impatient and stirred them in before it was cool and the chips melted a little. Fortunately, I like having the chocolate distributed throughout the bars!)
  7. Spread mixture in parchment lined pan and put in fridge until hardens.
  8. Once hard, take out of pan by lifting from parchment paper edges.
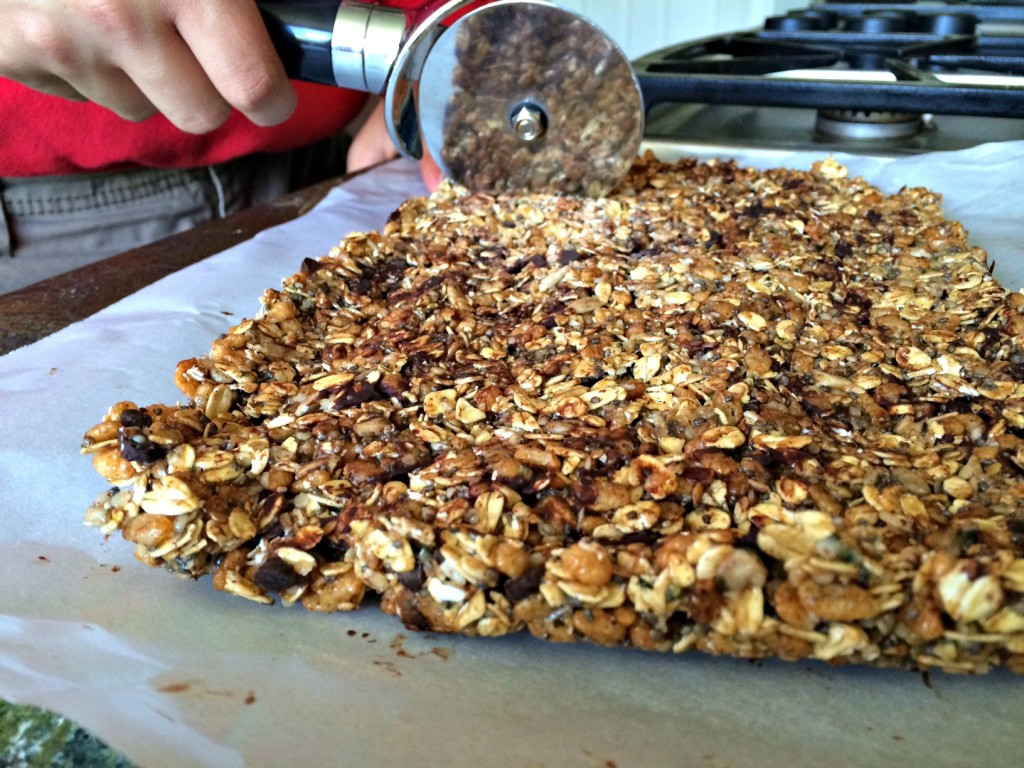
  9. Use pizza cutter to cut into bars.
  10. Store uneaten portions in the fridge.
http://www.nourishedrootspdx.com/blog/glo-bar-obsession/

My son on as a sous chef!

My son on as a sous chef!

Eat up!

Eat up!

Enjoy these tasty bars!

This post shared with The Nourishing Gourmet, A Glimpse Inside, The Idea Room, Food Renegade, Urban NaturaleHello Veggy and Homespun Oasis.


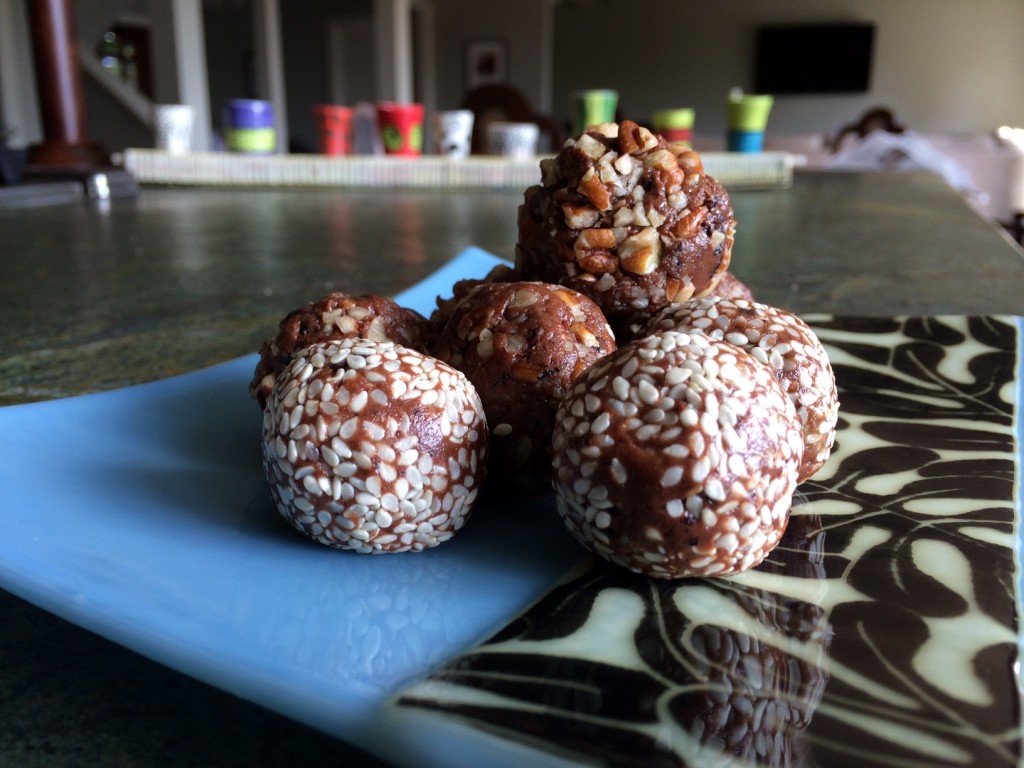
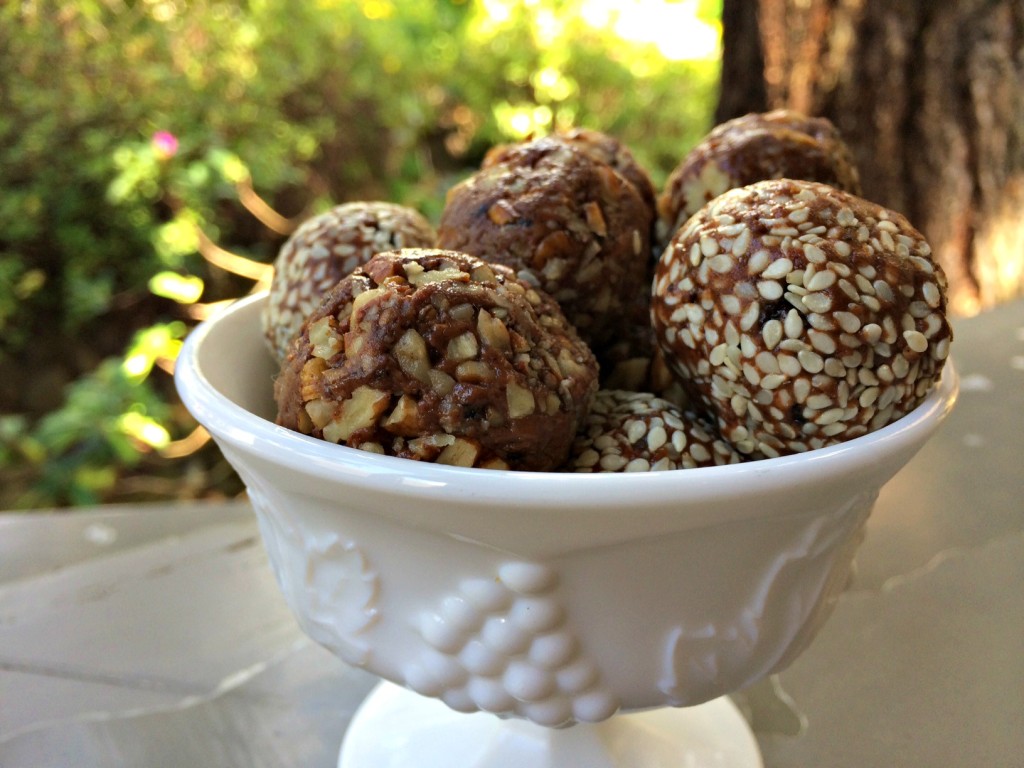
Chocolate Almond Butter Energy Blasts

Chocolate Energy Blasts

Chocolate Energy Blasts

Who doesn’t love a little ball of chocolate protein yumminess?  I know I sure do!   A no bake way to sneak  more protein in my diet?  Sign me up!!  I have been seeing variations of these balls all over the internet and finally decided to break down and try them for myself.  They are super easy and quick to make- even little kids can make them. I based my recipe on one I found on the Whole Foods website with a few minor changes.

Ready to eat.

Ready to eat.

I used almond butter for my Energy Blasts but I know peanut butter or any other nut butter would be just as yummy!  I also used dried blueberries because I had them in the house but the original recipe called for raisins.  I think dried currants would also be tasty.  These balls lend themselves to all sorts of substitutions so don’t be shy about experimenting with your own personal ideal Energy Blast.

Chocolate Almond Butter Energy Blasts

Ingredients

  • 1 cup almond butter
  • 1/3 cup honey
  • 2 tbs of unsweetened organic cocoa powder
  • 1/2 cup dried blueberries
  • 3/4 cup unsweetened shredded coconut, divided
  • 1/4 cup sesame seeds
  • 1/4 cup finely chopped nuts (walnuts, pecans, etc.)

Instructions

  1. Place almond butter, honey, cocoa powder, blueberries and 2 tbs of coconut in food processor.
  2. Process until well combined.
  3. Put sesame seeds, coconut and walnuts in three separate bowls.
  4. Using about a tablespoon of dough roll into a ball until fairly well formed but not perfect.
  5. Roll ball in either coconut, sesame seeds or pecans depending on your taste.
  6. Continue rolling until reaches roundness.
  7. Enjoy!
  8. Store leftovers in the fridge. These will get sticky if they get hot.
http://www.nourishedrootspdx.com/blog/chocolate-almond-butter-energy-blasts/

As you can see my kindergarten play dough rolling skills are not that great but these will still taste great even if they are not perfectly round.

Enjoy your Protein Blast!

This post was shared with Food Renegade, Allergy Free AlaskaNatural Living Monday,  Gluten Free Friday, A Southern Fairy TaleToday’s Creative Blog and She Eats.


Chocolate Almond Butter Frosted Cookies

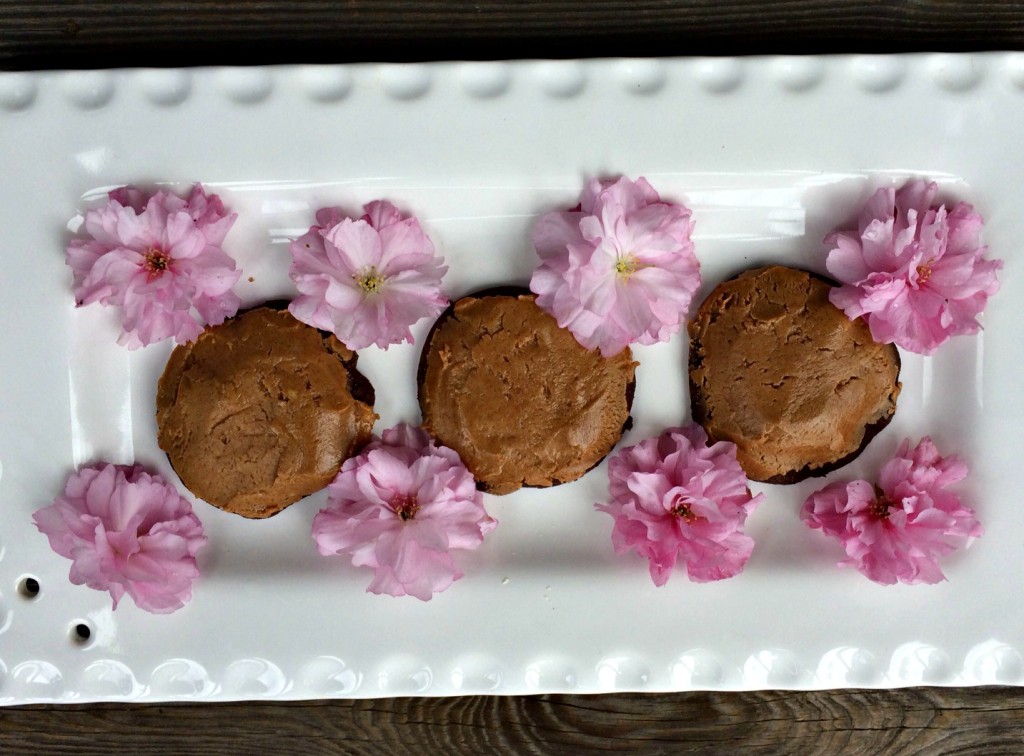
All yummy and ready to eat.

All yummy and ready to eat.

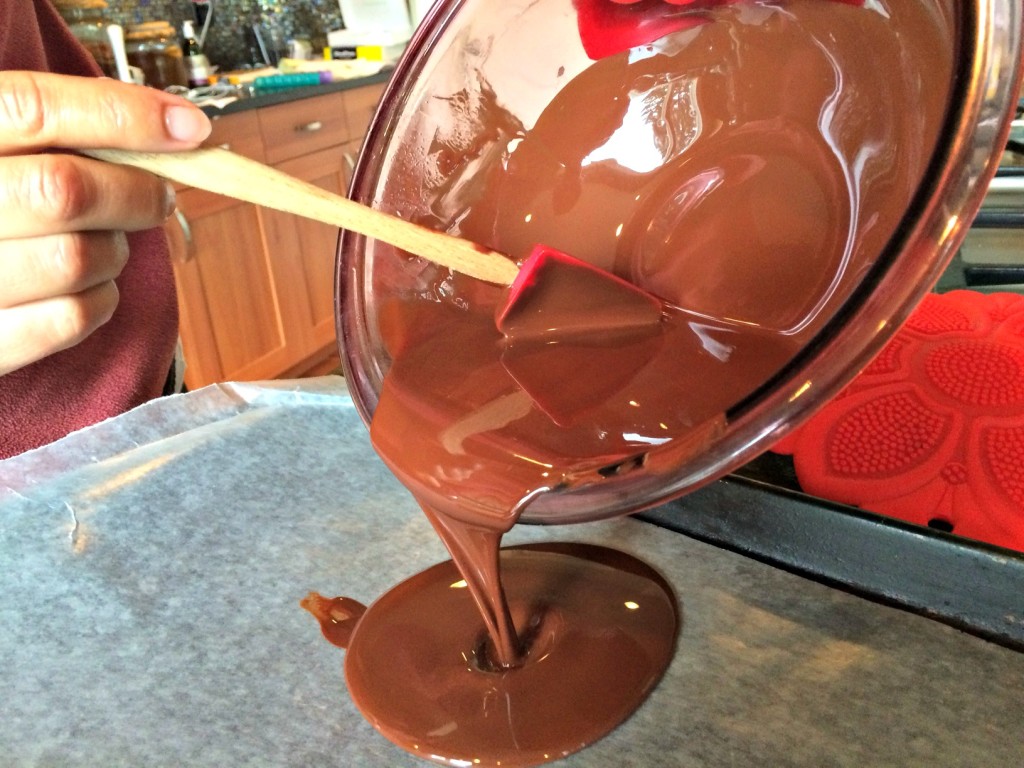
This is one of those stories of a very trying day in the kitchen.  You know, one of those days were nothing seems to go exactly as you plan.  I originally intended to make some chocolate peanut butter flower sandwiches like I saw on Gluten Free Homemaker but they were too ugly to share.  I attempted to tweak the recipe from Gluten Free Homemaker but the coconut oil I used made the chocolate flowers start to melt as soon as you touched them.  They tasted super yummy but looked like a disaster.

After melting and pouring two whole bars of delicious dark chocolate.

Dark chocolate and coconut oil.

Dark chocolate and coconut oil.

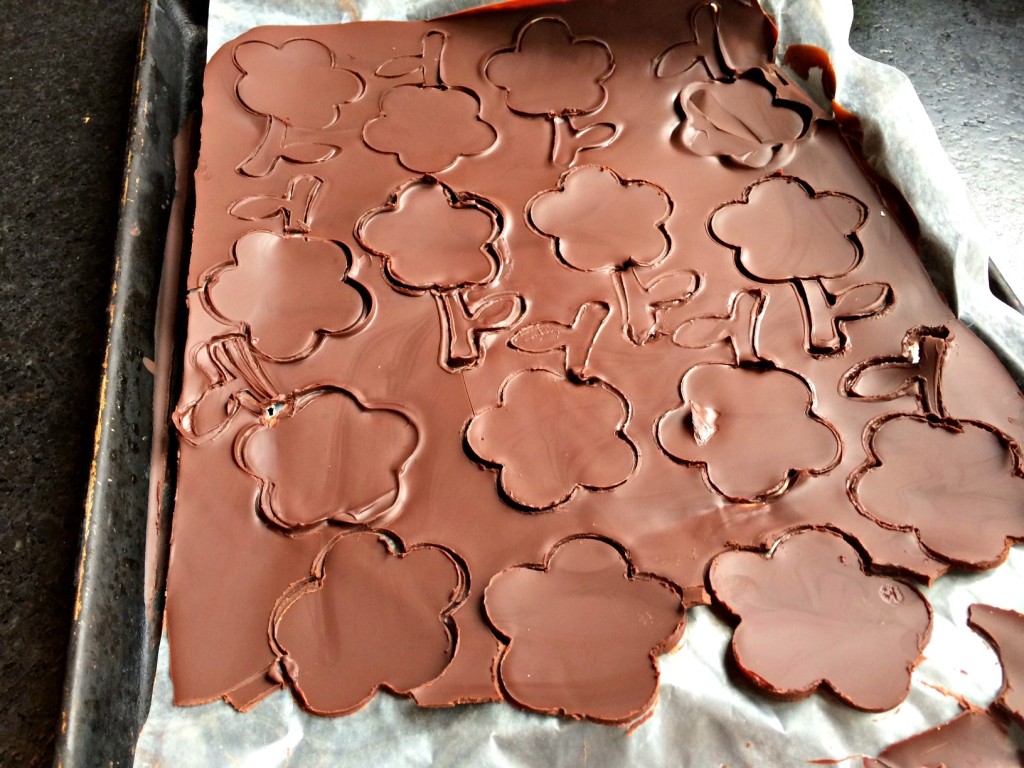
And then cutting out all these flowers.

Flower cut outs.

Flower cut outs.

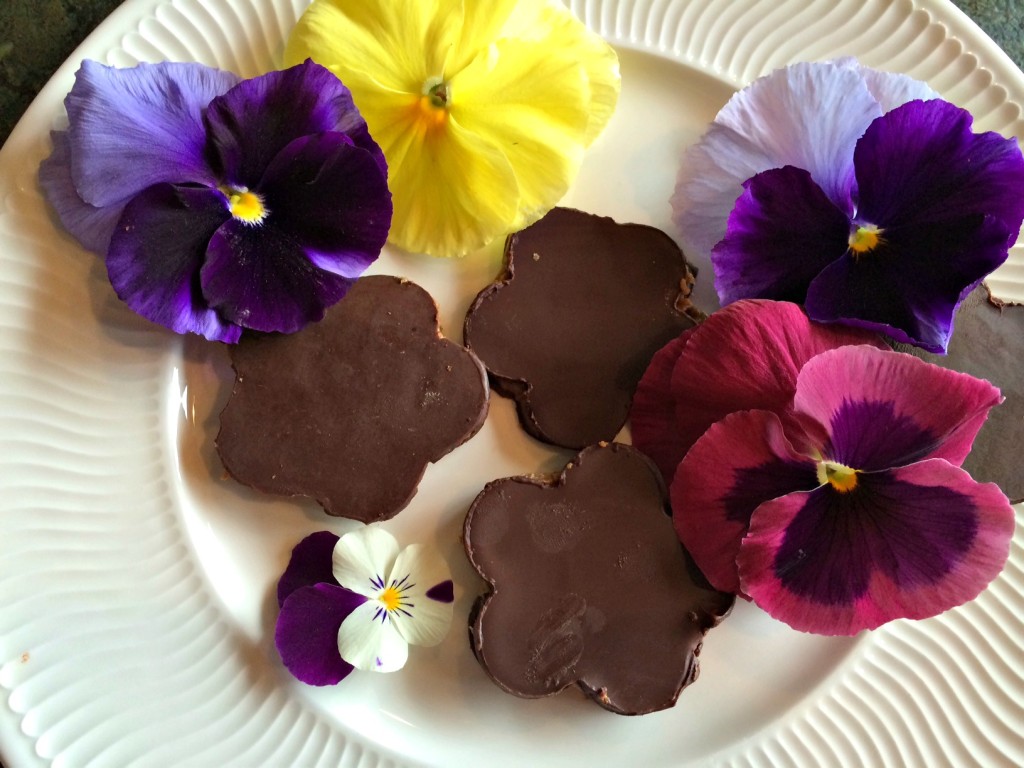
All I got were these few, lousy but super tasty Dark Chocolate Almond Butter Flower Cups-BUMMER! (Oh and I had  lots of left over chocolate scraps to melt down again to put on strawberries for Easter Sunday brunch.)

Flower cups

Flower cups

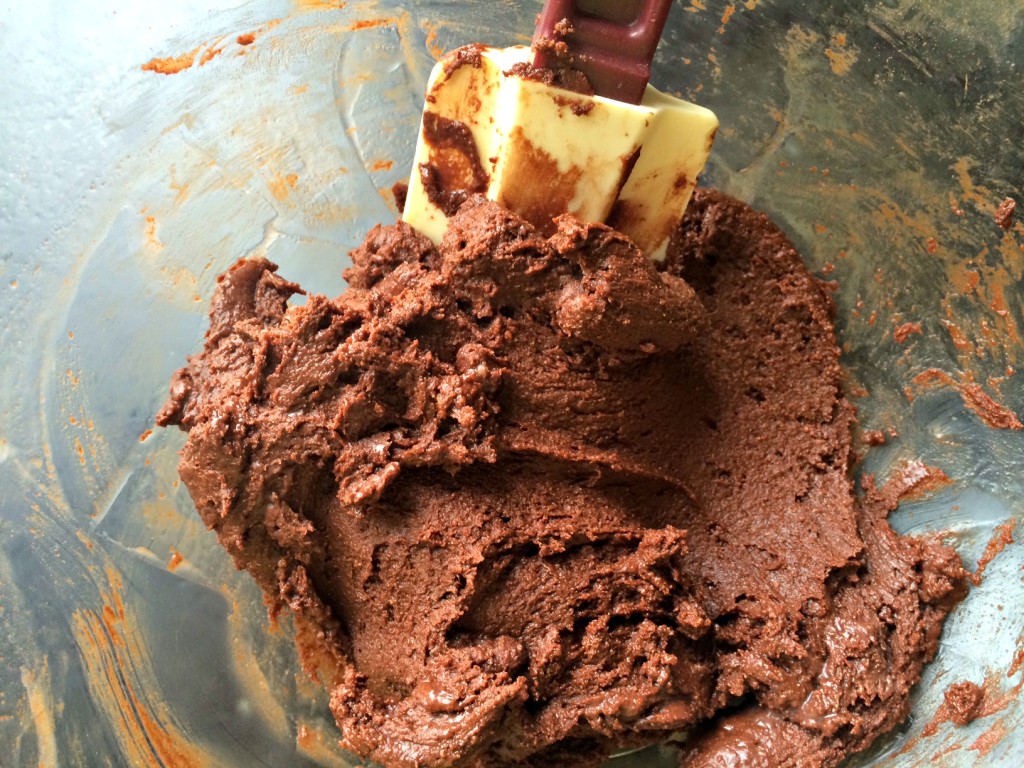
Unfortunately, it was hard to keep the chocolate from melting any time you worked with it and as you can see from the picture above, it showed every possible fingerprint.  The boys sure liked the mess ups but I still had a bowl full of the almond butter .filling.  When I tasted it, I thought it would be great as a frosting on a chocolate cookie so I began searching for recipes.

I found a great option on the blog Chocolate Cover Katie.  However, the cookie part of this recipe also proved to give me some challenges.

Dough all mixed up and ready to go in the fridge.

Dough all mixed up and ready to go in the fridge.

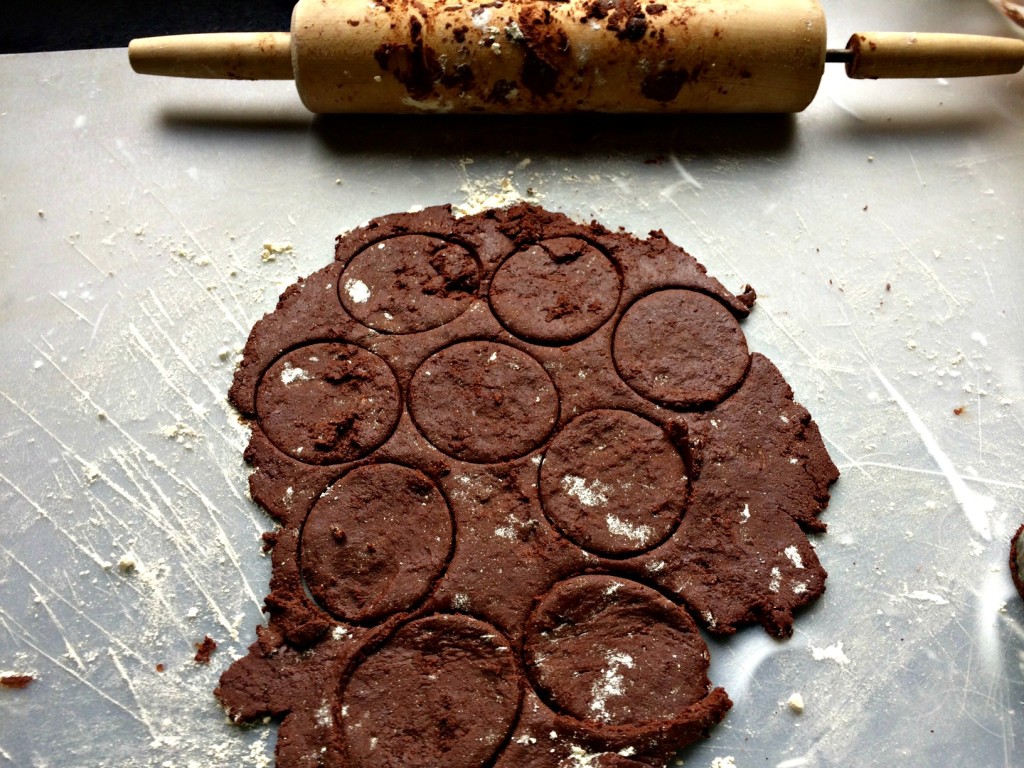
Originally, I was going to roll out the dough and cut the cookies out into perfect circles.  However, as soon as I tried to pick up the cookies and move them to the baking sheet,their shapes got a little funky.


Sticky dough all rolled out.

Sticky dough all rolled out.

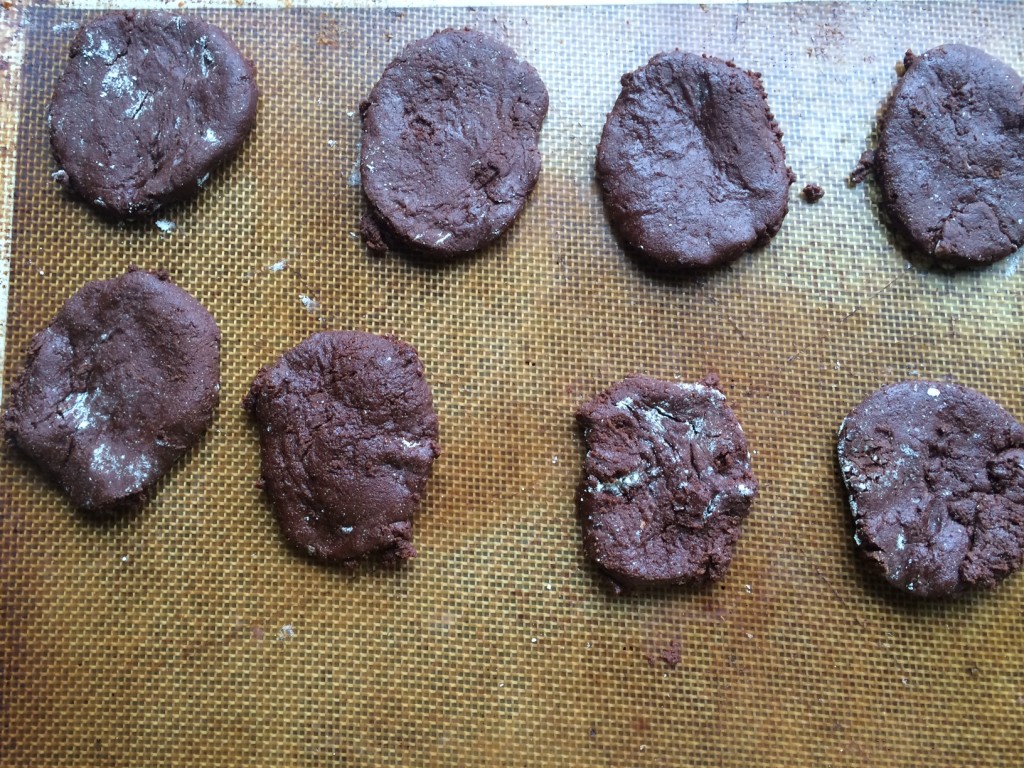
I decided it would be easier to transfer the cookies that moved easily to the baking sheet without changing shape too much and to take the remaining dough and scoop out clumps which I then smushed with the back of a fork.  I figured it wouldn’t matter too much how pretty they were because they would be covered with almond butter frosting.

Cookies ready to go in the oven.

Cookies ready to go in the oven.

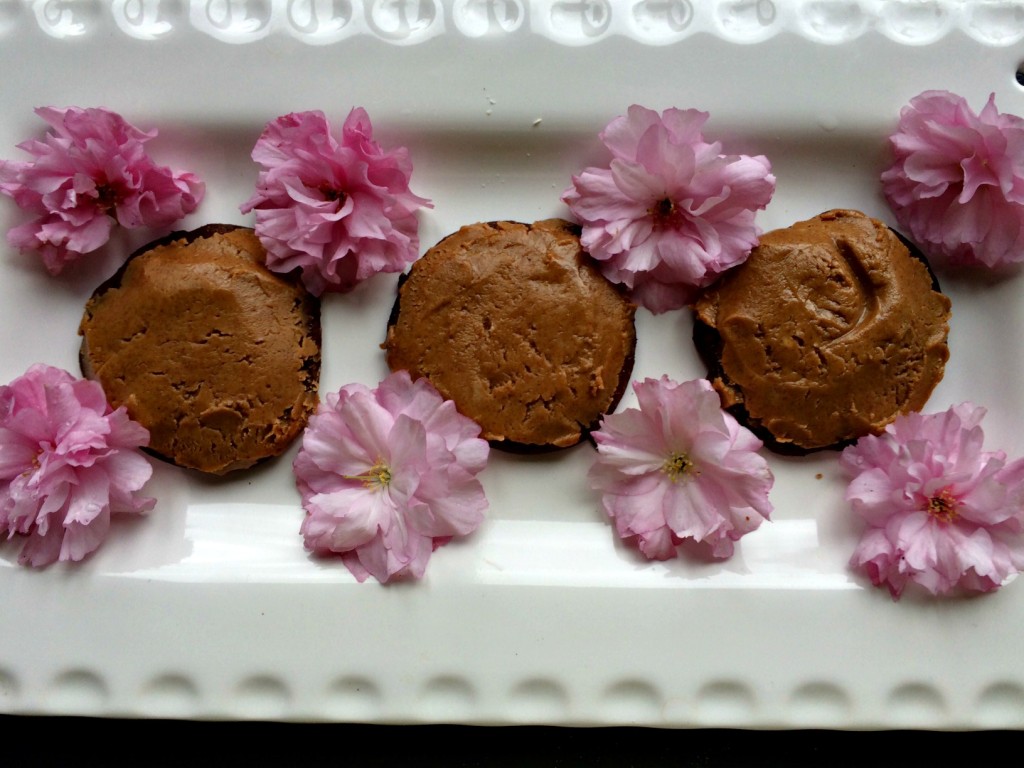
I was right!  Even though these cookies didn’t look to pretty, they sure tasted good.

Finished cookies ready to be devoured.

Finished cookies ready to be devoured.


Chocolate Almond Butter Frosted Cookies

Ingredients

  • Cookie
  • 3/4 cup Gluten free flour
  • 1/4 cup plus 2 tbsp cocoa powder
  • 1/4 cup plus 2 tbsp coconut sugar
  • 1/4 tsp salt
  • 1/4 tsp baking soda
  • 1 tsp pure vanilla extract
  • 1/4 cup coconut oil melted
  • 3 tbsp milk of choice (I used almond)
  • 2 tbsp pure maple syrup (or agave)
  • Frosting
  • 3/4 cup of almond butter
  • 2 tbs of honey
  • 2 tbs of powdered sugar
  • 1 tsp of vanilla

Instructions

  1. Mix all the dry ingredients for the cookie into a bowl.
  2. Combine wet ingredients in a different bowl.
  3. Combine both bowls until well mixed.
  4. Refrigerate for 30 minutes.
  5. While cookie dough in the fridge, combine all ingredients for the frosting.
  6. Scoop out about 1 tbs of dough for each cookie.
  7. Place on baking pan.
  8. Flatten with a fork.
  9. Bake at 300 for about 13 minutes.
  10. Allow to cool for at least 10 minutes.
  11. Frost with almond butter frosting.
  12. Enjoy.
http://www.nourishedrootspdx.com/blog/chocolate-almond-butter-frosted-cookies/

What cooking disasters have you had that you salvage into a tasty treat?

This post was shared on The Idea Room, Skip to My Lou, Gluten Free Homemaker,  Natural Living Mamma,  Homespun Oasis and Food Renegade.

Jane’s Chocolaty Gluten Free Granola

photo 3 (5) I have been in a bit of a breakfast slump lately.  My normal rotation of chia pudding, warming grain cereal with coconut yogurt and fried egg sandwiches with avocado and hot sauce on sprouted bread is getting a little repetitive.  As I was pondering what new addition I could make to my routine, I remembered an old recipe my friend, Jane, gave me for a super yummy, chocolaty gluten free granola. When I pulled the recipe out of my recipe box, it was covered in peanut butter smears and coconut oil stains- signs of a well used recipe.  I remembered this granola not hanging around long in my household which confirmed I should reintroduce it to my family.  I was excited to have this back as an option for my breakfast routine (or snack or dinner or any other time I had a hankering for chocolaty goodness!).  As I looked at the recipe, I realized there were a few items I wanted to tweak from the original recipe based on the family’s changing eating habits but for the most part I left it as is.  (I also changed a few ingredients based on the

types of dried fruit and nuts I had in my house.)

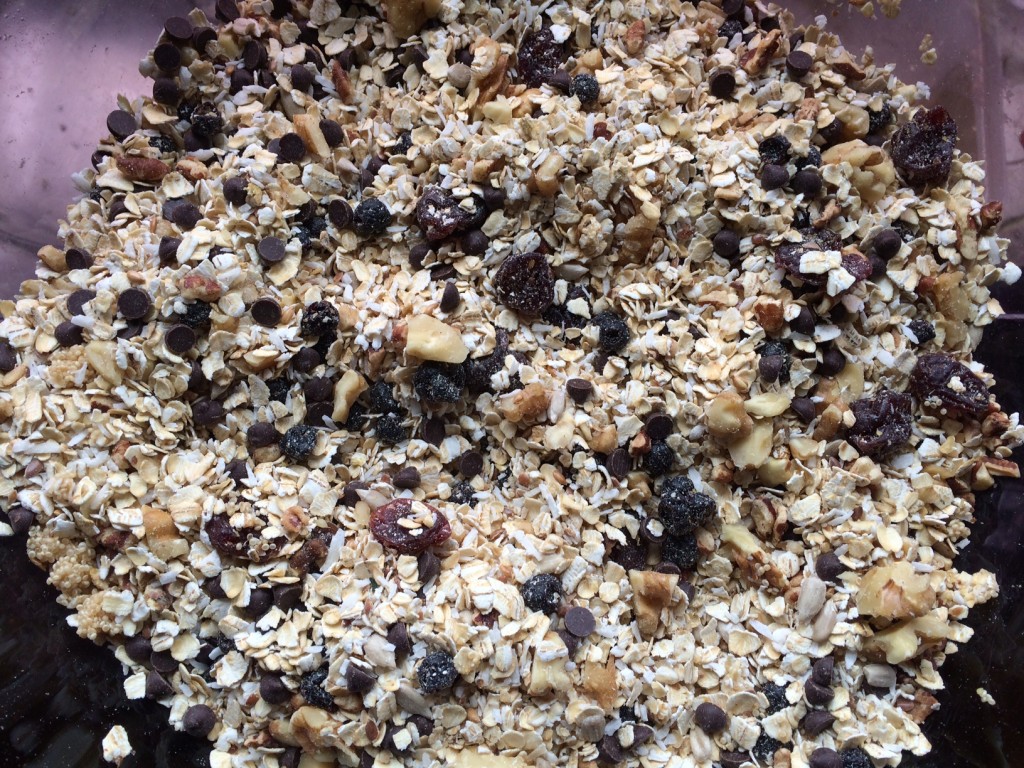
Dry ingredients all combined.

Dry ingredients all combined.


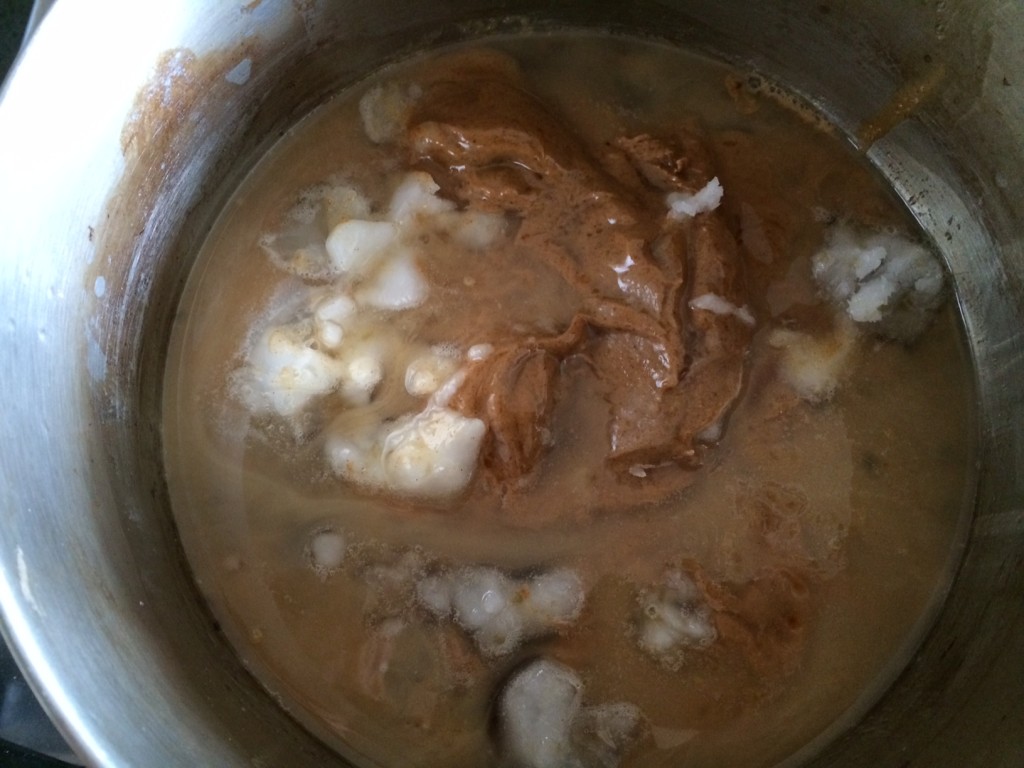
Nut butter, syrup, agave and coconut oil starting to melt.

Nut butter, syrup, agave and coconut oil starting to melt.


Melted wet ingredients.

Melted wet ingredients.

I used a combination of maple syrup and agave for my sweeteners but you could substitute honey or brown rice syrup if those are more to your liking.  When you mix in the warm, wet ingredients, your chocolate chips will melt, spreading chocolate throughout the whole mixture.  I like it this way because then I get a hint of chocolate in every bite.  However, if you like granola with solid chunks of chocolate, I would wait to add the chips after the wet and dry ingredients have cooled a little bit.

Wet and dry ingredients all combined.

Wet and dry ingredients all combined.

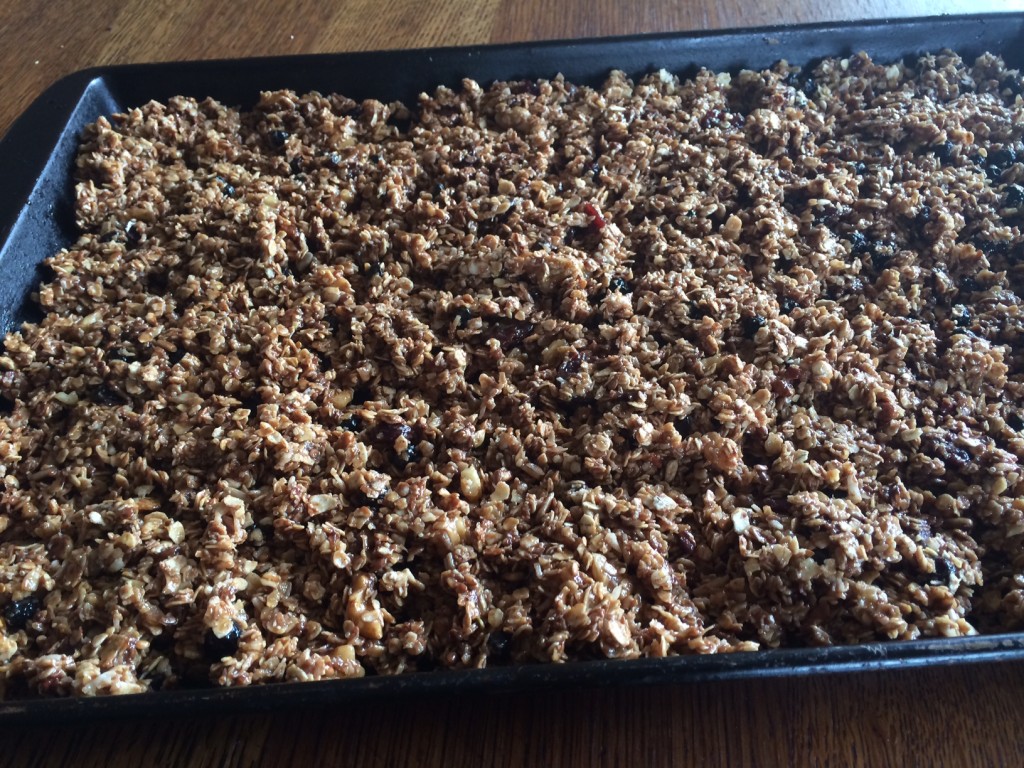
As you can see from the photo above, everything is lightly coated but not soaked.

Granola ready to go into the oven.

Granola ready to go into the oven.

The recipe calls for only 30 minutes in the oven but mine took much longer (almost 50 minutes).  (My oven runs a little cold so be sure to base your cook time on your own oven.)

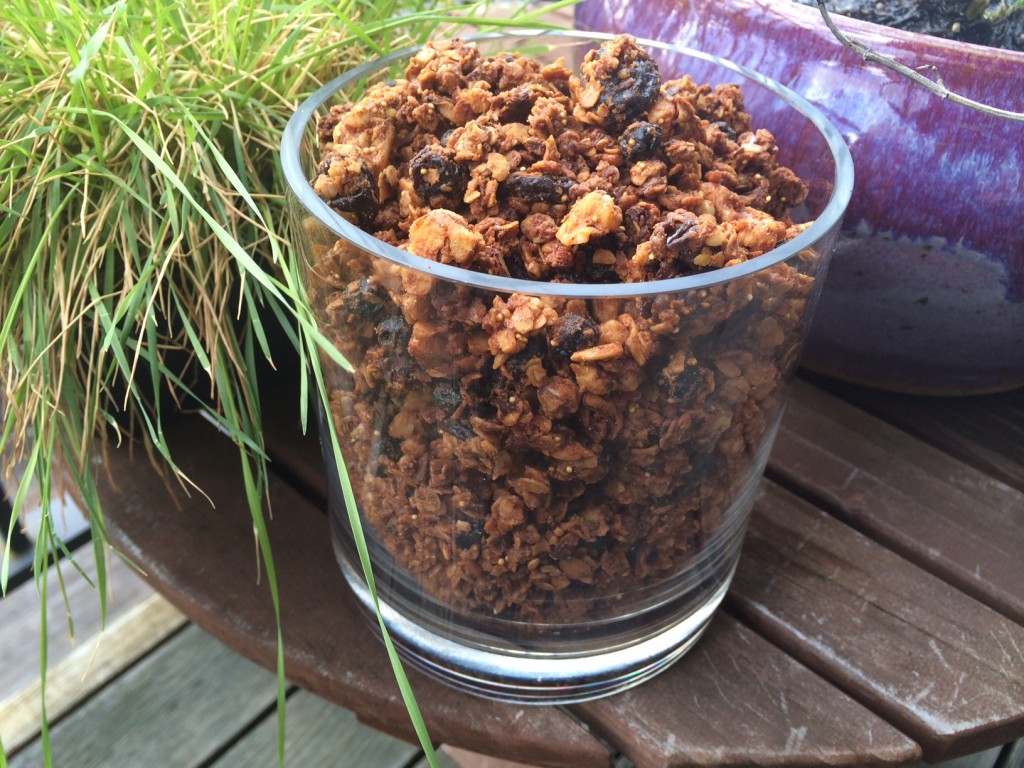
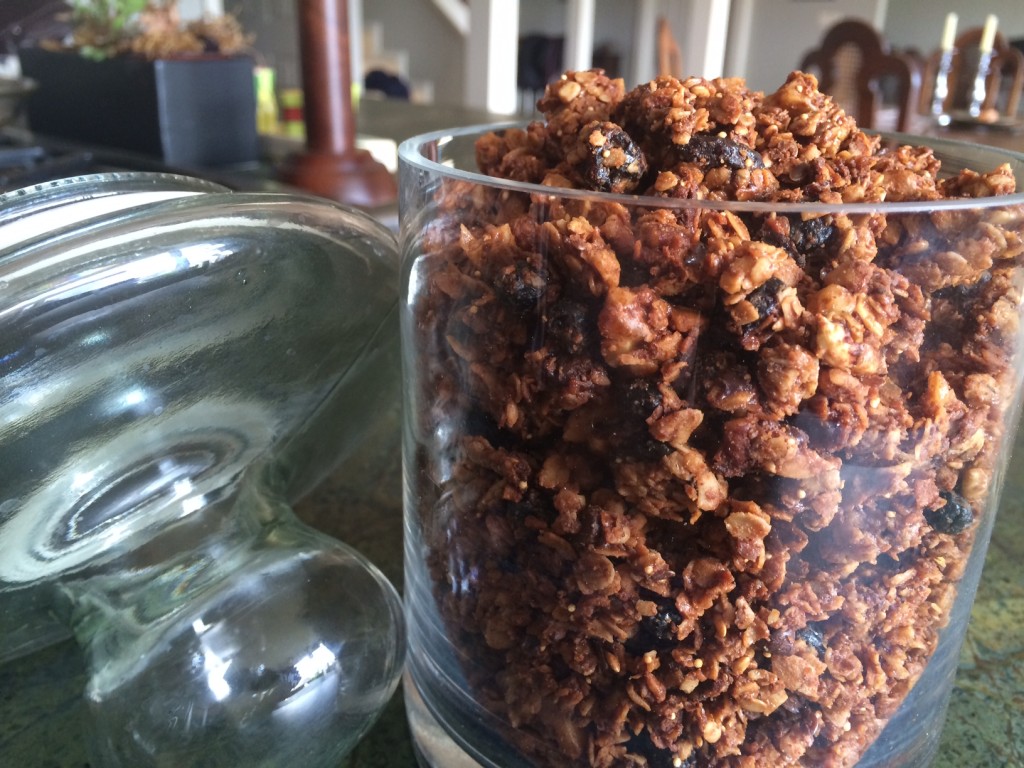
Yum!  A whole container of granola!

Yum! A whole container of granola!

Chocolaty Gluten Free Granola

Ingredients

  • 3 cups gluten free oats
  • 1/3 cup of amaranth, soaked (This is optional. I had it so I added it for a protein boost.)
  • 1/4 cup flax seeds (1/2 of them ground, 1/2 of them whole)
  • 1/4 cup of sunflower seeds
  • 1/4 cup of coconut
  • 1/4 cup of dried blueberries
  • 1/4 cup of dried cherries
  • 1/4 cup of chocolate chips (vegan or regular)
  • 1/4 cup of chopped walnuts (Any nuts will do. Go with what you have available or what you like.)
  • 1/4 cup of chopped pecans
  • 1/2 cup of almond butter (Any nut butter will work in this recipe.)
  • 1/4 cup of agave
  • 1/4 cup of maple syrup
  • 1/2 tsp of vanilla
  • 5 tbs of coconut oil

Instructions

  1. If using amaranth, soak for at least six hours and overnight if possible.
  2. Preheat oven to 300 degrees.
  3. Combine all the dry ingredients in a large bowl.
  4. In a sauce pan, over low heat, combine almond butter, vanilla, agave, maple syrup and coconut oil.
  5. Stir until well combined.
  6. Add wet ingredients to dry ingredients.
  7. Stir until all dry ingredients covered with almond butter mixture.
  8. Press into a pan.
  9. Place in oven for at least 30 minutes. Stir every 10 minutes. (Mine took over 50 minutes to be fully cooked but you will have to keep checking for when it looks done to you.)
http://www.nourishedrootspdx.com/blog/janes-chocolaty-gluten-free-granola/

Enjoy!

Enjoy!

This post is part of a Friday Link party of Nap time Creations,  Today’s Creative Blog, Live Laugh RoweGluten Free Homemaker, The Nourishing Gourmet and The Shabby Nest.

This post

Dark Chocolate Chip Gluten Free Cookies


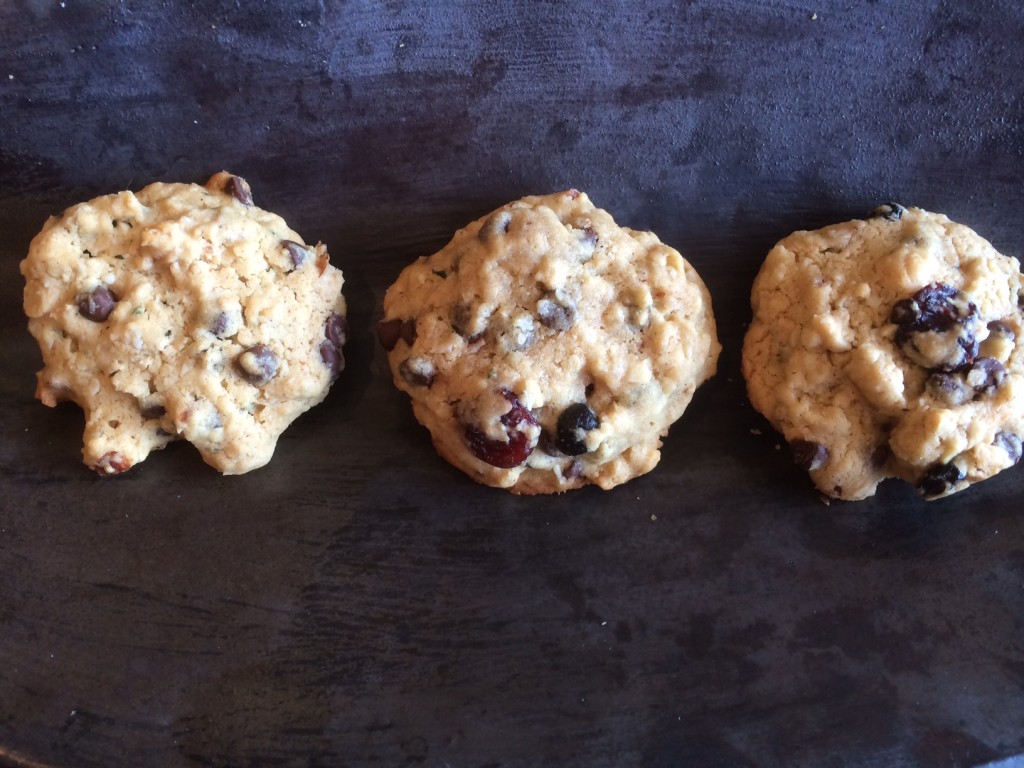
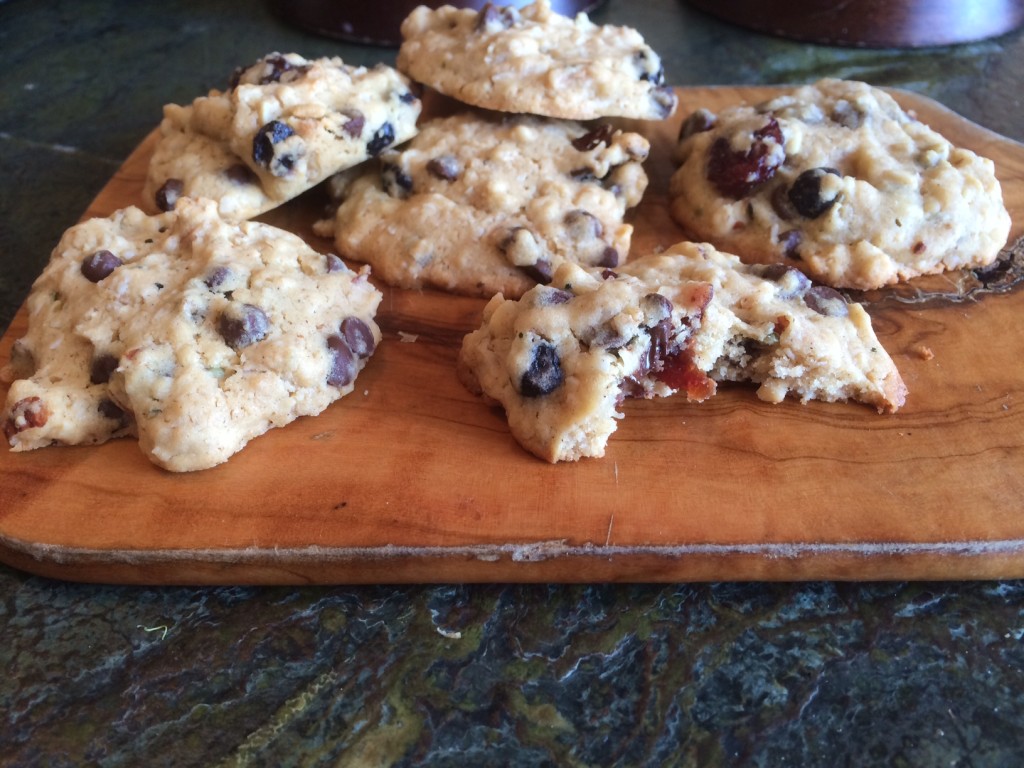
photo 3 (2)As I have adapted my families diet, one of the biggest requests I still get from my boys is for some sort of “treat”.  To them, a “treat” means something sweet.  (Unfortunately, their definition of “treat” reflects the language I used with them as young kids.  How I wish I had realized that referring to apples and nuts and other healthy fair might have made them as excited to eat whole foods as they are to eat junk!)  To help combat this idea of “treat”, I am always looking for recipes for whole foods that are packaged like “treats” but contain some good for you ingredients.  It seems like  a never ending quest which is why I was so happy when my school introduced me to these super yummy gluten free, dairy free cookies.

photo 1 (2)These cookies contain oats filled with fiber, manganese, molybdenum, B vitamins and phosphorus.  They also have hemp seeds for a shot of omega-3’s and hazelnuts for increased fiber, folate, manganese and copper.

These cookies offer another health benefit.  Instead of using butter or margarine, they are made with coconut oil.  Coconut oil is a saturated fat, however, it is made of medium chain triglycerides not the long chain triglycerides found in cheese or red meat.  Medium chain triglycerides go straight to the liver from the digestive tract, where they are used as a quick source of energy or turned into ketone bodies.  These fats have been shown to increase daily calorie expenditure by about 5% a day.  Also about 50% of the fatty acids in coconut oil is lauric acid.  Lauric acid has anti microbial properties including killing bacteria, viruses and fungi.  Lauric acid has also been shown to increase HDL (the “good”)  cholesterol and reduced LDL (the “bad”) cholesterol.  When buying coconut oil be sure to buy organic, virgin coconut to enjoy all these amazing benefits.

photo 4

I made these cookies gluten and dairy free because these are two substances we are trying to reduce in our house.  However, if you don’t have these same restrictions, regular flour and non-vegan chocolate chips would be just as tasty.

Dark Chocolate Chip Gluten Free Cookies

Ingredients

  • DRY Ingredients
  • 2c GF all purpose flour
  • 1c vegan chocolate chips (could use chopped dark chocolate or regular chocolate chips)
  • 1/4 c unsweetened coconut flakes
  • 1/4 cup of hemp seeds
  • ½ c hazelnuts chopped (could be replaced with walnuts)
  • ½c dried cherries
  • ¾c oats
  • ½tsp sea salt
  • ¾tsp baking powder
  • ¼tsp cinnamon
  • 1/8tsp nutmeg
  • WET Ingredients
  • 2/3c maple syrup or agave (I used maple syrup)
  • 2/3c safflower oil or coconut oil (melt first)
  • 1tsp vanilla extract
  • 3tb water

Instructions

  1. Preheat oven to 350.
  2. Mix dry ingredients in a separate bowl from the wet ingredients.
  3. Combine wet and dry ingredients together until well combined.
  4. Refrigerate for 15 minutes.
  5. Scoop dough into equal size balls and place on oiled parchment paper or silicone baking sheet.
  6. Slightly flatten.
  7. Bake 12-15 minutes until slightly brown on the edges.
http://www.nourishedrootspdx.com/blog/dark-chocolate-chip-gluten-free-cookies/


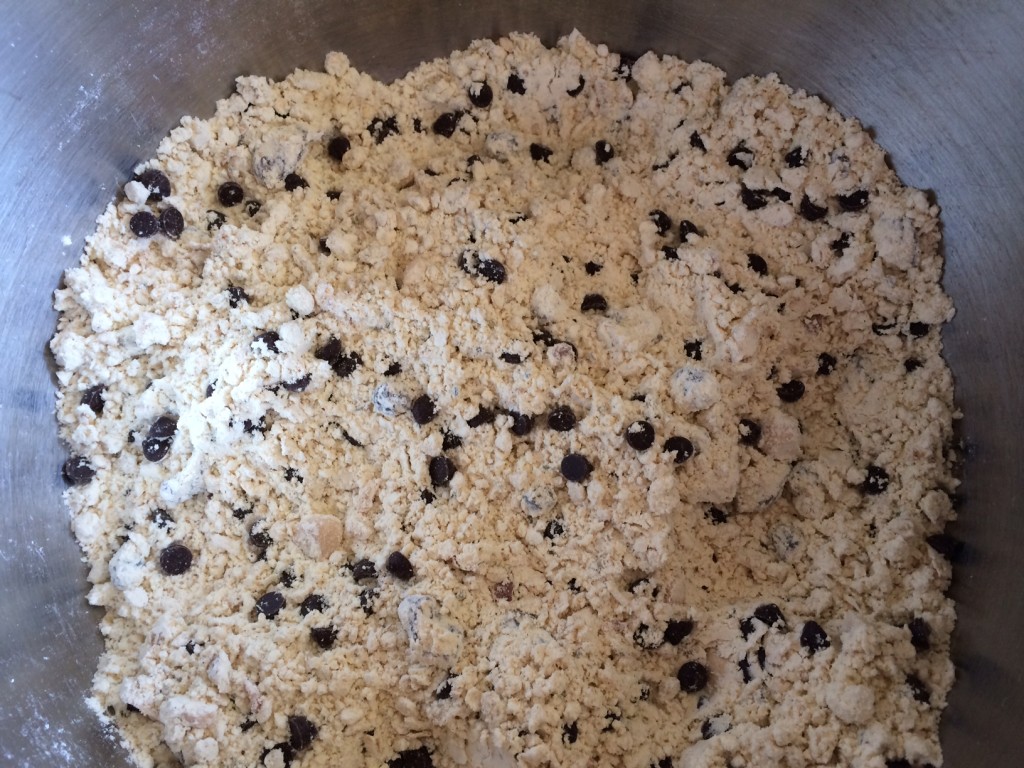
Dry ingredients.

Dry ingredients.


Wet ingredients before refrigeration.

Wet ingredients before refrigeration.

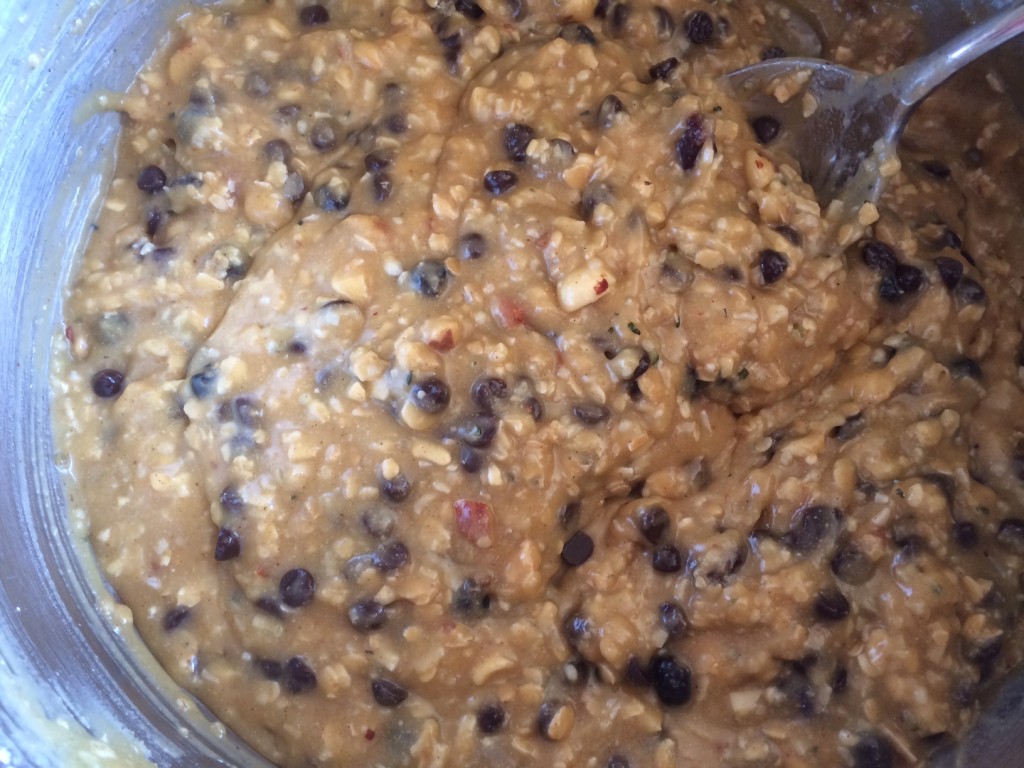
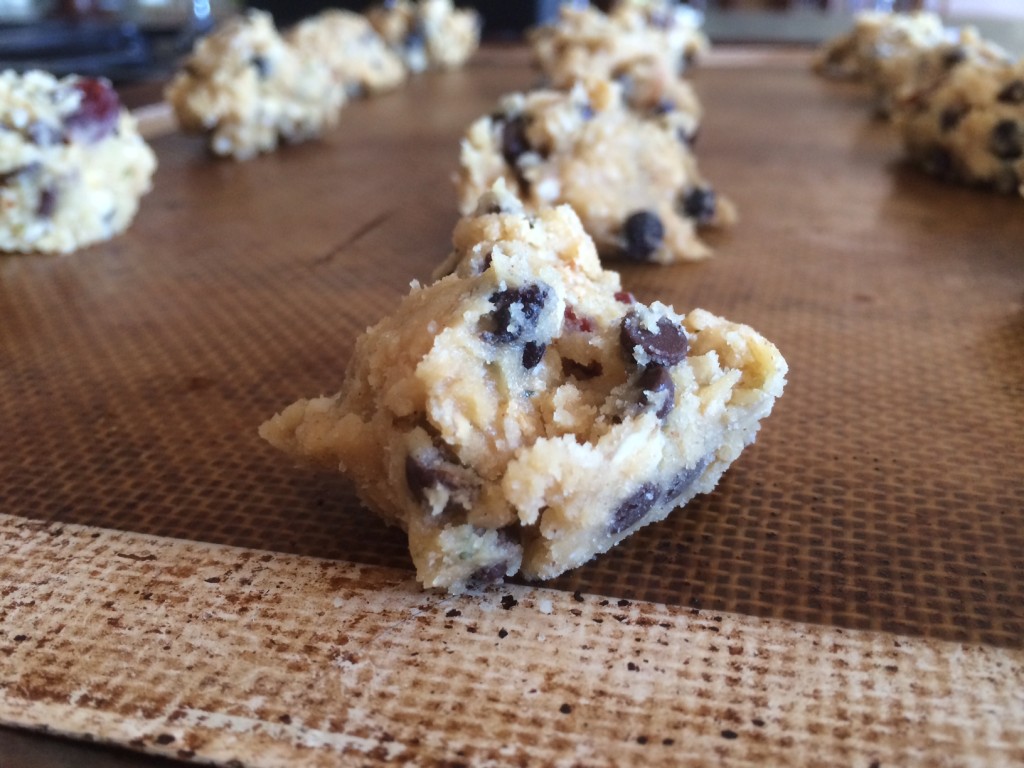
The ingredients might look and seem a little runny when first combined.  However, once the mixture spends 15 minutes in the fridge, the dough will stiffen up, making it easy to scoop into cookies.

Dough scooped out and ready to head to the oven.

Dough scooped out and ready to head to the oven.


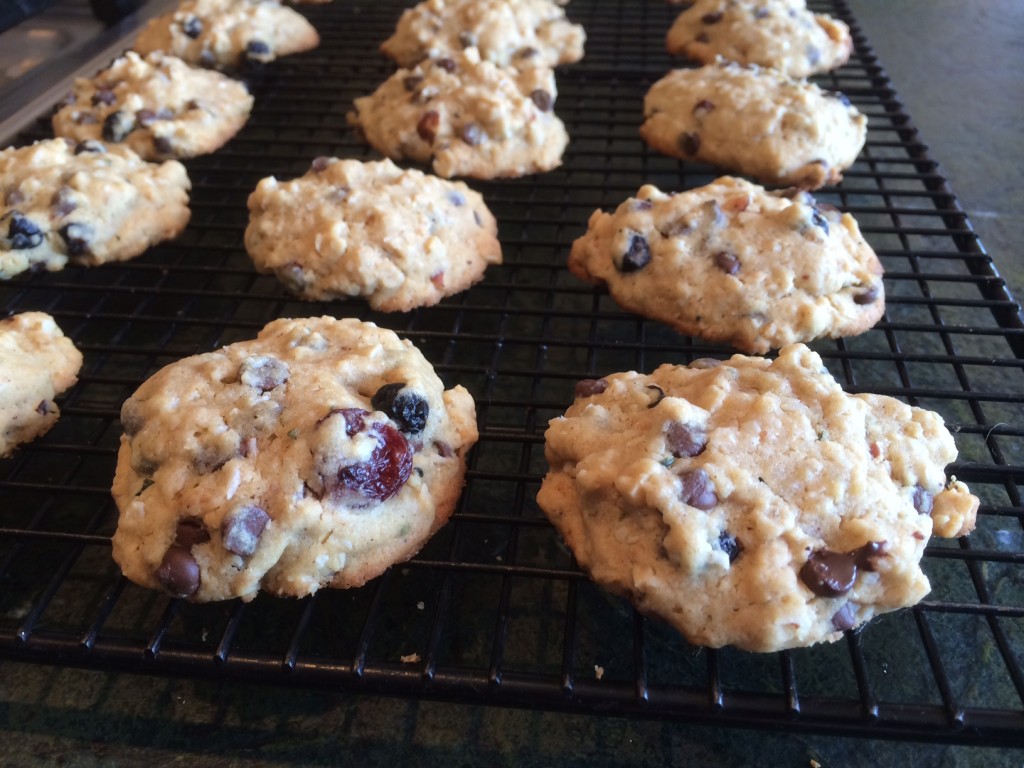
Cookies cooling on the wire rack.

Cookies cooling on the wire rack.


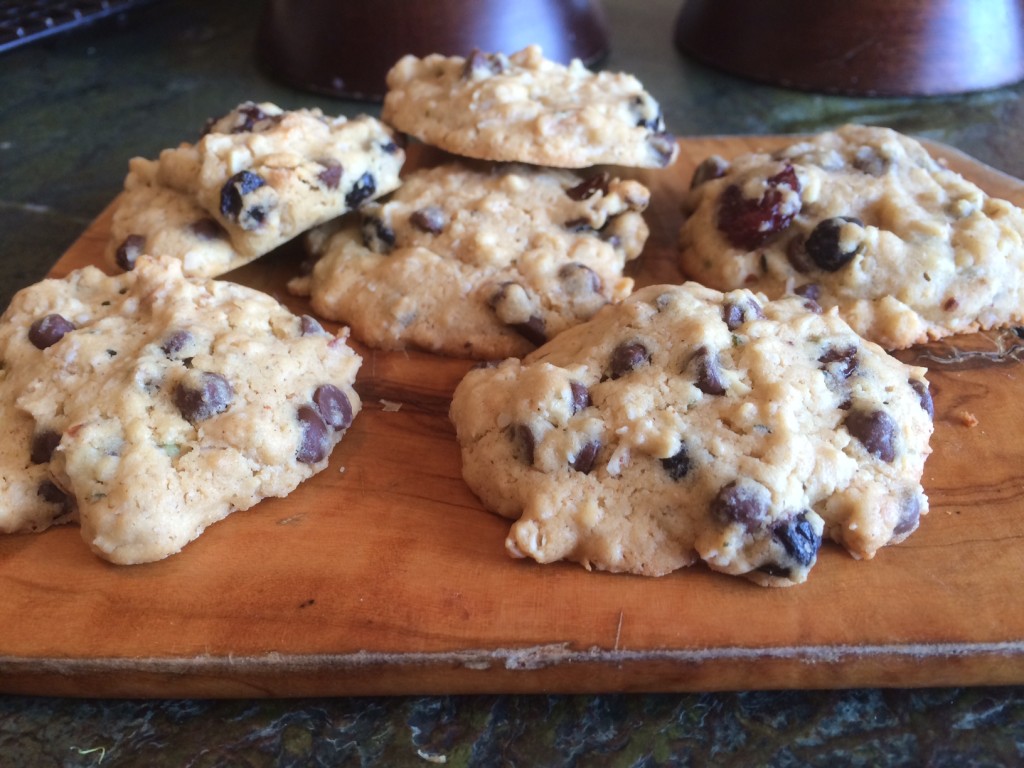
Yummy! Yummy!  Cookies!

Yummy! Yummy! Cookies!


This post is part of a linky party on Rock My Vegan Socks, Tip Junkie and a Southern Fairytale.

Related Posts Plugin for WordPress, Blogger...