 I have been in a bit of a breakfast slump lately. My normal rotation of chia pudding, warming grain cereal with coconut yogurt and fried egg sandwiches with avocado and hot sauce on sprouted bread is getting a little repetitive. As I was pondering what new addition I could make to my routine, I remembered an old recipe my friend, Jane, gave me for a super yummy, chocolaty gluten free granola. When I pulled the recipe out of my recipe box, it was covered in peanut butter smears and coconut oil stains- signs of a well used recipe. I remembered this granola not hanging around long in my household which confirmed I should reintroduce it to my family. I was excited to have this back as an option for my breakfast routine (or snack or dinner or any other time I had a hankering for chocolaty goodness!). As I looked at the recipe, I realized there were a few items I wanted to tweak from the original recipe based on the family’s changing eating habits but for the most part I left it as is. (I also changed a few ingredients based on the
types of dried fruit and nuts I had in my house.)

Dry ingredients all combined.
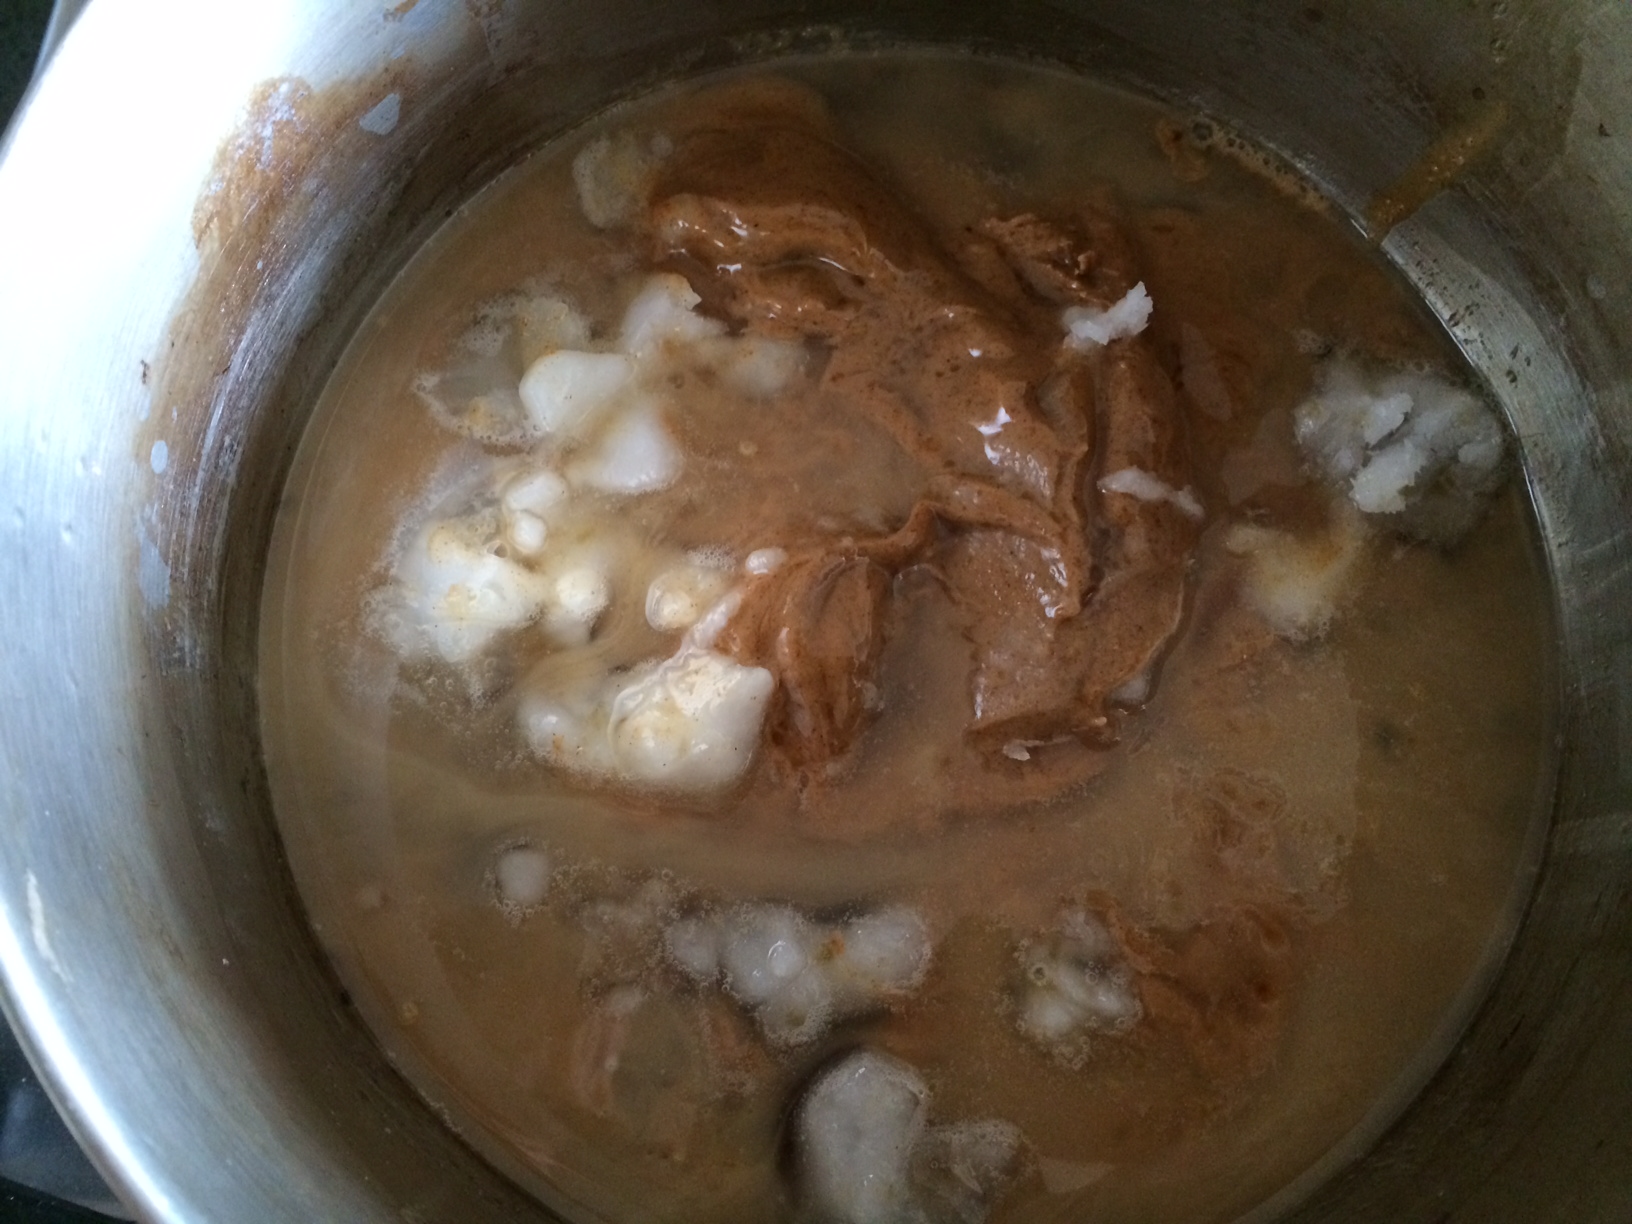
Nut butter, syrup, agave and coconut oil starting to melt.
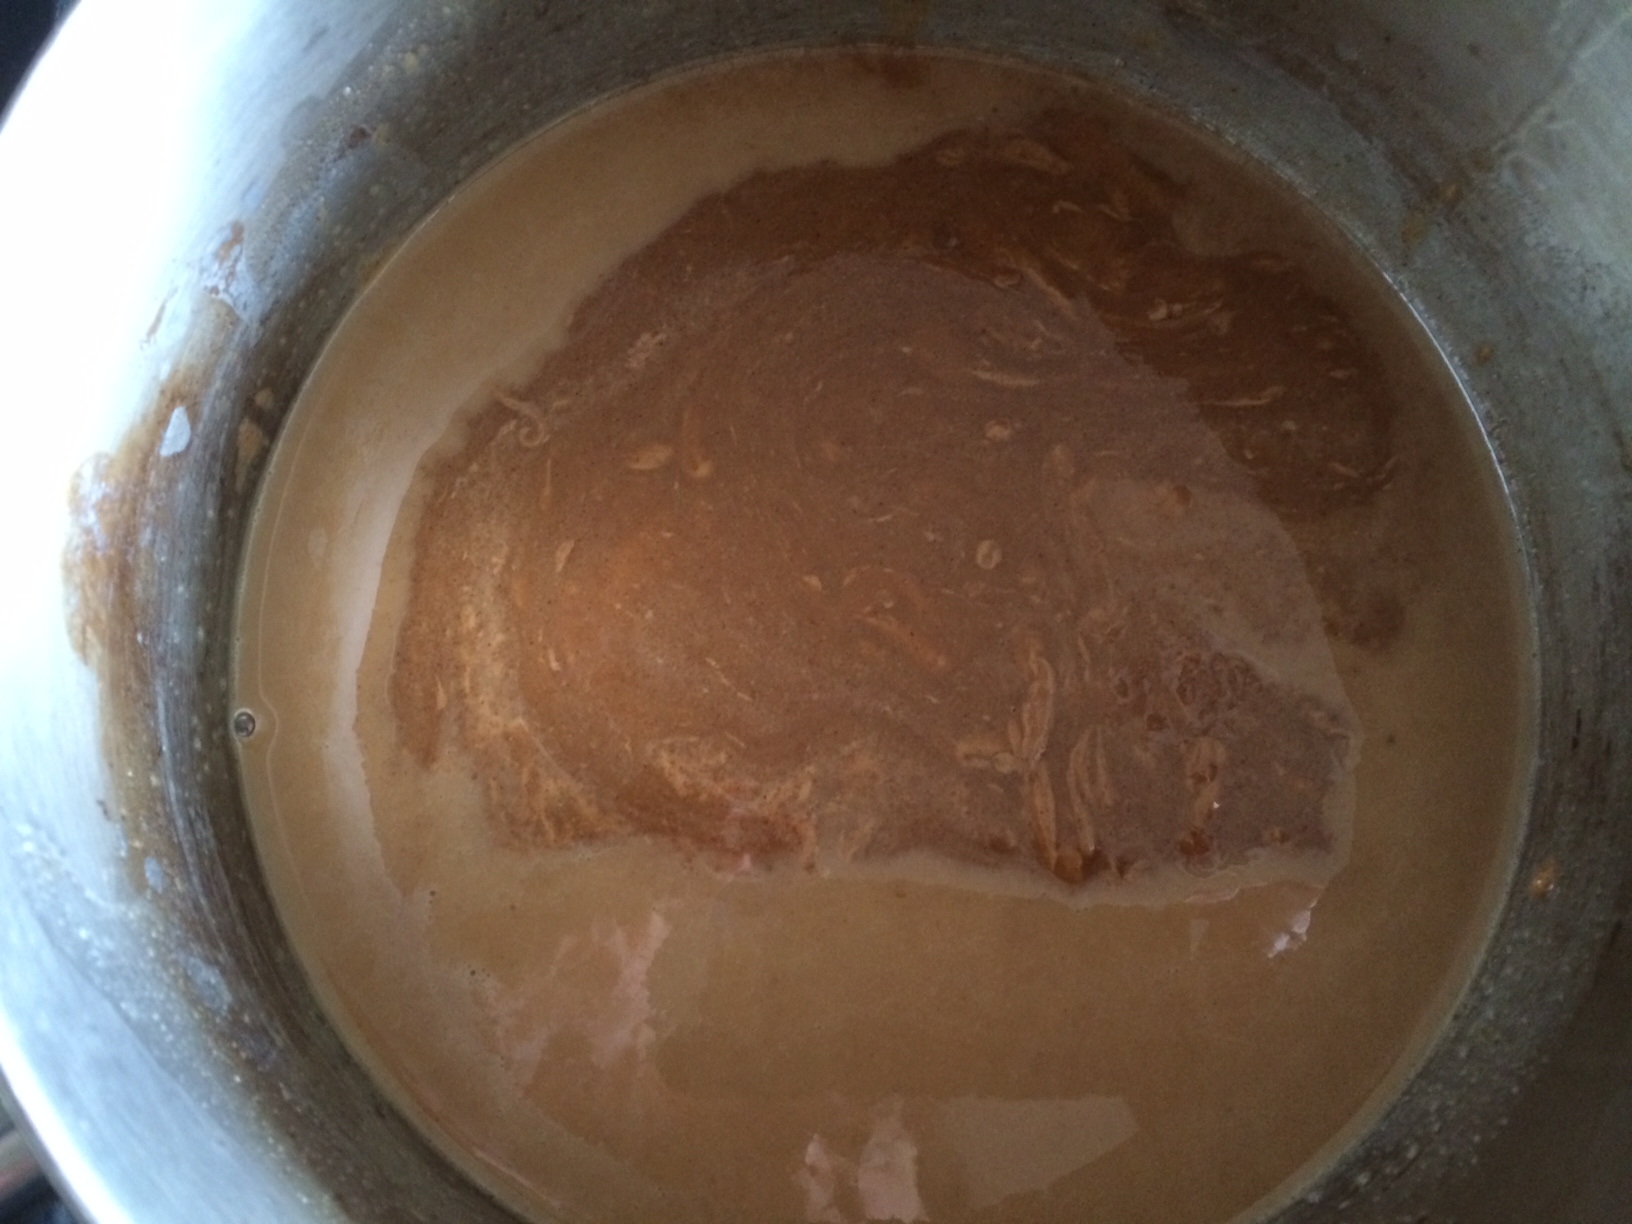
Melted wet ingredients.
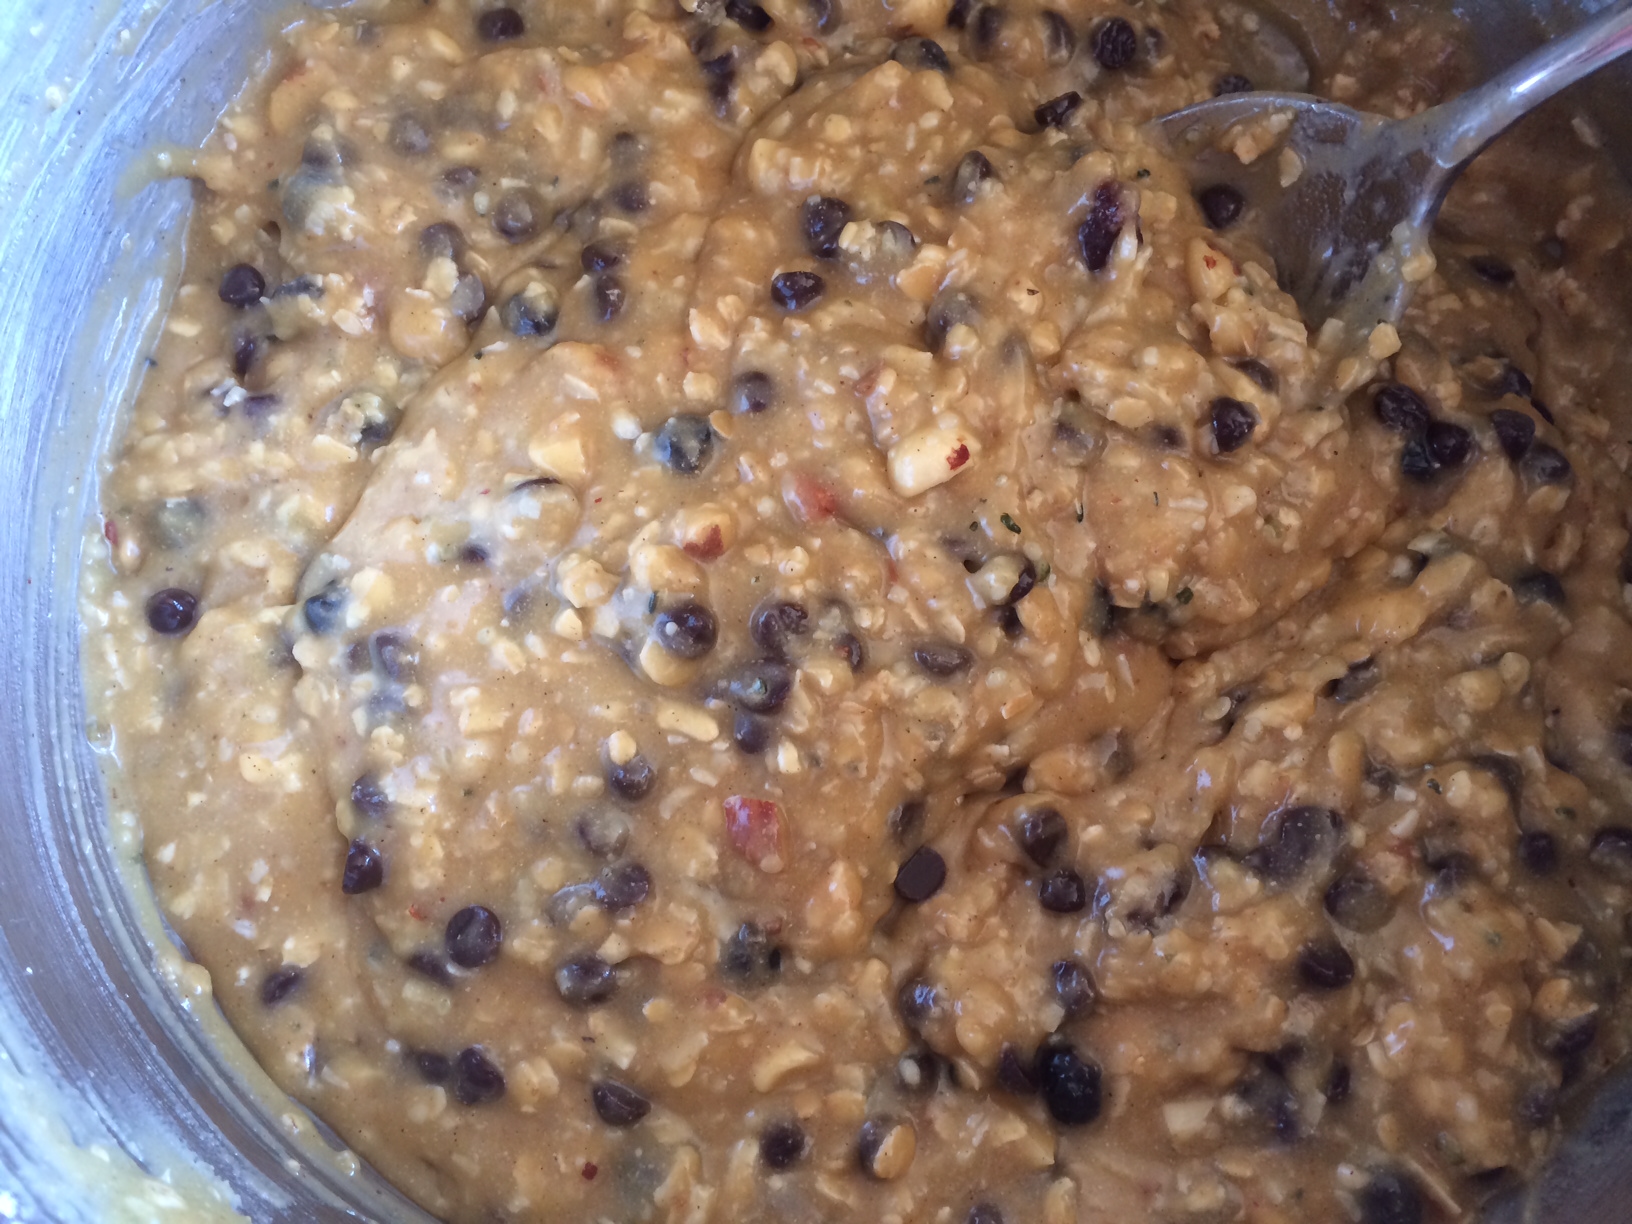
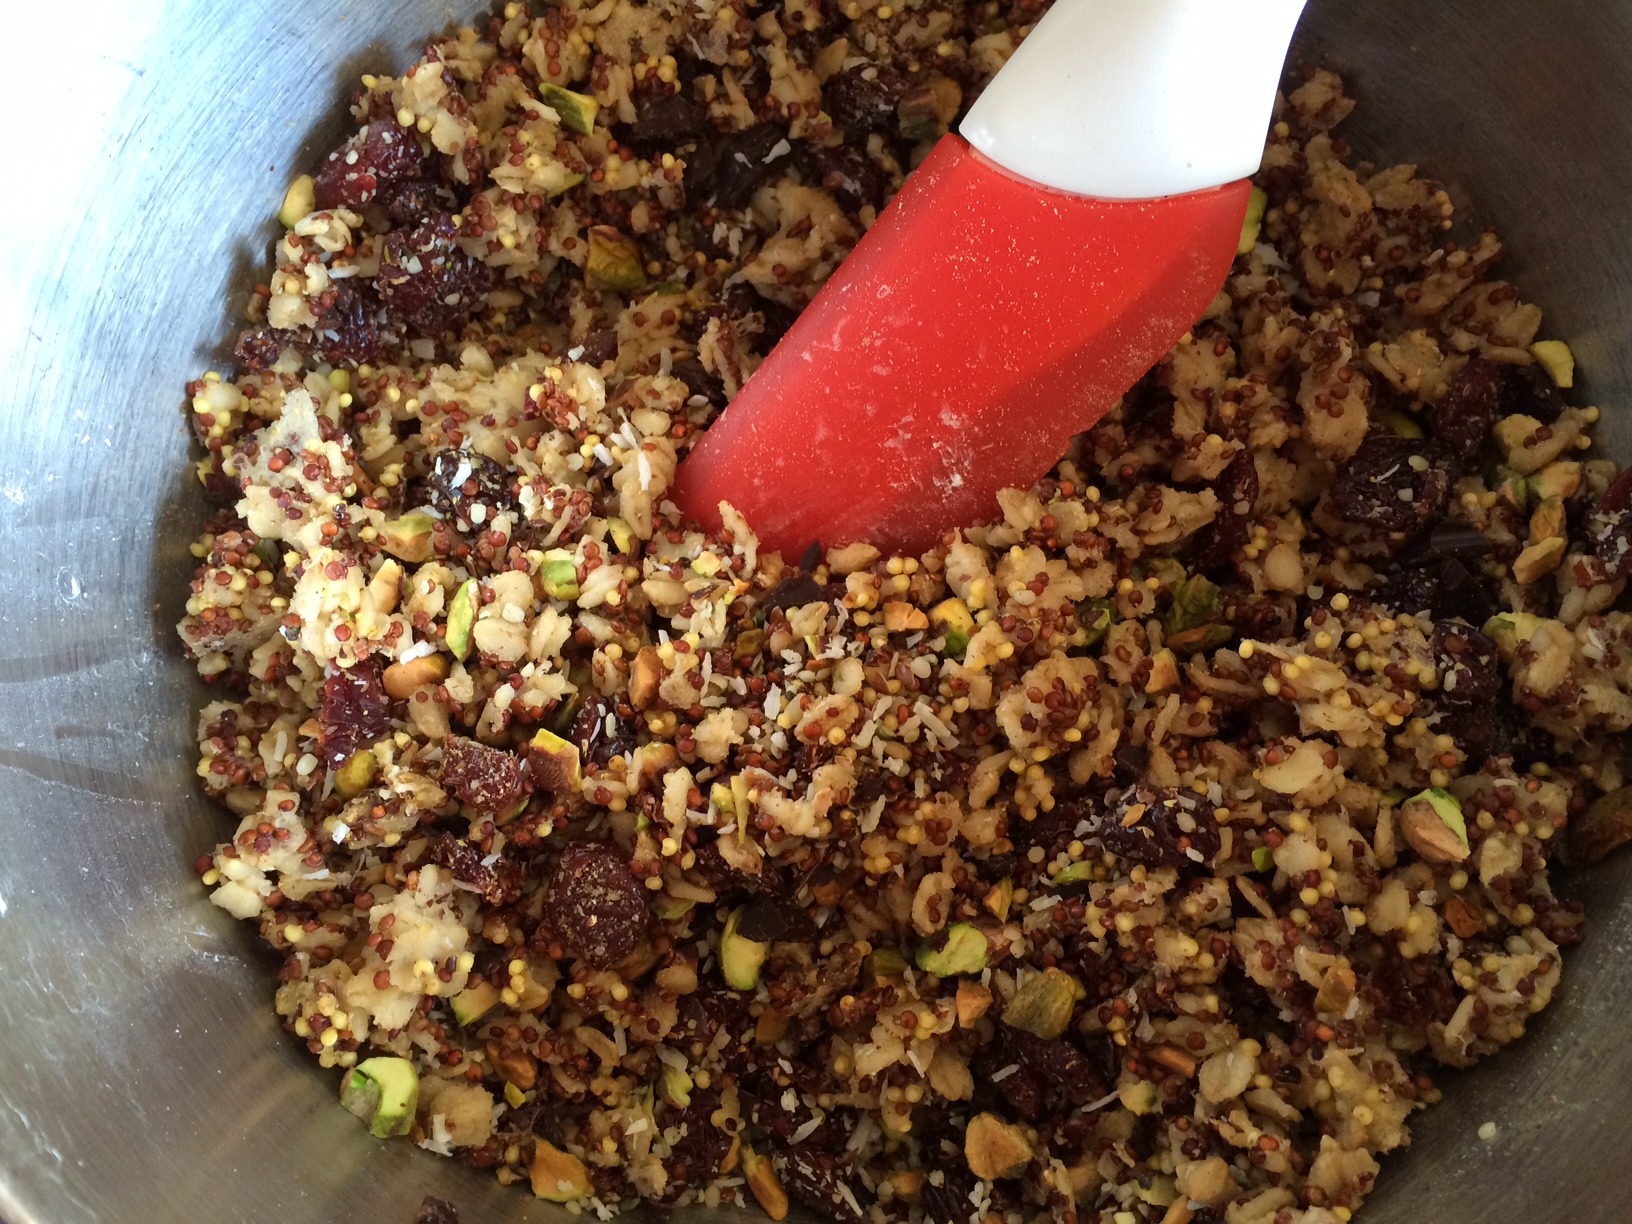
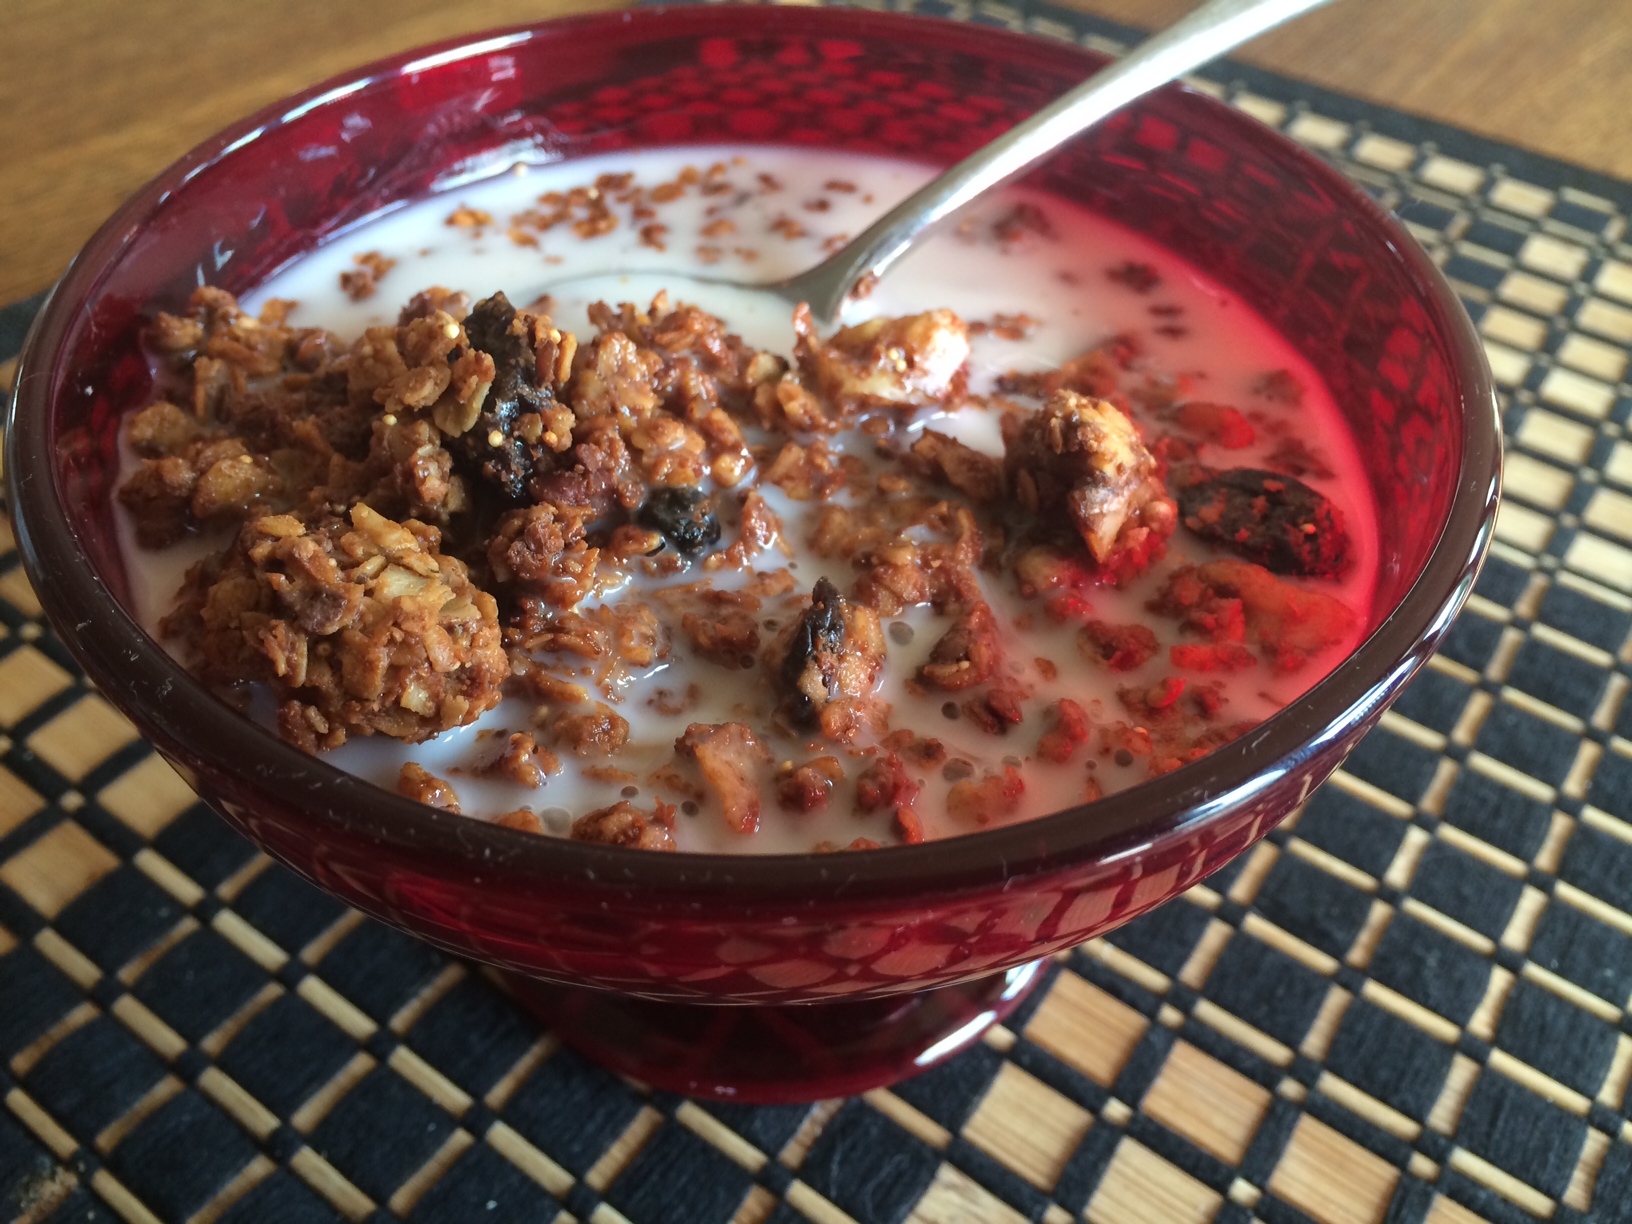
I used a combination of maple syrup and agave for my sweeteners but you could substitute honey or brown rice syrup if those are more to your liking. When you mix in the warm, wet ingredients, your chocolate chips will melt, spreading chocolate throughout the whole mixture. I like it this way because then I get a hint of chocolate in every bite. However, if you like granola with solid chunks of chocolate, I would wait to add the chips after the wet and dry ingredients have cooled a little bit.
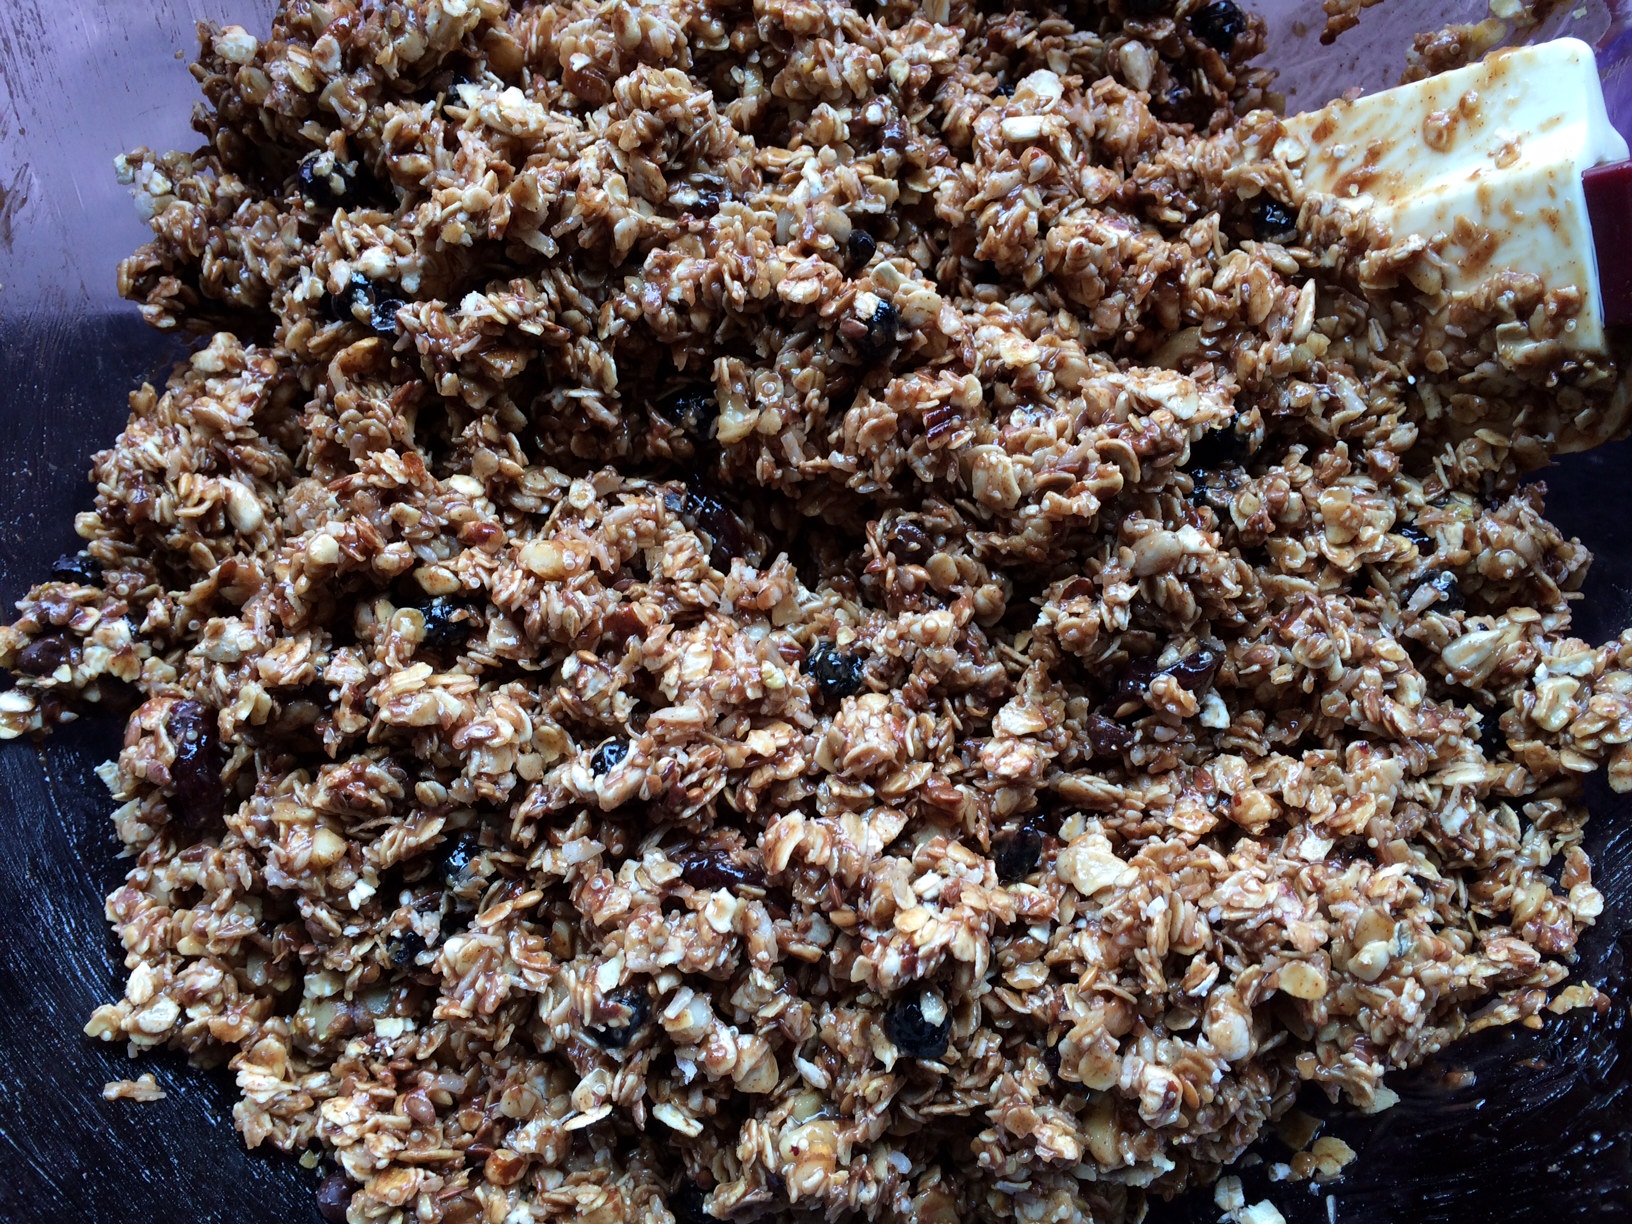
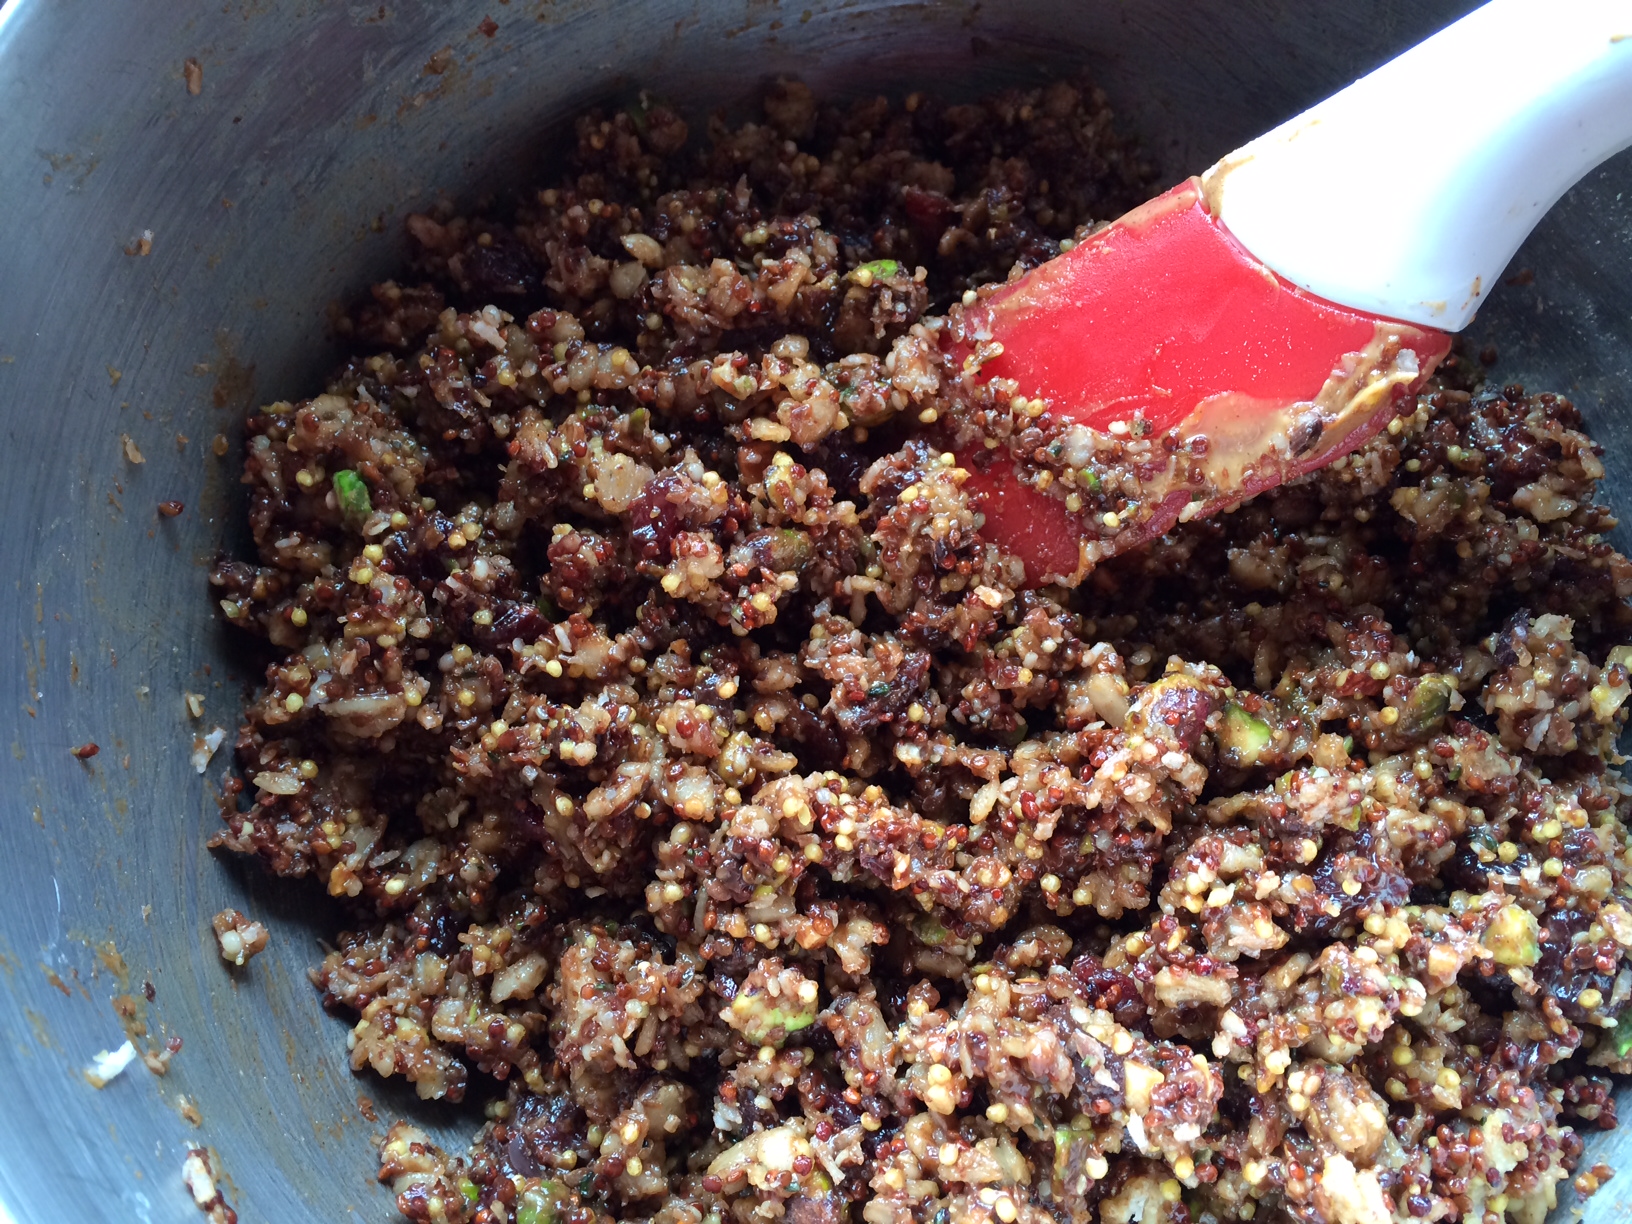
Wet and dry ingredients all combined.
As you can see from the photo above, everything is lightly coated but not soaked.
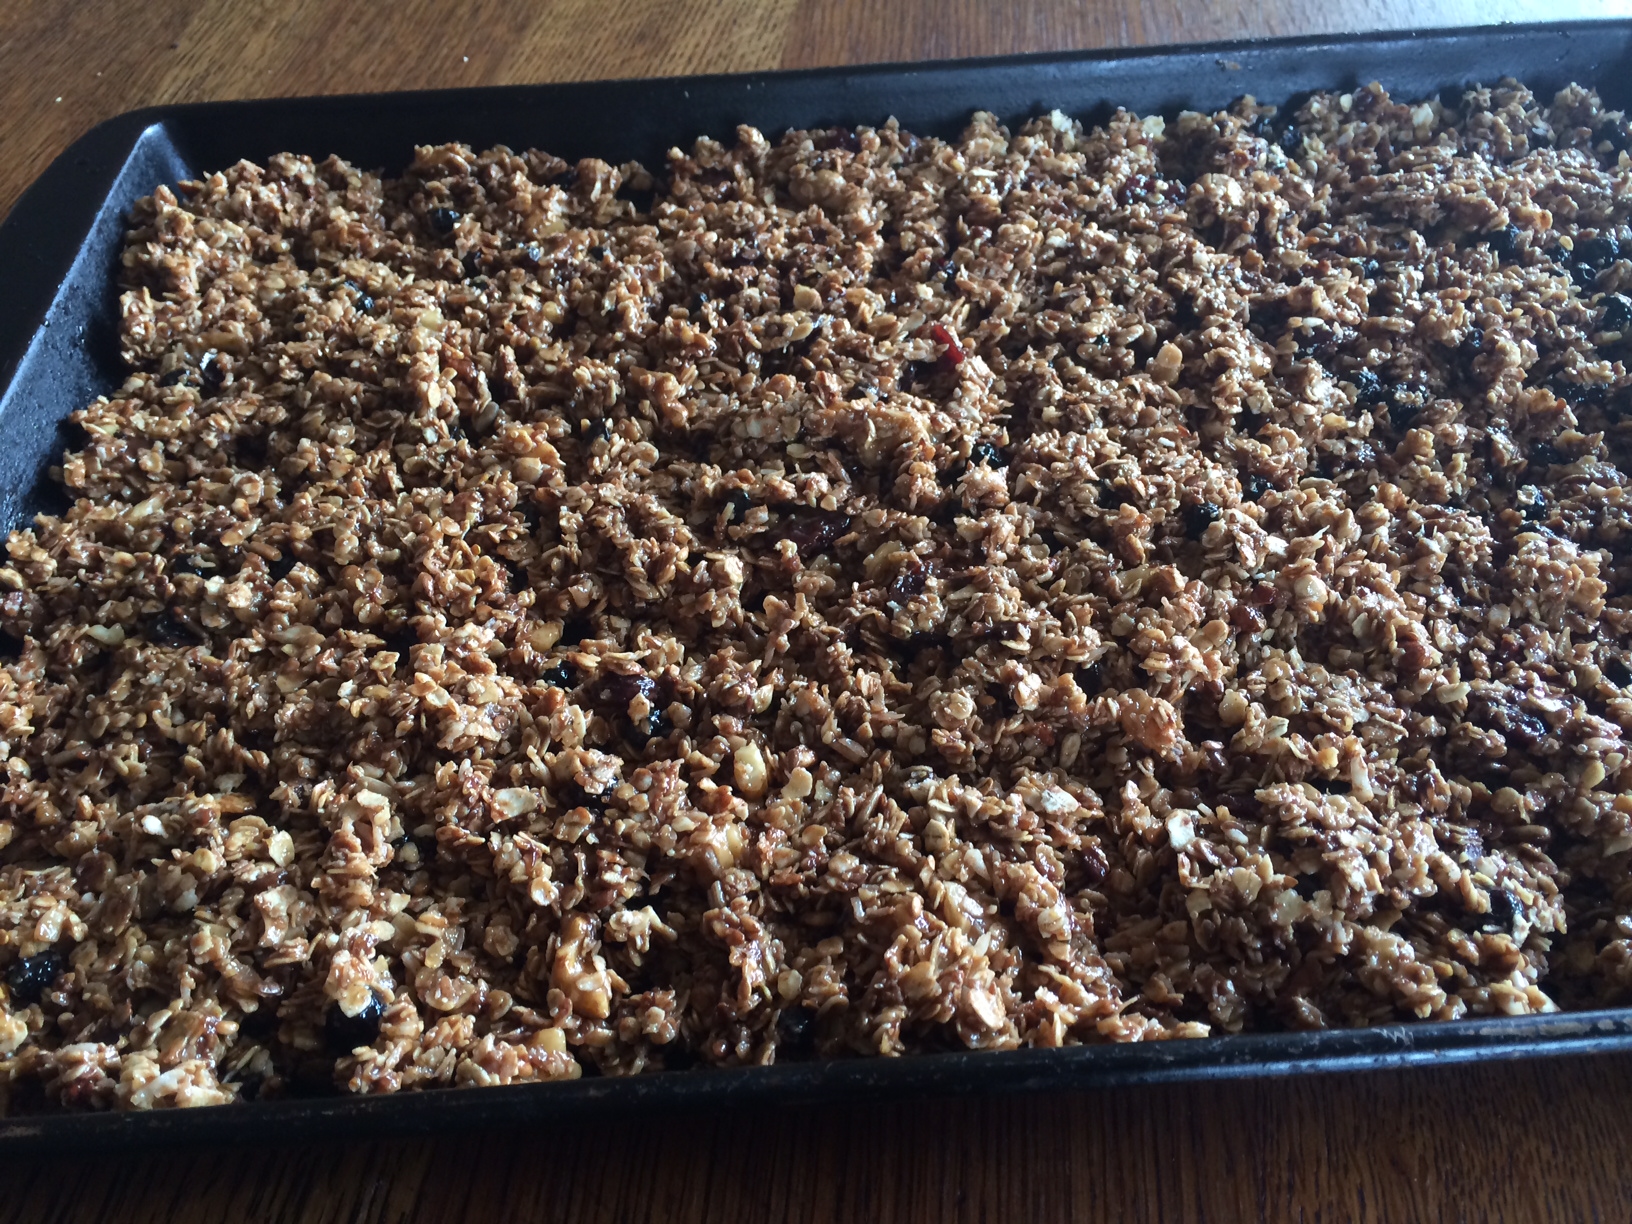
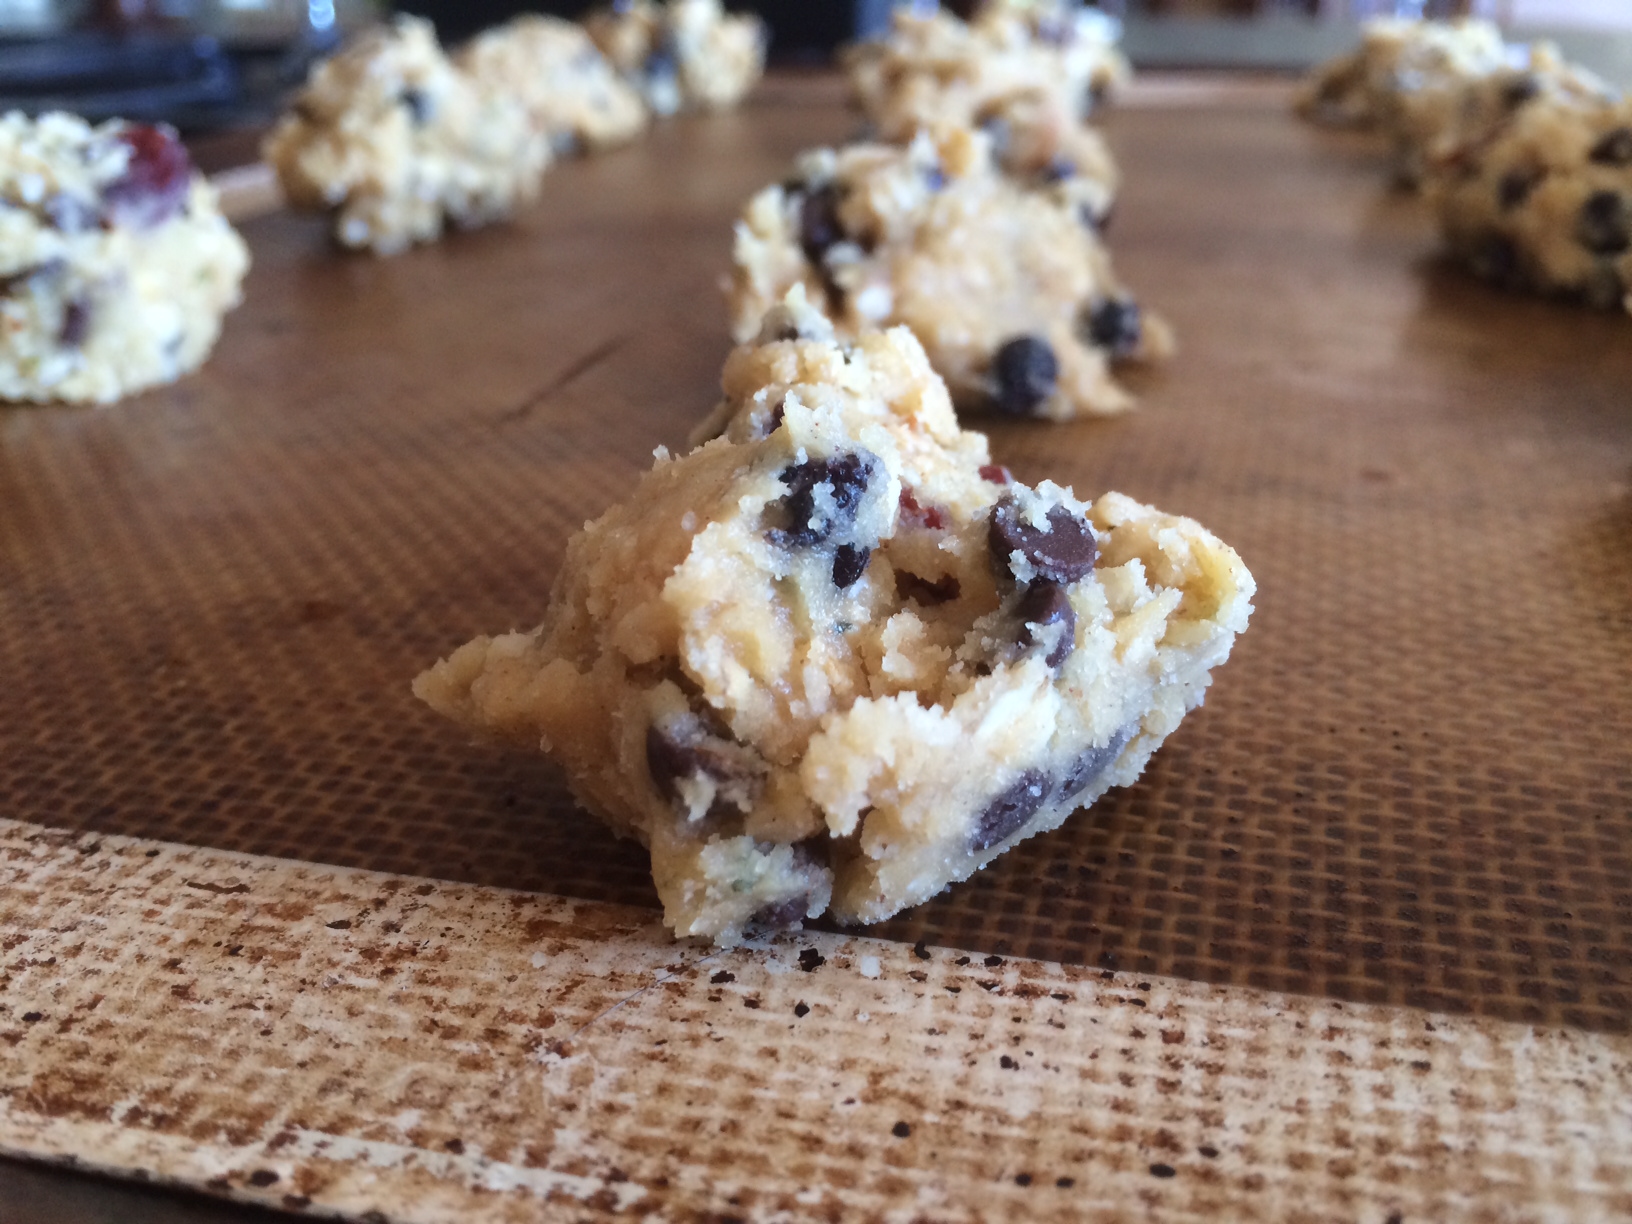
Granola ready to go into the oven.
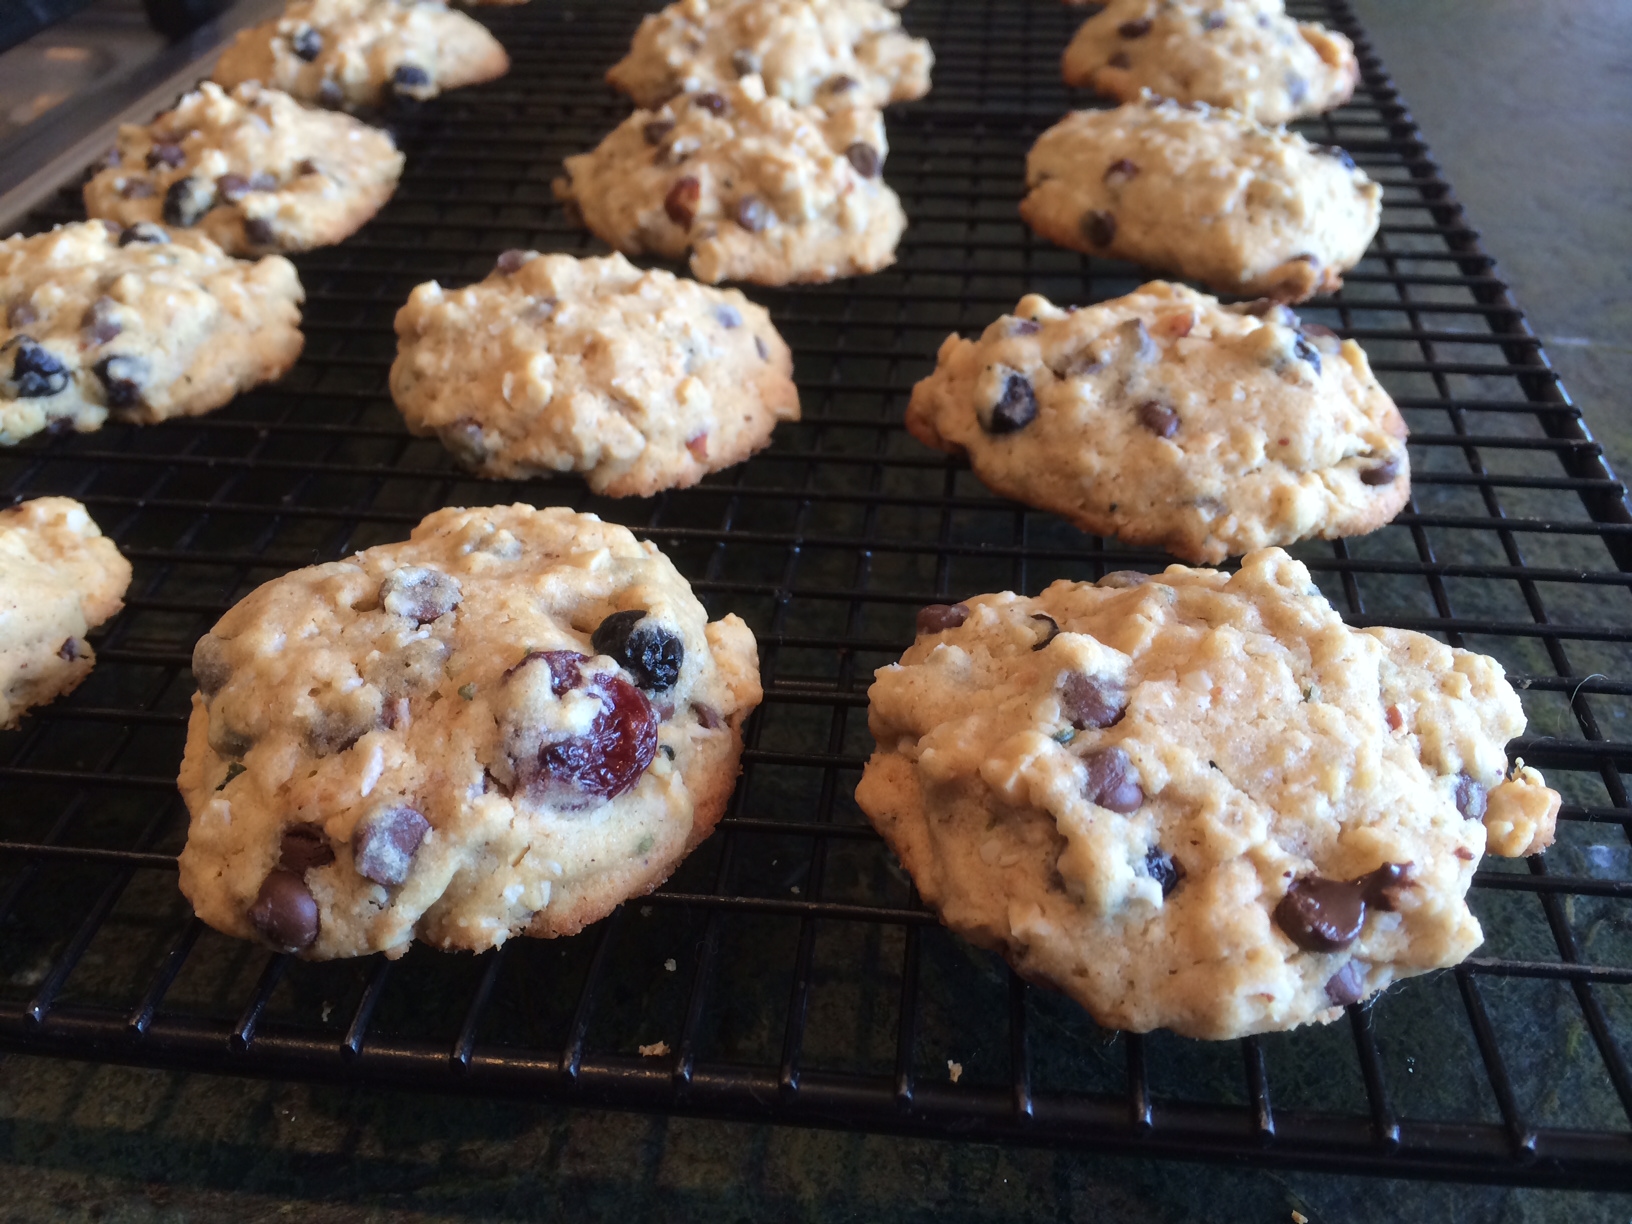
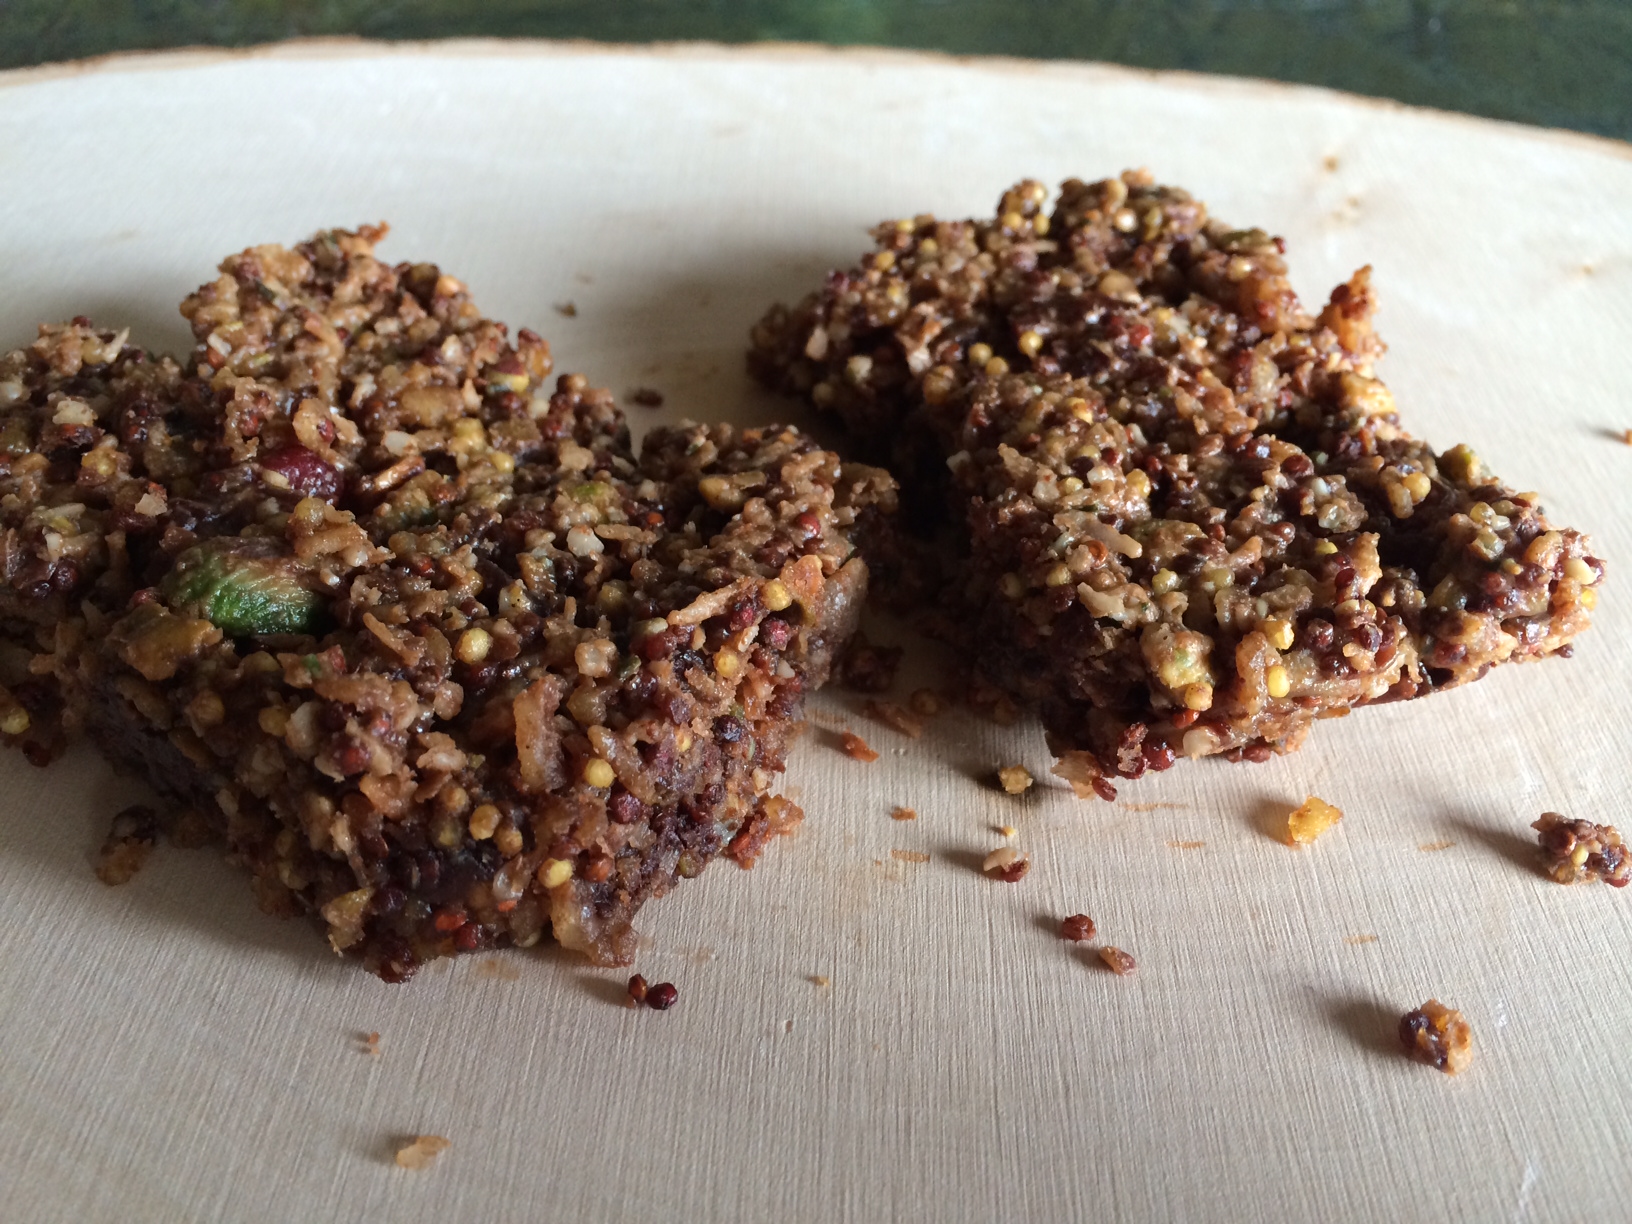
The recipe calls for only 30 minutes in the oven but mine took much longer (almost 50 minutes). (My oven runs a little cold so be sure to base your cook time on your own oven.)
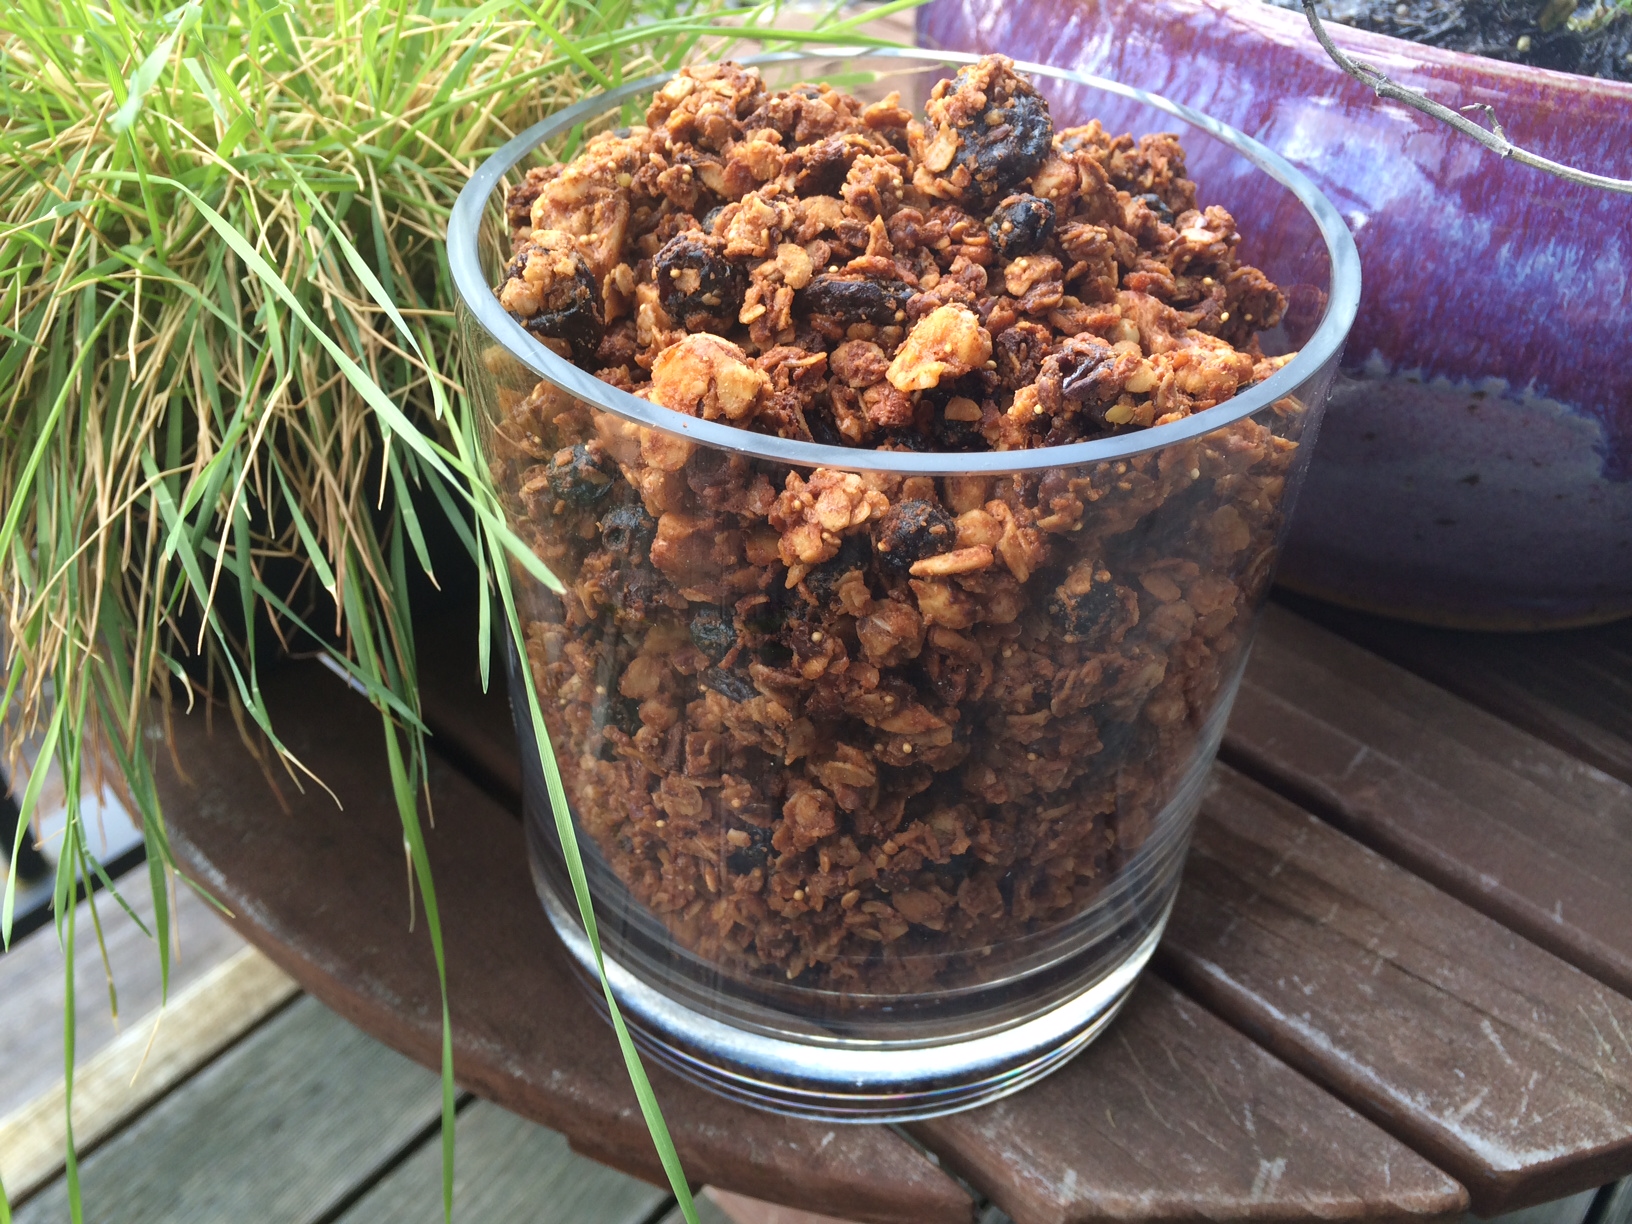
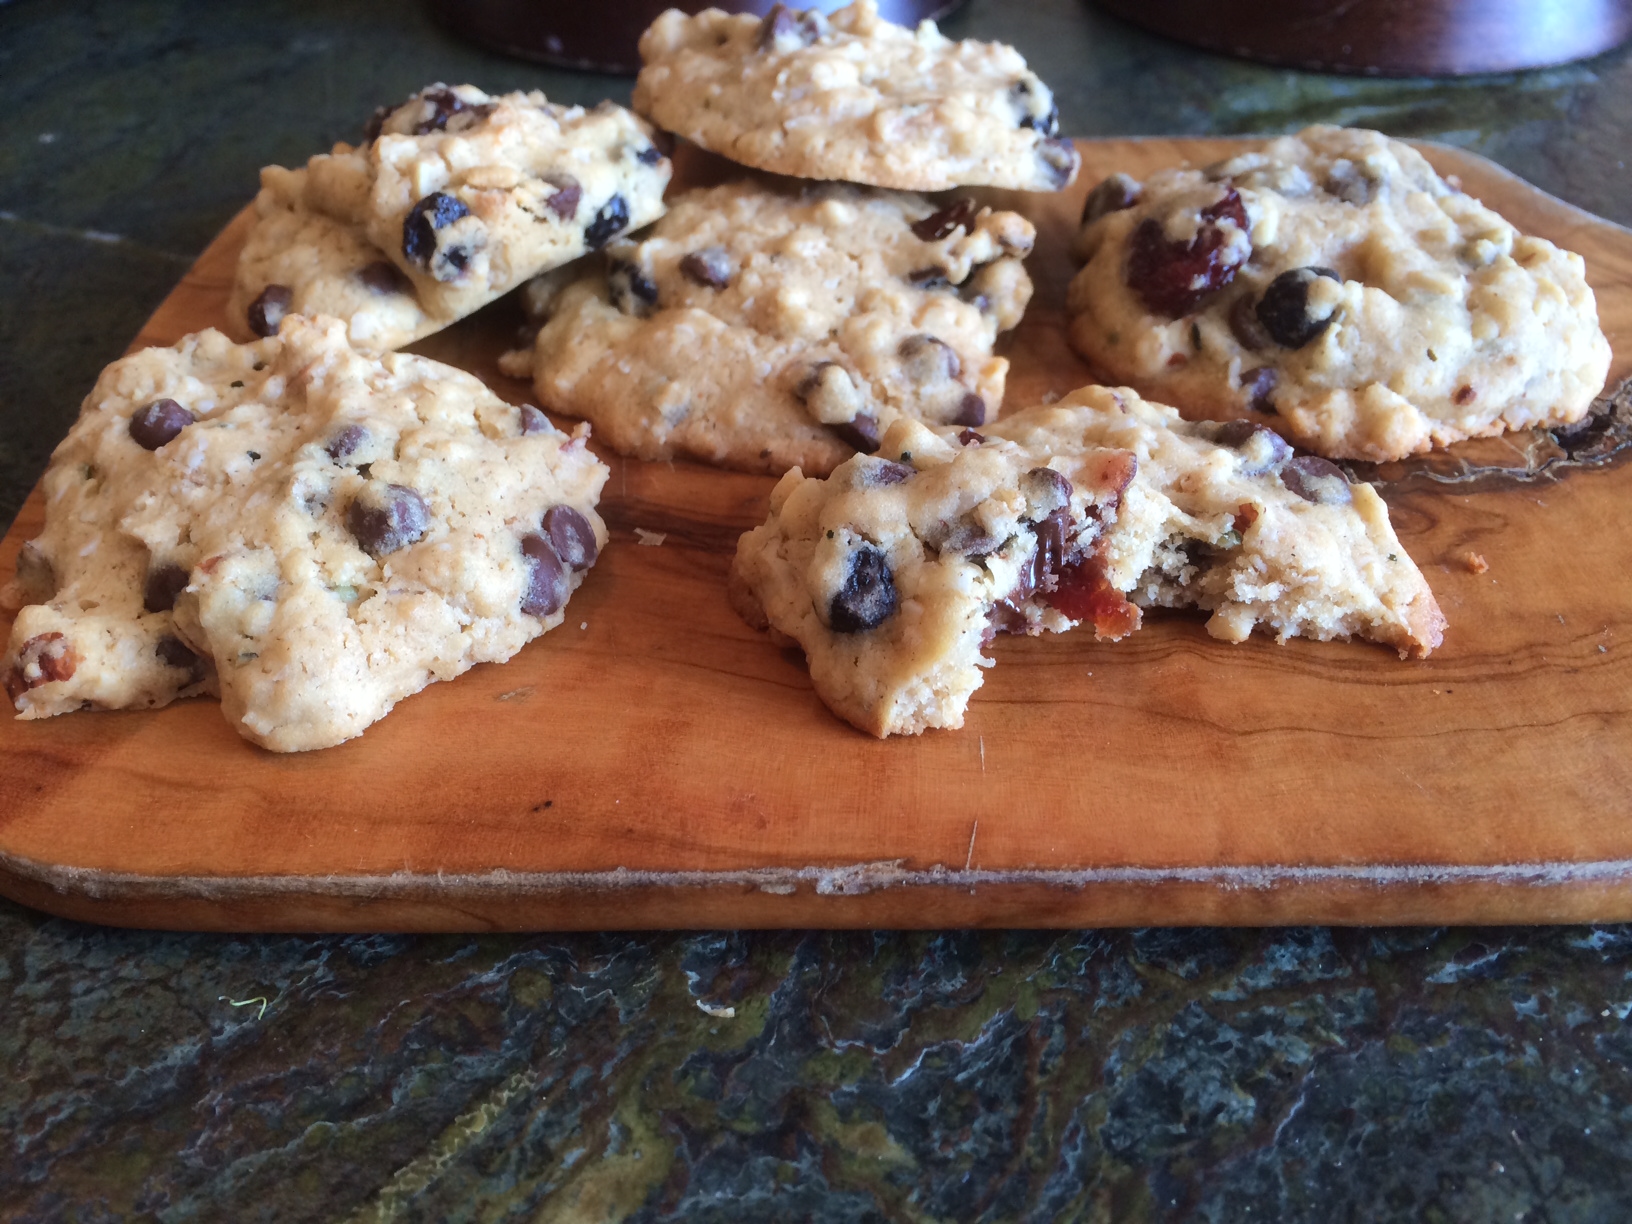
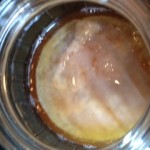
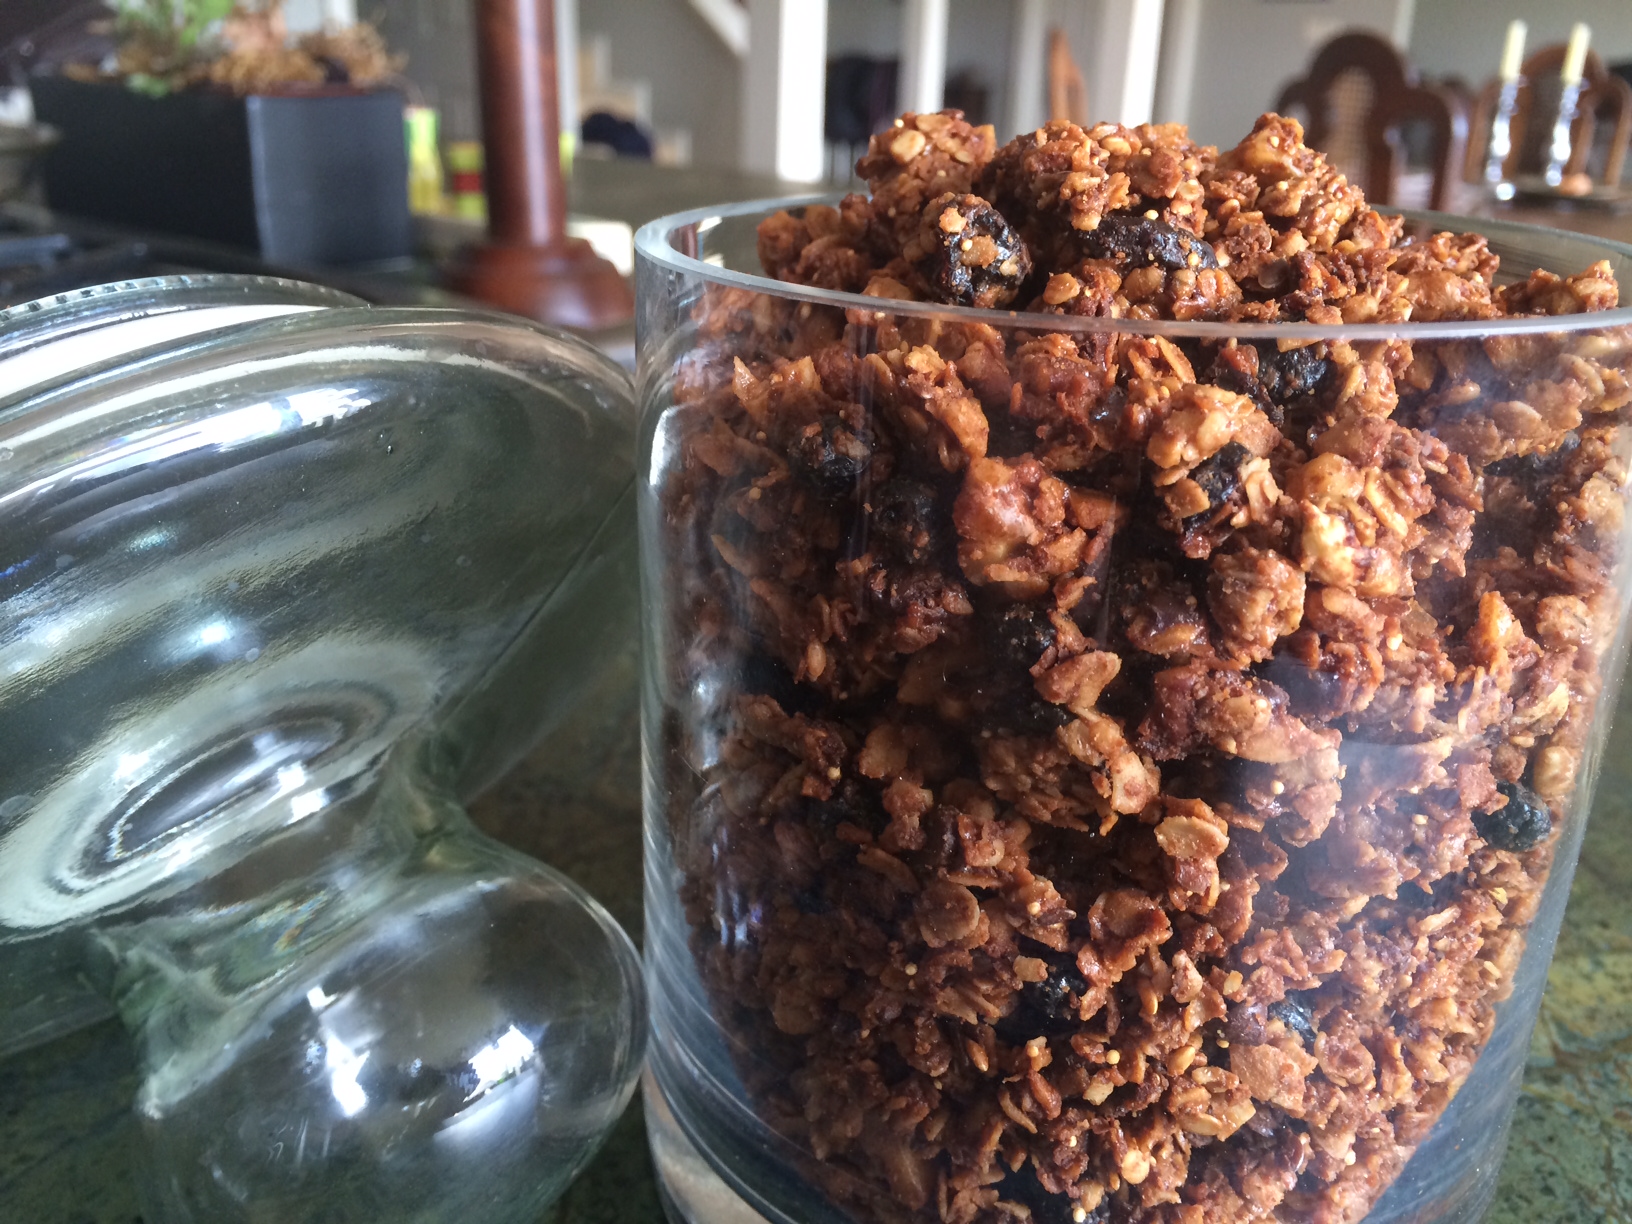
Yum! A whole container of granola!
Ingredients
- 3 cups gluten free oats
- 1/3 cup of amaranth, soaked (This is optional. I had it so I added it for a protein boost.)
- 1/4 cup flax seeds (1/2 of them ground, 1/2 of them whole)
- 1/4 cup of sunflower seeds
- 1/4 cup of coconut
- 1/4 cup of dried blueberries
- 1/4 cup of dried cherries
- 1/4 cup of chocolate chips (vegan or regular)
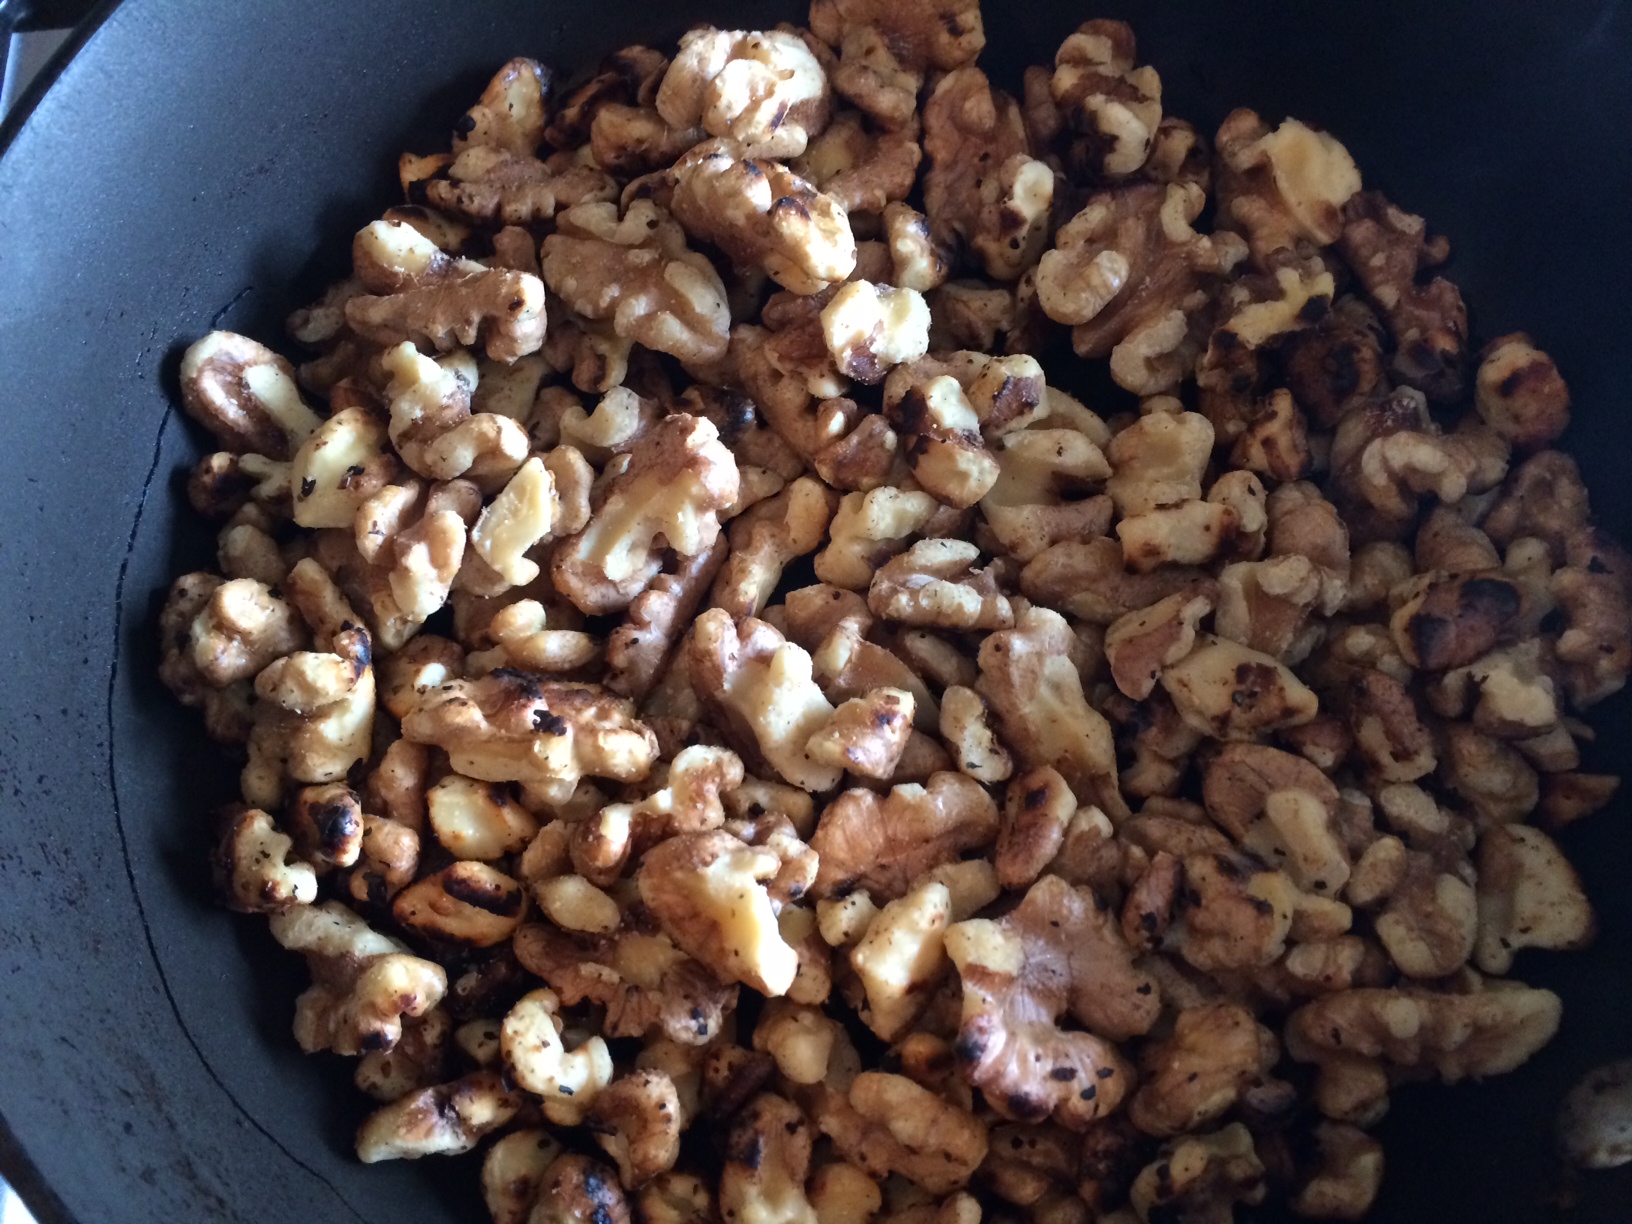
- 1/4 cup of chopped walnuts (Any nuts will do. Go with what you have available or what you like.)
- 1/4 cup of chopped pecans
- 1/2 cup of almond butter (Any nut butter will work in this recipe.)
- 1/4 cup of agave
- 1/4 cup of maple syrup
- 1/2 tsp of vanilla
- 5 tbs of coconut oil
Instructions
- If using amaranth, soak for at least six hours and overnight if possible.
- Preheat oven to 300 degrees.
- Combine all the dry ingredients in a large bowl.
- In a sauce pan, over low heat, combine almond butter, vanilla, agave, maple syrup and coconut oil.
- Stir until well combined.
- Add wet ingredients to dry ingredients.
- Stir until all dry ingredients covered with almond butter mixture.
- Press into a pan.
- Place in oven for at least 30 minutes. Stir every 10 minutes. (Mine took over 50 minutes to be fully cooked but you will have to keep checking for when it looks done to you.)
Enjoy!
This post is part of a Friday Link party of Nap time Creations, Today’s Creative Blog, Live Laugh Rowe, Gluten Free Homemaker, The Nourishing Gourmet and The Shabby Nest.
This post